
네이버 로그인 API 설정해보기
이전 프로젝트에서 카카오 로그인 API를 사용해보았고 이번에 구글 로그인 API를 사용해보았다
추가로 네이버 로그인 API도 진행해보자!
카카오 디벨롭으로 들어가서 애플리케이션 등록
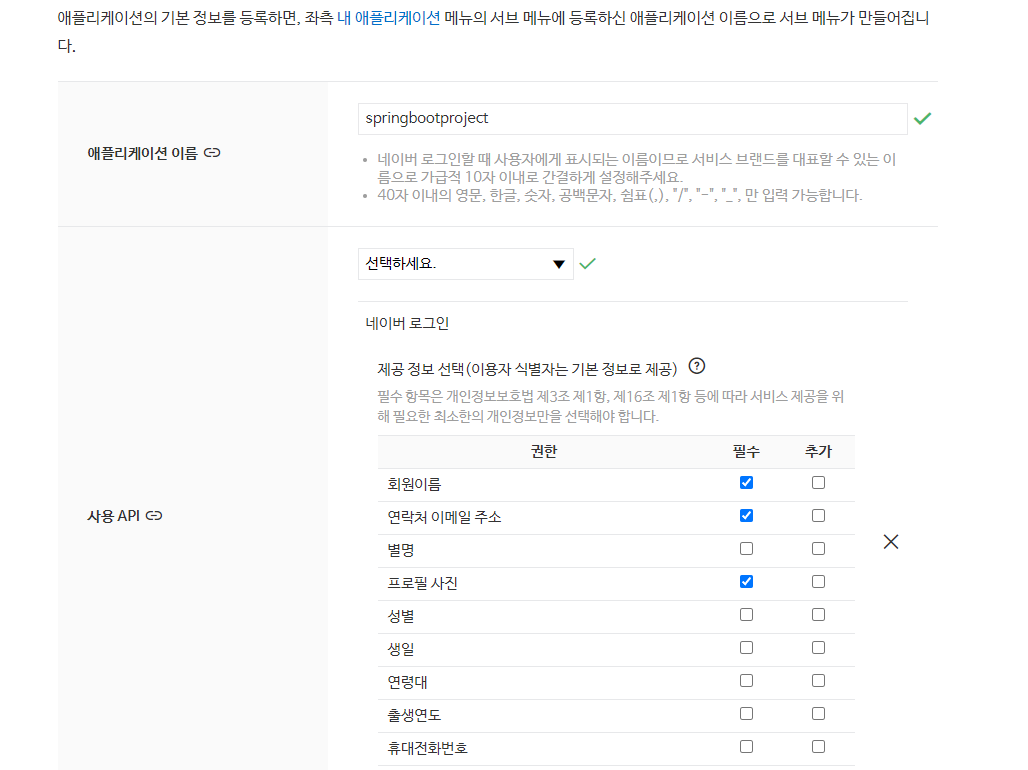
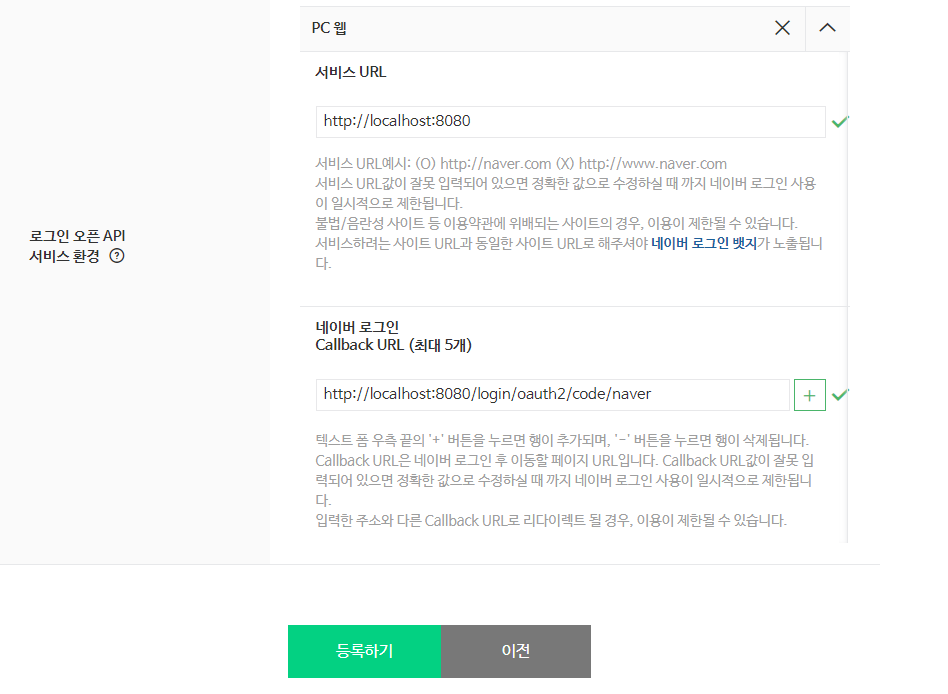
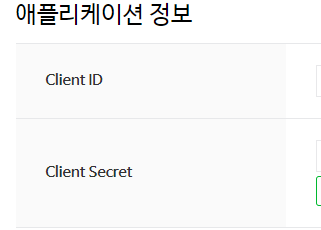
이 정보들을 application-oauth.yml 에 등록
이전에 구글은 스프링 시큐리티를 공식적으로 지원하기에 좀 더 편리하게진행되었지만, 네이버에서는 스프링 시큐리티를 공식 지원하지 않기 때문에 CommonOAuth2Provide에서 해주던 값들도 전부 수동으로 입력!
spring:
  security:
    oauth2:
      client:
        registration:
          google:
            client-id: 98293546742-s7rk9ft0c032n2u72qidk5q9risfl1la.apps.googleusercontent.com
            client-secret: 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
            scope:
              - profile
              - email
          naver:
            client-id: tAEkd3bBJveOj70lQQRZ
            client-secret: TngrcEeDmr
            redirect-uri: "{baseUrl}/{action}/oauth2/code/{registrationId}" #따로 provider를 스프링으로부터 제공받지 못해서 설정해준다
            authorization-grant-type: authorization_code
            scope: name,email,profile_image
            client-name: Naver
        provider:
          naver:
            authorization-uri: https://nid.naver.com/oauth2.0/authorize
            token-uri: https://nid.naver.com/oauth2.0/token
            user-info-uri: https://openapi.naver.com/v1/nid/me
            user-name-attribute: response #반환되는 타입이 JSON 형태이기 때문, 반환 종류가 resultcode, messasge, response 이렇게 있다
yml에 해당 정보를 저장해준다
과정을 간단하게 설명하면
-
사용자가 /oauth2/authorization/naver 로 요청
-
요청을 privider에서 설정한 authorization-uri(인가 주소)로 이동
-
인가 주소로 가서 인가 코드 받고
-
인가 코드로 토큰을 받고
-
토큰으로 사용자 정보를 가져온다
이전에 카카오 로그인 API를 사용할때에는 이 과정을 직접 요청하고 응답해서 정보를 뜯어서 넘기고 하는 과정으로 진행했지만 이번에는 OAuth2UserService 인터페이스의 loadUser() 메서드를 갖고 간단하게 구현할 수 있었다
    @Override
    public OAuth2User loadUser(OAuth2UserRequest userRequest) throws OAuth2AuthenticationException {
        OAuth2UserService<OAuth2UserRequest, OAuth2User> delegate = new DefaultOAuth2UserService();
        OAuth2User oAuth2User = delegate.loadUser(userRequest);

        String registrationId = userRequest.getClientRegistration().getRegistrationId();    //구글인지 네이버인지 확인하기위한 코드
        String userNameAttributeName = userRequest.getClientRegistration().getProviderDetails() //로그인 진행시에 키가되는 필드값 PK값
                .getUserInfoEndpoint().getUserNameAttributeName();

        OAuthAttributes attributes = OAuthAttributes.of(registrationId, userNameAttributeName, oAuth2User.getAttributes()); //OAuth2User의 속성값들을 담을 클래스

        User user = saveOrUpdate(attributes);
        httpSession.setAttribute("user", new SessionUser(user));

        return new DefaultOAuth2User(
                Collections.singleton(new SimpleGrantedAuthority(user.getRoleKey())),
                attributes.getAttributes(),
                attributes.getNameAttributeKey());
    }
네이버 로그인 버튼을 클릭해보면
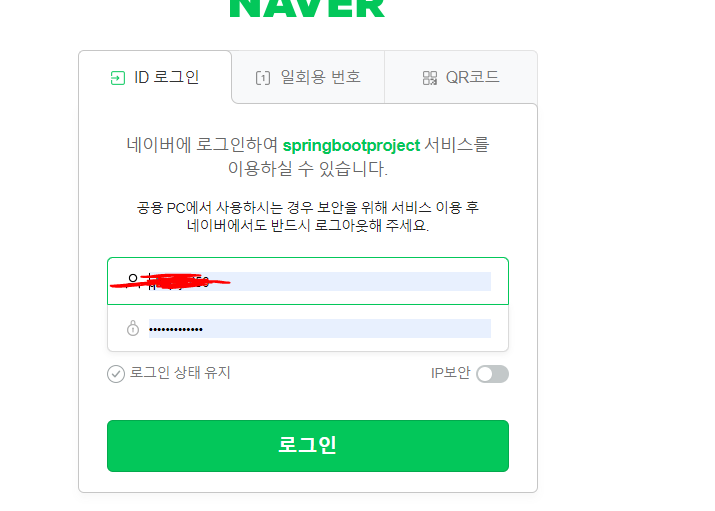
정상적으로 작동하는 것을 확인할 수 있다.
아직 코드하나하나의 의미는 확실하게 이해는 하지 못했지만 자주 로그인 API를 접해서 익숙하게 만들자
추가 테스트 오류
로그인 API와 시큐리티 설정을 하니 테스트가 고장났다.. 왜그런지 알아보자
src/main 에는 yml 설정이 있지만 src/test에는 yml 설정이 존재하지 않아서 오류가 발생한다.
기존에 test에서 오류가 발생하지 않았던 이유는 application.yml 같은 설정파일이 존재하지않으면 dafault값으로 main에 있는 yml 파일을 가져와서사용하게된다. 하지만 우리가 지금 만든 application-oauth.yml 파일은 가져오지 못하기때문에 오류가 발생하게된다.
test에 yml설정해주자
spring:
  profiles:
    include: oauth
  jpa:
    show-sql: true
    generate-ddl: true
    properties:
      hibernate:
        dialect: org.hibernate.dialect.MySQL5InnoDBDialect
  datasource:
    url: jdbc:h2:mem:testdb;MODE=MYSQL
    generate-unique-name: false
  h2:
    console:
      enabled: true
server:
  servlet:
    encoding:
      force-response: true  #머스테치 한글깨짐 오류 해결
    session:
      store-type: jdbc
  security:
    oauth2:
      client:
        registration:
          google:
            client-id: 98293546742-s7rk9ft0c032n2u72qidk5q9risfl1la.apps.googleusercontent.com
            client-secret: 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
            scope:
              - profile
              - email
또한 API를 이제 인증된 사람만 접근할 수 있게 설정해 놓았기때문에도 오류가 발생한다.
security test 의존성을 추가하고
MockMvc를 사용해서 @WithMockUser 어노테이션으로 roles="USER" 로 설정해주자
package com.qkrtprjs.springbootproject.web;

import com.fasterxml.jackson.databind.ObjectMapper;
import com.qkrtprjs.springbootproject.domain.posts.Posts;
import com.qkrtprjs.springbootproject.domain.posts.PostsRepository;
import com.qkrtprjs.springbootproject.web.dto.PostsSaveRequestDto;
import com.qkrtprjs.springbootproject.web.dto.PostsUpdateRequestDto;
import org.junit.After;
import org.junit.Before;
import org.junit.Test;
import org.junit.runner.RunWith;
import org.springframework.beans.factory.annotation.Autowired;
import org.springframework.boot.test.context.SpringBootTest;
import org.springframework.boot.test.web.client.TestRestTemplate;
import org.springframework.boot.web.server.LocalServerPort;
import org.springframework.http.MediaType;
import org.springframework.security.test.context.support.WithMockUser;
import org.springframework.test.context.junit4.SpringRunner;
import org.springframework.test.web.servlet.MockMvc;
import org.springframework.test.web.servlet.setup.MockMvcBuilders;
import org.springframework.web.context.WebApplicationContext;

import java.util.List;

import static org.assertj.core.api.Assertions.assertThat;
import static org.springframework.security.test.web.servlet.setup.SecurityMockMvcConfigurers.springSecurity;
import static org.springframework.test.web.servlet.request.MockMvcRequestBuilders.post;
import static org.springframework.test.web.servlet.request.MockMvcRequestBuilders.put;
import static org.springframework.test.web.servlet.result.MockMvcResultMatchers.status;

// For mockMvc

@RunWith(SpringRunner.class)
@SpringBootTest(webEnvironment = SpringBootTest.WebEnvironment.RANDOM_PORT)
public class PostsApiControllerTest {

    @LocalServerPort
    private int port;

    @Autowired
    private TestRestTemplate restTemplate;

    @Autowired
    private PostsRepository postsRepository;

    @Autowired
    private WebApplicationContext context;

    private MockMvc mvc;

    @Before
    public void setup() {
        mvc = MockMvcBuilders
                .webAppContextSetup(context)
                .apply(springSecurity())
                .build();
    }

    @After
    public void tearDown() throws Exception {
        postsRepository.deleteAll();
    }

    @Test
    @WithMockUser(roles="USER")
    public void Posts_등록된다() throws Exception {
        //given
        String title = "title";
        String content = "content";
        PostsSaveRequestDto requestDto = PostsSaveRequestDto.builder()
                .title(title)
                .content(content)
                .author("author")
                .build();

        String url = "http://localhost:" + port + "/api/v1/posts";

        //when
        mvc.perform(post(url)
                        .contentType(MediaType.APPLICATION_JSON_UTF8)
                        .content(new ObjectMapper().writeValueAsString(requestDto)))
                .andExpect(status().isOk());

        //then
        List<Posts> all = postsRepository.findAll();
        assertThat(all.get(0).getTitle()).isEqualTo(title);
        assertThat(all.get(0).getContent()).isEqualTo(content);
    }

    @Test
    @WithMockUser(roles="USER")
    public void Posts_수정된다() throws Exception {
        //given
        Posts savedPosts = postsRepository.save(Posts.builder()
                .title("title")
                .content("content")
                .author("author")
                .build());

        Long updateId = savedPosts.getId();
        String expectedTitle = "title2";
        String expectedContent = "content2";

        PostsUpdateRequestDto requestDto = PostsUpdateRequestDto.builder()
                .title(expectedTitle)
                .content(expectedContent)
                .build();

        String url = "http://localhost:" + port + "/api/v1/posts/" + updateId;

        //when
        mvc.perform(put(url)
                        .contentType(MediaType.APPLICATION_JSON_UTF8)
                        .content(new ObjectMapper().writeValueAsString(requestDto)))
                .andExpect(status().isOk());

        //then
        List<Posts> all = postsRepository.findAll();
        assertThat(all.get(0).getTitle()).isEqualTo(expectedTitle);
        assertThat(all.get(0).getContent()).isEqualTo(expectedContent);
    }
}
항상 기능을 추가하거나 설정을 추가해주었을때에는 테스트가 정상적으로 작동하는지 확인하는 습관을 들이도록 하자! 너무 많이 변경했을때에 test를 수정하려고 하면 너무 많은 시간을 사용하게된다.
이렇게 스프링 부트와 AWS로 혼자 구현하는 웹 서비스라는 이동욱님의 책을 읽으면서 AWS도 직접 작동시켜보고 배포도해보고 테스트 방법도 배우게 되었다. 이를 발판으로 삼아서 혼자만의 애플리케이션도 만들어보고 다양한 테스트도 접해보자!!