스토리보드만을 활용한 Collection View 구현은 아래 링크에서 내용을 확인하실 수 있습니다.
https://velog.io/@panther222128/UICollectionView
코드로 Collection View를 구현하는 것은 아래 링크에 있습니다.
https://velog.io/@panther222128/UICollectionView-Programmatically-Practice
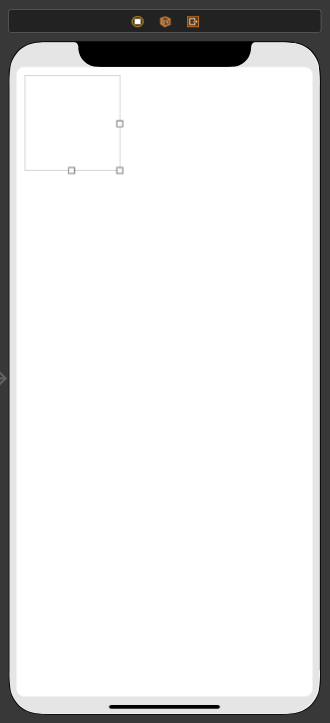
스토리보드의 View Controller에 Collection View를 추가하고 Auto Layout도 설정합니다.
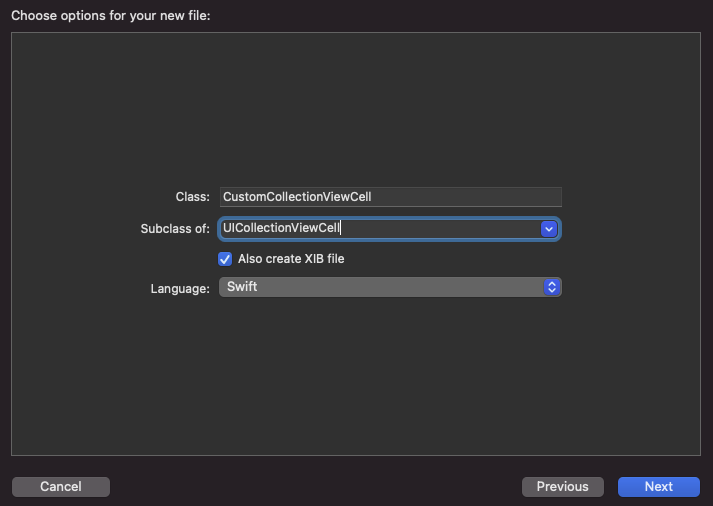
Cell을 만들기 위한 파일을 생성합니다. XIB를 사용할 것이기 때문에 Also create XIB file 빈 칸을 체크합니다.
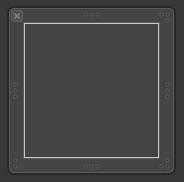
XIB 파일을 보면 아래처럼 빈 Cell이 보입니다.
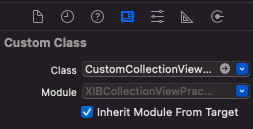
보통 스토리보드는 Class를 따로 지정하지만 XIB는 자동으로 지정해줍니다.
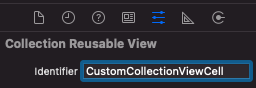
Collection Reusable View Identifier에 원하는 이름을 입력합니다.
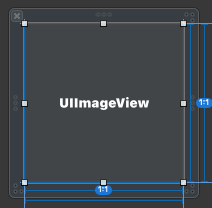
아래처럼 원하는 View를 넣어줍니다.

Cell의 크기와 이미지 크기가 동일하도록 했고, Auto Layout도 설정되어 있습니다.
XIB 파일이 생성될 때 동시에 생성되었던 파일에 XIB가 갖고 있는 View 요소를 추가합니다.
class CustomCollectionViewCell: UICollectionViewCell {

    @IBOutlet weak var someImage: UIImageView!

    override func awakeFromNib() {
        super.awakeFromNib()
    }

}
보여줄 데이터를 갖는 구조체입니다.
struct Data {

    private var someArray = [UIImage]()

    init() {
        createImage()
    }

    mutating func createImage() {
        if let image = UIImage(named: "image.jpg") {
            for _ in 0..<40 {
                someArray.append(image)
            }
        }
    }

    var imageArray: [UIImage] {
        return someArray
    }

}
View Controller 코드는 아래와 같습니다. UICollectionViewDelegate, UICollectionViewDataSource 프로토콜 채택 후 보여줄 데이터와 데이터의 수를 결정합니다. registerNib() 메소드에서 확인할 수 있는 것처럼 nib 등록을 잊지 않아야 합니다.
class ViewController: UIViewController {

    @IBOutlet weak var customCollectionView: UICollectionView!

    private var data = Data()

    override func viewDidLoad() {
        super.viewDidLoad()
        collectionViewDelegate()
        registerNib()
    }

    private func collectionViewDelegate() {
        customCollectionView.delegate = self
        customCollectionView.dataSource = self
    }

    private func registerNib() {
        let nibName = UINib(nibName: "CustomCollectionViewCell", bundle: nil)
        customCollectionView.register(nibName, forCellWithReuseIdentifier: "CustomCollectionViewCell")
    }

}

extension ViewController: UICollectionViewDelegate, UICollectionViewDataSource {

    func collectionView(_ collectionView: UICollectionView, numberOfItemsInSection section: Int) -> Int {
        return data.imageArray.count
    }

    func collectionView(_ collectionView: UICollectionView, cellForItemAt indexPath: IndexPath) -> UICollectionViewCell {
        let cell = customCollectionView.dequeueReusableCell(withReuseIdentifier: "CustomCollectionViewCell", for: indexPath) as! CustomCollectionViewCell
        cell.someImage.image = data.imageArray[indexPath.row]
        return cell
    }

}
결과는 아래와 같습니다.


nib으로 구현하고 있었는데
private func registerNib() {
let nibName = UINib(nibName: "CustomCollectionViewCell", bundle: nil)
customCollectionView.register(nibName, forCellWithReuseIdentifier: "CustomCollectionViewCell")
}
이부분을 놓쳤었네요
감사합니다 :)