1. fetch API
- 비동기 요청의 가장 대표적인 사례는 단연 네트워크 요청이다.
- 네트워크를 통해 이루어지는 요청은 그 형태가 다양한데 그중에서
URL로 요청하는 경우가 가장 흔하다. URL로 요청하는 것을 가능하게 해 주는API가 바로fetch API이다.
fetch를 이용한 네트워크 요청
-
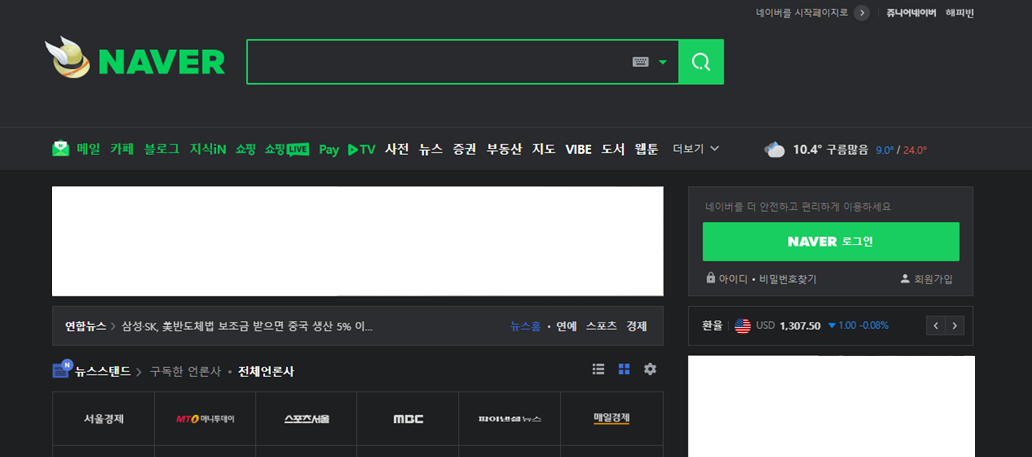
다음은 한 포털 사이트(naver)이다.
-
이 사이트는 시시각각 변하는 정보와, 늘 고정적인 정보가 따로 분리되어 있는 것을 확인할 수 있다.
-
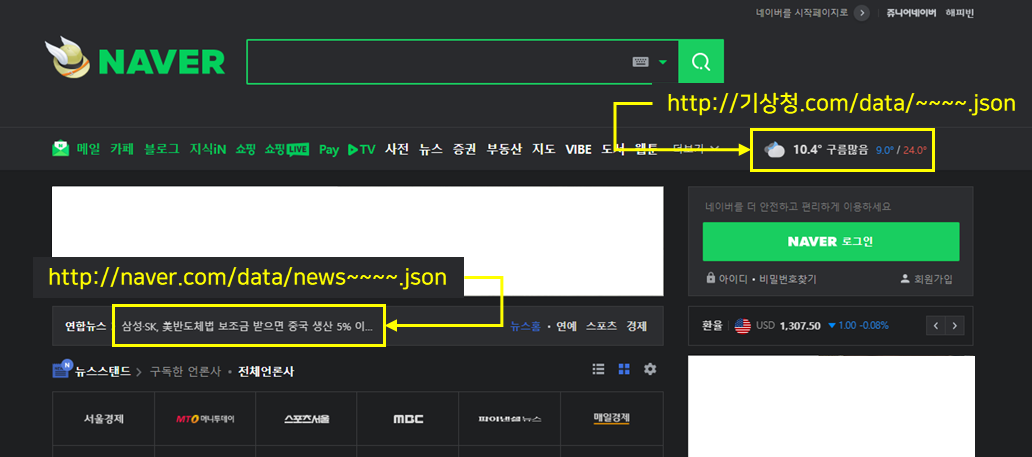
동적으로 데이터를 받아야 하는 정보에는 뉴스, 날씨 등이 있다.
-
이럴 때 많은 웹사이트에서는 해당 정보만 업데이트하기 위해 요청 API를 이용한다.
그 중 대표적인fetch API를 이용해 해당 정보를 원격URL로부터 불러오는 경우를 설명한다.
-
fetch API는 위와 같이, 특정 URL로부터 정보를 받아오는 역할을 한다.
이 과정이 비동기로 이루어지기 때문에, 경우에 따라 다소 시간이 걸릴 수 있다.
이렇게 시간이 소요되는 작업을 요구할 경우에는 blocking이 발생하면 안 되므로, 특정 DOM에 정보가 표시될 때까지 로딩 창을 대신 띄우는 경우도 있다.
fetch API를 사용하여 데이터를 요청하는 방법
- 개발자 도구의 콘솔에서
fetch API를 사용하여 데이터를 요청한다.let url = "https://koreanjson.com/posts/1"; fetch(url) .then((response) => response.json()) .then((json) => console.log(json)) .catch((error) => console.log(error));
2. Axios
- 이번에는
fetch API와 비슷한 역할을 하는 라이브러리인Axios에 대해 알아보자.
Axios는 브라우저, Node.js를 위한 Promise API를 활용하는 HTTP 비동기 통신 라이브러리이다.
Axios는Fetch API보다 사용이 간편하면서 추가적인 기능들이 포함되어 있다.
Axios 사용법
Axios는 써드파티(3rd-party) 라이브러리이기 때문에 사용하기 위해서는 설치해야 한다.npm install axiosAxios와fetch API의 기본 원리는 같다.
다음은GET,POST요청에 대해서 알아보자.
GET 요청
- GET 요청은 일반적으로 정보를 요청하기 위해 사용되는 메서드이다.
axios.get("url"[,config])- 첫번째 인자에는
url주소가 들어가며,url주소는 필수이다.
- 두번째 인자에는 요청 시 사용할 수 있는 옵션들을 설정하게 되며, 필수는 아니다.
- 첫번째 인자에는
fetch API와 axios의 GET 요청 예시
-
Fetch API 예시 코드
// Promise ver fetch('https://koreanjson.com/users/1', { method: 'GET' }) .then((response) => response.json()) .then((json) => console.log(json)) .catch((error) => console.log(error)); // Async / Await ver // async function request() { // const response = await fetch('https://koreanjson.com/users/1', { // method: 'GET', // }); // const data = await response.json(); // console.log(data); // } // request(); const appDiv = document.getElementById('app'); appDiv.innerHTML = ` <h1>Fetch API 😊</h1> <h3>console 창을 확인해주세요! 👇👇👇</h3> `; -
Axios 예시 코드
 // axios를 사용하기 위해서는 설치한 axios를 불러와야 한다.
 import axios from 'axios';

 // Promise ver
 axios
   .get('https://koreanjson.com/users/1')
   .then((response) => {
     console.log(response);
     const { data } = response;
     console.log(data);
   })
   .catch((error) => console.log(error));

 // Async / Await ver
 // async function request() {
 //   const response = await axios.get('https://koreanjson.com/users/1');
 //   const { data } = response;
 //   console.log(data);
 // }

 // request();

 const appDiv = document.getElementById('app');
 appDiv.innerHTML = `
 <h1>Axios ☺️</h1>
 <h3>console 창을 확인해주세요! 👇👇👇</h3>
 `;
POST 요청
- POST 요청은 서버에게 데이터를 보내기 위해 사용되는 메서드이다.
axios.post("url"[, data[, config]])- 첫번째 인자에는
url주소가 들어가며,url주소는 필수이다. - 두번째 인자에는 요청 시 보낼 데이터를 설정하게 된다.
옵션의 경우 필수는 아니지만 상황에 따라 설정해주어야 한다.
- 첫번째 인자에는
fetch API와 axios의 GET 요청 예시
-
Fetch API 예시 코드
// Promise ver fetch('https://koreanjson.com/users', { method: 'POST', headers: { // JSON의 형식으로 데이터를 보내준다고 서버에게 알려주는 역할입니다. 'Content-Type': 'application/json', }, body: JSON.stringify({ nickName: 'ApeachIcetea', age: 20 }), }) .then((response) => response.json()) .then((json) => console.log(json)) .catch((error) => console.log(error)); // Async / Await ver // async function request() { // const response = await fetch('https://koreanjson.com/users', { // method: 'POST', // headers: { // 'Content-Type': 'application/json', // }, // body: JSON.stringify({ nickName: 'ApeachIcetea', age: 20 }), // }); // const data = await response.json(); // console.log(data); // } // request(); const appDiv = document.getElementById('app'); appDiv.innerHTML = ` <h1>Fetch API 😊</h1> <h3>console 창을 확인해주세요! 👇👇👇</h3> `; -
Axios 예시 코드
// axios를 사용하기 위해서는 설치한 axios를 불러와야 한다.
import axios from 'axios';

// Promise ver
axios
  .post('https://koreanjson.com/users', { nickName: 'ApeachIcetea', age: '20' })
  .then((response) => {
    const { data } = response;
    console.log(data);
  })
  .catch((error) => console.log(error));

// Async / Await ver
// async function request() {
//   const response = await axios.post('https://koreanjson.com/users', {
//     name: 'ApeachIcetea',
//     age: '20',
//   });
//   const { data } = response;
//   console.log(data);
// }

// request();

const appDiv = document.getElementById('app');
appDiv.innerHTML = `
<h1>Axios ☺️</h1>
<h3>console 창을 확인해주세요! 👇👇👇</h3>
`;
Fetch API vs Axios
| Axios | Fetch API |
|---|---|
| 써드파티(3rd-party) 라이브러리로 설치가 필요하다. (공식적으로 제공하지 않는 외부 라이브러리) | 빌트인(Built-in) API라 별도의 설치 필요없다. (공식적으로 제공하는 라이브러리) |
| 자동으로 JSON데이터 형식으로 변환된다. | .json() 메서드를 사용해야 한다. |

😍