
Gradio 컴포넌트
Gradio에는 다양한 기능을 위한 미리 구축된 컴포넌트들이 있다.
이 컴포넌트들은 텍스트와 오디오, 이미지, 비디오와 같은 미디어, 그리고 Plotly와 Altair와 같은 패키지를 사용하여 생성된 차트 등을 포함한다.
Gradio가 다양한 컴포넌트를 어떻게 표시하는지 알아보자.
Gradio에서 텍스트 표시하기
gradio.Text 또는 gradio.Textbox를 사용하여 텍스트를 표시할 수 있다.
각 메서드는 문자열 입력을 위한 텍스트 영역을 제공하거나 문자열 출력을 표시한다.
# 텍스트 표시하기
import gradio as gr

def text_display(text):
    return text

demo = gr.Interface(text_display, gr.Text(), "text")

# 또는 gr.TextBox()를 사용할 수도 있다.
demo.launch()
Gradio에서 데이터 표시하기
"str", "number", "bool", "date", "markdown"과 같은 데이터 유형을 Gradio에서 표시할 수 있다. 기본적으로 Pandas DataFrame을 얻게 된다.
원하는 출력 유형을 지정하여 다른 데이터 유형을 얻을 수 있다.
예를 들어, numpy를 지정하면 NumPy 배열을 얻을 수 있고, Python 배열의 경우 array를 지정할 수 있다.
# 데이터 표시하기
import gradio as gr

def data_display(input_img):
    return input_img

demo = gr.Interface(data_display, gr.Dataframe(), "dataframe")
demo.launch()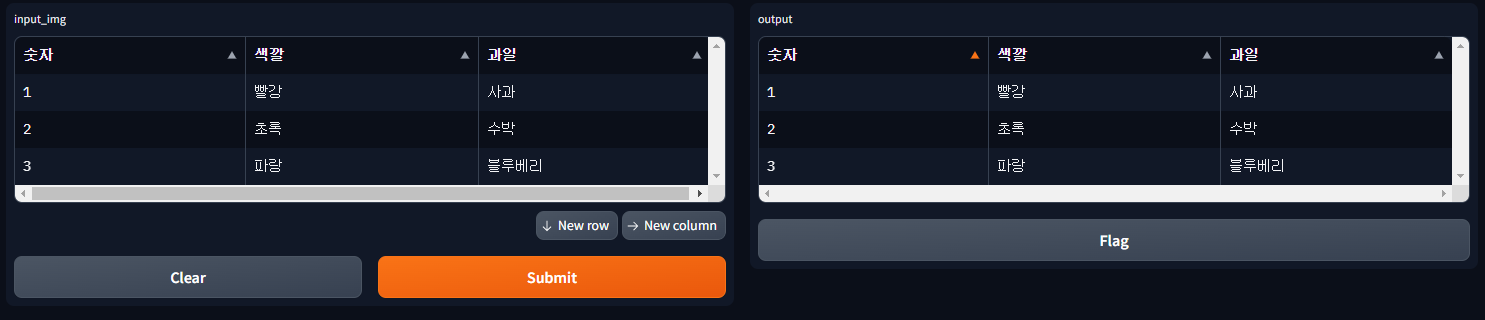
Gradio에서 미디어 표시하기
Gradio에서 이미지와 같은 미디어를 표시할 수 있다.
또한, 세피아 필터 또는 파란색 색조 필터와 같은 필터를 적용하여 이미지를 변형할 수도 있다.
Image, Video, Audio, 또는 File과 같이 올바른 입력을 전달하여 미디어를 표시할 수 있다.
Image
아래 예제는 파란색 색조 필터를 적용한 이미지를 시각화하는 방법을 보여준다.
import numpy as np
import gradio as gr

def blue_hue(input_img):
    blue_hue_filter = np.array([
            [0.272, 0.534, 0.131],
            [0.349, 0.686, 0.168],
            [0.393, 0.769, 0.189]])
    blue_hue_img = input_img.dot(blue_hue_filter.T)
    blue_hue_img /= blue_hue_img.max()
    return blue_hue_img

demo = gr.Interface(blue_hue, gr.Image(), "image")
demo.launch()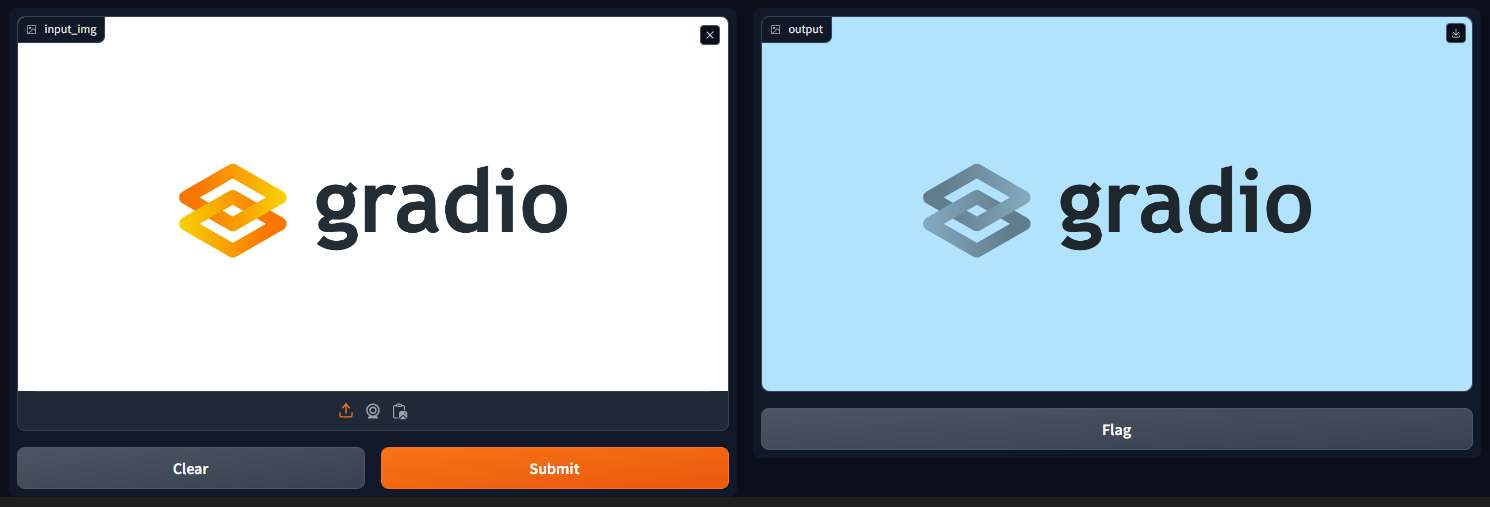
Video
또한, 다음과 같이 전처리 없이 비디오 미디어를 표시할 수도 있다:
# 비디오 표시하기
import gradio as gr

def video_display(input_img):
    return input_img

demo = gr.Interface(video_display, gr.Video(), "video")
demo.launch()
Gradio에서 코드 표시하기
Textbox
코드를 표시하려면 gradio.Textbox를 사용하자.
import gradio as gr

# 코드 정의하기
# 리스트의 평균
code = '''def cal_average(numbers):
    sum_number = 0
    for t in numbers:
        sum_number = sum_number + t

    average = sum_number / len(numbers)
    return average'''

with gr.Blocks() as demo:
    gr.Textbox(code)

demo.launch()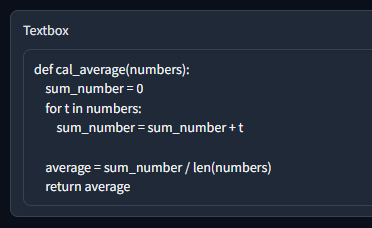
Gradio에서 차트 표시하기
차트 요소는 gradio.Plot() 컴포넌트를 사용하여 Gradio에서 표시된다.
차트를 생성한 후, fn = your_ploting_function, input = None, 그리고 output = gradio.Plot()을 지정할 수 있다.
Plotly
# !pip install plotly
import gradio as gr
import plotly.express as px
import pandas as pd

def plotly_plot():
    # 데이터 준비
    x = ["국어", "수학", "사회", "과학", "영어"]
    y = [68, 73, 82, 74, 85]
    data = pd.DataFrame()
    data['과목'] = x
    data['점수'] = y
    # 새로운 차트 생성
    p = px.bar(data, x='과목', y='점수')

    return p

# 결과 표시
outputs = gr.Plot()

demo = gr.Interface(fn=plotly_plot, inputs=None, outputs=outputs)

demo.launch()
Matplotlib
import gradio as gr
import matplotlib.pyplot as plt

def plt_plot():
    # 데이터 준비
    x = ["국어", "수학", "사회", "과학", "영어"]
    y = [68, 73, 82, 74, 85]
    # 새로운 차트 생성
    plt.rcParams['figure.figsize'] = 6,4
    fig = plt.figure()
    ax = fig.add_axes([0,0,1,1])
    ax.bar(x, y)
    plt.title("과목별 점수")
    plt.xlabel("과목")
    plt.ylabel("점수")

    return fig

# 결과 표시
outputs = gr.Plot()

demo = gr.Interface(fn=plt_plot, inputs=None, outputs=outputs)

demo.launch()
Gradio 이벤트 리스너
이벤트 리스너는 특정 이벤트가 발생할 때 미리 정의된 프로세스를 실행한다.
따라서 각각의 컴포넌트는 다른 이벤트 리스너를 지원한다.
예를 들어, gradio.Video() 컴포넌트는 사용자가 재생 버튼을 누를 때 play() 이벤트 리스너가 작동하고,
gradio.Text() 컴포넌트는 텍스트를 입력할 때마다 텍스트가 변경되는 change() 이벤트 리스너를 지원한다.
import gradio as gr

def welcome(name):
    return f"Welcome back, {name}!"

with gr.Blocks() as demo:
    gr.Markdown(
    """
    무언가를 입력하면 결과를 확인할 수 있다.
    """)
    inp = gr.Textbox(placeholder="이름을 입력하세요")
    out = gr.Textbox()
    inp.change(welcome, inp, out)

demo.launch()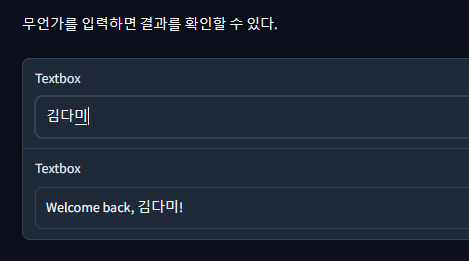
Gradio 스트리밍 컴포넌트
스트리밍은 Interface가 지속적으로 실행되는 동안 데이터가 지속적으로 백엔드로 전송되는 것을 말한다.
Audio 컴포넌트는 마이크 모드에서 스트리밍 모드를 지원하며, Image 컴포넌트는 웹캠을 통한 스트리밍을 지원한다.
스트리밍 중에는 오디오 및 카메라 액세스에 대한 추가적인 권한이 필요할 수 있으며, 이는 스트리밍의 종류에 따라 다르다.
import gradio as gr
import numpy as np

def flip(im):
    return np.flipud(im)

demo = gr.Interface(
    flip,
    gr.Image(sources=["webcam"], streaming=True),
    "image",
    live=True
)

demo.launch()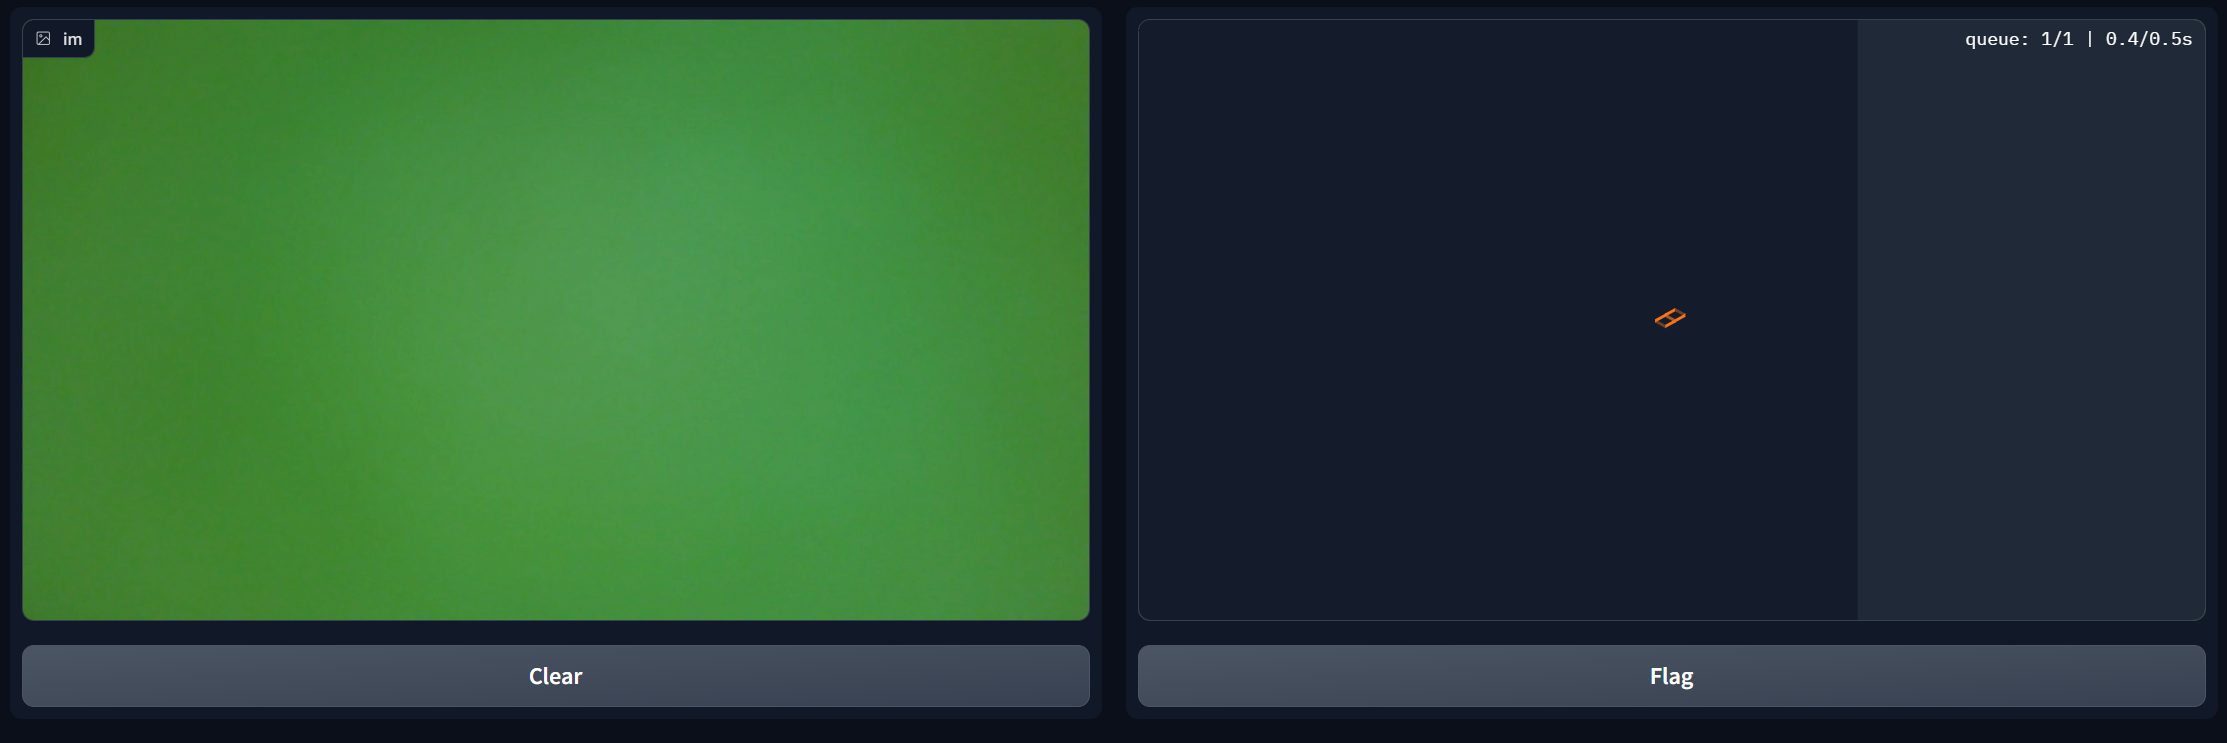
이 코드를 실행하면 웹캠을 통해 이미지를 입력받아 뒤집힌 이미지를 출력하는 Gradio 인터페이스가 실행된다.
인터페이스가 실행되는 동안 데이터가 계속해서 전송되므로 스트리밍 모드로 설정되어 있다.