[iOS] 키보드 사용시 뷰 올리기
1

아래와 같이 키보드가 올라왔을 때 사용자가 입력해야 할 화면이 가려져서 보이지 않거나 일부분이 가려지면 사용자 경험이 저하됩니다.
이런 경우 키보드가 올라올 때 화면도 같이 올려주는 방법으로 해결을 할 수 있습니다.
코드
- KeyboardManager
import UIKit

extension UIViewController {
    func setKeyboardObserver() { // 옵저버 등록
        NotificationCenter.default.addObserver(self, selector: #selector(UIViewController.keyboardWillShow), name: UIResponder.keyboardWillShowNotification, object: nil)
        NotificationCenter.default.addObserver(self, selector: #selector(UIViewController.keyboardWillHide), name: UIResponder.keyboardWillHideNotification, object: nil)
    }

    func removeKeyboardObserver() { // 옵저버 해제
        NotificationCenter.default.removeObserver(self, name: UIResponder.keyboardWillShowNotification, object: nil)
        NotificationCenter.default.removeObserver(self, name: UIResponder.keyboardWillHideNotification, object: nil)
    }

    @objc func keyboardWillShow(notification: NSNotification) {
        if self.view.window?.frame.origin.y == 0 {
            if let keyboardFrame: NSValue = notification.userInfo?[UIResponder.keyboardFrameEndUserInfoKey] as? NSValue {
                let keyboardRectangle = keyboardFrame.cgRectValue
                let keyboardHeight = keyboardRectangle.height
                UIView.animate(withDuration: 1) {
                    self.view.window?.frame.origin.y -= keyboardHeight
                }
            }
        }
    }

    @objc func keyboardWillHide(notification: NSNotification) {
        if self.view.window?.frame.origin.y != 0 {
            if let keyboardFrame: NSValue = notification.userInfo?[UIResponder.keyboardFrameEndUserInfoKey] as? NSValue {
                let keyboardRectangle = keyboardFrame.cgRectValue
                let keyboardHeight = keyboardRectangle.height
                UIView.animate(withDuration: 1) {
                    self.view.window?.frame.origin.y += keyboardHeight
                }
            }
        }
    }
}
설명
먼저 UIResponder가 무엇인지 공식 문서를 보면
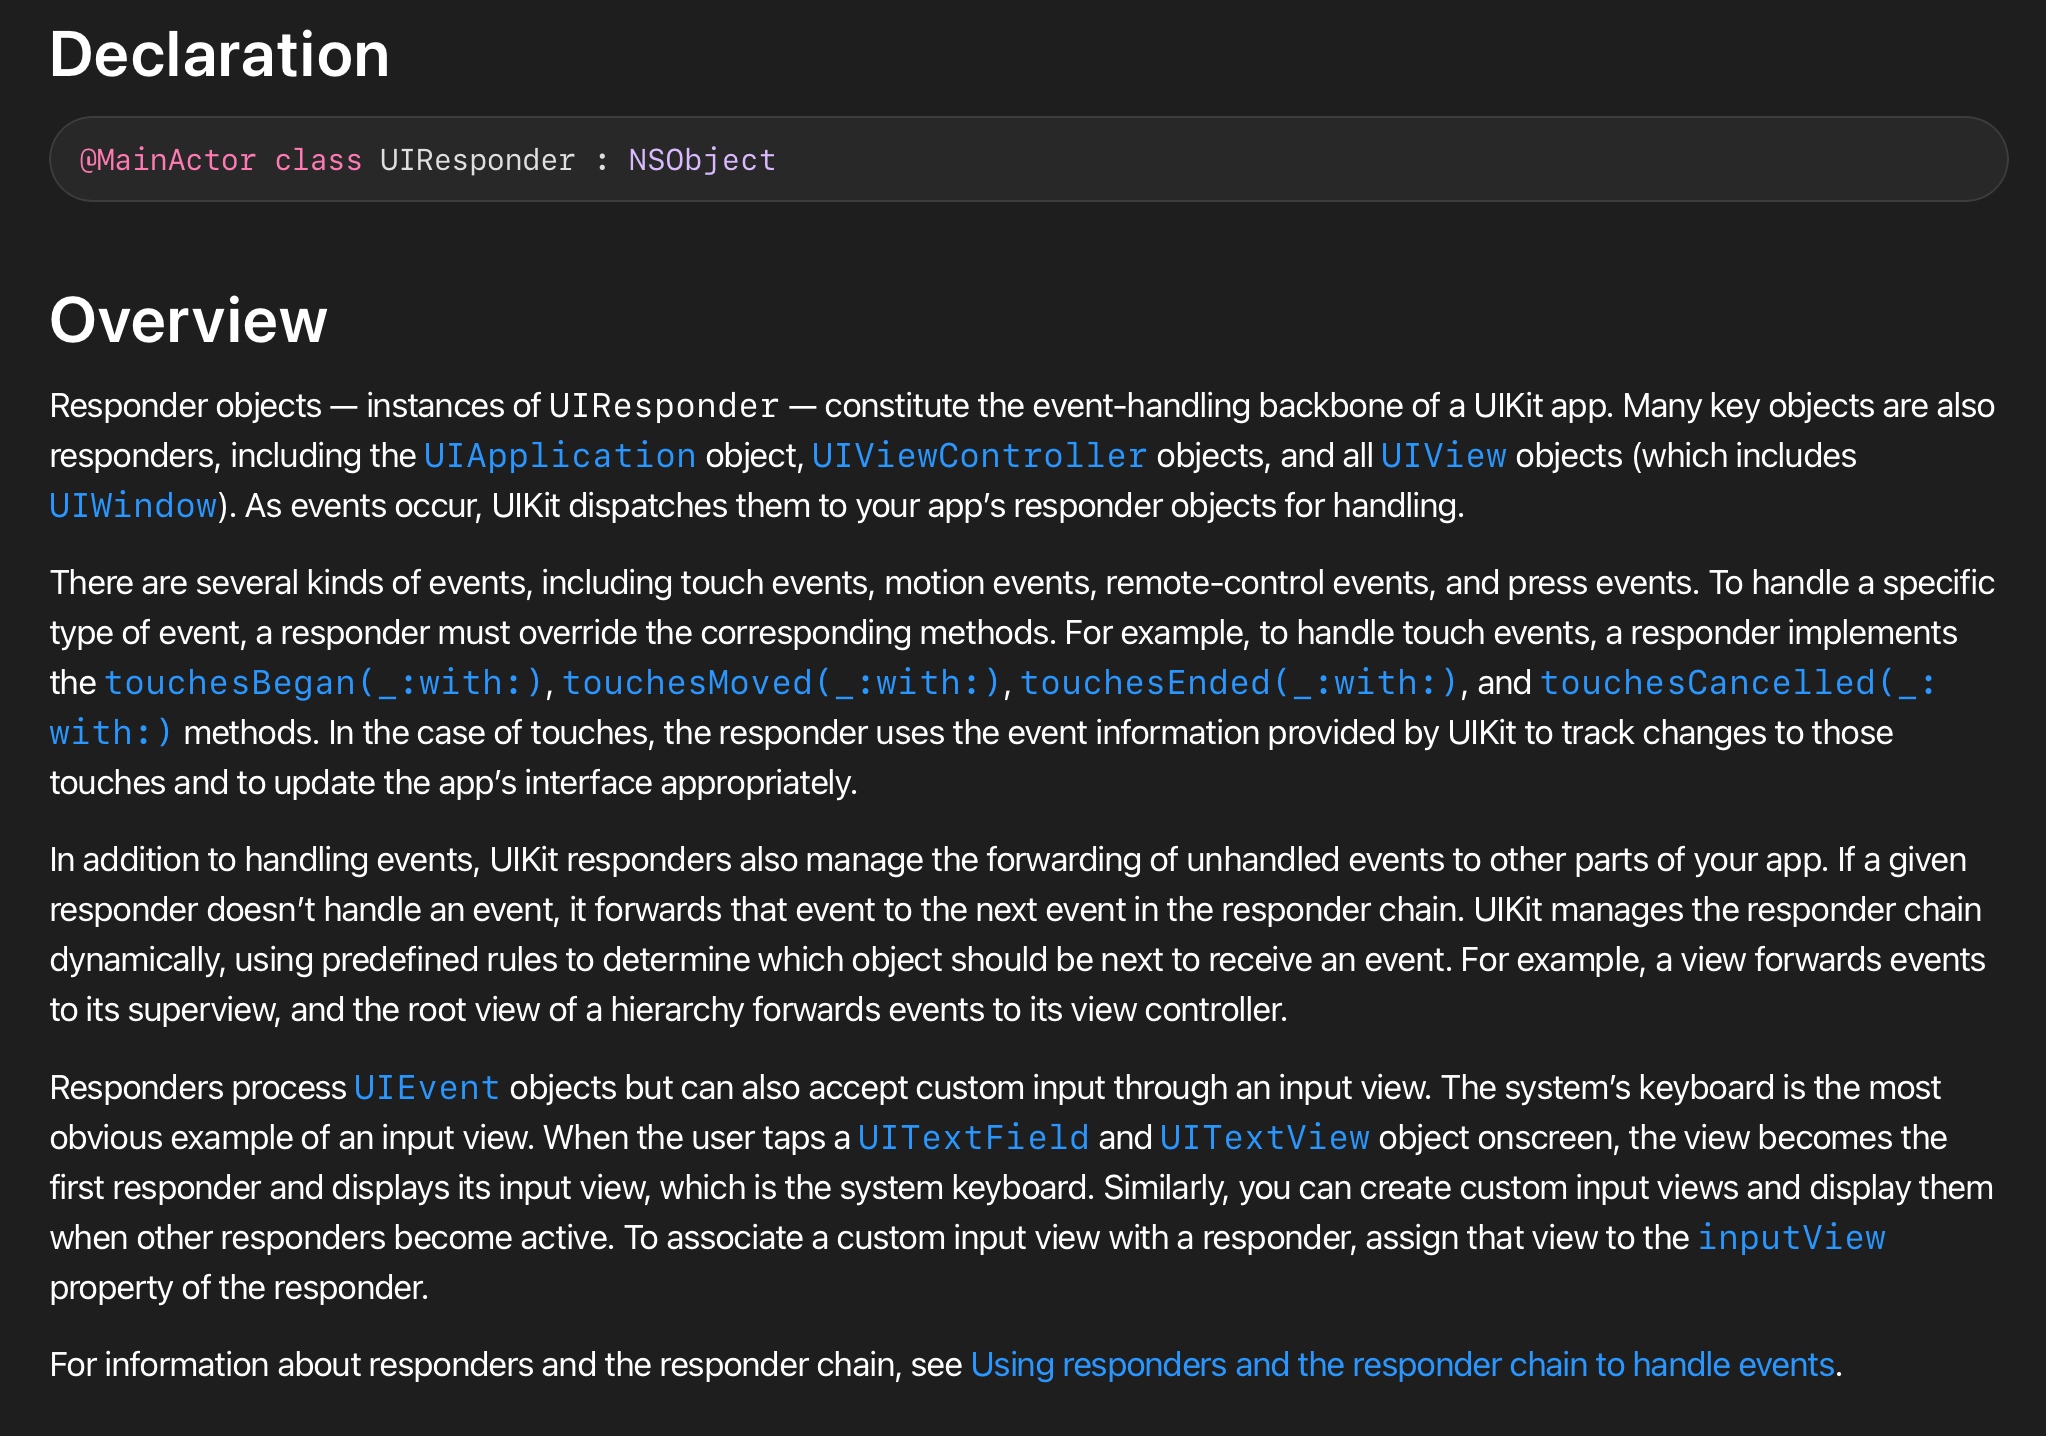
'이벤트가 발생하면 UIKit은 해당 개체를 앱의 응답자 개체로 보내 처리합니다.'
'이벤트에는 터치 이벤트, 모션 이벤트, 원격 제어 이벤트, 프레스 이벤트 등 여러 종류가 있습니다.'
라고 설명되어 있습니다.
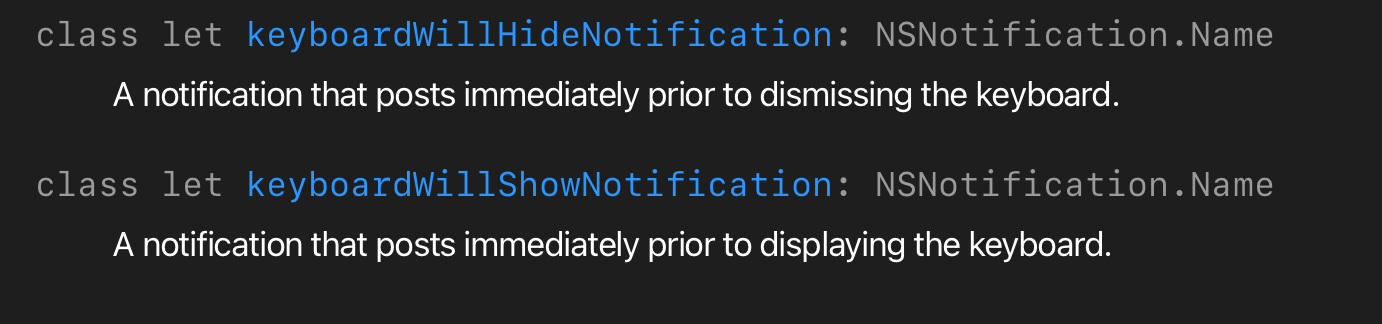
그리고 UIResponder를 보면 저희가 원하는 키보드가 올라오고 내려가는 클래스가 있습니다.
따라서 UIResponder.keyboardWillShowNotification과 UIResponder.keyboardWillHideNotification를 사용하면 키보드가 올라오고 내려감에 따라 원하는 동작을 만들 수 있습니다.
- 요약
setKeyboardObserver는 키보드가 올라가고 내려감을 감지할 수 있도록 옵저버를 등록하는 부분입니다.removeKeyboardObserver는 뷰가 사라질 때 옵저버를 해제시키기 위한 부분입니다.keyboardWillShow,keyboardWillHide함수는 키보드의 높이를 구해서 키보드의 높이만큼 화면을 올리거나 내리는 함수입니다.
구현
final class Test: UIViewController {
    @IBOutlet weak var titleTextField: UITextField!
    @IBOutlet weak var dateLabel: UILabel!
    @IBOutlet weak var moodBtn: UIButton!
    @IBOutlet weak var diaryTextView: UITextView!

    override func viewDidLoad() {
        super.viewDidLoad()
        setKeyboardObserver()
    }

    override func viewDidDisappear(_ animated: Bool) {
        super.viewDidDisappear(animated)
        removeKeyboardObserver()
    }

    override func keyboardWillShow(notification: NSNotification) {
        guard titleTextField.isEditing != true else { return }
        if self.view.window?.frame.origin.y == 0 {
            if let keyboardFrame: NSValue = notification.userInfo?[UIResponder.keyboardFrameEndUserInfoKey] as? NSValue {
                let keyboardRectangle = keyboardFrame.cgRectValue
                let keyboardHeight = keyboardRectangle.height
                UIView.animate(withDuration: 1) {
                    self.view.window?.frame.origin.y -= keyboardHeight / 3
                }
            }
        }
    }

    override func keyboardWillHide(notification: NSNotification) {
        if self.view.window?.frame.origin.y != 0 {
            UIView.animate(withDuration: 1) {
                self.view.window?.frame.origin.y = 0
            }
        }
    }
}
사용할 때 viewDidLoad에서 옵저버를 등록하고, viewDidDisappear에서 옵저버 해제를 시키면 됩니다.
그리고 오버라이딩하여 keyboardWillShow, keyboardWillHide를 커스텀 할 수 있습니다.
⭐️ protocol 사용
생각해 보니까 화면마다 키보드가 올라오고 내려갈 때 다른 구현을 해야 하는 경우가 있다고 생각해서 프로토콜로 만들어봤습니다.
(위의 예시에서도 override해서 사용했기 때문에 프로토콜을 사용하는 것이 더 낫다고 생각합니다.)
KeyboardObserver protocol 정의
import UIKit

protocol KeyboardObserver: AnyObject {
    func setKeyboardObserver()
    func removeKeyboardObserver()
    func keyboardWillShow(notification: Notification)
    func keyboardWillHide(notification: Notification)
}

extension KeyboardObserver where Self: UIViewController {
    func setKeyboardObserver() {
        NotificationCenter.default.addObserver(
            forName: UIResponder.keyboardWillShowNotification,
            object: nil,
            queue: .main) { [weak self] notification in
                self?.keyboardWillShow(notification: notification)
            }

        NotificationCenter.default.addObserver(
            forName: UIResponder.keyboardWillHideNotification,
            object: nil,
            queue: .main) { [weak self] notification in
                self?.keyboardWillHide(notification: notification)
            }
    }

    func removeKeyboardObserver() {
        NotificationCenter.default.removeObserver(self, name: UIResponder.keyboardWillShowNotification, object: nil)
        NotificationCenter.default.removeObserver(self, name: UIResponder.keyboardWillHideNotification, object: nil)
    }
}
protocol 채택
final class Test: UIViewController, KeyboardObserver {
    @IBOutlet weak var titleTextField: UITextField!
    @IBOutlet weak var dateLabel: UILabel!
    @IBOutlet weak var moodBtn: UIButton!
    @IBOutlet weak var diaryTextView: UITextView!

    override func viewDidLoad() {
        super.viewDidLoad()
        setKeyboardObserver()
    }

    override func viewDidDisappear(_ animated: Bool) {
        super.viewDidDisappear(animated)
        removeKeyboardObserver()
    }
}

extension Test {
    func keyboardWillShow(notification: Notification) {
    	// 키보드가 올라왔을 때 로직 추가
    }

    func keyboardWillHide(notification: Notification) {
    	// 키보드가 내려갔을 때 로직 추가
    }
}
참고 자료
키보드를 올려주고 내려줄 때 저의 방법과는 다른 방법이 있어서 링크 첨부합니다.
🍎 iOS Developer