Firebase 인증으로 Apple 로그인을 사용하는 방법에 대해 알아보겠습니다.
‼️ 필수 사항
Apple 로그인을 사용하려면 반드시 Apple Developer Program에 등록을 해야 합니다.(멤버십 연회비 미화 99달러) 따라서 아래에서 소개할 Apple 로그인은 개발자 등록을 한 이후의 과정이라고 생각하시면 됩니다.
개발자 등록하기 - https://developer.apple.com/kr/support/enrollment/
❗️ 주의 사항
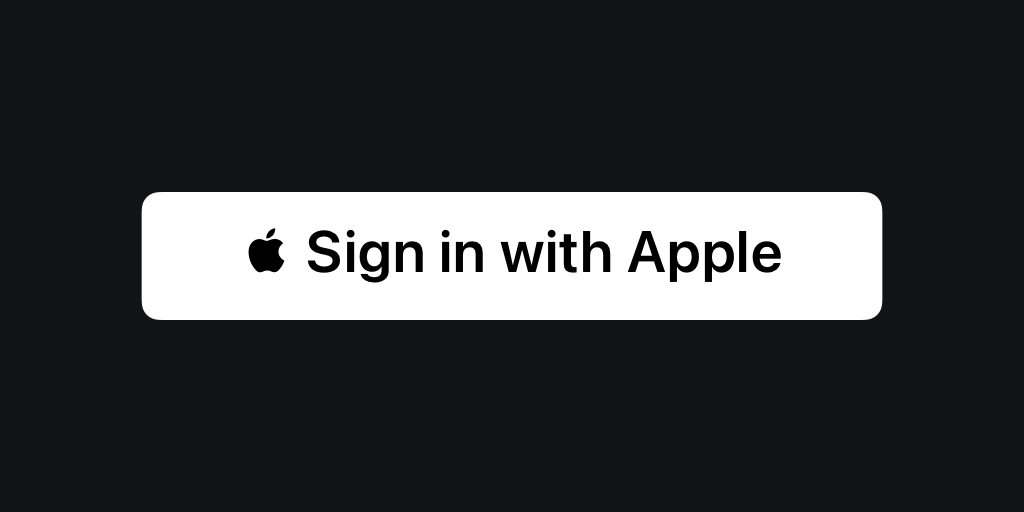
Apple 로그인을 위해 Sign in with Apple 버튼을 만들 때 원하는 대로 커스텀 하면 절대 안 됩니다!
반드시 HIG를 따라야 합니다. 아래 링크를 첨부했으니 꼭 읽어보시길 바랍니다.
HIG - https://developer.apple.com/design/human-interface-guidelines/sign-in-with-apple
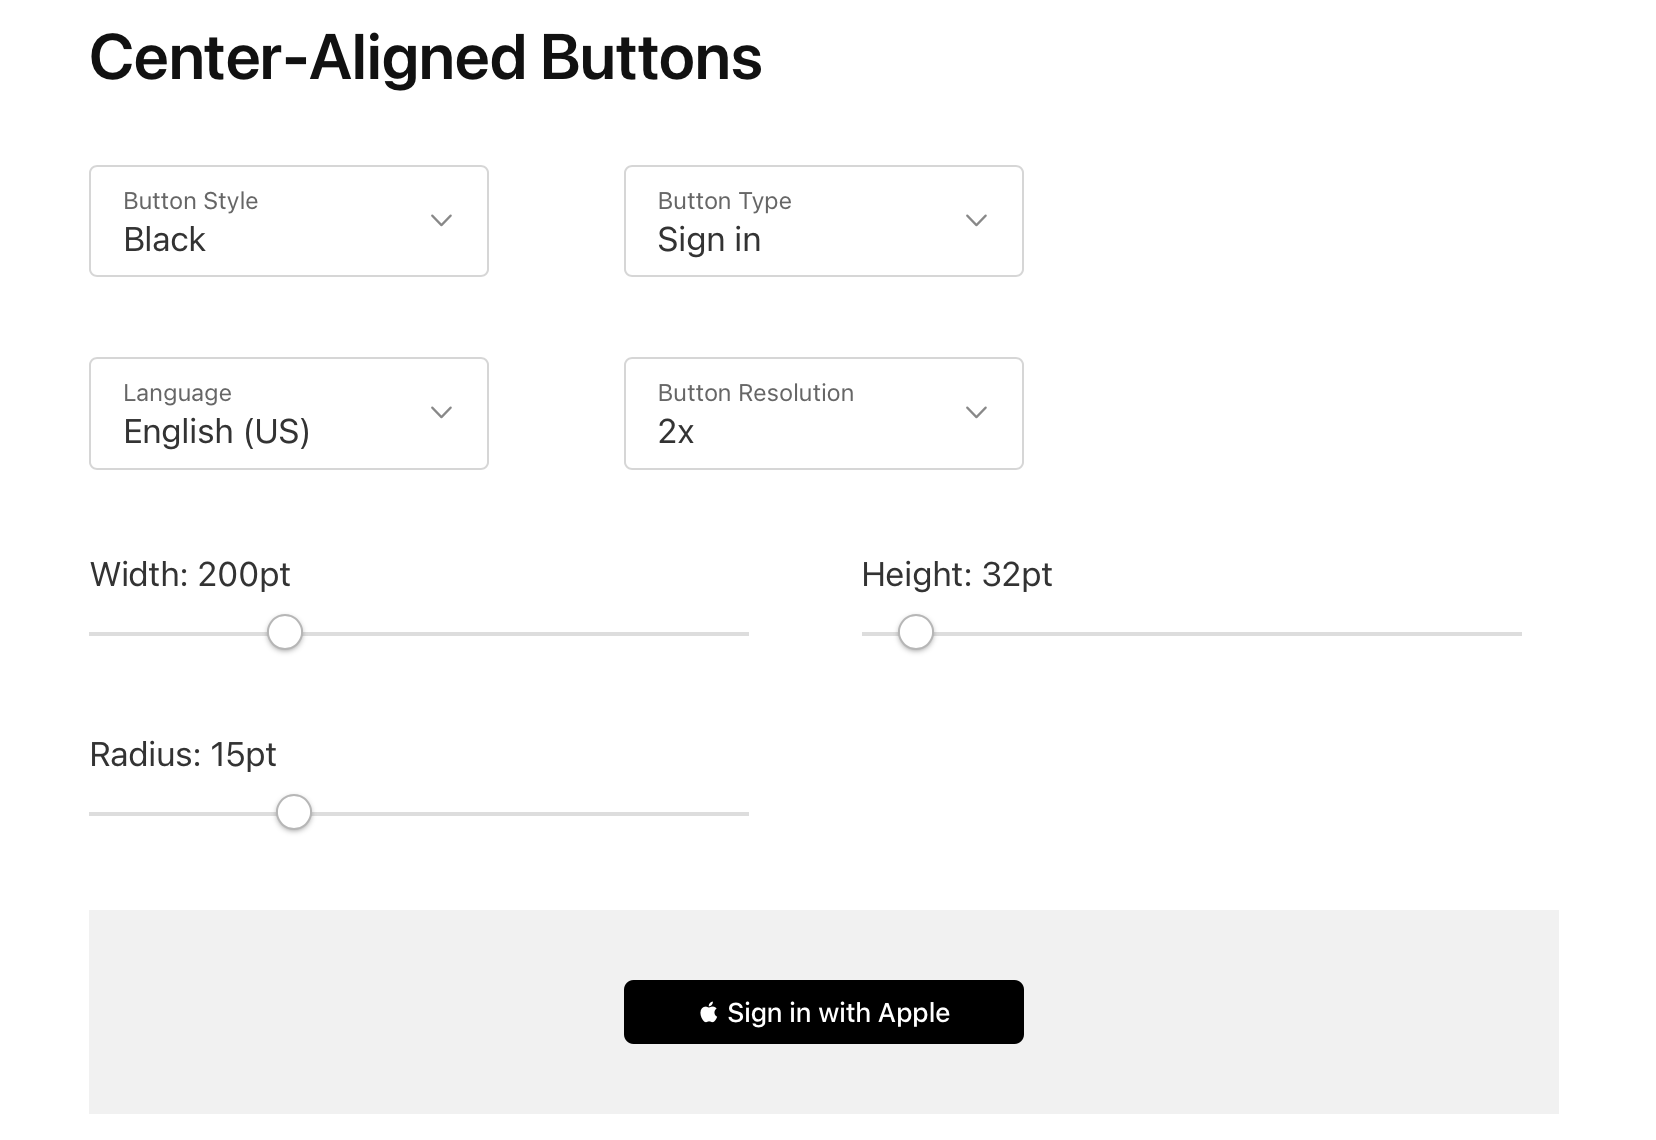
HIG를 읽어 보시고 가이드라인에 맞춰 버튼을 커스텀 하셔도 되고, 아래의 링크를 통해 원하는 버튼의 이미지를 생성한 후 다운로드해서 버튼에 적용시켜도 됩니다!
버튼 이미지 생성 - https://appleid.apple.com/signinwithapple/button
링크 예시 )
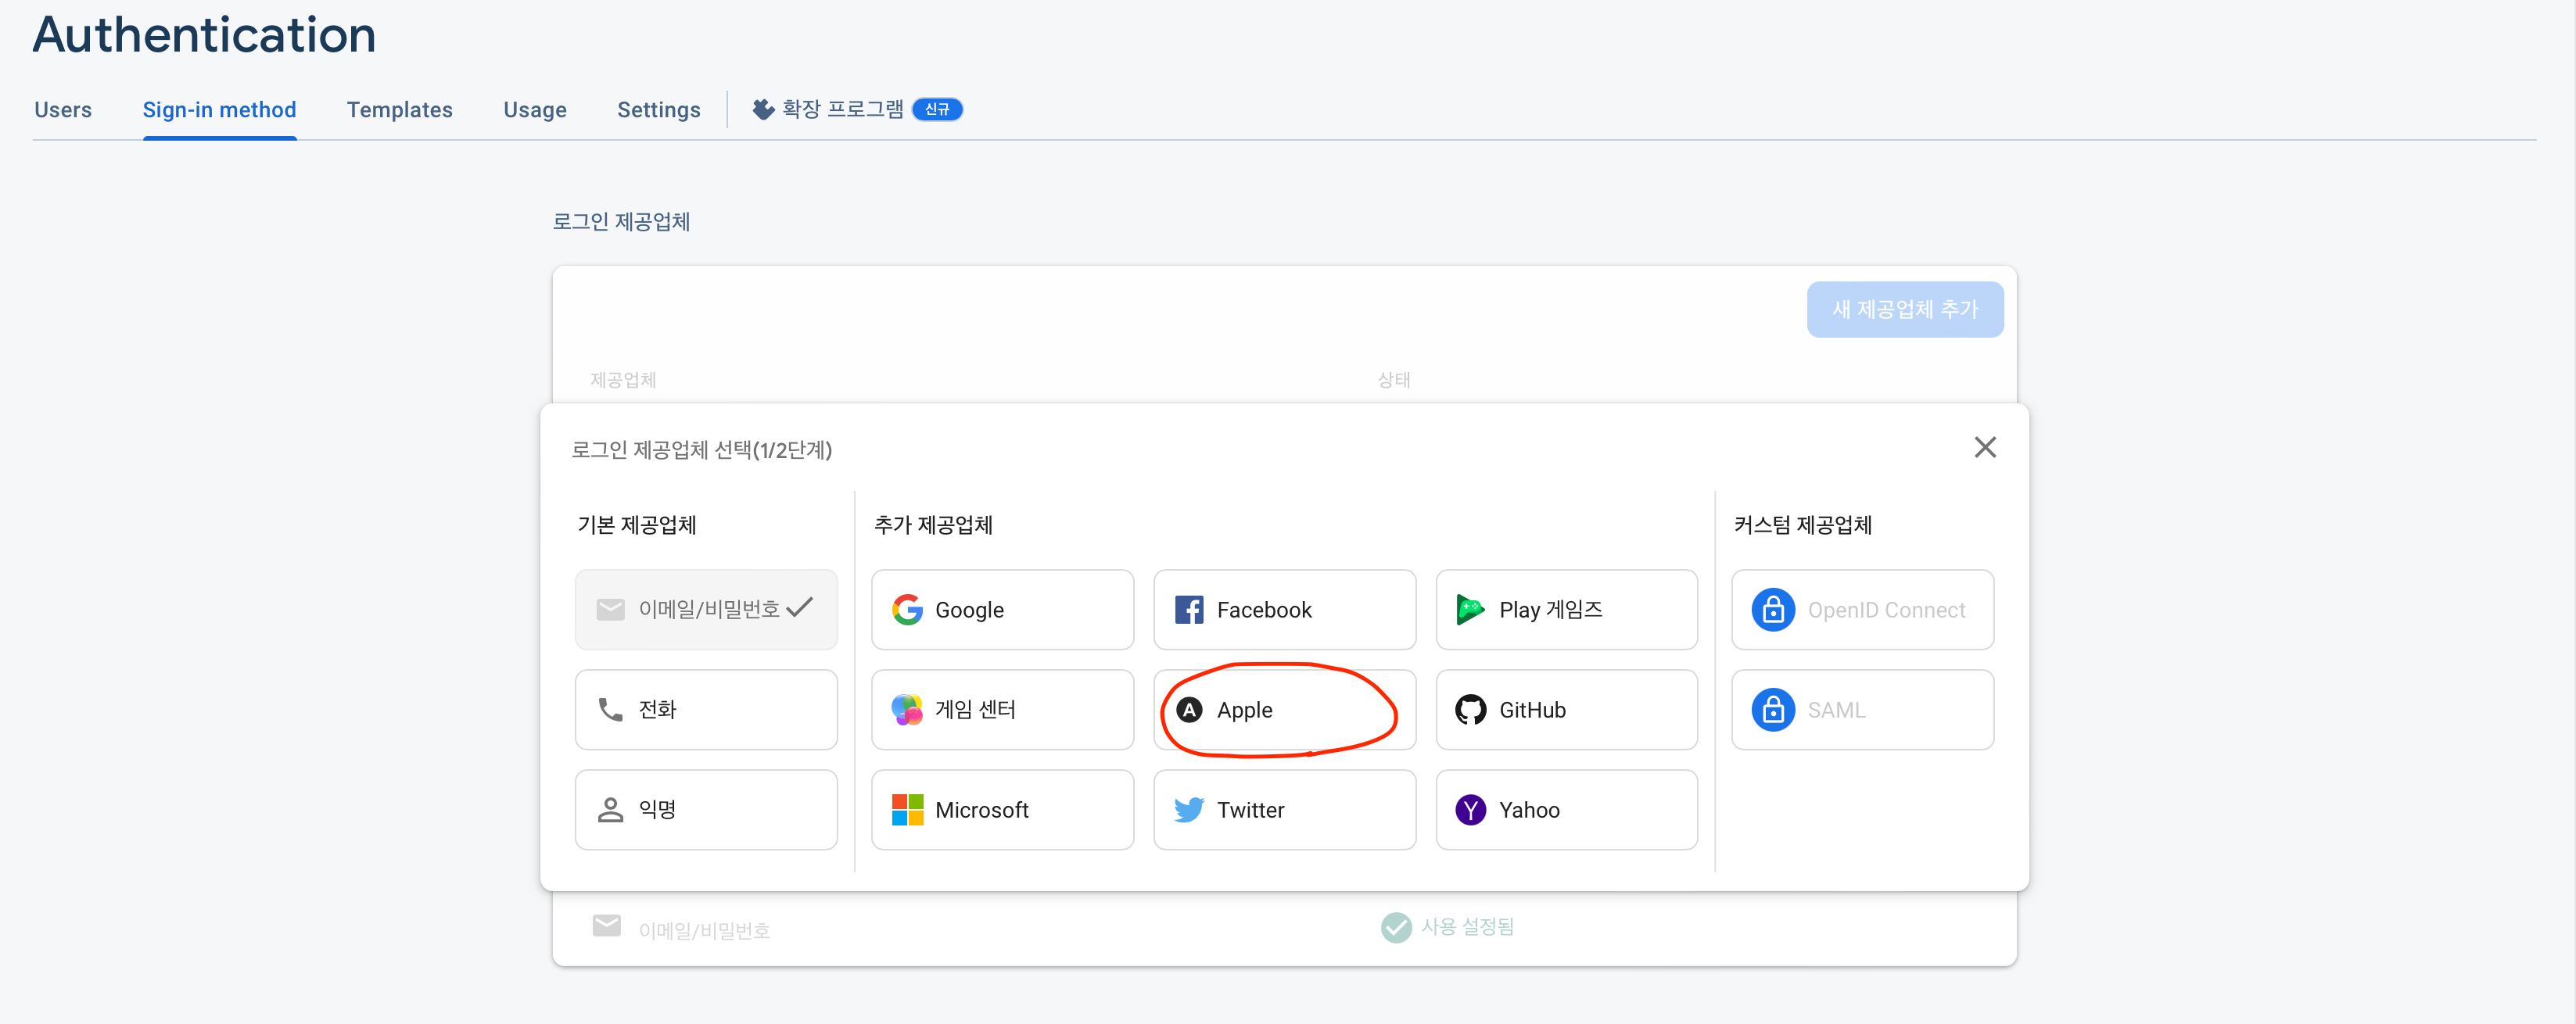
사전 작업
특별한 설명이 없는 한 Apple 로그인을 사용하기 위해 이어지는 사전 작업 과정이라고 생각하면 됩니다.
(빨간 박스로 가려놓은 부분은 앱 또는 개인 정보라서 가려놨습니다.)
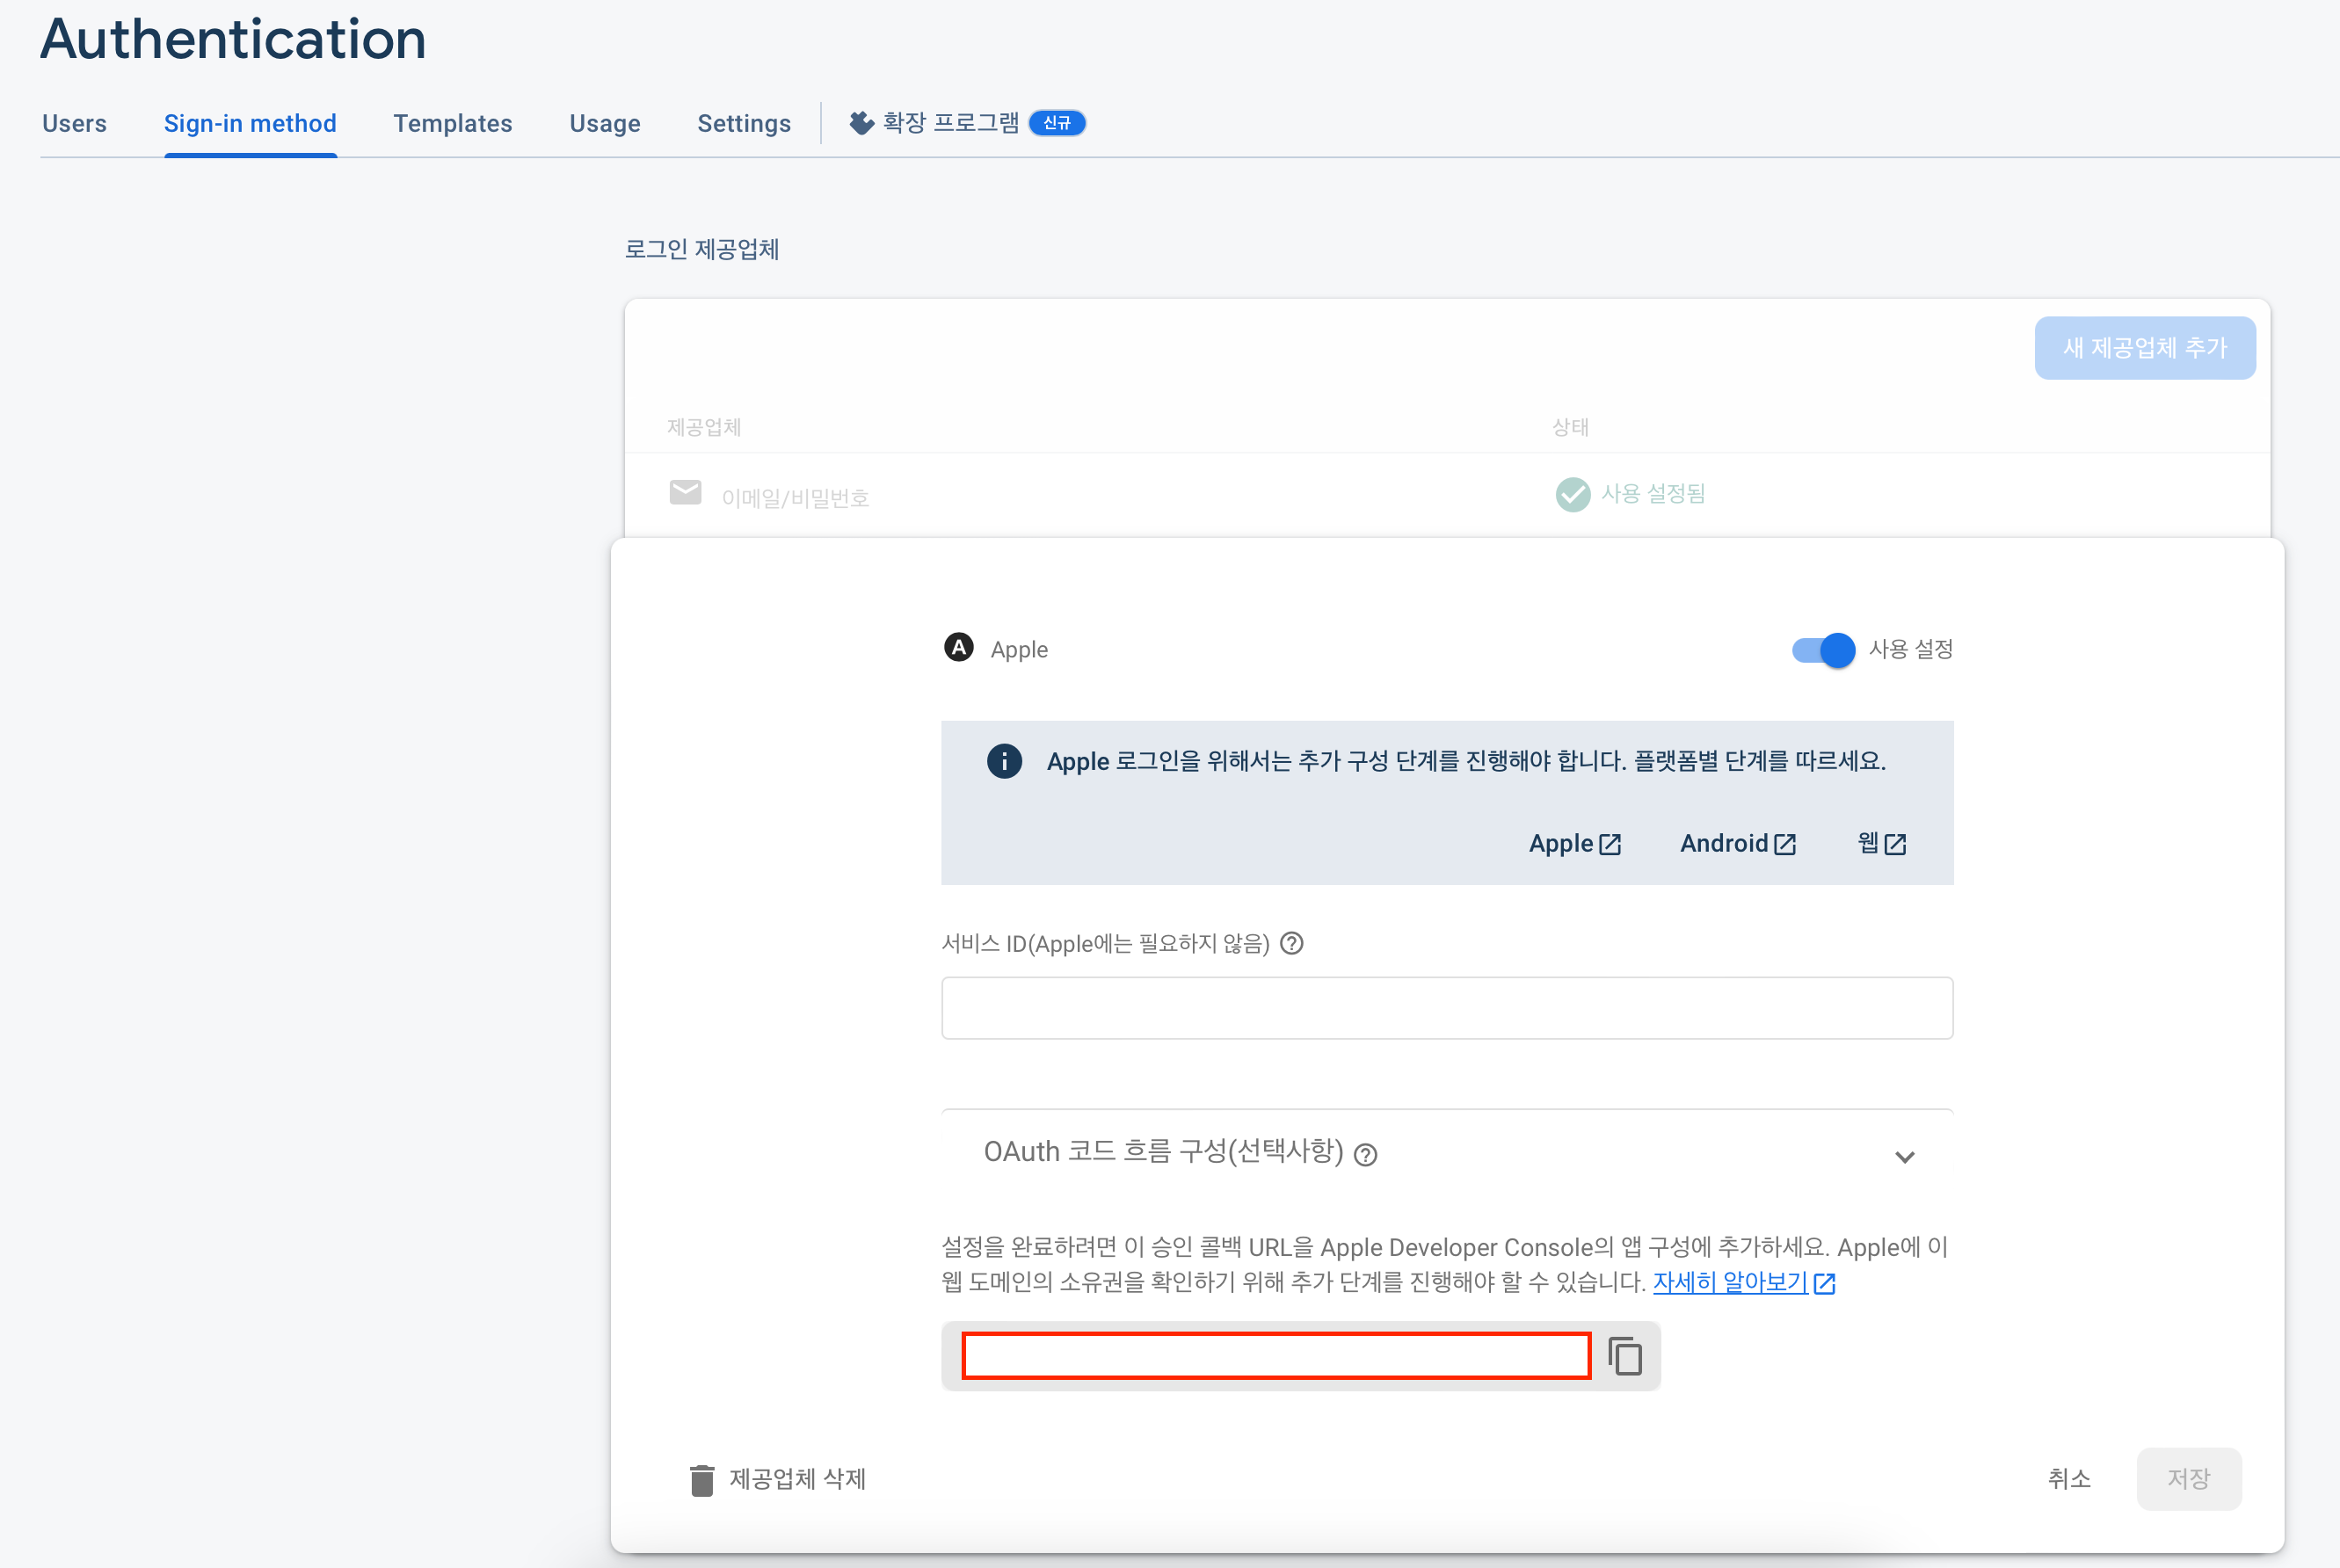
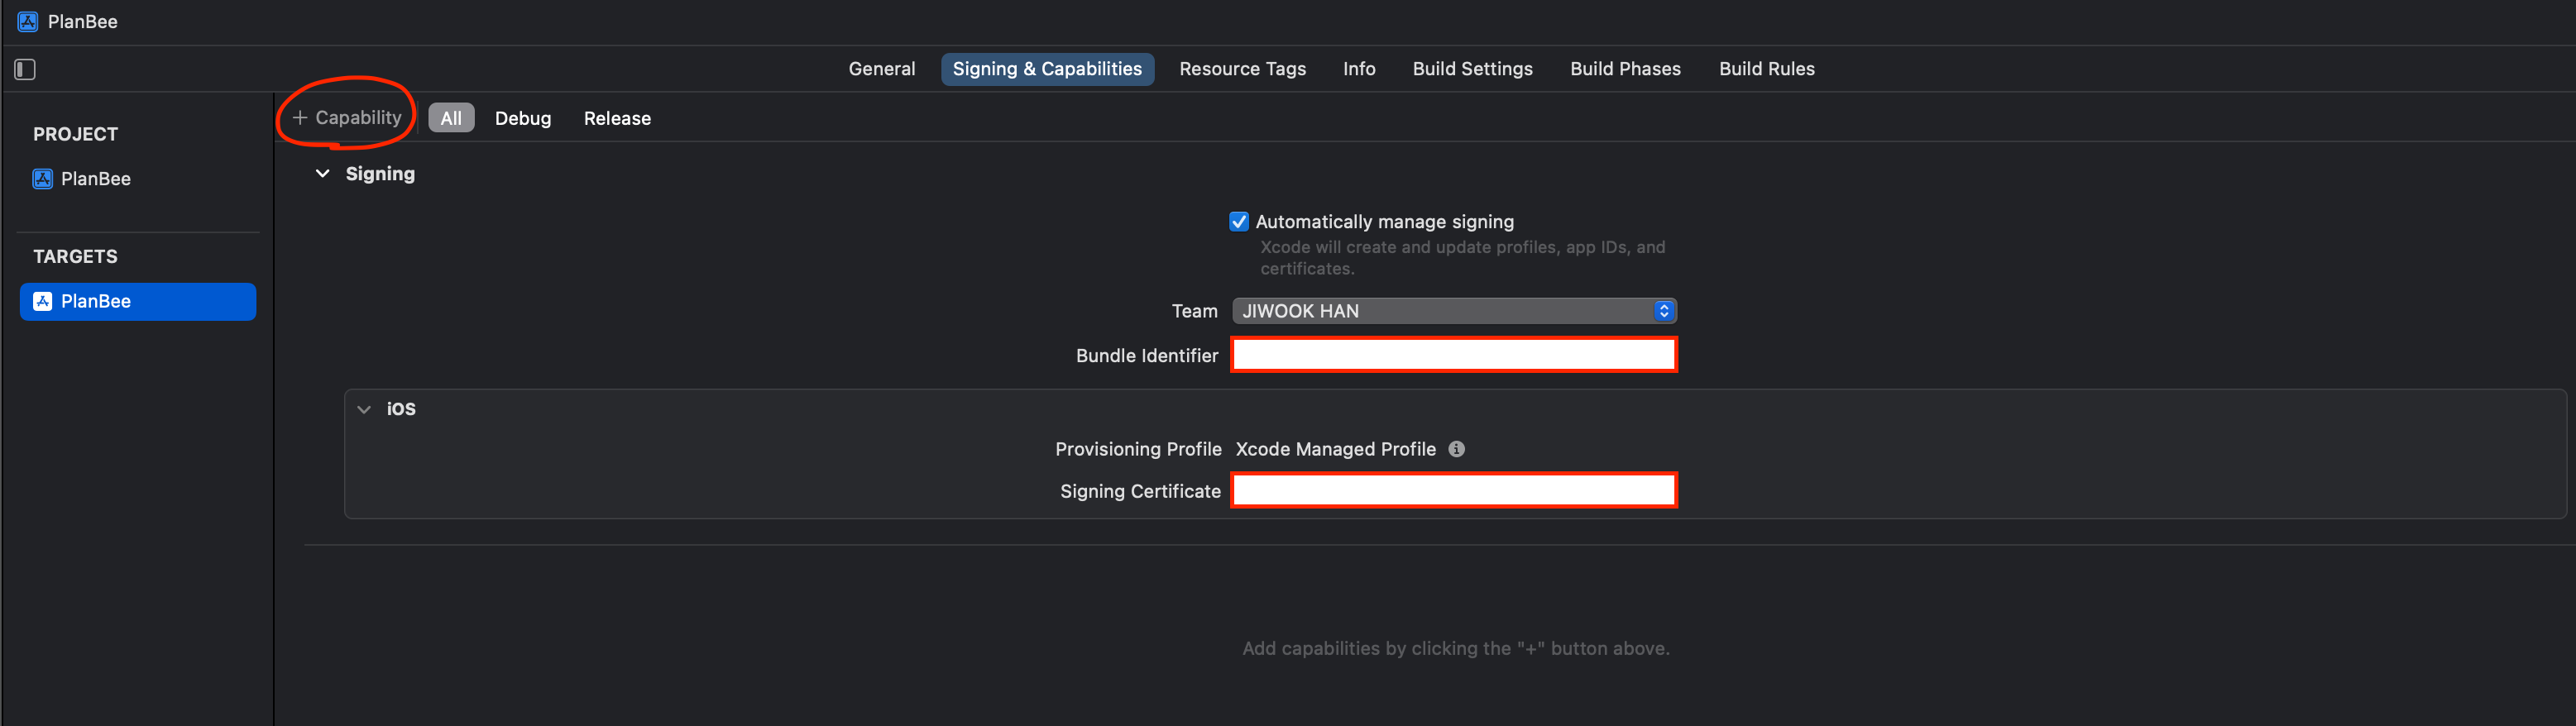
사용 설정을 활성화시키고 빨간 박스에 있는 콜백 URL을 기억해 주세요❗(2번)

Setting 페이지에서 체크 표시된 부분의 도메인(~.firebaseapp.com)을 기억해 주세요❗(1번)
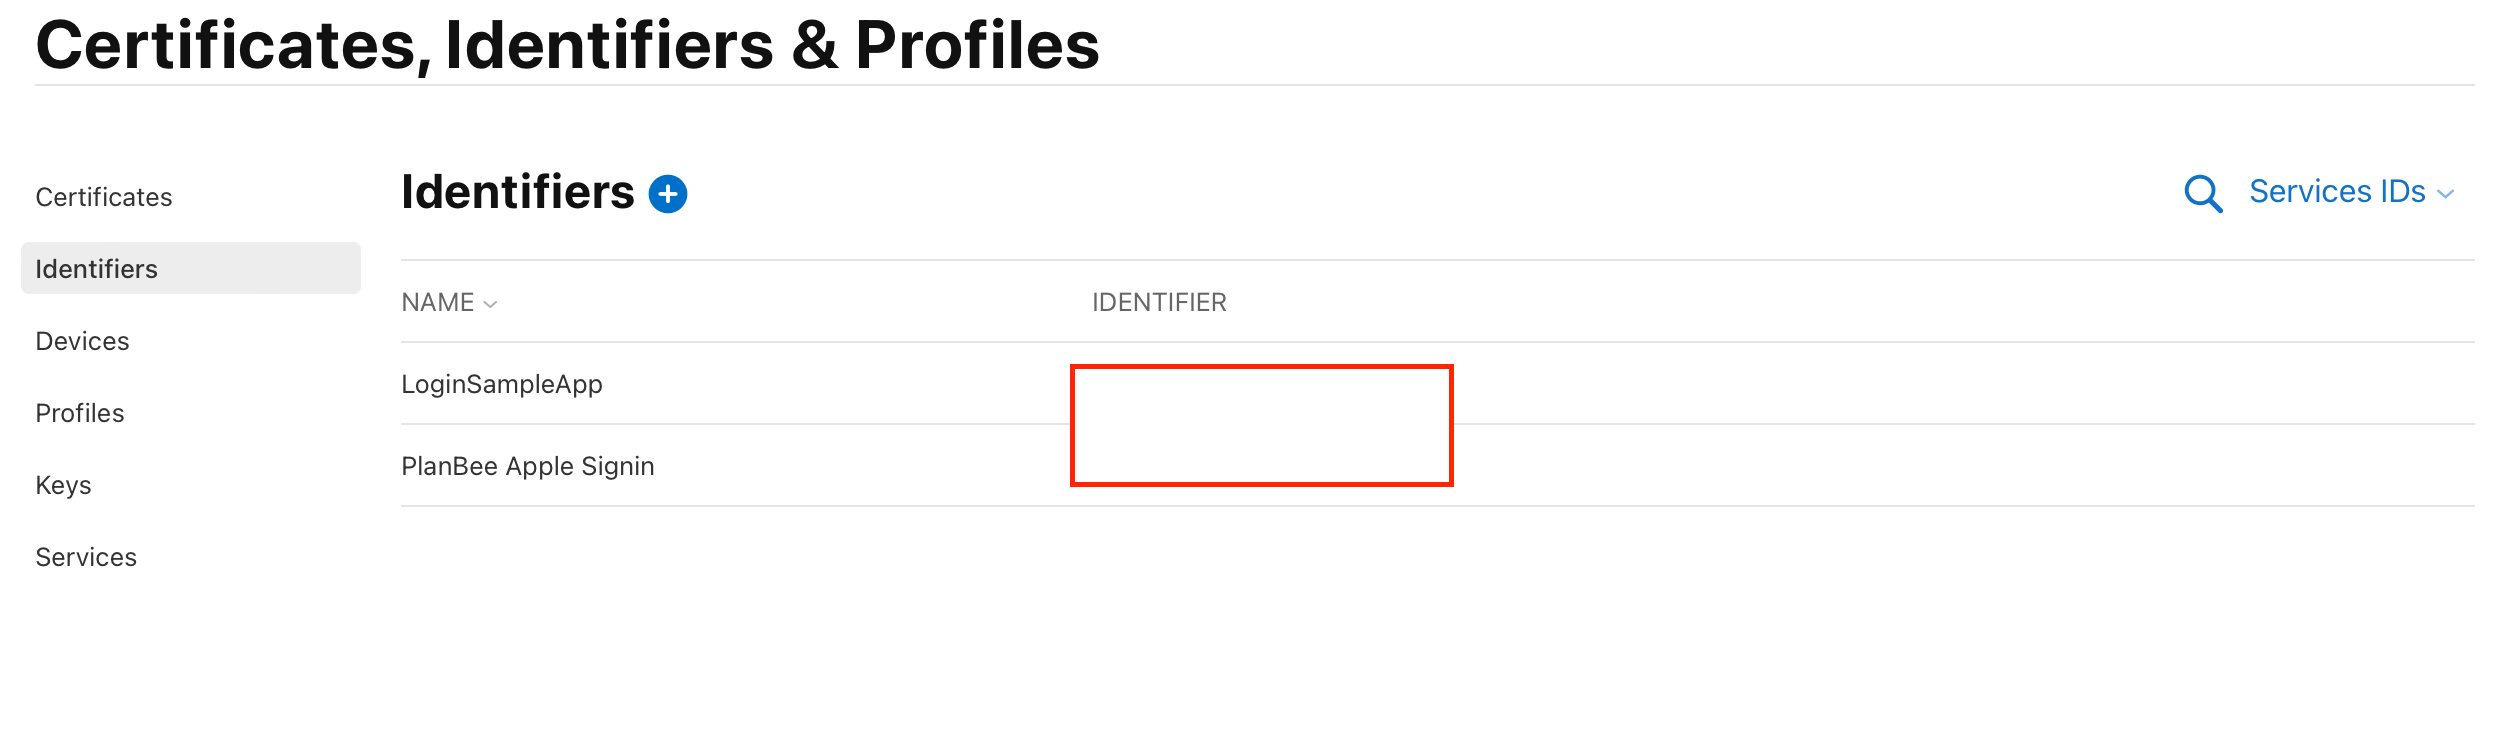
Service IDs 등록 - https://developer.apple.com/account/resources/certificates/list
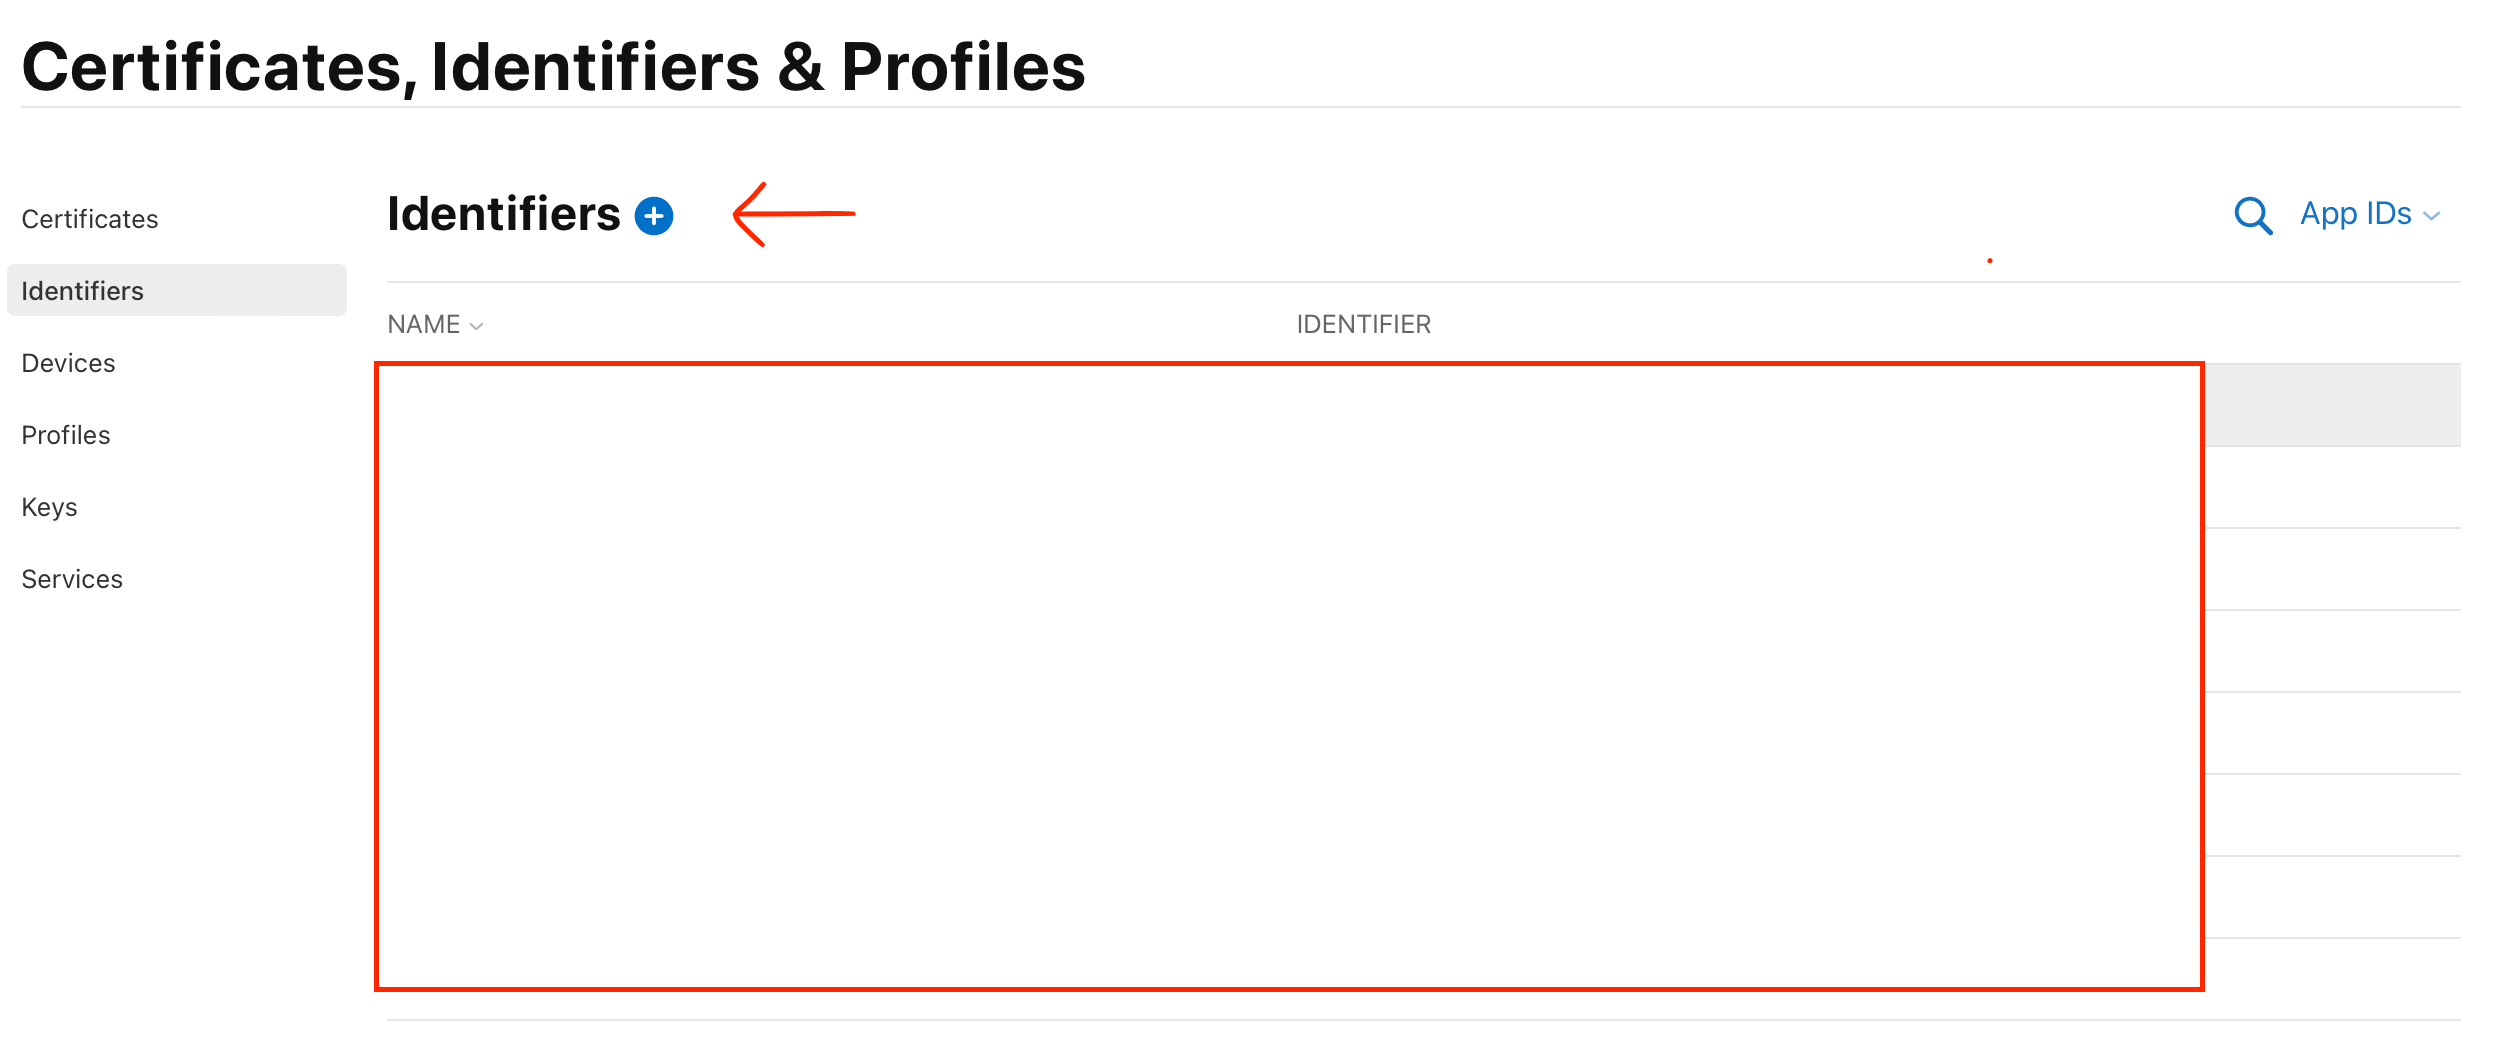
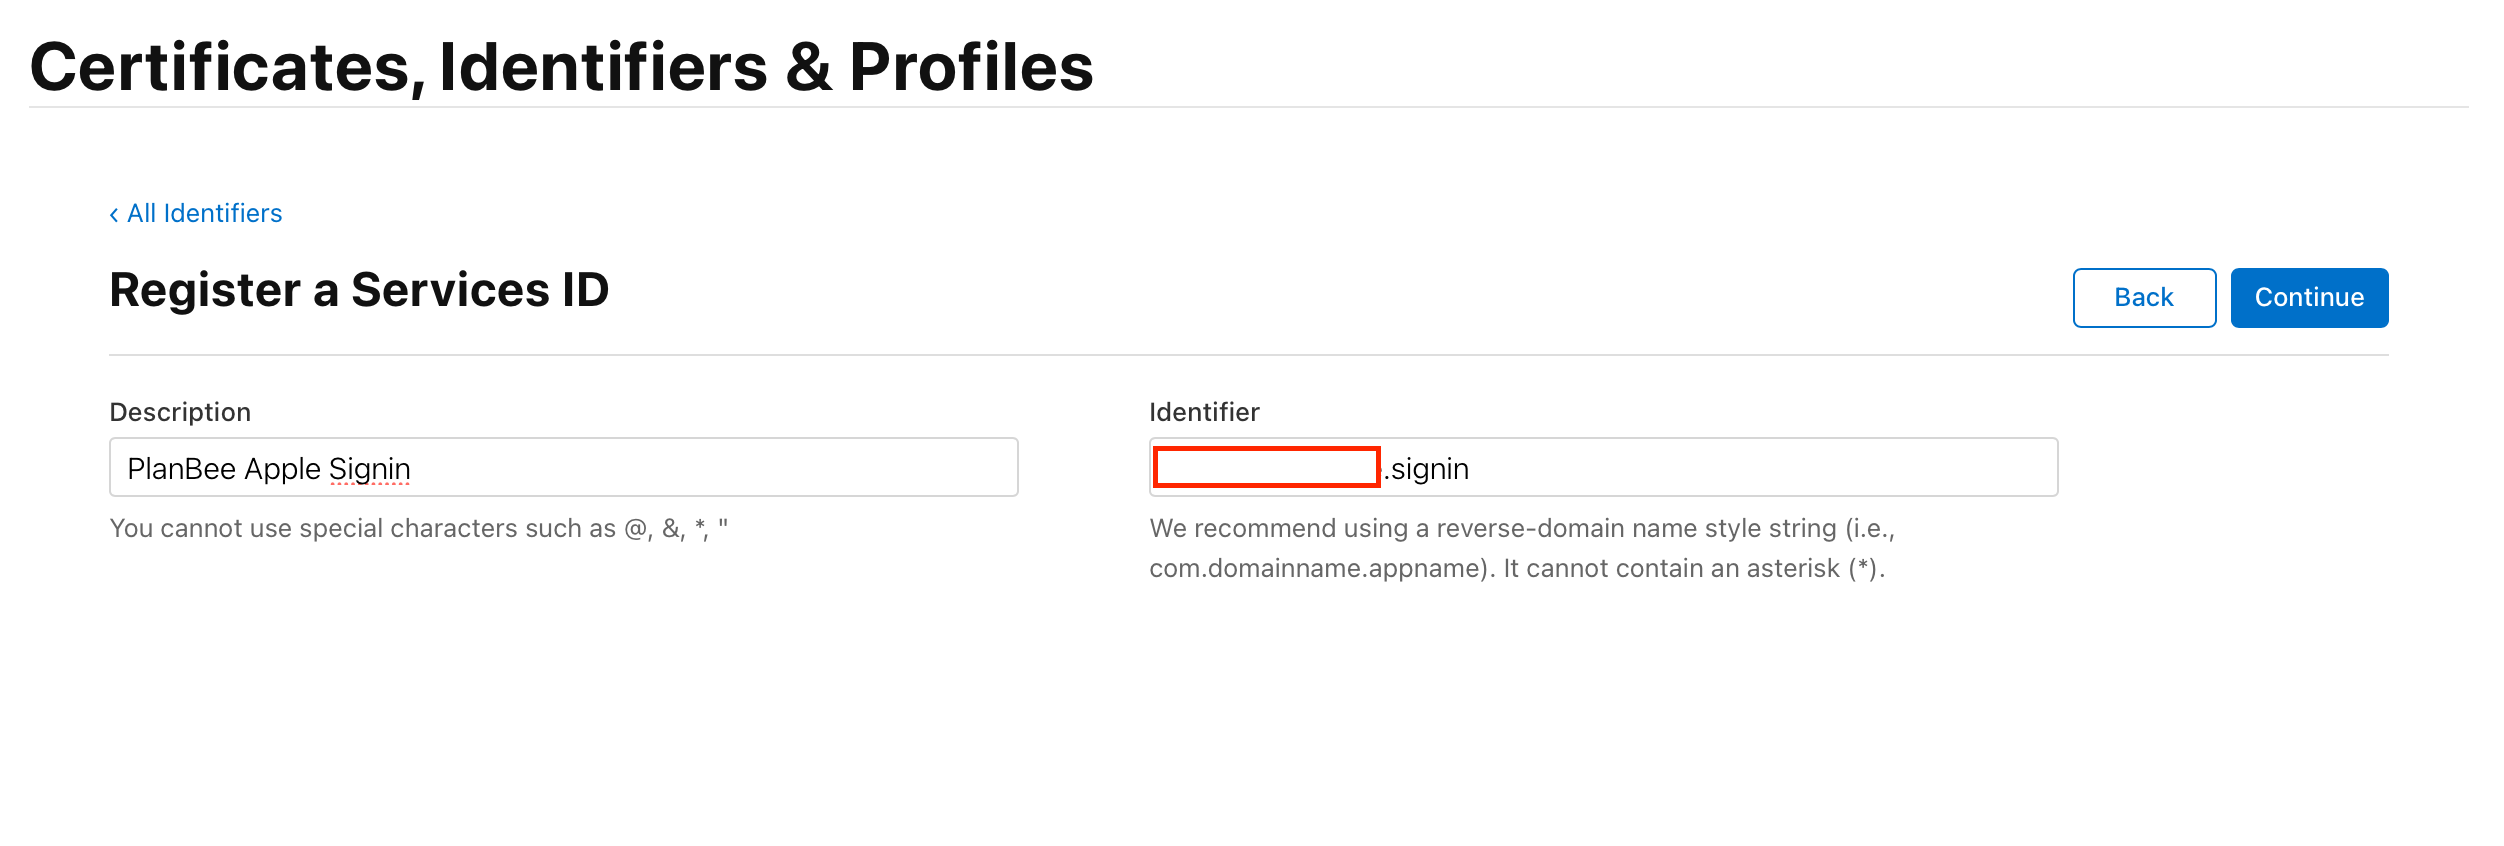
위의 사진에서 저는 identifier에 앱의 Bundle Identifier에 .signin을 붙여 만들었습니다.(identifier는 원하시는 대로 바꾸시면 됩니다.)
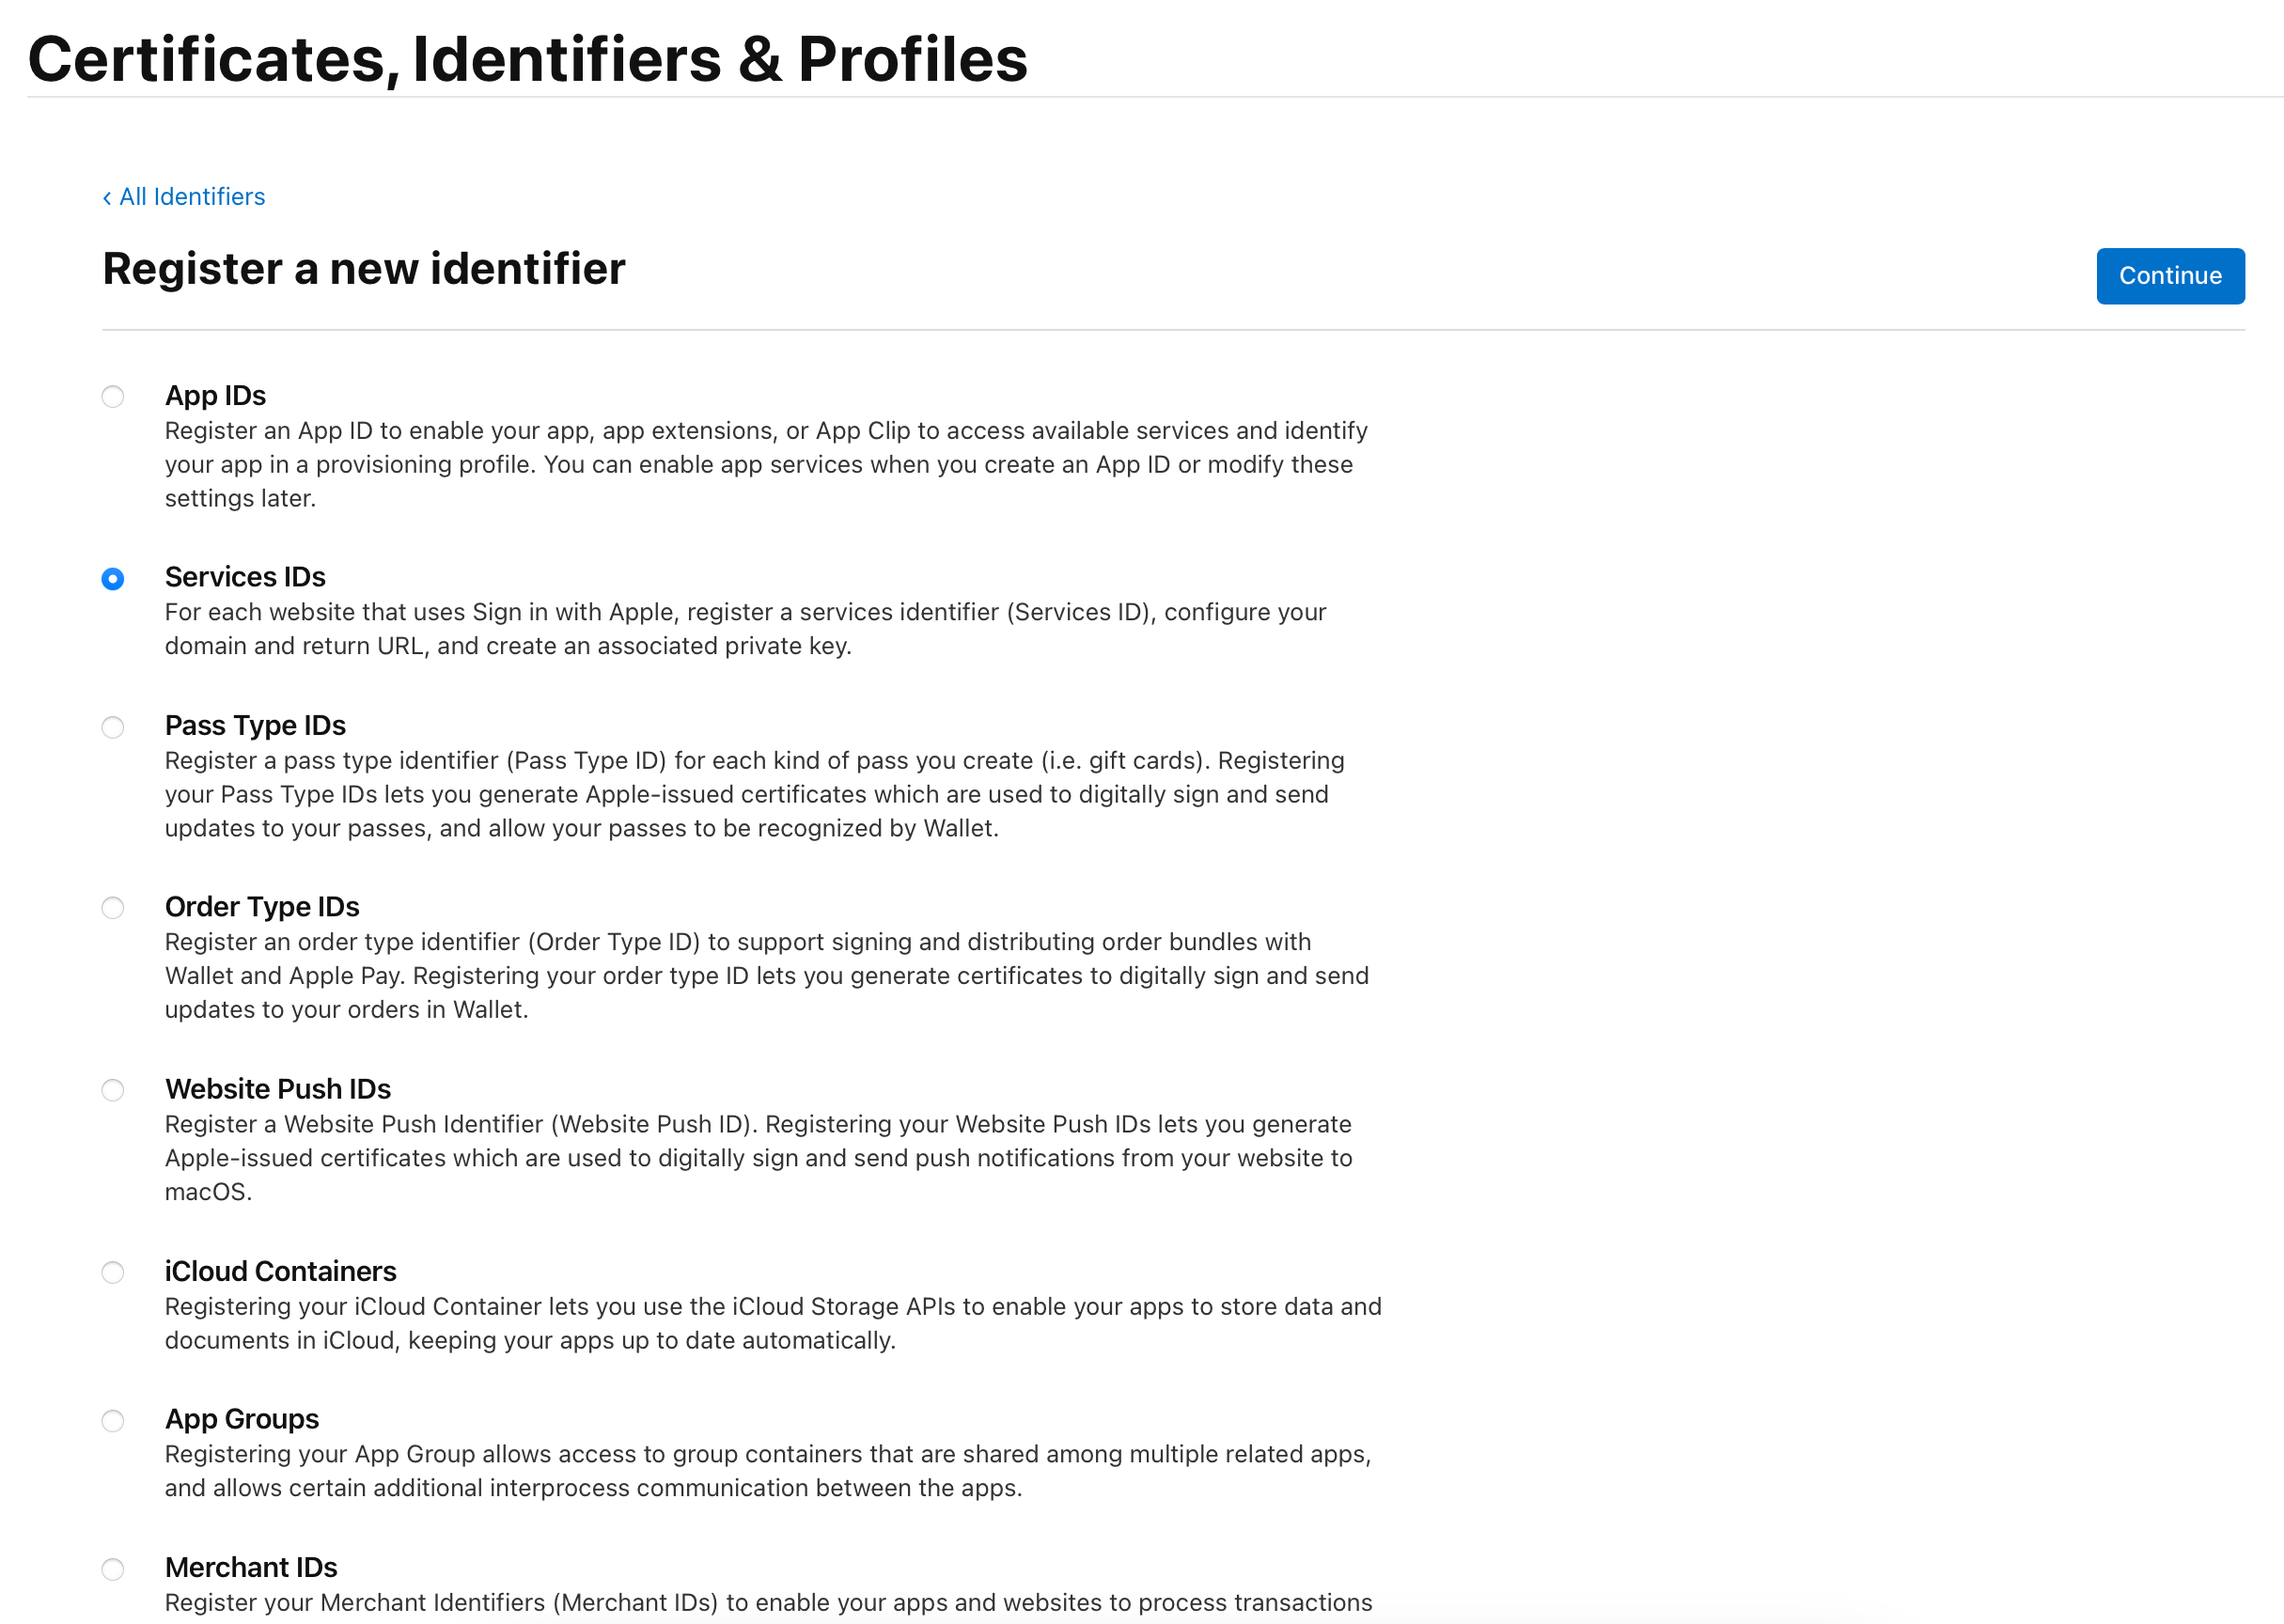
identifier를 적은 후 Continue를 누르면 됩니다.
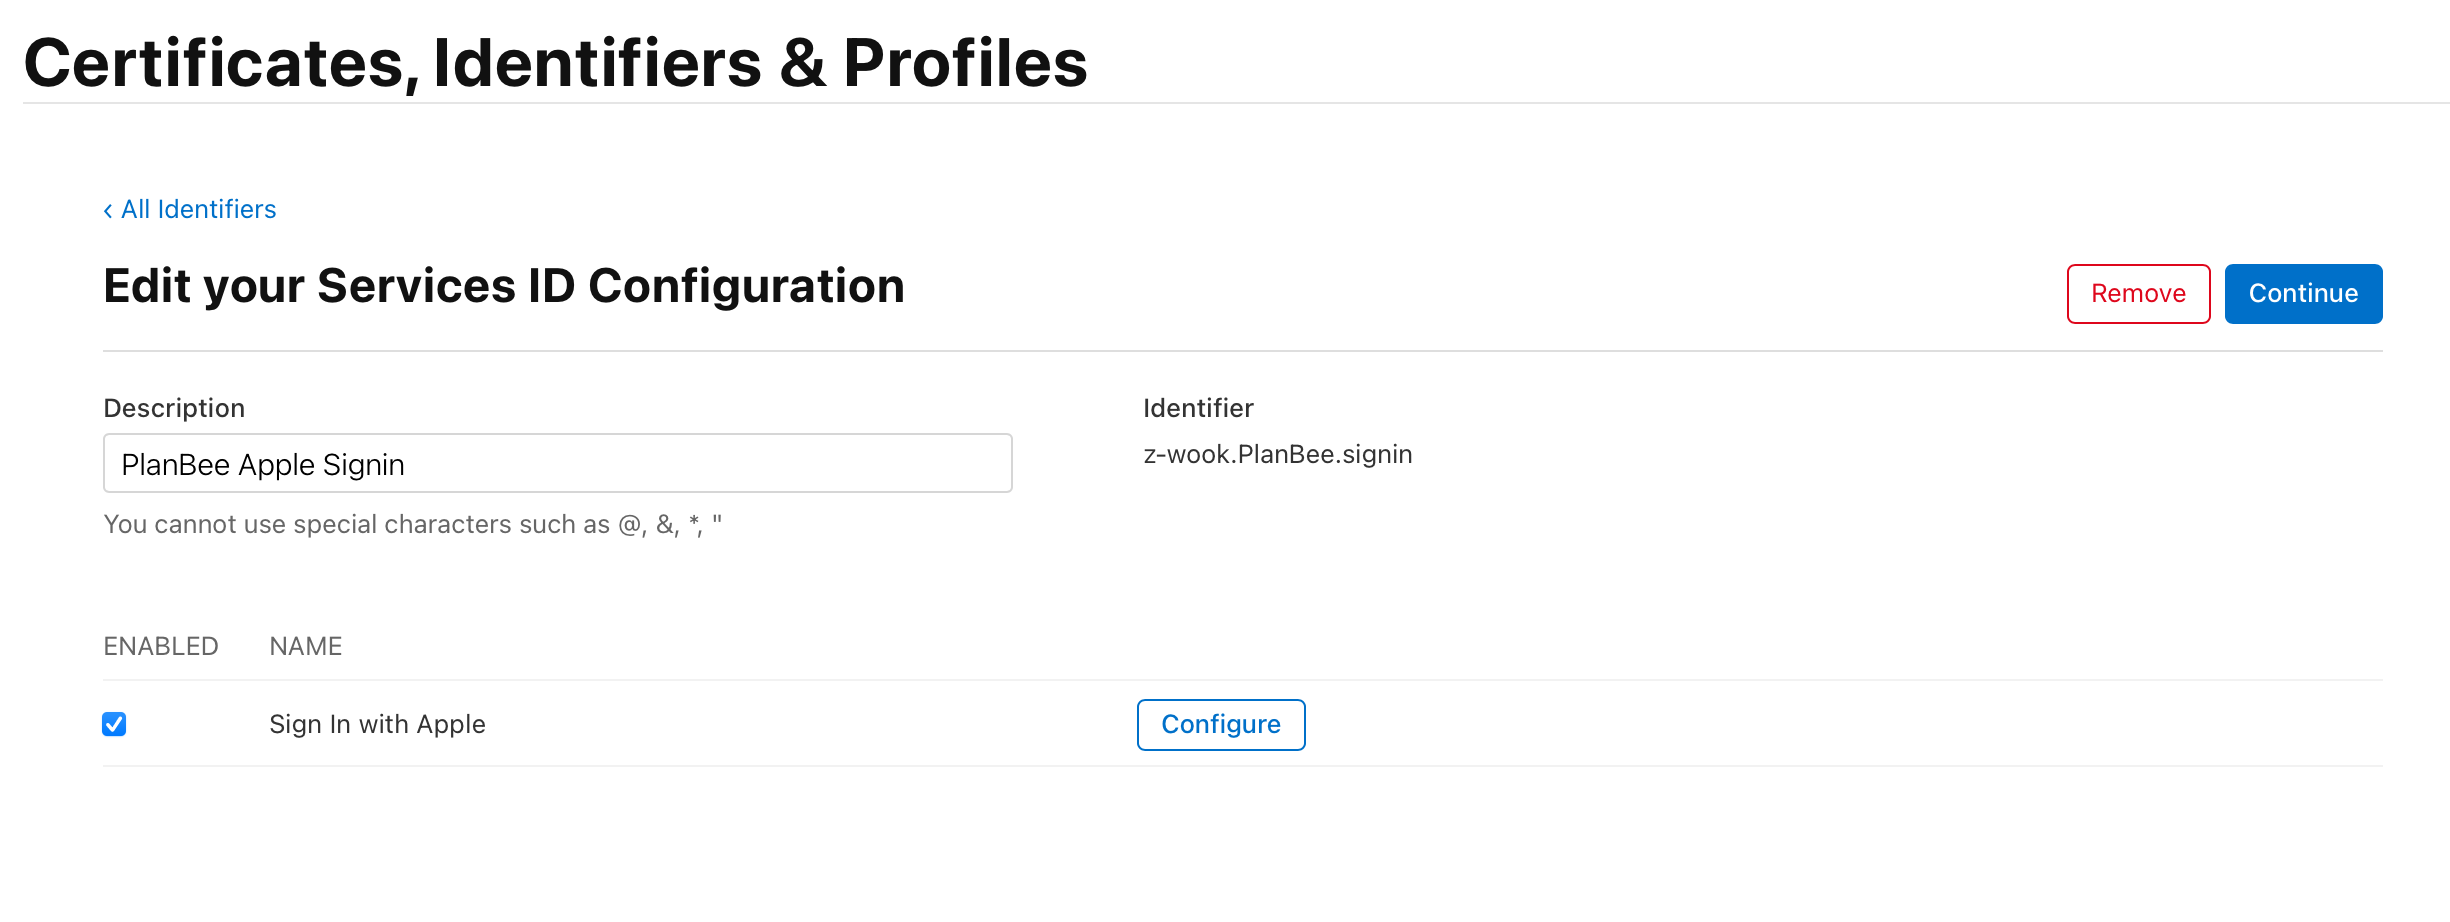
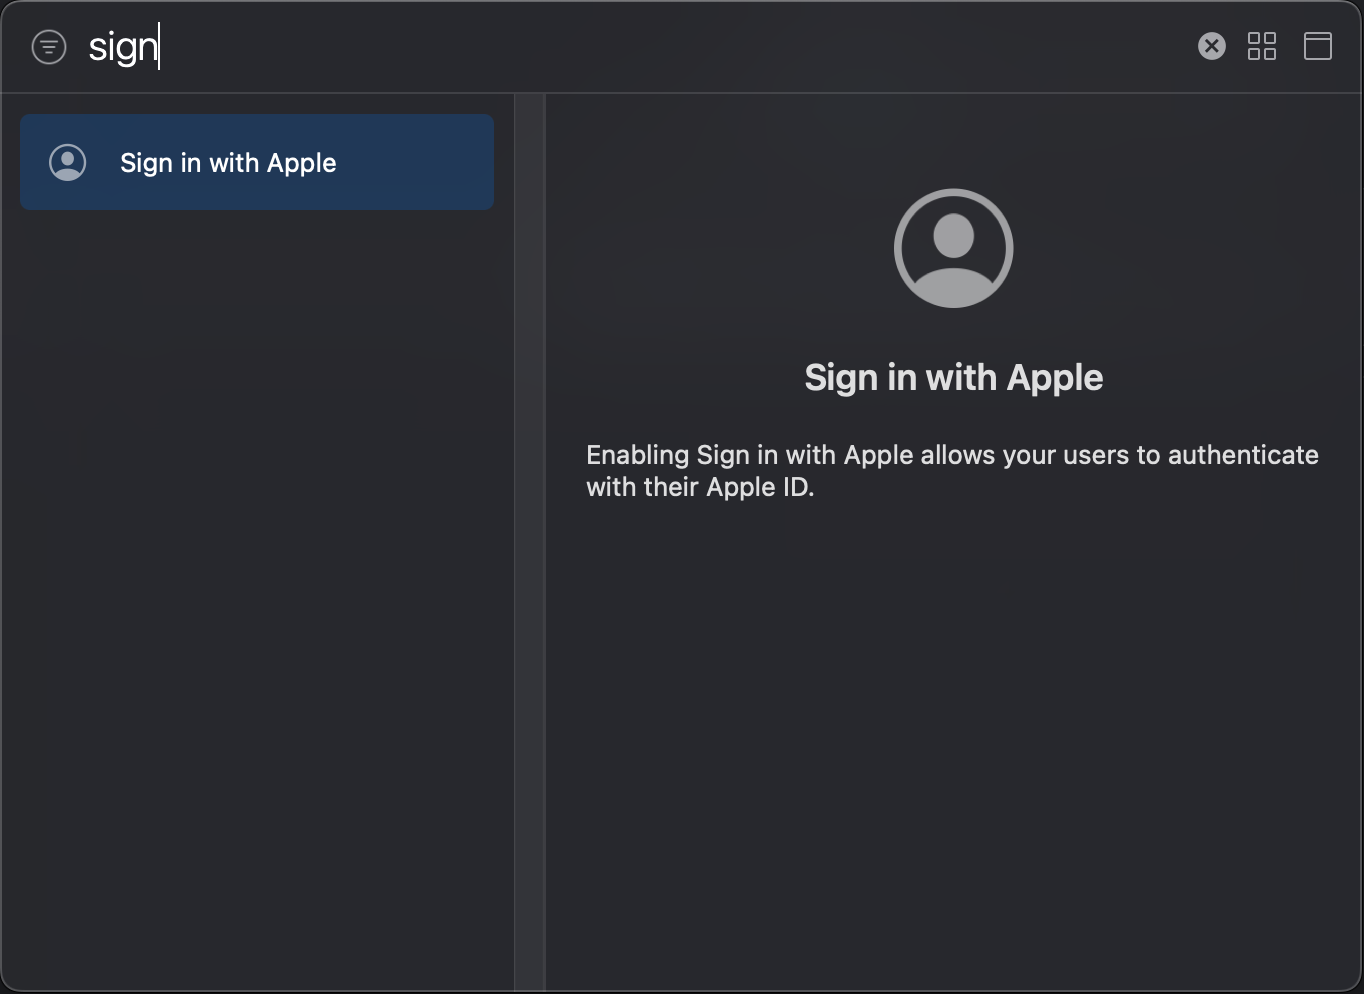
여기서 Sign in with Apple을 선택하신 후 Configure을 클릭하시면 아래와 같이 보입니다.
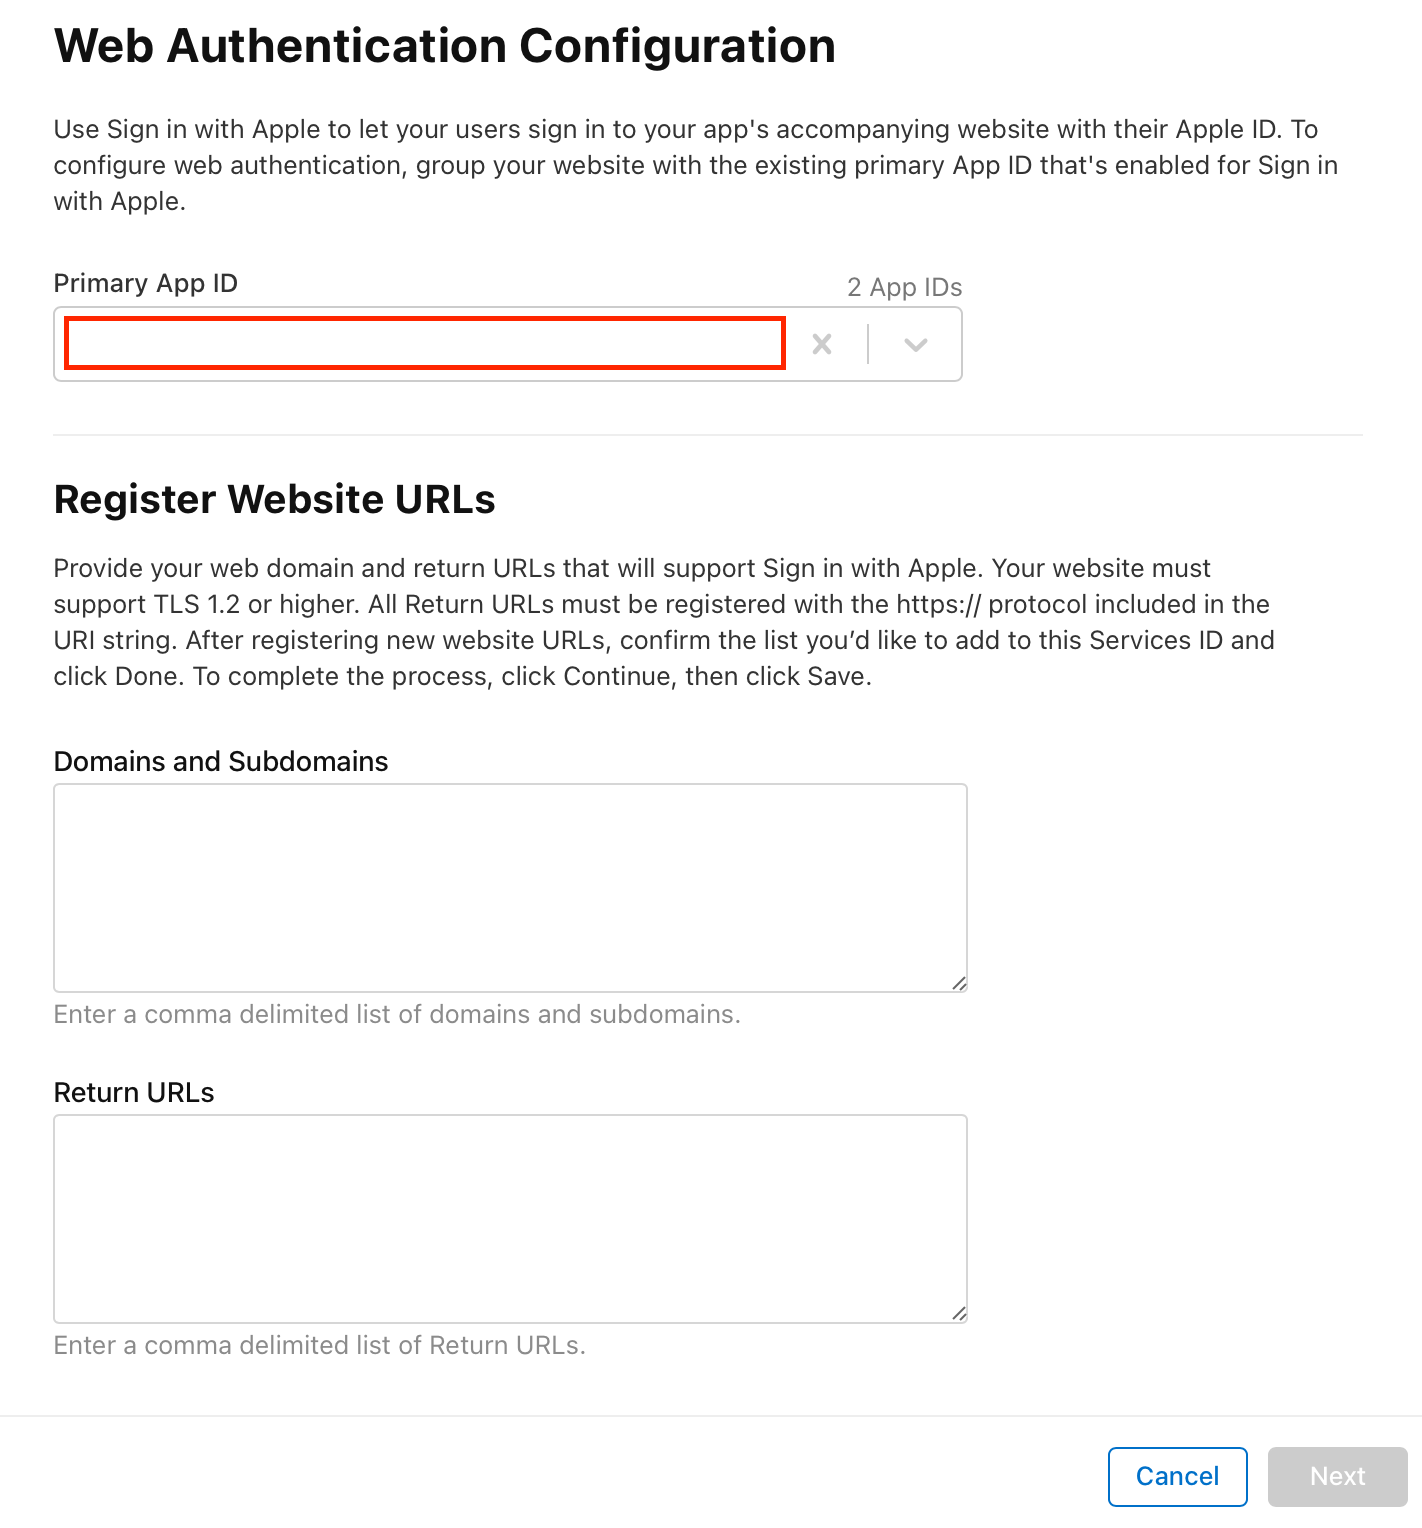
여기서 Domain and Subdomains에는 글의 초반에서 기억하라고 한 도메인(1번)을 넣으시면 되고,
Return URLs에는 콜백 URL(2번)을 넣은 후 Next를 누르면 사전 작업은 끝입니다!
사용하기
Firebase 문서에 사용하는 방법에 대해 자세히 설명되어 있습니다.
Firebase 문서(Authentication) - https://firebase.google.com/docs/auth/ios/apple?hl=ko&authuser=1
먼저 난수 생성을 위해 CryptoKit와 AuthenticationServices를 import 하고 아래의 코드를 사용하면 됩니다.
아래 코드를 모두 이해해야 하는 것이 아니고 난수가 무엇인지, 어떤 과정으로 이루어지는지 대략적으로 이해하면 되는 것입니다. (사용법은 Firebasee 문서에 나와있으니 저희는 사용하는 방법을 알면 되는 것입니다.)
전체 코드
import CryptoKit
import AuthenticationServices

class MainViewController: UIViewController {

    @IBOutlet weak var appleLoginButton: UIButton!

    // Unhashed nonce.
    fileprivate var currentNonce: String?

    override func viewDidLoad() {
        super.viewDidLoad()
    }

    @IBAction func appleLoginTapped(_ sender: UIButton) {
        startSignInWithAppleFlow()
    }
}

private extension MainViewController {
    func startSignInWithAppleFlow() {
        let nonce = randomNonceString()
        currentNonce = nonce
        let appleIDProvider = ASAuthorizationAppleIDProvider()
        let request = appleIDProvider.createRequest()
        request.requestedScopes = [.fullName, .email]
        request.nonce = sha256(nonce)

        let authorizationController = ASAuthorizationController(authorizationRequests: [request])
        authorizationController.delegate = self
        authorizationController.presentationContextProvider = self
        authorizationController.performRequests()
    }

    func randomNonceString(length: Int = 32) -> String {
        precondition(length > 0)
        var randomBytes = [UInt8](repeating: 0, count: length)
        let errorCode = SecRandomCopyBytes(kSecRandomDefault, randomBytes.count, &randomBytes)
        if errorCode != errSecSuccess {
            fatalError(
                "Unable to generate nonce. SecRandomCopyBytes failed with OSStatus \(errorCode)"
            )
        }
        let charset: [Character] =
        Array("0123456789ABCDEFGHIJKLMNOPQRSTUVXYZabcdefghijklmnopqrstuvwxyz-._")
        let nonce = randomBytes.map { byte in
            // Pick a random character from the set, wrapping around if needed.
            charset[Int(byte) % charset.count]
        }
        return String(nonce)
    }

    func sha256(_ input: String) -> String {
        let inputData = Data(input.utf8)
        let hashedData = SHA256.hash(data: inputData)
        let hashString = hashedData.compactMap {
            String(format: "%02x", $0)
        }.joined()

        return hashString
    }
}

extension MainViewController: ASAuthorizationControllerDelegate {
    func authorizationController(controller: ASAuthorizationController, didCompleteWithAuthorization authorization: ASAuthorization) {
        if let appleIDCredential = authorization.credential as? ASAuthorizationAppleIDCredential {
            guard let nonce = currentNonce else {
                fatalError("Invalid state: A login callback was received, but no login request was sent.")
            }
            guard let appleIDToken = appleIDCredential.identityToken else {
                print("Unable to fetch identity token")
                return
            }
            guard let idTokenString = String(data: appleIDToken, encoding: .utf8) else {
                print("Unable to serialize token string from data: \(appleIDToken.debugDescription)")
                return
            }
            // Initialize a Firebase credential, including the user's full name.
            let credential = OAuthProvider.appleCredential(withIDToken: idTokenString, rawNonce: nonce, fullName: appleIDCredential.fullName)

            // Sign in with Firebase.
            Auth.auth().signIn(with: credential) { authResult, error in
                if let error = error {
                    print("Error Apple sign in: \(error.localizedDescription)")
                    return
                }
                // 로그인에 성공했을 시 실행할 메서드 추가
            }
        }
    }

    func authorizationController(controller: ASAuthorizationController, didCompleteWithError error: Error) {
        // Handle error.
        print("Sign in with Apple errored: \(error)")
    }
}

extension MainViewController: ASAuthorizationControllerPresentationContextProviding {
    func presentationAnchor(for controller: ASAuthorizationController) -> ASPresentationAnchor {
    	// Apple 로그인 인증 창 띄우기
        return self.view.window ?? UIWindow()
    }
}
여기서 Nonce(Number used Once)란?
한 번만 사용되는 임의의 숫자나 문자열로, 암호화된 임의의 난수입니다.
주로 암호화 통신을 할 때 활용하고, 단 한 번만 사용할 수 있기 때문에 짧은 시간에 여러 번 보내는 릴레이 공격(Replay Attack)과 CSRF(Cross-Site Request Forgery) 공격을 방지할 수 있습니다.