document
Javascript에서 html을 표현하는 object를 가져옴
1. document에서 항목들을 가지고 오는 것
2. document 항목들을 변경
document.getElementById("")
string을 전달받음, HTML에서 id를 통해 element를 찾아줌

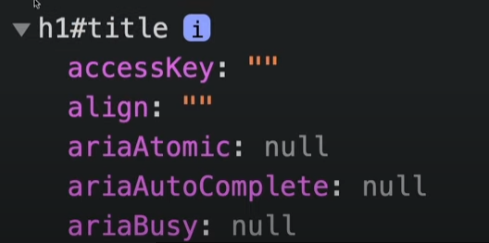
console.dir()
console.log보다 element를 더 자세하게 보여줌
title.innerText= "";
javascript로 html내의 요소들 수정
const title = document.getElementById("title");
title.innerText = "Got you!";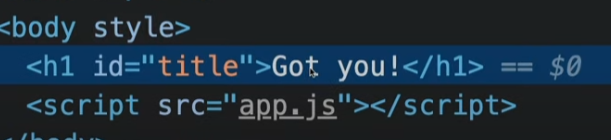
document.getElementByClassName();
<h1 class="hello">Grab me!</h1>
<h1 class="hello">Grab me!</h1>
<h1 class="hello">Grab me!</h1>
<h1 class="hello">Grab me!</h1>
<h1 class="hello">Grab me!</h1>
const hellos = document.getElementByClassName("hello");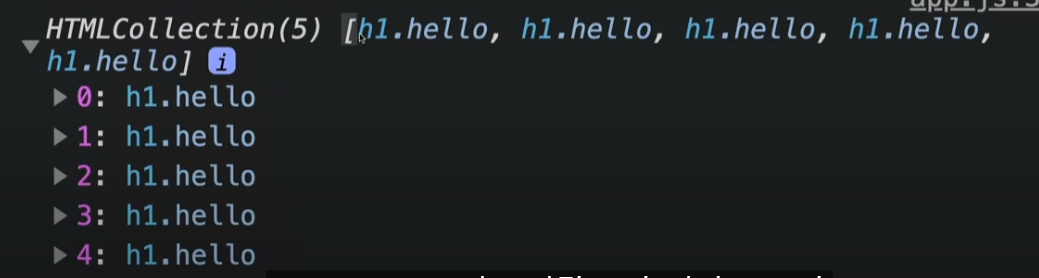
array로 뜸
document.getElementByTagName("");
tag name가지고 element를 가져올 수 있음
tag : anchor, div, section, button 같은 것들
const title = document.getElementByTagName("h1");
console.log(title);
document.querySelector();
element를 CSS방식으로 검색할 수 있음
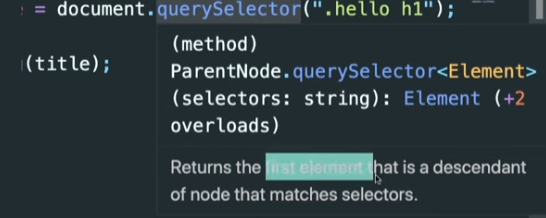
const title = document.querySelector(".hello h1");
console.log(title);
없는 값은 null로 뜸
<body>
	<div class="hello">
    	<h1>Grab me 1!</h1>
    </div>
    <div class="hello">
    	<h1>Grab me 2!</h1>
    </div>
    <div class="hello">
    	<h1>Grab me 3!</h1>
    </div>
</body>
같은 선택자가 여러개일 경우 첫번째 값만 가져옴
document.querySelectorAll();
selector안의 조건에 부합하는 모든 element를 array로 가져다 줌

events
const title = document.querySelector("div.hello:first-child h1");

console.dir(title);

title.style.color = "blue";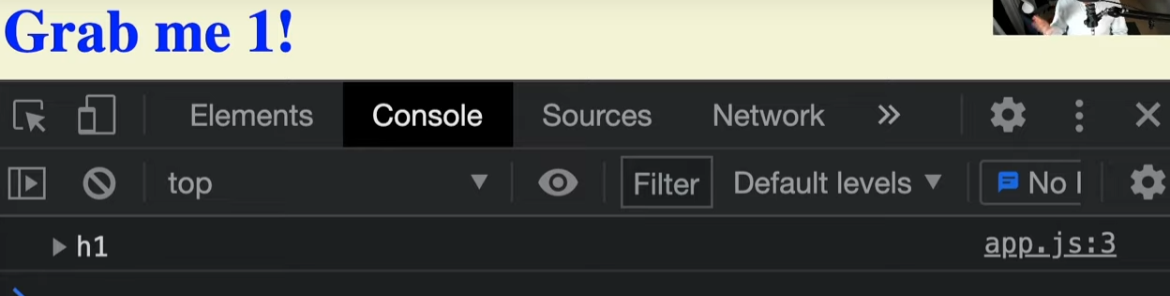
eventListener
event를 listen
만든 function을 eventListener의 두번째 인수로 전달
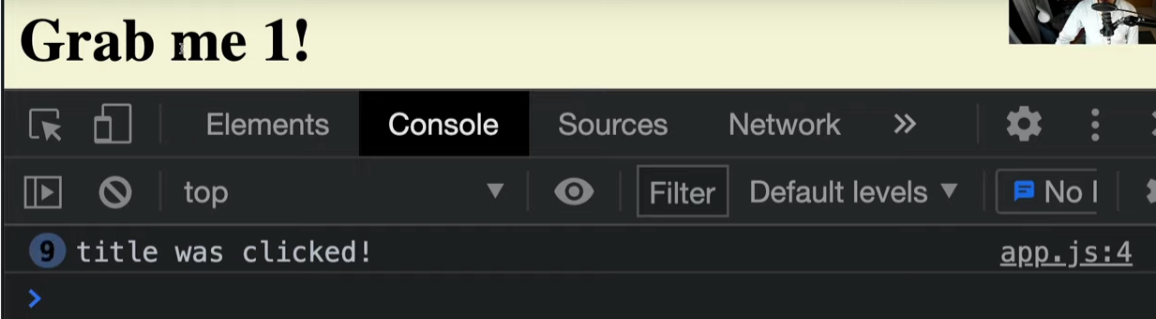
function handleTitleClick() {
	console.log("title was clicked!");
}

title.addEventListener("click", handleTitleClick)
//같은 기능
title.onclick = handleTitleClick;
click할때 javascript가 실행하도록 구성
**title.addEventListener("click", handleTitleClick()); 으로 ()넣지 말것
() = 실행버튼.
자바스크립트가 알아서 실행버튼을 눌러줌
적용가능한 event
- mdn에서 찾고 싶은 element나 event이름 검색할것
- console.dir에서 property찾을 것
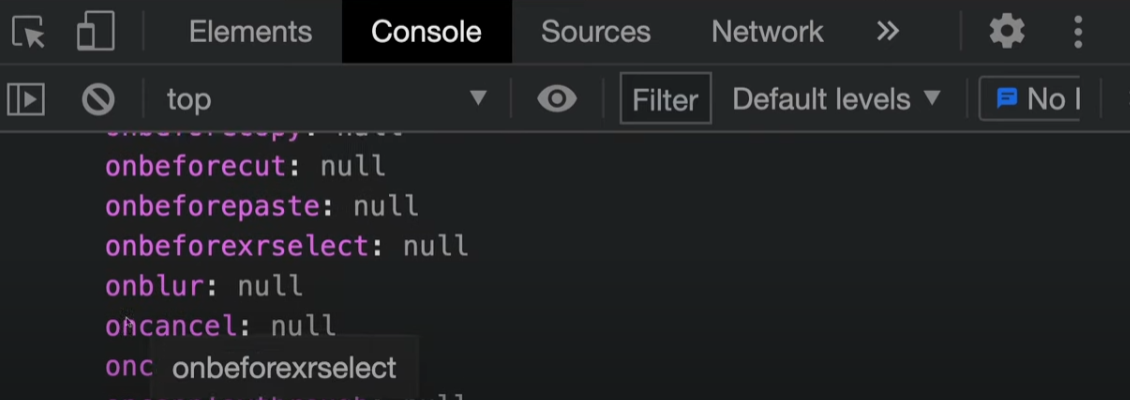
property이름 앞에 on이 붙어있으면 event listener
eventlistener 사용할때는 on 빼고 쓰기
mouseenter event
function handleMouseEnter() {
	console.log("mouse is here!");
}

title.addEventListener("mouseenter", handleMouseEnter);
mouseleave
function handleMouseLeave() {
	title.innerText = "Mouse is gone!";
}

title.addEventListener("mouseleave", handleMouseEnter);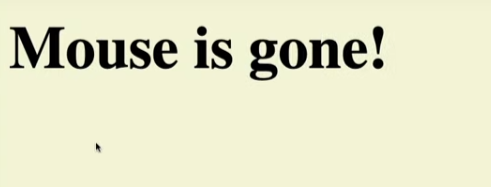
**Javascript로도 style을 변경할 수 있지만 대부분의 style은 css로 변경하는것이 좋음
window
window의 document의 body, head, title 중요해서 존재
나머지 element들은 queryselector나 element로 가져와야함
resize
function handleWindowResize() {
	document.body.style.backgroundColor = "tomato";
   }

window.addEventListener("resize", handleWindowResize);
window element의 resize event를 listen

copy
function handleWindowCopy () {
	alert("copier!");
 }

window.addEventListenr("copy, handleWindowCopy);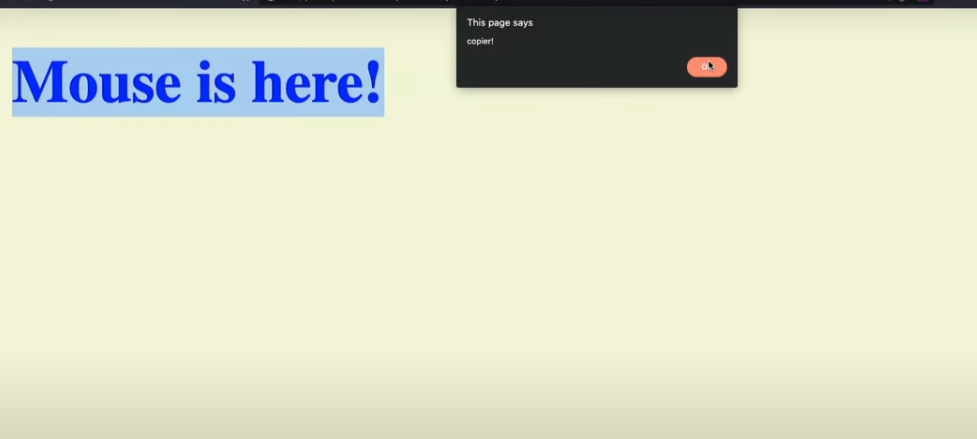
offline
function handleWindowOffline() {
	alert("SOS no WIFI");
    }

function  handleWindowOnline() {
	alert("ALL GOOOD");
}

window.addEventListener("offline", handleWindowOffline);
window.addEventListener("offline", handleWindowOnline);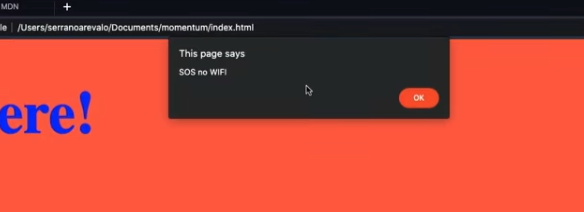
removeEventListener
title.onclick, title.onmouseenter식으로도 event를 줄 수 있지만 addEventListener로 주면 removeEventListener로 제거할 수 있음
If
const h1 = document.querySelector("div.hello:first-child h1");

function handleTitleClick() {
	const currentColor = h1.style.color;
    let newColor;
	if(currentColor === "blue") {
    	newColor = "tomato";
        } else {
        newColor= "blue";
        }
        h1.style.color = newColor;
}

h1.addEventListener("click", handleTitleClick);
CSS in JavaScript
classList
class들의 목록으로 작업할 수 있게끔 허용
이전 class를 상관하지 않고 모든걸 교체해버린다
contains
명시한 class가 html element의 class에 포함되어있는지 확인해줌.
(html element가 가지고 있는 요소를 사용)
function handleTitleClick() {
	const clickedClass = "clicked";
    if(h1.classList.contains(clickedClass)) {
    	h1.classList.remove(clickedClass);
        } else {
        	h1. classList.add(clickedClass);
            }
}

h1.addEventListener("click", handleTitleClick);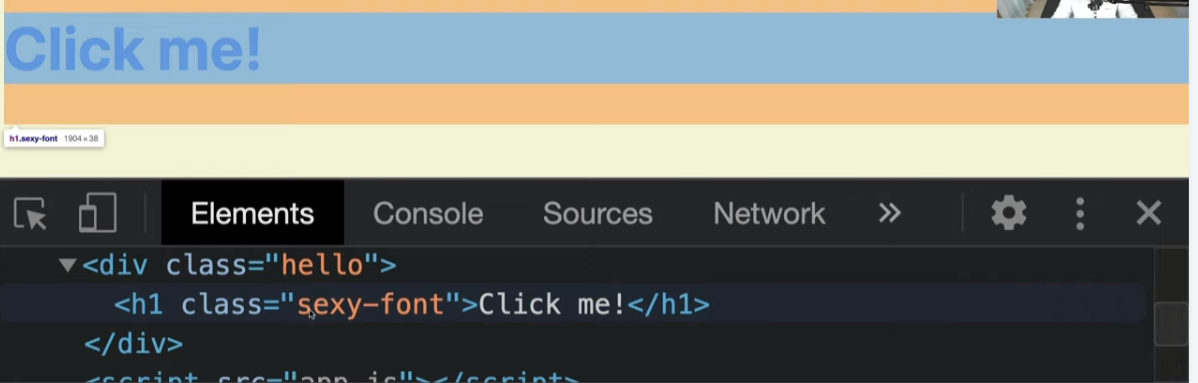
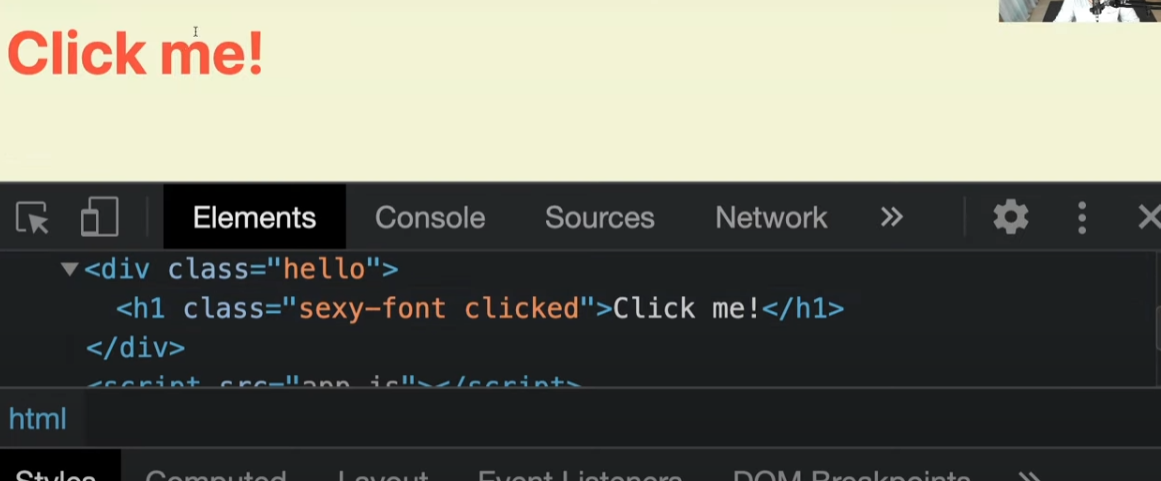
toggle
toggle은 class list에 class name이 존재하면 제거, 존재하지 않으면 추가
function handleTitleClick() {
  h1.classList.toggle("clicked");
  }
 h1.addEventListener("click", handleTitleClick);
위의 코드들과 같은결과지만 좀 더 코드가 단순화됨.