이번 포스트에서는 template에 사용되는 구성요소들에 대해 알아보고자 합니다.
wandb, pyrootutils, pytest 순으로 진행하고자 합니다.
Weights and Biases(wandb)
wandb : 딥러닝 실험을 간편하게 추적 및 시각화할 수 있는 툴
wandb의 기능은 다음과 같습니다.
1. 학습에 사용된 파라미터 저장
2. 여러 실험들의 결과를 한번에 비교
3. sweep을 통한 하이퍼 파라미터 튜닝
4. 팀 단위로 사용시 실험 공유 기능
wandb와 PL을 함께 사용할 시
wandb.login(key="")
wandb_logger = WandbLogger()

trainer = L.trainer(logger=wandb_logger)
다음과 같이 간단한 코드 추가로 wandb를 사용할 수 있습니다.
결과는 wandb.ai 홈페이지를 통해 웹 기반으로 볼 수 있으며 실제 실험 결과는 다음과 같습니다.
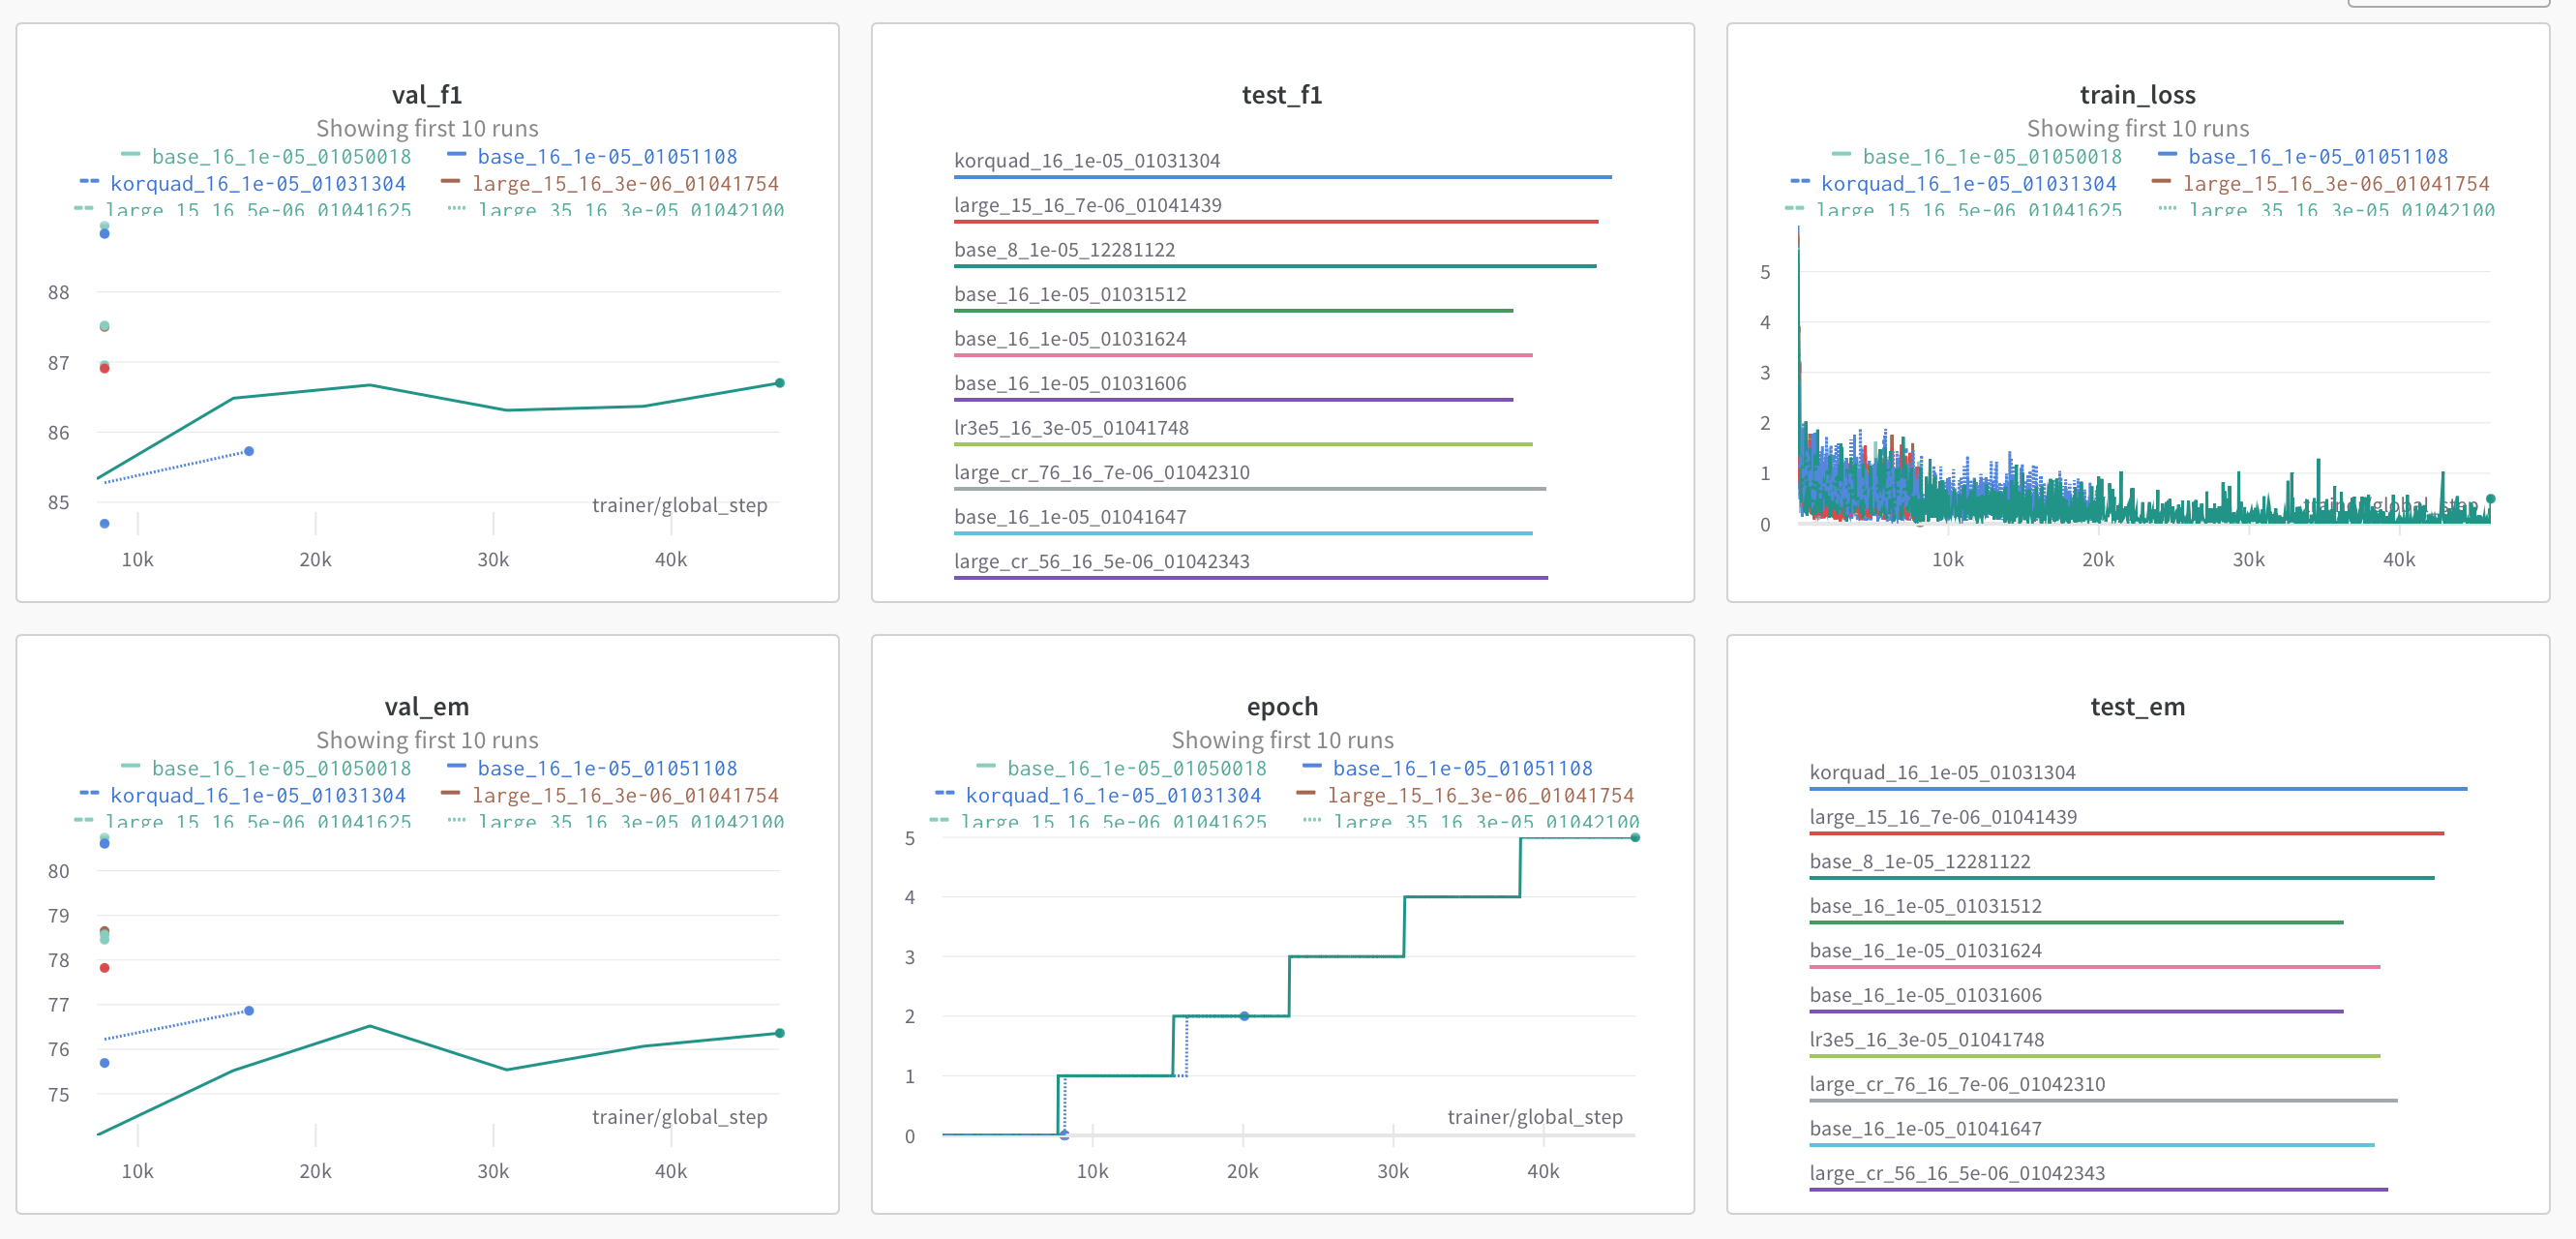
이처럼 간편하게 결과를 추적 및 분석할 수 있습니다.
pyrootutils
깃허브 링크
앞선 PL Template을 만든 ashleve분이 만든 라이브러리이며 간편하게 프로젝트 path를 지정해주는 라이브러리입니다.
import pyrootutils

# find absolute root path (searches for directory containing .project-root file)
# search starts from current file and recursively goes over parent directories
# returns pathlib object
path = pyrootutils.find_root(search_from=__file__, indicator=".project-root")

# find absolute root path (searches for directory containing any of the files on the list)
path = pyrootutils.find_root(search_from=__file__, indicator=[".git", "setup.cfg"])

# take advantage of the pathlib syntax
data_dir = path / "data"
assert data_dir.exists(), f"path doesn't exist: {data_dir}"

# set root directory
pyrootutils.set_root(
    path=path # path to the root directory
    project_root_env_var=True, # set the PROJECT_ROOT environment variable to root directory
    dotenv=True, # load environment variables from .env if exists in root directory
    pythonpath=True, # add root directory to the PYTHONPATH (helps with imports)
    cwd=True, # change current working directory to the root directory (helps with filepaths)
)
이와 같이 path를 하드코딩 하지 않아도 되어서 template를 만들 때 유용합니다.
pytest
pytest는 python에서 TDD(Test Driven Development)를 지원하는 라이브러리입니다.
본 템플릿에서 pytest가 어떻게 동작하는지를 코드를 통해 이해하고자 합니다.
코드 전문은 tests/test_train.py링크를 통해 볼 수 있습니다.
먼저 test_train_fast_dev_run 함수입니다.
def test_train_fast_dev_run(cfg_train):
    """Run for 1 train, val and test step."""
    HydraConfig().set_config(cfg_train)			# hydra로 config
    with open_dict(cfg_train):
        cfg_train.trainer.fast_dev_run = True   # fast_dev_run 기능을 통해 빠르게 실행체크
        cfg_train.trainer.accelerator = "cpu"
    train(cfg_train)
다음으로는 test_train_fast_dev_run_gup 함수입니다.
@RunIf(min_gpus=1)
def test_train_fast_dev_run_gpu(cfg_train):
    """Run for 1 train, val and test step on GPU."""
    HydraConfig().set_config(cfg_train)
    with open_dict(cfg_train):
        cfg_train.trainer.fast_dev_run = True
        cfg_train.trainer.accelerator = "gpu"
    train(cfg_train)
해당 함수에는 @RunIf 데코레이터가 나옵니다.
이는 조건에 따라 분기하는 데코레이터이며
if min_gpus:
            conditions.append(torch.cuda.device_count() < min_gpus)
            reasons.append(f"GPUs>={min_gpus}")

	...

reasons = [rs for cond, rs in zip(conditions, reasons) if cond]

return pytest.mark.skipif(
       condition=any(conditions),
       reason=f"Requires: [{' + '.join(reasons)}]",
       **kwargs,
)
이는 다음과 같이 정의되어있습니다.
해당 코드는 다음과 같이 작동됩니다.
1. min_gpus 등 다양한 조건을 검사합니다. (문제 없을시 False)
2. condition은 any를 통해 하나라도 True라면(문제 발생) skipif가 작동
3. test를 진행하지 않는다.
즉 모든 조건이 문제 없을시에만 Test를 진행하고 하나라도 문제가 있을 시 reason을 출력합니다.
이 외에는 gpu를 사용한다는 것을 제외하고는 다른점이 없습니다.
이 외에도 pytest 데코레이터가 붙은 함수들이 존재합니다.
먼저 @pytest.mark.slow가 붙은 함수들이 존재합니다.
@pytest.mark.slow
def test_train_epoch_double_val_loop(cfg_train):
    """Train 1 epoch with validation loop twice per epoch."""

@pytest.mark.slow
def test_train_ddp_sim(cfg_train):
    """Simulate DDP (Distributed Data Parallel) on 2 CPU processes."""

@pytest.mark.slow
def test_train_resume(tmp_path, cfg_train):
    """Run 1 epoch, finish, and resume for another epoch."""

						...
해당 함수의 공통점은 데코레이터(mark) 이름과 같이 실행시 시간이 오래걸린다는 점입니다.
그렇기에 테스트시에 오래걸리지 않는 테스트를 수행하는 것이 효율적입니다.
이는 해당 템플릿의 Makefile을 통해 알 수 있습니다.
# Makefile

test: ## Run not slow tests
	pytest -k "not slow"

test-full: ## Run all tests
	pytest

train: ## Train the model
	python src/train.py
해당 코드를 보면 -k와 같은 flags가 존재합니다.
이를 설명하면 글이 너무 길어질 것 같아 참고 페이지로 남겨두겠습니다. flags
결국 @pytest.mark.slow는 pytest의 mark 기능을 통해 함수들을 구별하기 위한 데코레이션입니다.
이 외에도 해당 템플릿에는 @pytest.mark.parametrize와 @pytest.fixture이 존재합니다.
@pytest.fixture은 pytest의 재사용성을 높여주는 기능이며 다음과 같이 사용할 수 있습니다.
import pytest

@pytest.fixture(param=[1,3,5])
def make_doubel(number):
	return [number.param, number.param*2]

def test_doubel(make_doubel):
	for x in make_doubel:
    	assert x[0]*2 == x[1]
@pytest.mark.parametrize를 사용하면 테스트 함수에 파라미터를 전달할 수 있습니다.
import pytest


@pytest.mark.parametrize("test_input,expected", [("3+5", 8), ("2+4", 6), ("6*9", 42)])
def test_eval(test_input, expected):
    assert eval(test_input) == expected