React 버튼 클릭으로 컴포넌트 렌더링하기
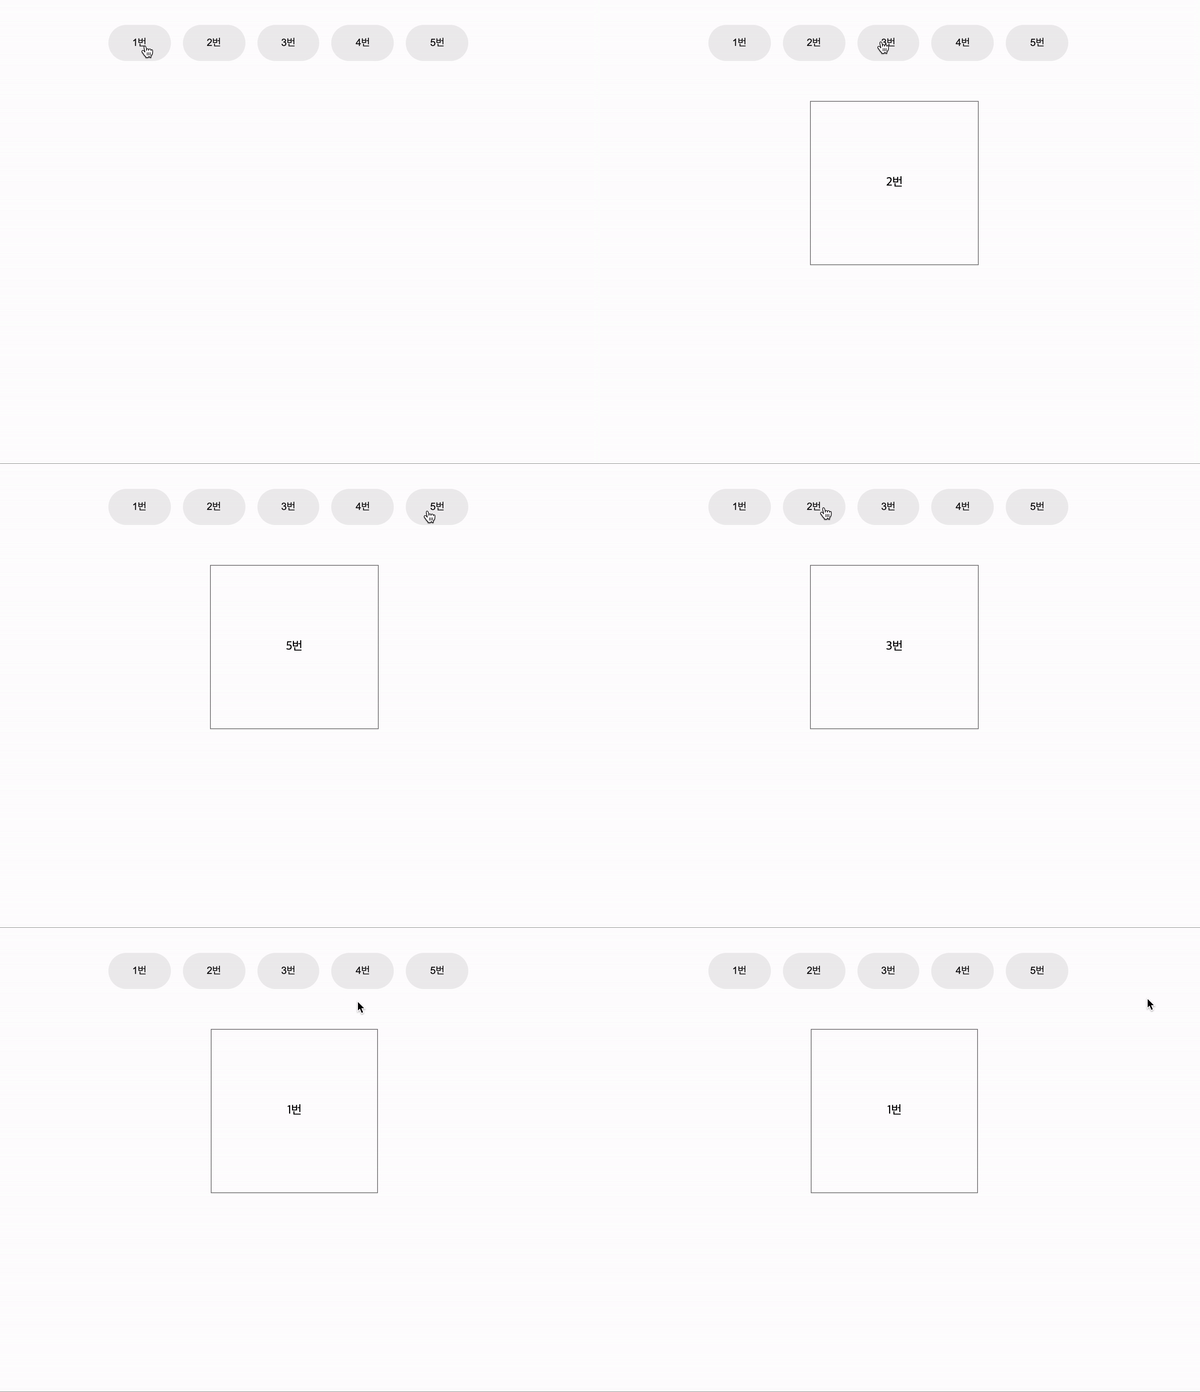
- 구현 화면

button 클릭으로 원하는 컴포넌트를 렌더링 할 수 있습니다!
지금은 버튼을 이용했지만 checkbox, radio, select 등 모두 사용 할 수 있는 방법입니다.
구현하기
어떠한 것을 구현할 때 가장 먼저 생각해야 하는 것은 로직을 생각하는 것이라고 생각합니다.
- 버튼클릭
- 버튼 클릭한 버튼의 상태값 저장
- 상태값의 따른 컴포넌트 렌더링
현재 크게 나눈다면 이렇게 볼 수 있습니다.
1. state 선언, onClick 이벤트 선언
클릭한 버튼의 name 값을 state에 저장합니다.
value가 될 수 있고, innerText 등 상황에 맞게 사용하면 됩니다.
const [content, setContent] = useState();

const handleClickButton = e => {
    const { name } = e.target;
    setContent(name);
};
2. 객체 생성
객체의 key를 버튼의 name값과 동일하게, 값은 렌더링 할 컴포넌트로 한다.
const selectComponent = {
    first: <First />,
    second: <Second />,
    third: <Third />,
    fourth: <Fourth />,
    fifth: <Fifth />,
  };
3. 버튼에 onClick 이벤트 할당
반복되는 레이아웃은 map함수를 이용해 코드를 줄 일 수 있습니다.
<Container>
  {MAIN_DATA.map(data => {
  return (
  <Button
    onClick={handleClickButton}
    name={data.name} // 'first', 'second', ...
    key={data.id}>
	{data.text} // 1번, 2번, 3번....
  </Button>
    );
  })}
</Container>
4.옵셔널 체이닝, 객체의 key 변수처리
state값에 뒤에 && 적고 div로 객체와 key를[state]감싸줍니다.
{content && <div>{selectComponent[content]}</div>}content && <Content>...</Content> 뜻은
content true라면 <Content>를 렌더링 하겠다라는 뜻입니다.
현재 content는 state값으로 초기값은 ( ) 빈 값으로 falsy 한 값으로
빈 화면이 나옵니다.
- 버튼을 클릭하면 onClick 이벤트 발생
- handleClickButton 이벤트 발생으로 state값이 name으로 저장
- content가 name 값으로 채워지면서 truthy 한 값으로 && 실행
- 객체는[content]로 변수처리를 하면 이렇게 된다.
selectComponent.first // <First />
selectComponent.second // <Second />
selectComponent.third // <Third />
.
.
1번채 버튼 클릭시
<div><First /></div>
전체코드
import React, { useState } from 'react';
import styled from 'styled-components';
import { MAIN_DATA } from './MainData';
import Fifth from './Number/Fifth';
import First from './Number/First';
import Fourth from './Number/Fourth';
import Second from './Number/Second';
import Third from './Number/Third';

const Main = () => {
  const [content, setContent] = useState();

  const handleClickButton = e => {
    const { name } = e.target;
    setContent(name);
  };

  const selectComponent = {
    first: <First />,
    second: <Second />,
    third: <Third />,
    fourth: <Fourth />,
    fifth: <Fifth />,
  };

  console.log(content);

  return (
    <div>
      <Container>
        {MAIN_DATA.map(data => {
          return (
            <Button onClick={handleClickButton} name={data.name} key={data.id}>
              {data.text}
            </Button>
          );
        })}
      </Container>
      {content && <Content>{selectComponent[content]}</Content>}
    </div>
  );
};

export default Main;

const Container = styled.div`
  ${props => props.theme.flex('center', 'center')}
  height: 20vh;
`;

const Button = styled.button`
  padding: 1rem 2rem;
  margin-right: 1rem;
  color: #111111;
  background-color: #eeeeee;
  border-radius: 2rem;
`;

const Content = styled.div`
  ${props => props.theme.flex('center', 'center')}
  width: 100%;
  height: 100%;
`;


MainData 에서 무엇을 불러오는지 알 수 있을까요??