-
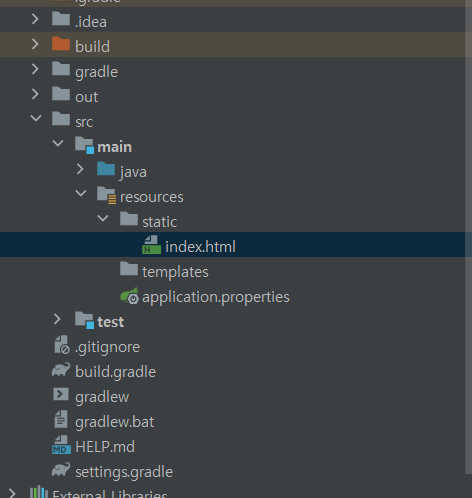
main.resources.static.index.html 파일을 만들면 자동으로 처음 페이지로 인식한다.
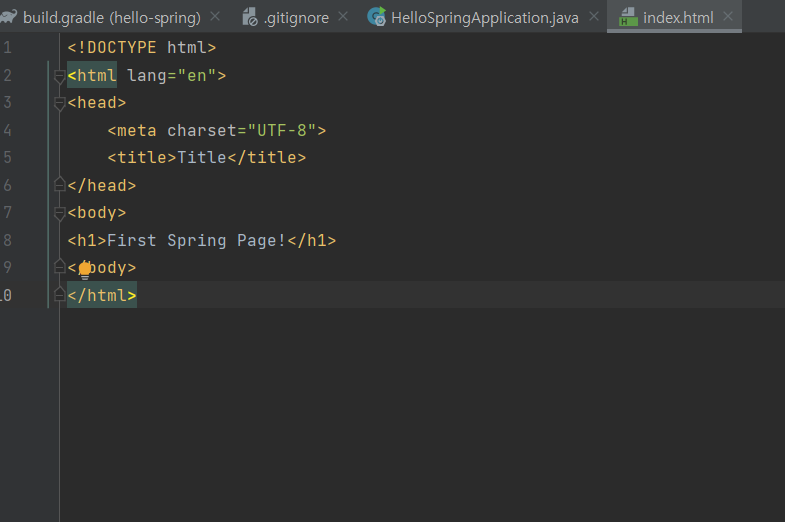
간단한 코드를 작성하고 코드를 중지했다가 실행하면
첫 화면에 반영이 된다. -
thymeleaf 템플릿 엔진 : view가 잘 동작하도록 함.
-
템플릿 엔진 종류
- FreeMarker
- Groovy
- Thymeleaf
- Mustache
-
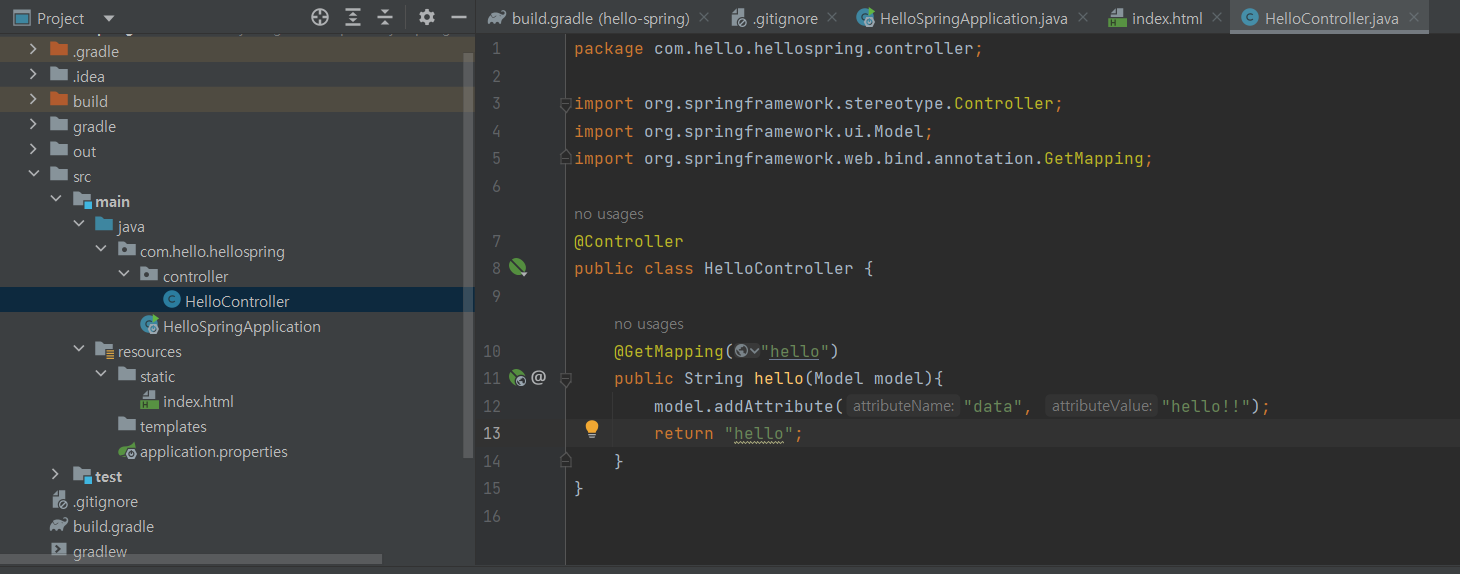
main.java.com.hello.hellospring에 controller라는 패키지를 만들어주고 간단한 클래스를 만들었다.
-
@controller를 써줘야한다고 한다.
-
@GetMapping : http의 get
-
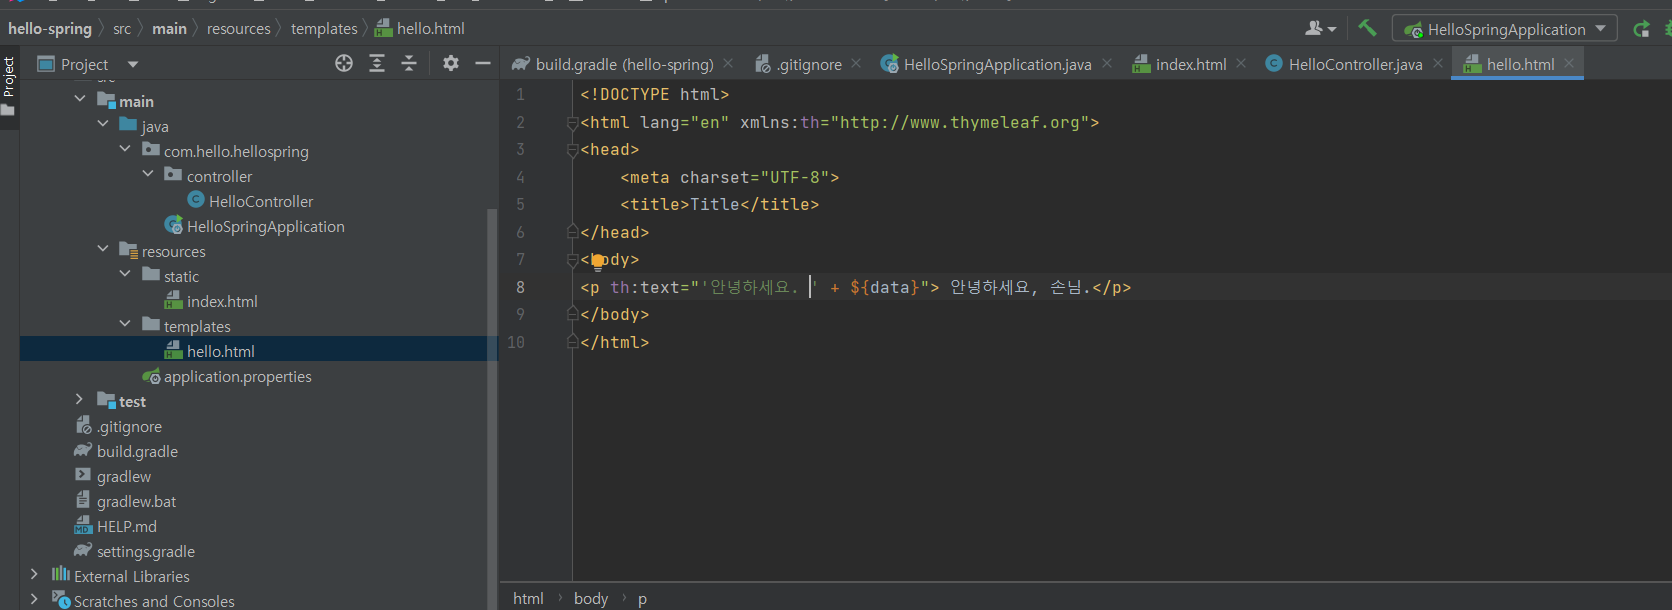
main.resources.templates.hello.html 파일을 만들어주고, thymeleaf 문법을 사용할 수 있도록 가져왔다.
-
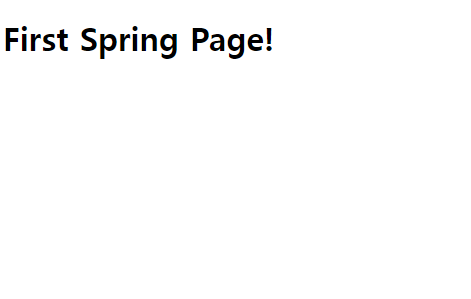
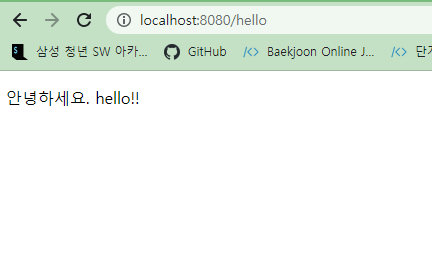
코드를 재실행하면
-
이런 화면이 나온다.
-
스프링부트의 톰캣 내장 서버에서 url을 받고, helloController와 매칭한다.
-
스프링이 모델을 만들어서 넣어줌. addAttribute에서 값을 넣어줌.
- 메소드 리턴을 hello로 두는데, viewResolver는 리턴하는 hello를 통해 templates/hello.html을 찾게 되는 것이다. (Thymeleaf 템플릿 엔진 처리)
-
resources:templates/ + view이름 + .html로 자동으로 찾는다.
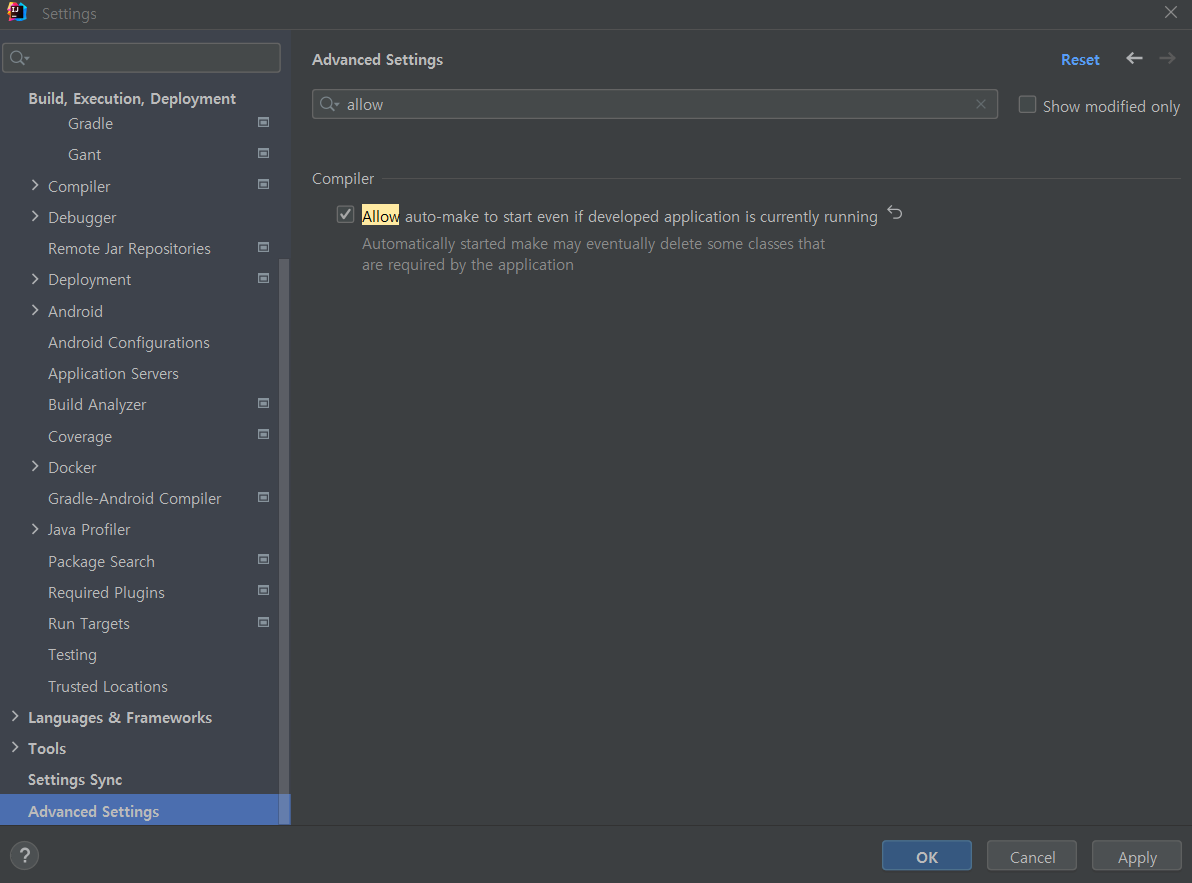
view 자동 업데이트 설정하기
spring-boot-devtools 라이브러리를 통해 html만 컴파일해서 서버 재시작 없이 view 파일 변경 가능.
-
preferences 최하단의 advanced setting에서 allow auto-make to start ... 를 체크한다.
-
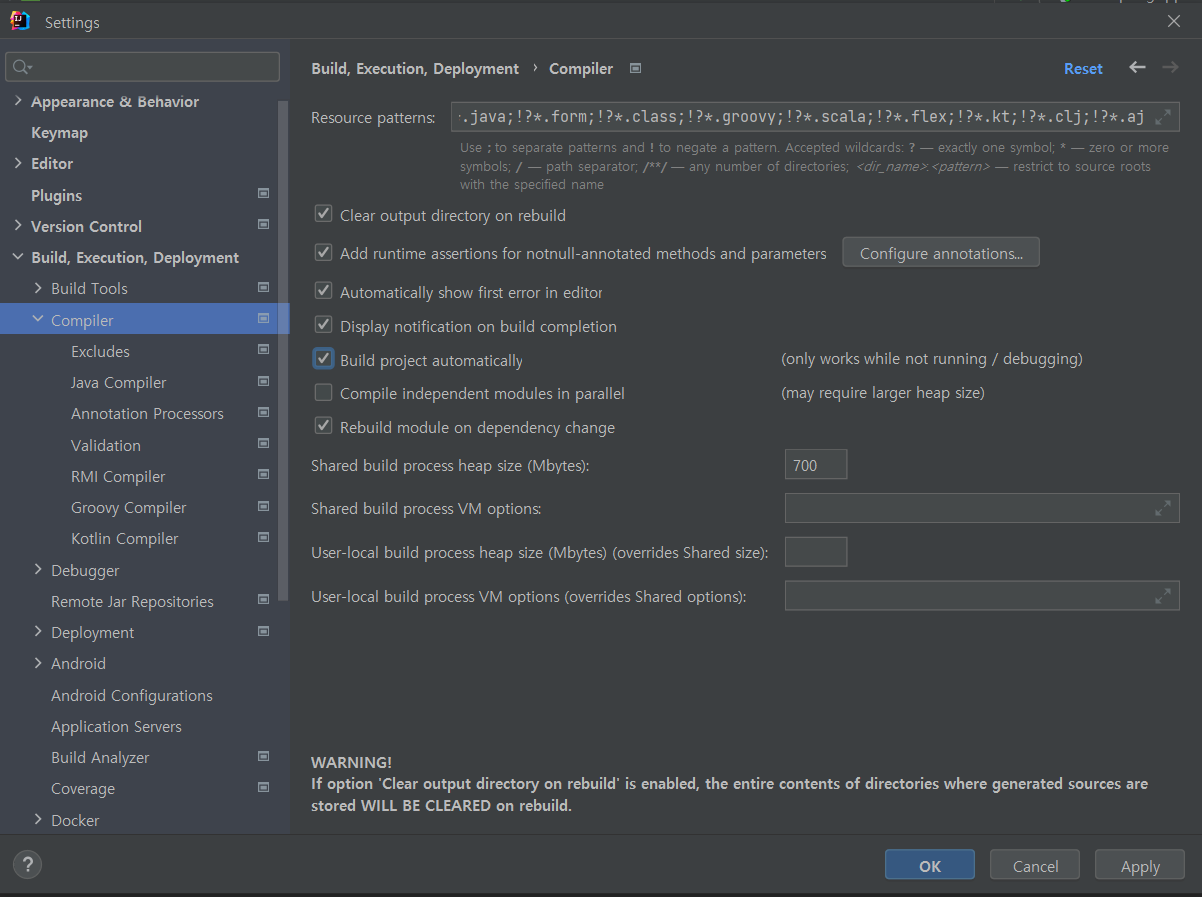
settings - build,execution,deployment - compiler 에서 Build project automatically를 선택한다.
-
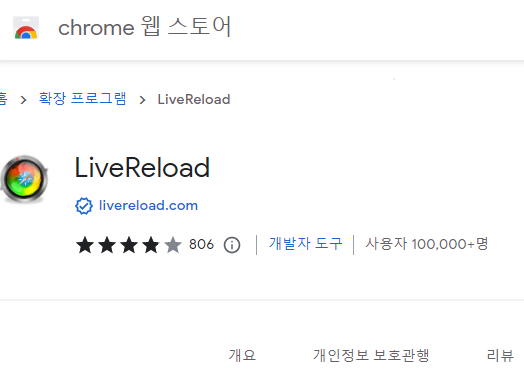
크롬 웹스토어에서 LiveReload를 설치한다
-
application.propertiles에 다음 코드를 작성한다.
#Live Reload 기능 활성화
spring.devtools.livereload.enabled=true
spring.resources.static-locations=file:src/main/resources/static/
spring.thymeleaf.cache=false
spring.thymeleaf.prefix=file:src/main/resources/templates/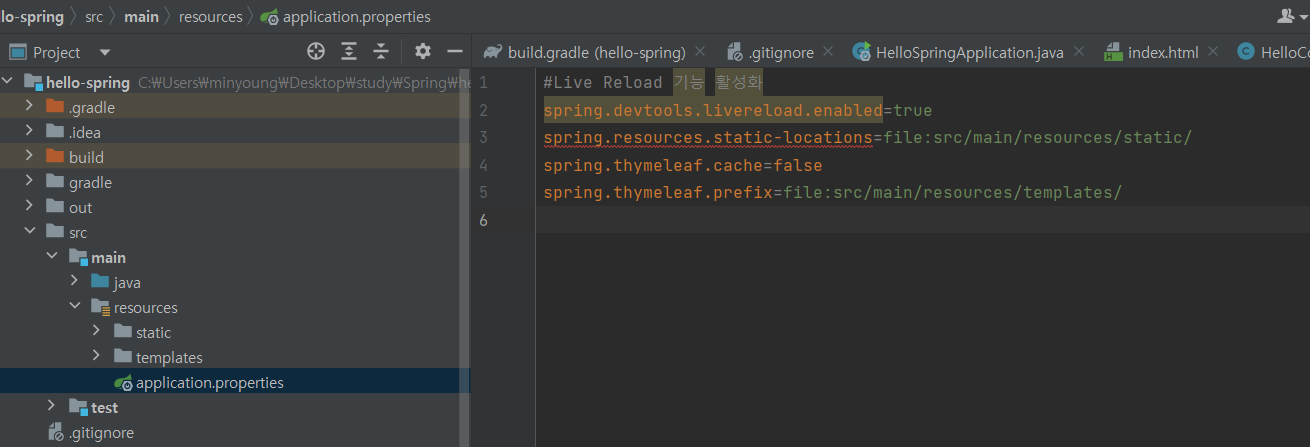
- 웹 페이지를 새로고침하면 view의 변경 사항이 바로 적용된다.