eclipse, spring3, java를 사용했습니다.
- D.I 란 Dependency Injection 의존성 주입이라는 뜻
- 클래스 밖에서 해당 클래스의 객체를 만들어 주는 것
어노테이션으로 하는 추세라고는 하지만
xml을 아직 이용하는 곳도 있을 수 있기 때문에 알아둔 두어야 한다고
xml이용해서 di작업하는 것을 배웠다.
XML 이용하기 위한 기본 세팅
xml방식은 applicationContext.xml(스프링 컨테이너)를 통해 Bean 설정을 해주는 것이다.
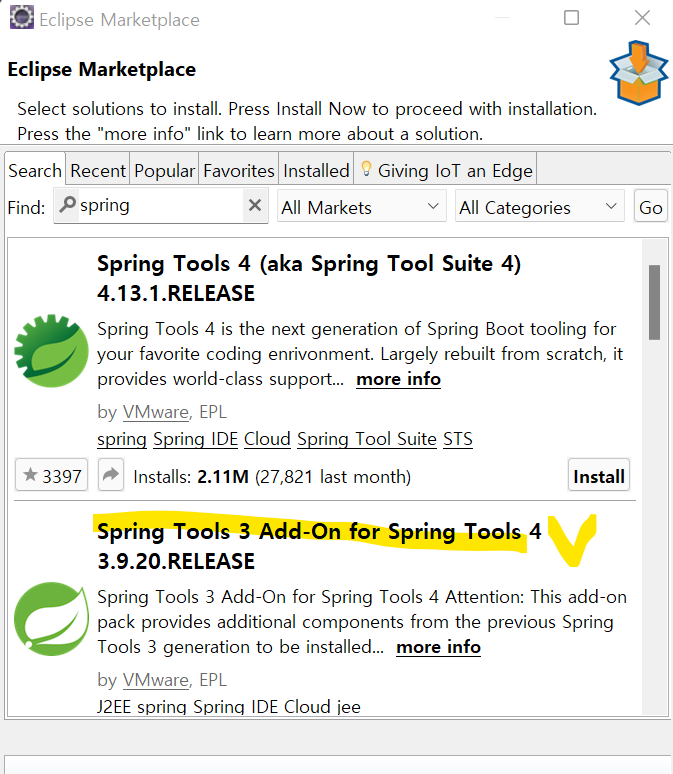
eclipse에서 spring3 설치하기
-
help > Eclipse marketplace > Spring Tools 3 > install > confirm 로 설치를 완료한다.
-
조금 기다리면 restart하겠냐는 메세지가 뜨고 restart해주면 끝
xml 셋팅
- 패키지를 선택하고 우클릭 new > others > Spring Bean Confihuration File 을 누르고 이름은 setting.xml으로 새파일을 만든다.
public static void main(String[] args) {
		DogShit dogShit = new DogShit();
		MyConsole console = new MyConsole();
		console.setPerson(dogShit);
위 코드를 아래처럼 xml로 표현할 수 있다.
<?xml version="1.0" encoding="UTF-8"?>
<beans xmlns="http://www.springframework.org/schema/beans"
	xmlns:xsi="http://www.w3.org/2001/XMLSchema-instance"
	xsi:schemaLocation="http://www.springframework.org/schema/beans http://www.springframework.org/schema/beans/spring-beans.xsd">

	<bean id="dogShit"  class="main.di.DogShit" />

	<bean id="console" class="main.ui.MyConsole" >
		<property name="person"  ref="dogShit"></property>
	</bean>

</beans>
- property 에는 ref 혹은 val 을 쓸 수 있는데, 레퍼런스 타입일때는 ref 프리미티브 타입 일 때는 val을 사용해야한다.
Application Context
- 스프링에서 만든 지시서(xml)을 읽어서 조립해주는 객체
ClassPathXmlApplicationContext
maven프로젝트로 변환하기
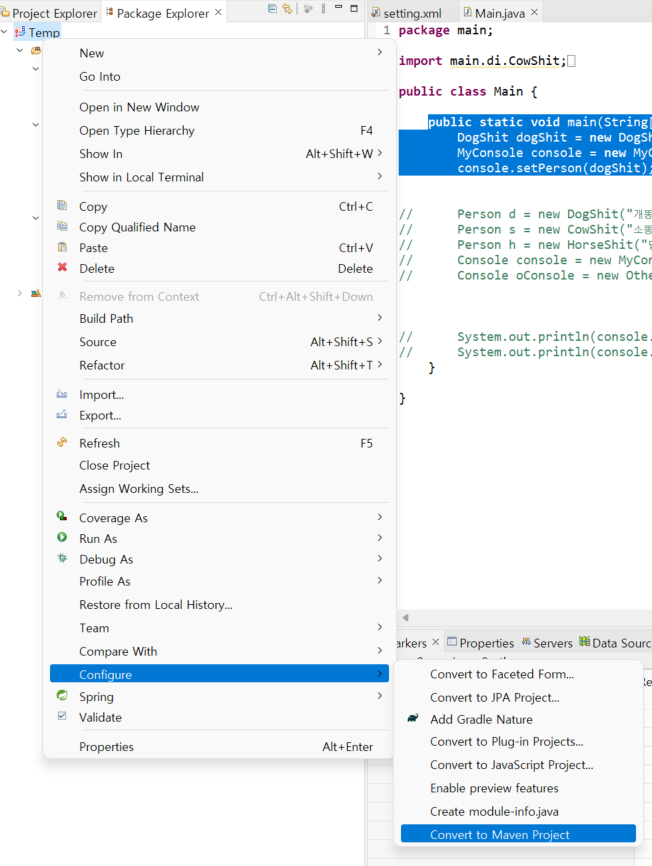
프로젝트 우클릭 > Configure > Convert to Maven Project 누르면 maven프로젝트로 변환된다.
pom.xml파일이 생성된다.
maven repository에 들어가서
springframework 라고 검색하고
Spring Context를 클릭
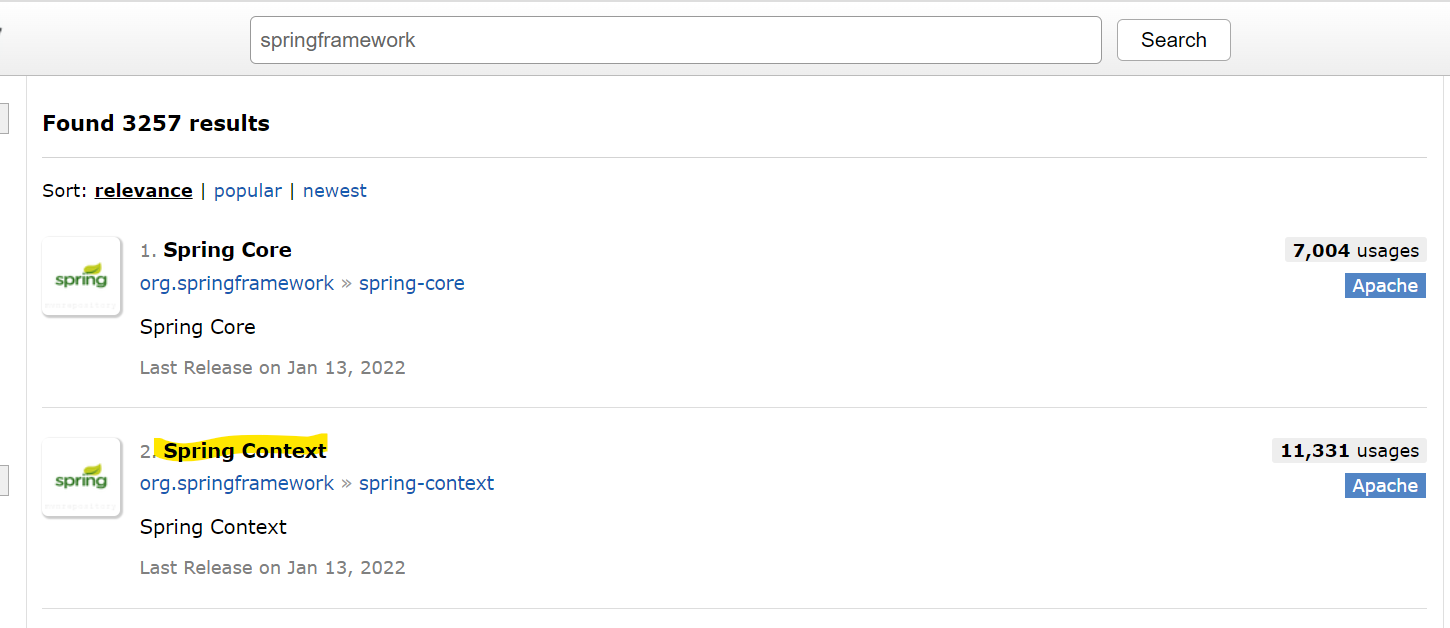
클릭하면
maven코드가 뜨는데
<!-- https://mvnrepository.com/artifact/org.springframework/spring-context -->
<dependency>
    <groupId>org.springframework</groupId>
    <artifactId>spring-context</artifactId>
    <version>5.3.15</version>
</dependency>
복사해서 pom.xml에 version과 build사이에
<dependencies></dependencies>를 입력하고 그 사이에 아까 복사한 값을 복붙 한다.
main에
ApplicationContext context =
	new ClassPathXmlApplicationContext("main/setting.xml");
입력한다.
값을 불러오는 법
아이디를 이용해서 불러오기
Main.java에서
//Console console = (Console)context.getBean("console");
		Console console = context.getBean(Console.class);
		System.out.println(console.printInfo());
null,null,null,null이라고 프린트 되는 것을 확인 할 수 있다.
값을 넣어주는 법
<bean id="dogShit"  class="main.di.DogShit" >
		<property name="name" value="개똥이"></property>
	</bean>
이름만 들어가게된다.
이런식으로 값을 다 넣어 줄 수 있다.
<?xml version="1.0" encoding="UTF-8"?>
<beans xmlns="http://www.springframework.org/schema/beans"
	xmlns:xsi="http://www.w3.org/2001/XMLSchema-instance"
	xsi:schemaLocation="http://www.springframework.org/schema/beans http://www.springframework.org/schema/beans/spring-beans.xsd">

	<bean id="dogShit"  class="main.di.DogShit" >
		<property name="name" value="개똥이"></property>
		<property name="address" value="독도"></property>
		<property name="phone" value="010-2222-3333"></property>
		<property name="uuid" value="111111-2222222"></property>
	</bean>

	<bean id="console" class="main.ui.MyConsole" >
		<property name="person"  ref="dogShit"></property>
	</bean>

</beans>
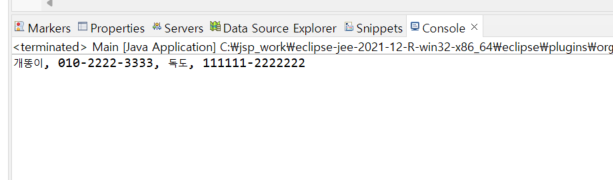
콘솔창에서 확인 가능하다.
값을 생성자를 통해 넣어주는 법
파라메터가 있는 생성자를 통해 넣어주는 법이다.
- 생성자 순차적으로 대입
	<constructor-arg value="개똥이"></constructor-arg>
	<constructor-arg value="독도"></constructor-arg>
	<constructor-arg value="010-2222-3333"></constructor-arg>
<constructor-arg value="222222-3333333"></constructor-arg>- 생성자 파라메터 순서 명시
<constructor-arg index="3" value="개똥이"></constructor-arg>
<constructor-arg index="2" value="독도"></constructor-arg>
<constructor-arg index="1" value="010-2222-3333"></constructor-arg>
<constructor-arg index="0" value="222222-3333333"></constructor-arg>- 파라메터 이름과 type로 명시
	<constructor-arg name="name" type="float" value="개똥이"></constructor-arg>
	<constructor-arg name="address" value="독도"></constructor-arg>
	<constructor-arg name="phone" value="010-2222-3333"></constructor-arg>
<constructor-arg name="uuid" value="222222-3333333"></constructor-arg>- p 추가해서 한줄로 간편하게 쓰는 법
xmlns:p="http://www.springframework.org/schema/p"

	<bean id="dogShit2" class="main.di.DogShit" p:name="개똥이" p:address="독도"></bean>
ArrayList에 값을 넣는 법
<bean id="persons" class="java.util.ArrayList">
		<constructor-arg>
			<list>
				<ref bean="dogShit2"/>
				<ref bean= "dogShit"/>
			</list>
		</constructor-arg>
</bean>- 불러오는 법
ArrayList<Person>  persons = context.getBean(ArrayList.class);

혹은

ArrayList<Person> persons = (ArrayList<Person>)context.getBean("persons");