프로젝트 소개
- 그림 그리기, 게임 그래픽, 사진 조작, 비디오 편집 등에 활용되는 canvas API에 대해 학습
코드작성 순서
- 그리기 대상이 되는 html canvas 태그 element를 생성
- script에서 대상을 찾아 .getContext('2d')의 리턴 값을 변수 할당
- 다양한 그리기 함수를 통해 그리기 구현
배운 것들
-
canvas API
JavaScript와 HTML canvas 엘리먼트를 통해 그래픽을 그리기위한 수단을 제공/ 무엇보다도 애니메이션, 게임 그래픽, 데이터 시각화, 사진 조작 및 실시간 비디오 처리를 위해 사용
https://developer.mozilla.org/ko/docs/Web/HTML/Canvas -
.getContext()의 내장 함수
- .beginPath(): 새로운 그리기 경로 생성, 그리시 시작시 무조건 실행
- .moveTo(a, b): 펜을 a, b 좌표로 이동 (그리지는 X)
- .lineTo(a, b): 현재 펜의 위치에서 a, b 좌표까지 그리기
- .stroke() : 모양 그리기
최종코드
<script>
//그리기 기본 환경 설정 및 기본 스타일 세팅
const canvas = document.querySelector('canvas');
const ctx = canvas.getContext('2d');
canvas.width = window.innerWidth;
canvas.height = window.innerHeight;
ctx.strokeStyle = 'green';
ctx.lineJoin = 'round';
ctx.lineCap = 'round';
ctx.lineWidth = 10;
let isDrawing = false;
let lastX = 0;
let lastY = 0;
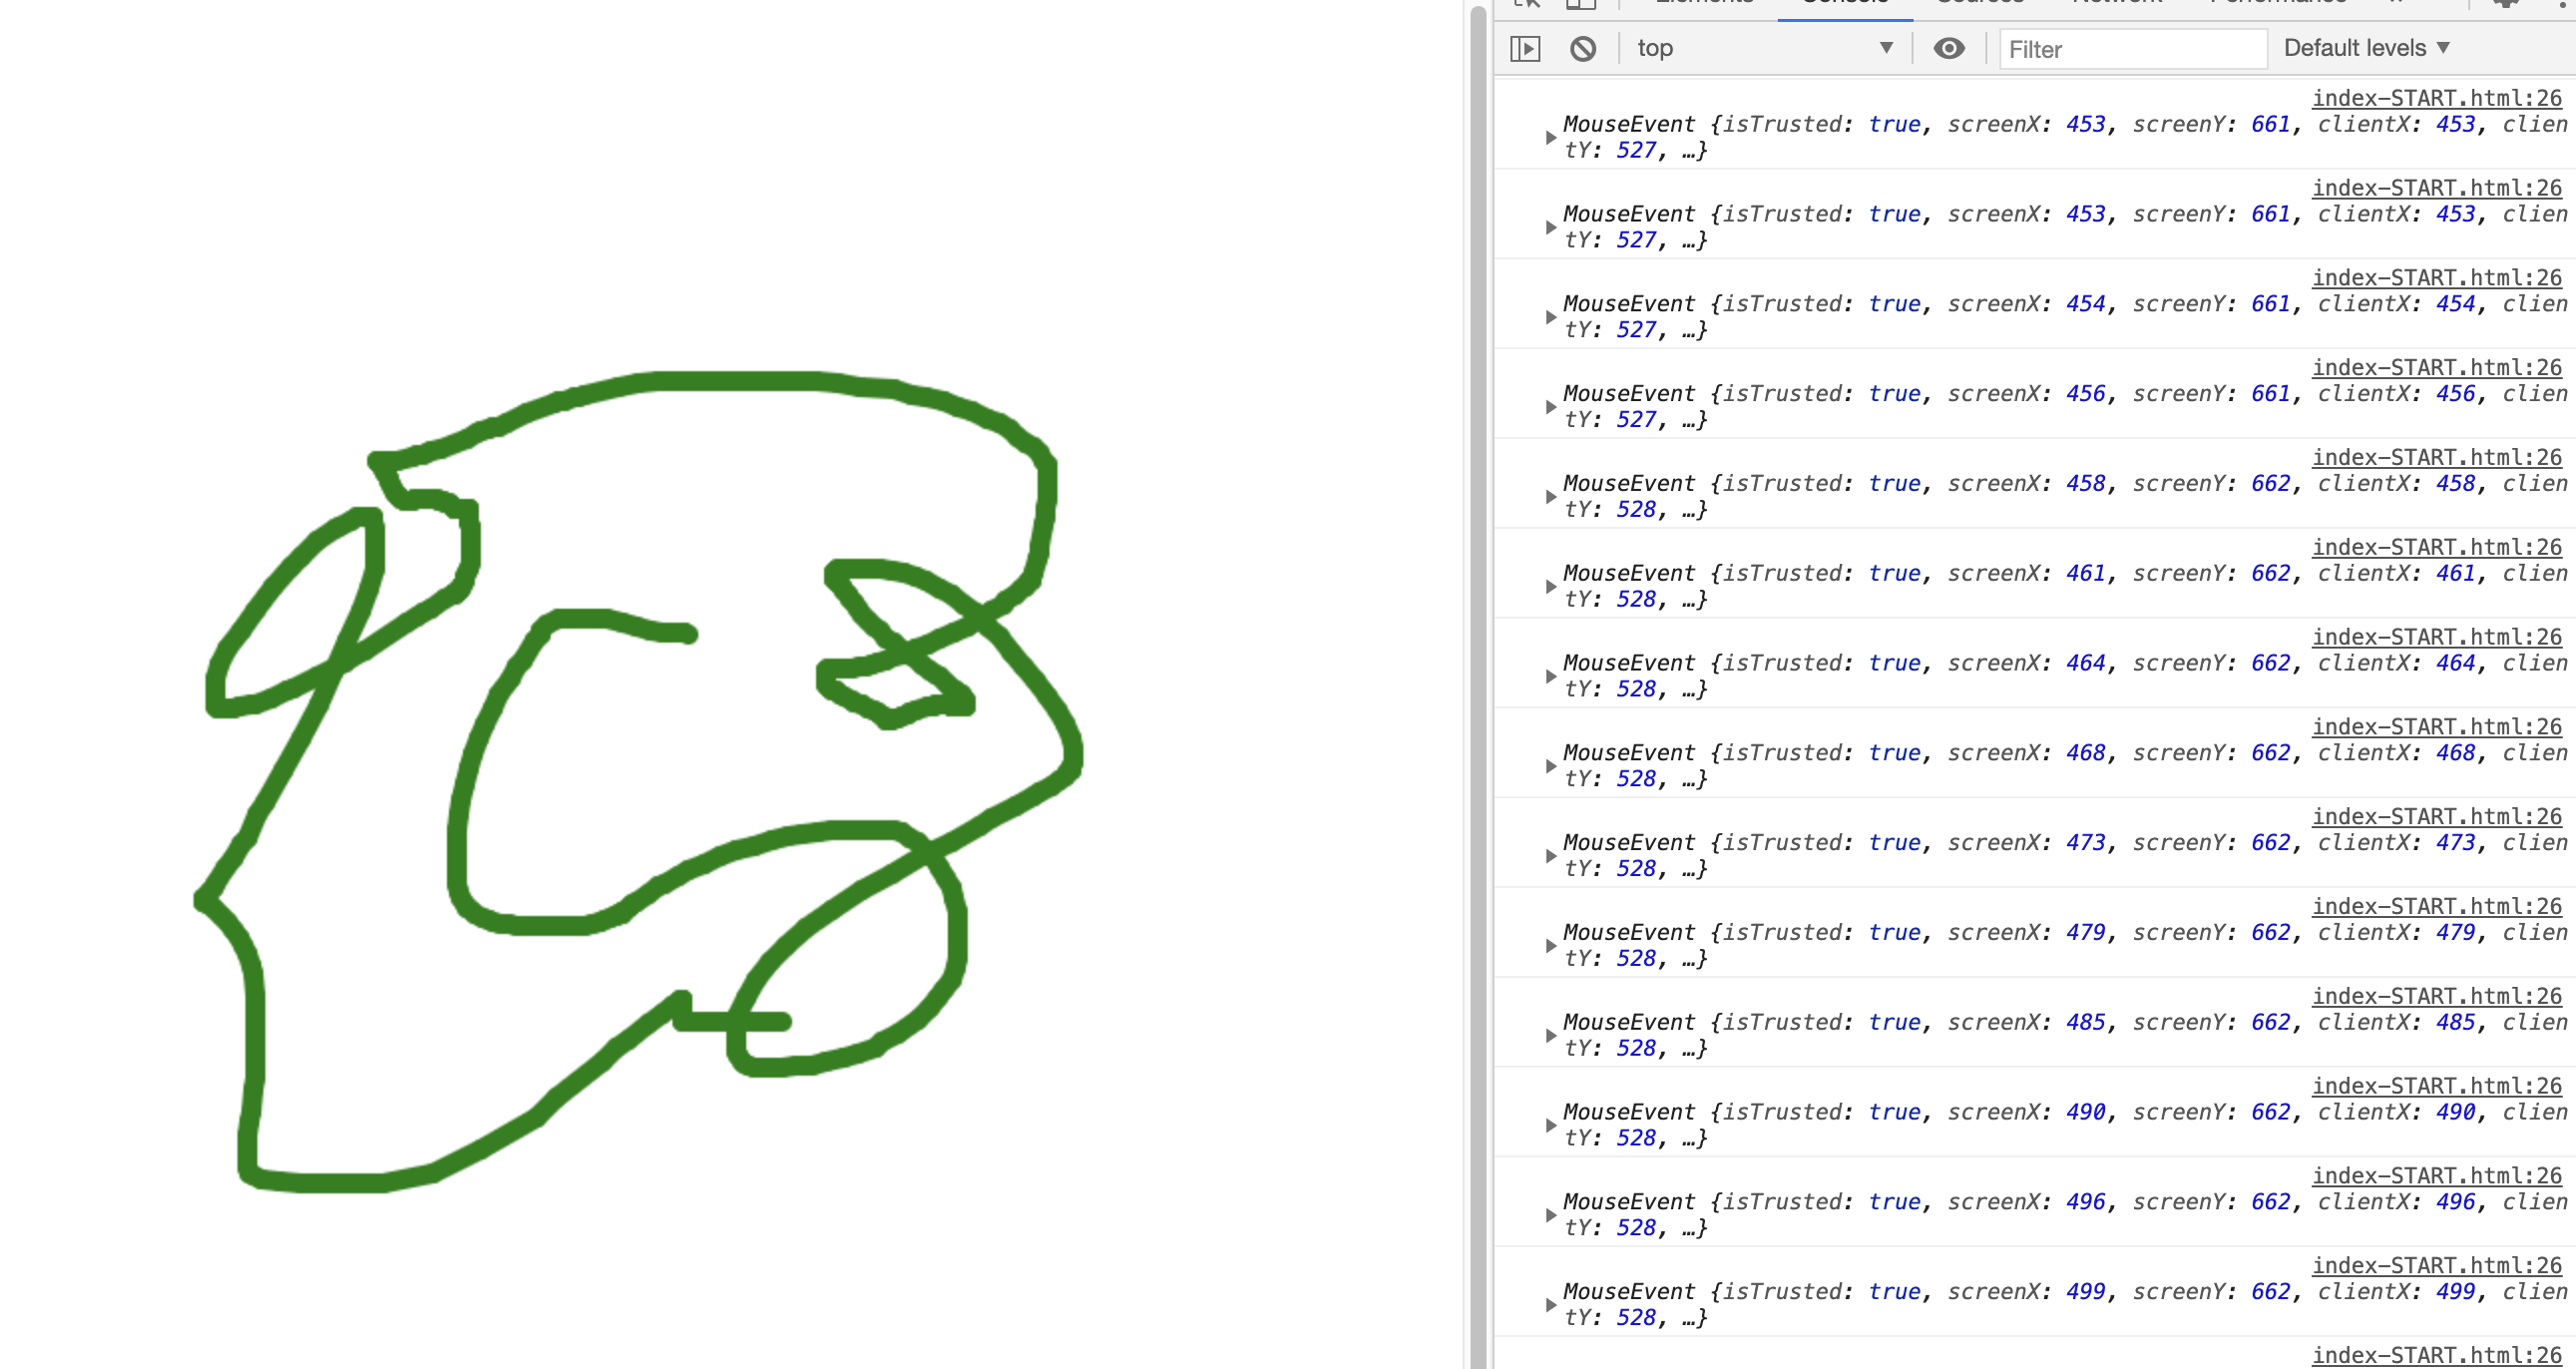
function draw(e) {
if (!isDrawing) return; // stop the fn from running when they are not moused down
console.log(e);
ctx.beginPath();
// start from
ctx.moveTo(lastX, lastY);
// go to
ctx.lineTo(e.offsetX, e.offsetY);
ctx.stroke();
[lastX, lastY] = [e.offsetX, e.offsetY];
}
canvas.addEventListener('mousedown', (e) => {
isDrawing = true;
[lastX, lastY] = [e.offsetX, e.offsetY];
});
canvas.addEventListener('mousemove', draw);
canvas.addEventListener('mouseup', () => (isDrawing = false));
canvas.addEventListener('mouseout', () => (isDrawing = false));
</script>느낀 점
- canvas 구동 원리를 알아보면서 코드라는게 결국 사람의 사고를 반영한다는 느낌을 받았음
- canvas를 잘 배워두면, 굉장히 다양한 응용이 가능할 것 같음

21c Carpenter