개발을 시작한지 1년이 되어간다.
배운 내용을 기록하는 블로그를 노션으로 하다보니 혼자 정리하는데는 좋지만 내가 알게된 내용을 공유하는 차원에서는 좋지 않다는 생각이 들었다. 그래서 github pages를 활용해 보기로 하였고, Hugo를 이용해서 관리하기로 하였다.
Jekyll, Hexo, Hugo 이 세가지 중에 Hugo가 빠르고, Golang을 사용해 볼 수 있어서 좋다는 생각이 들었다.
Hugo를 이용한 정적 Github pages 만들기를 해볼텐데 아래 블로그 링크를 거의 참조 하였기 때문에 아래 링크를 보고 해도 될 것 같다. git init이라던지 main 브렌치에서 하는 것을 제외하고는 거의 동일 하다.
참고한 블로그 링크 : gurumee92.github.io
Hugo 설치
시작하기 전에 아래 3가지는 해야한다.
- HomeBrew 설치
- Github 회원가입
- Golang 설치
터미널에 아래 입력한다.
# hugo 설치
$ brew install hugo

# hugo 버전 확인
$ hugo version
# 다음이 출력되면 정상적으로 설치된 것이다.
Hugo Static Site Generator v0.74.3/extended darwin/amd64 BuildDate: unknown
Github 레포지토리 생성
github repo를 2개 만들어야 한다.
blog
<username>.github.io
Hugo로 프로젝트 만들기
local 컴퓨터의 blog 생성 폴더에서 아래 코드를 입력한다
# hugo 프로젝트 생성
$ hugo new site blog
# 생성 완료되면 출력 문구
Congratulations! Your new Hugo site is created in /Users/user/Workspaces/blog.

Just a few more steps and you're ready to go:

1. Download a theme into the same-named folder.
   Choose a theme from https://themes.gohugo.io/ or
   create your own with the "hugo new theme <THEMENAME>" command.
2. Perhaps you want to add some content. You can add single files
   with "hugo new <SECTIONNAME>/<FILENAME>.<FORMAT>".
3. Start the built-in live server via "hugo server".

Visit https://gohugo.io/ for quickstart guide and full documentation.
테마를 설치하면 되는데, 직접 만들 수도 있다고 한다. 나는 기존 공개된 테마를 설치하였다.
공개 테마 링크
$ pwd
# 프로젝트 루트 경로
/Users/user/Workspaces/blog

$ git init
# git initialize
$ git branch -M main
# 브렌치를 main으로 변경

# git submodule add https://github.com/<theme 경로>.git themes/<theme 이름>
$ git submodule add https://github.com/kakawait/hugo-tranquilpeak-theme.git themes/hugo-tranquilpeak-theme

# cp themes/hugo-tranquilpeak-theme/exampleSite/config.toml config.toml
그후 config.toml을 자기 정보에 맞도록 수정해야하는데, baseURL은 반드시 수정하도록 하자
# ...
# 여기가 바뀌어야 합니다.
# https://<username>.github.io/
baseURL = "https://min1321.github.io/"

# ...
languageCode = "en-us"
defaultContentLanguage = "en-us"
title = "min1321's Devlog"
theme = "hugo-tranquilpeak-theme"
disqusShortname = "hugo-tranquilpeak-theme"
# googleAnalytics = "UA-123-45"
paginate = 7
canonifyurls = true

[permalinks]
  post = "/:year/:month/:slug/"
이제 터미널에서 서버를 실행하자
$ hugo server
Start building sites …
hugo v0.89.4+extended darwin/amd64 BuildDate=unknown

                   | EN-US
-------------------+--------
  Pages            |     9
  Paginator pages  |     0
  Non-page files   |     0
  Static files     |     4
  Processed images |     0
  Aliases          |     1
  Sitemaps         |     1
  Cleaned          |     0

Built in 9 ms
Watching for changes in /Users/user/workspace/blog/{archetypes,content,data,layouts,static,themes}
Watching for config changes in /Users/user/workspace/blog/config.toml
Environment: "development"
Serving pages from memory
Running in Fast Render Mode. For full rebuilds on change: hugo server --disableFastRender
Web Server is available at http://localhost:1313/ (bind address 127.0.0.1)
Press Ctrl+C to stop
http://localhost:1313/ 에 접속하면 아래와 같은 화면을 볼 수 있다.

Git 레포지토리 연결 및 쉘 스크립트 작성
blog에 Github blog, blog/public에 Github <username>.github.io를 연결한다.
# blog -> blog 레포지토리 연결
# git remote add origin http://github.com/<username>/blog.git
$ git remote add origin https://github.com/min1321/blog.git

# blog/public -> <username>.github.io 연결
# git submodule add -b main http://github.com/<username>/<username>.github.io.git public
$ git submodule add -b main http://github.com/min1321/min1321.github.io.git public
배포를 sh 파일을 이용해서 쉽게 하려한다. deploy.sh 파일을 만들어 주자.
blog/deploy.sh
#!/bin/bash

echo -e "\033[0;32mDeploying updates to GitHub...\033[0m"

# Build the project.
# hugo -t <여러분의 테마>
hugo -t hugo-tranquilpeak-theme

# Go To Public folder, sub module commit
cd public
# Add changes to git.
git add .

# Commit changes.
msg="rebuilding site `date`"
if [ $# -eq 1 ]
  then msg="$1"
fi
git commit -m "$msg"

# Push source and build repos.
git push origin main

# Come Back up to the Project Root
cd ..


# blog 저장소 Commit & Push
git add .

msg="rebuilding site `date`"
if [ $# -eq 1 ]
  then msg="$1"
fi
git commit -m "$msg"

git push origin main
터미널에서 sh 파일 권한을 주고 실행한다.
# deploy.sh 실행 파일 권한 부여
$ chmod 777 deploy.sh

# 배포 실행
$ ./deploy.sh
https://<username>.github.io 에서 블로그를 볼 수 있다!!!
새로운 글 작성하기
신규 포스트는 다음과 같이 터미널에 입력하면 된다.
# hugo new post/<원하는 패쓰>/파일 이름.md
$ hugo new post/test.md
Content "/Users/user/workspace/blog/content/post/test.md" created
그러면 blog/content/post/ 에 test.md가 생성된다. 그걸 수정해서 블로그를 작성하면 되겠다.
터미널에서 로컬 서버 열어본다.
# 로컬 서버 실행
$ hugo server -D
# http://localhost:1313 접속하여 확인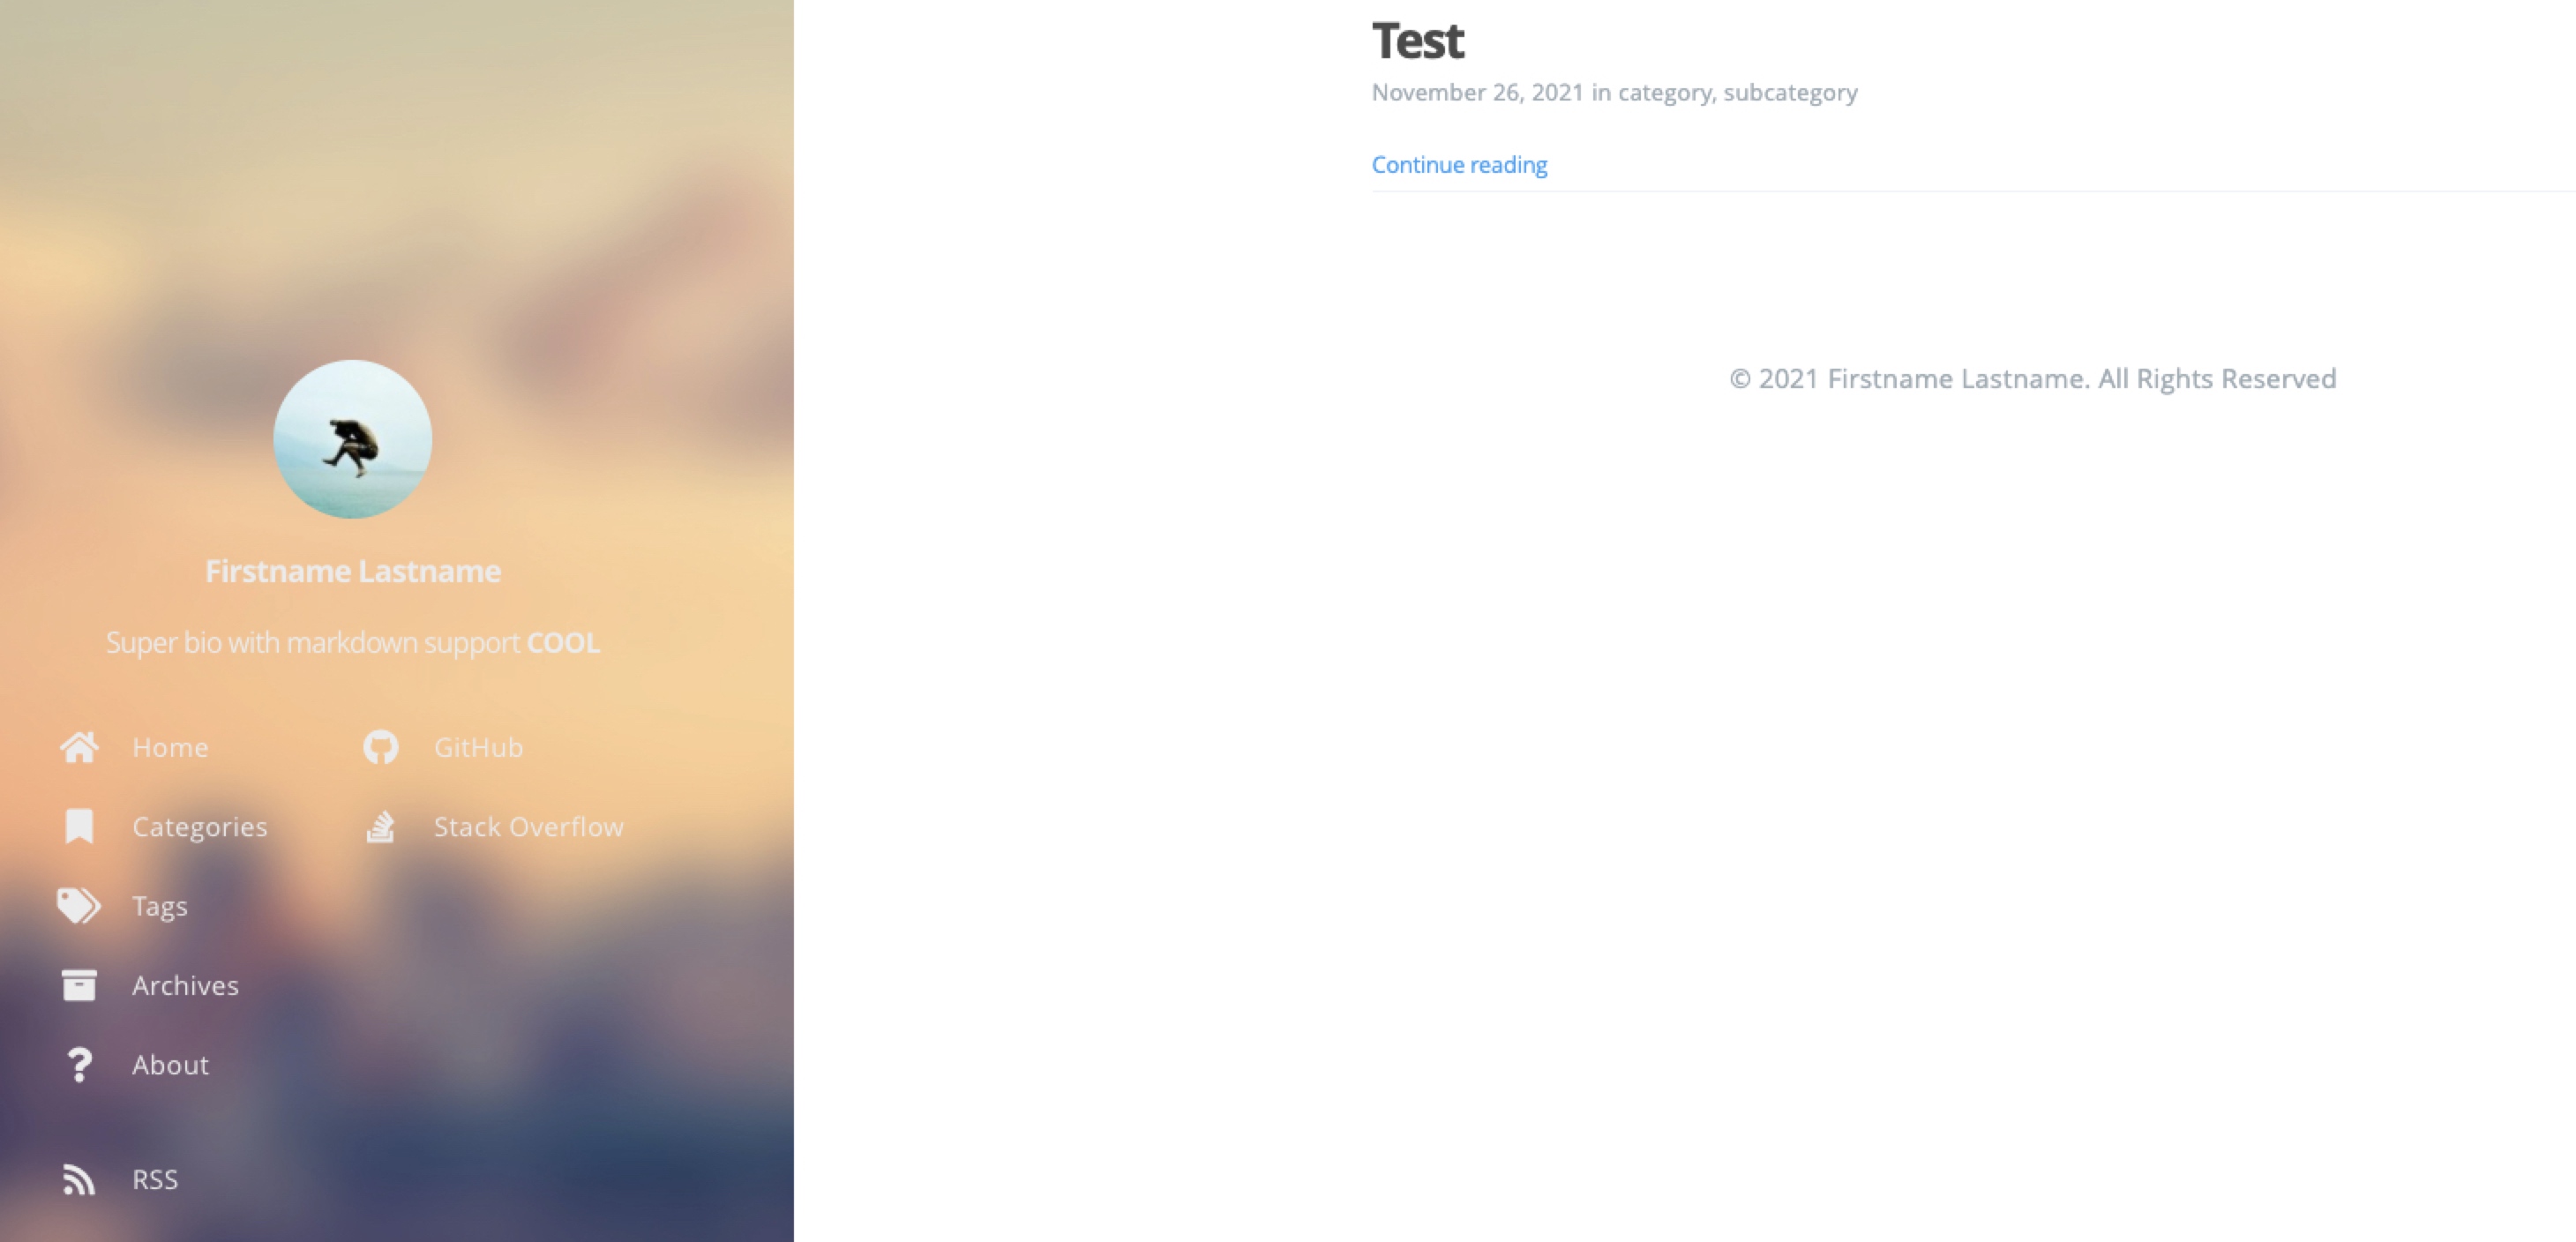
컨텐츠 작성후 배포를 하면 된다.
$ ./deploy.sh댓글 추가하기
레포지토리를 하나 더 만들어야 한다. gurumee92님이 하신대로 blog-comments라는 이름으로 repo를 만들었다. 이 곳 에서 “repo” 입력 창에, 자신의 레포 min1321/blog-comments를 입력하면 된다.
아래에 스크립트가 생성된다.
<script src="https://utteranc.es/client.js"
        repo="min1321/blog-comments"
        issue-term="title"
        theme="github-light"
        crossorigin="anonymous"
        async>
</script>
이 스크립트를 복사해서 blog/themes/hugo-tranquilpeak-theme/layouts/partials/post/comment.html에 붙여넣었다.
blog/themes/hugo-tranquilpeak-theme/layouts/partials/post/comment.html
    <!-- <div id="disqus_thread">
      <noscript>Please enable JavaScript to view the comments powered by Disqus.</noscript>
    </div> -->

    <!-- 추가코드 -->
    <script src="https://utteranc.es/client.js"
        repo="min1321/blog-comments"
        issue-term="title"
        theme="github-light"
        crossorigin="anonymous"
        async>
    </script>
결론
만드는게 쉽지 않다. github를 통해 md를 작성하고, 이미지를 추가하는 것이 쉽지 않은 듯 한데, 계속할 수 있을지 걱정이다. 그냥 velog를 쓸까 생각이 드는데, 우선은 둘 다 해보겠다.
참고

블로그 잘 봤습니다. 덕분에 제 깃헙블로그를 이쁘게 만들었습니다. 근데 혹시 댓글기능부분에서 이해가 잘 안되서 그런데 "이곳" repo창에서 script를 받은 후 html에 복붙해야하는데 어느 위치에 하면 될까요?