Obejct Detection을 수행할 때 필수 요소인 bounding box
custom dataset을 training 하기 위해서는 해당 dataset의 label이 필요하다
직접 이미지에서 탐지하고자 하는 물체가 어디에 존재하는지 지정해줄 필요성이 존재
→ labelImg을 사용하여 물체의 좌표값과 label을 설정
설치 및 실행
-
labelImg github 에서 github file을 download
-
git clone or .zip download
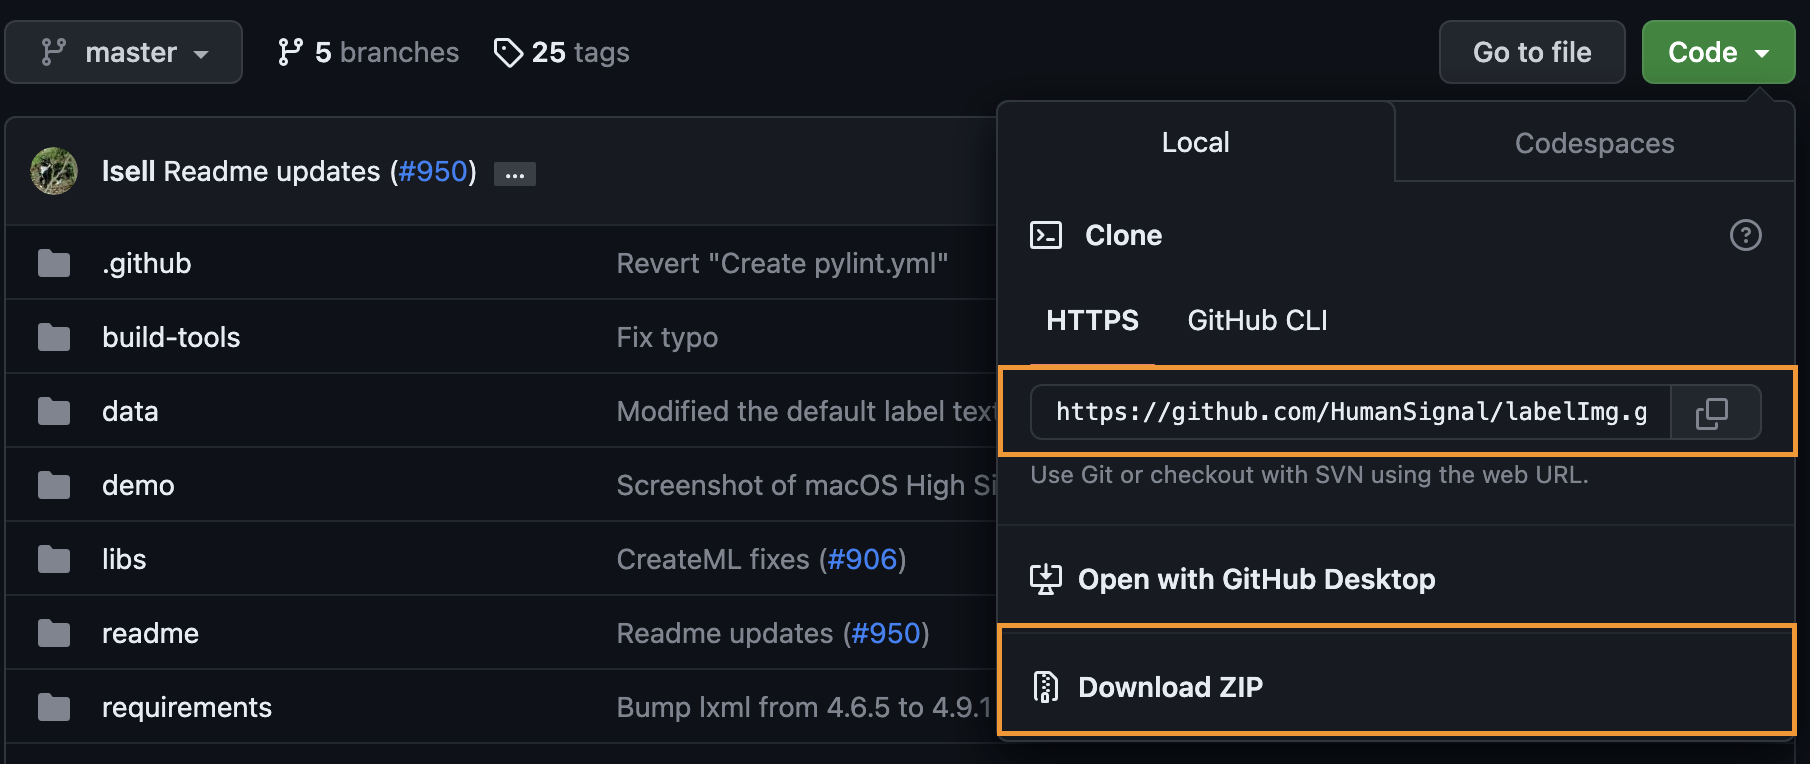
$ git clone https://github.com/heartexlabs/labelImg.git -
download한 labelImg directory로 이동
$ cd [download path]/labelImg
-
- 필요한 library 설치
사용 환경에 따라 알맞은 설치 방법을 따라가면 됨
Windows 10 + python venv module 기준으로 작성
(mac upload 예정)
Windows에서 작업할 때, cmd/power shell 관리자 모드로 실행
(1) pip install pyqt5
(2) pip install lxml
(3) pyrcc5 -o libs/resources.py resources.qrc
-
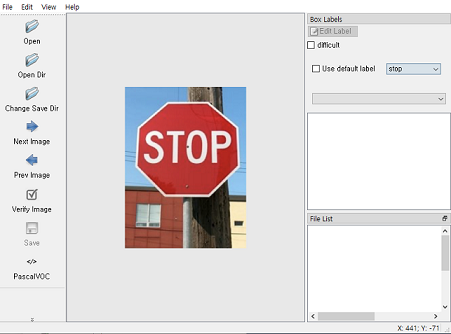
labelImg 실행
(1) labelImg directory를 찾아 감
(2) directory 내의 labelImg.py 실행$ python labelImg.py [image directory path] [label file]labelImg GUI가 뜨면 성공
label class 작성
- Custom label class 작성 (YOLO 기준)
(1) predefined class에 추가
../labelImg/data/predefined_class.txt 에 기존에 정의되어 있는 class 목록 존재
이 파일에 추가하고 싶은 class 입력 후 저장
(2) 새로운 custom class 생성
target class를 한 줄에 한 class씩 작성
labelImg 사용 방법
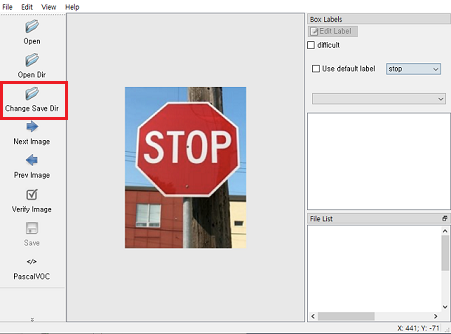
- save directory
bounding box가 저장될 directory 설정
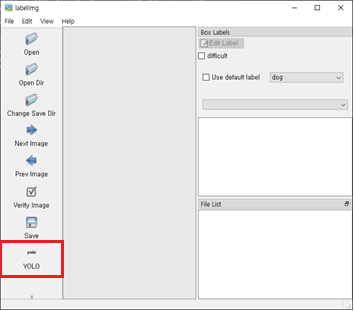
- bounding box 형식
사용하고자 하는 bounding box 형식으로 변경
- bounding box 생성 결과
[YOLO 기준]
[class number] [center x] [center y] [width] [height]
- 단축키
| 단축키 | 내용 |
|---|---|
| Ctrl + u | directory에서 모든 image load |
| Ctrl + r | d |
| Ctrl + s | save |
| Ctrl + d | 현재 label과 rect box copy |
| Ctrl + Shift + d | delete the current image |
| Space | Flag the current image as verified |
| w | rectangle box 생성 |
| d | next image |
| a | previous image |
| del | 선택한 rectangle box 삭제 |
| Ctrl ++ / -- | Zoom in / Zoom out |
* [view] - [auto save mode] : 자동 저장
