GitHub repository
GitHub 계정을 생성한 뒤에 코드를 정리하기 위한 repository 생성 방법
GitHub의 원격 repository와 local repository를 연동하여 code를 관리
1. Clone 방식
GitHub에 remote repository를 생성한 뒤 해당 repository를 local에 clone해서 연동하는 방식
clone으로 연동하면 remote add 없이 remote repository와 local repository 연동 가능
-
remote repository 생성
github login 한 뒤에 your repositorie의 초록색 new 버튼을 누르면 새로운 repository를 생성할 수 있음
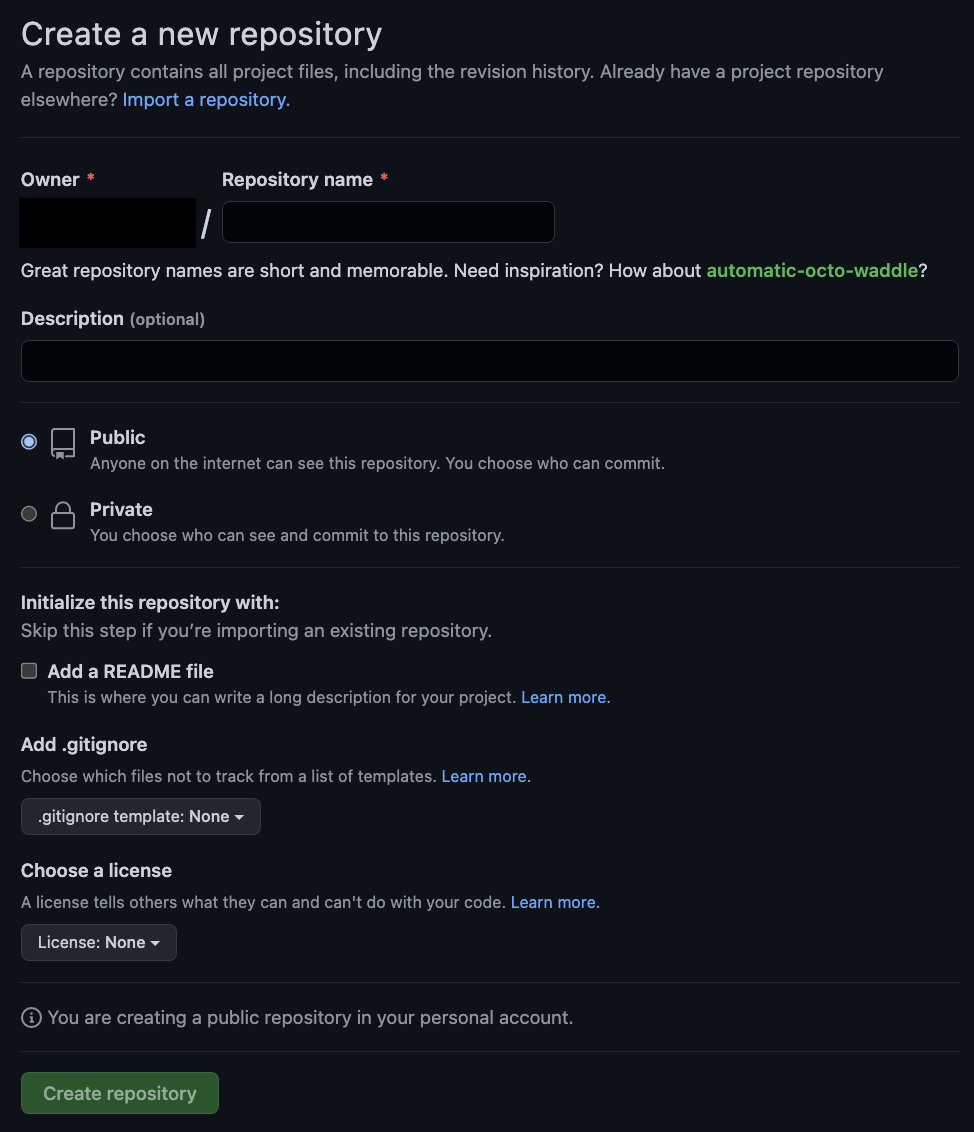
생성하고자 하는 repository name을 기입하고 해당 repo의 공개 범위를 설정
Add a README file을 선택하면 repo와 함께 readme file이 생성
but 이 file을 생성한 뒤 local과 연동하려면 fetch 등의 다른 작업들이 필요 -
remote repository를 local로 clone
ssh 주소는 github repo를 생성하면 아래 그림과 같이 초기 세팅을 위한 정보에서 확인할 수 있음
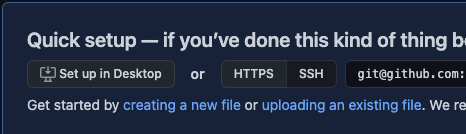
ssh 주소를 터미널에서 git clone과 함께 입력하면 local에 해당 repo가 생성
$ git clone [ssh address]2. local repo를 연동하는 방식
local에 존재하는 폴더를 github에 연동
remote repository를 clone해서 사용하는 방식이 초기 setting을 필요로 하지 않는다는 편리함이 존재하지만, 코드 변경 및 추가 시 마다 업로드 및 업데이트가 필요
local을 remote에 연동하는 방식은 github를 처음 접했을 당시에 사용하던 방법이어서 좀 더 익숙한 방법
또한, 진행하던 작업이 완료된 후에 github에 업로드 할 때 좀 더 편리한 방식이라고 생각
- remote and local repository 생성
remote repository는 위의 방법과 같이 생성
local repository는 code를 저장하고자 하는 경로에 생성
- local과 remote 연결
main/master branch를 생성 및 이동하면서 연동
만약 원래 main/master branch가 존재하는 경우 현재 branch를 확인 후 add하면 됨
$ cd [folder path]
$ git init (git initialization)
$ git remote add origin <git ssh path>
$ git checkout -b main (main branch를 만들면서 이동)
or
$ git branch (현재 branch 확인)
$ git checkout [이동하려는 branch name]
$ git add . (수정한 file 전부 add)
or
$ git add filename.txt(file 하나만 add)
$ git status (file의 상태 변경 확인)
$ git commit -m "[commit name]"
$ git push origin main
(git push [remote repo name] [branch name])* 맨 처음 pust 할 때 -u option을 붙이면 다음부터는 pull/push 할 때 맨 처음 설정한 branch로 연결하라는 option
$ git push -u origin main 