CoreGraphics 활용해서 +버튼 그려보기
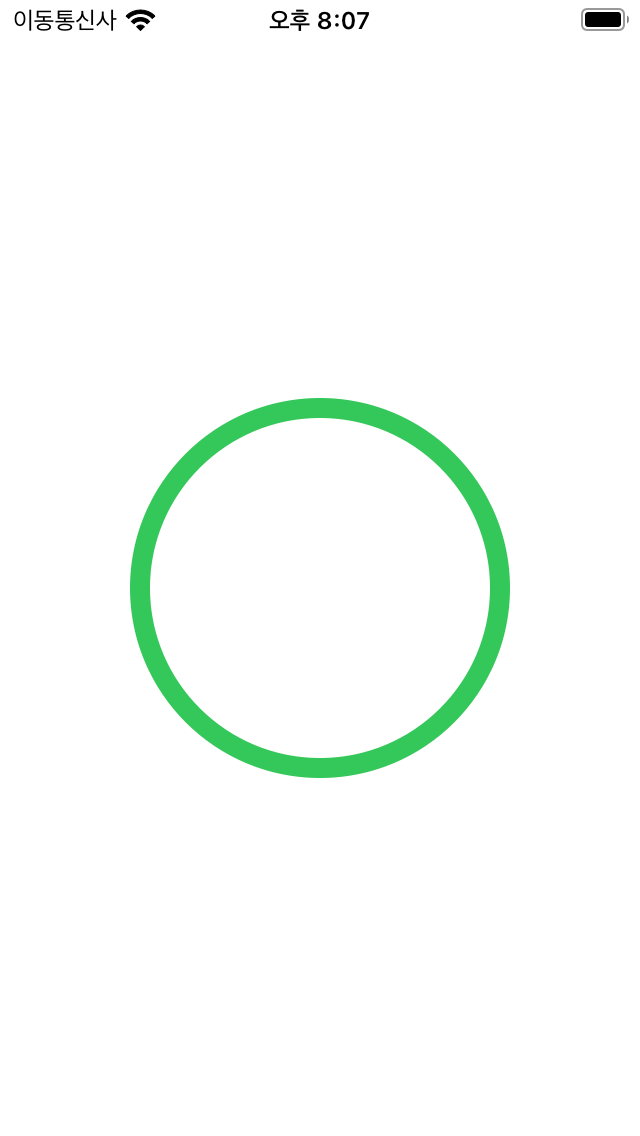
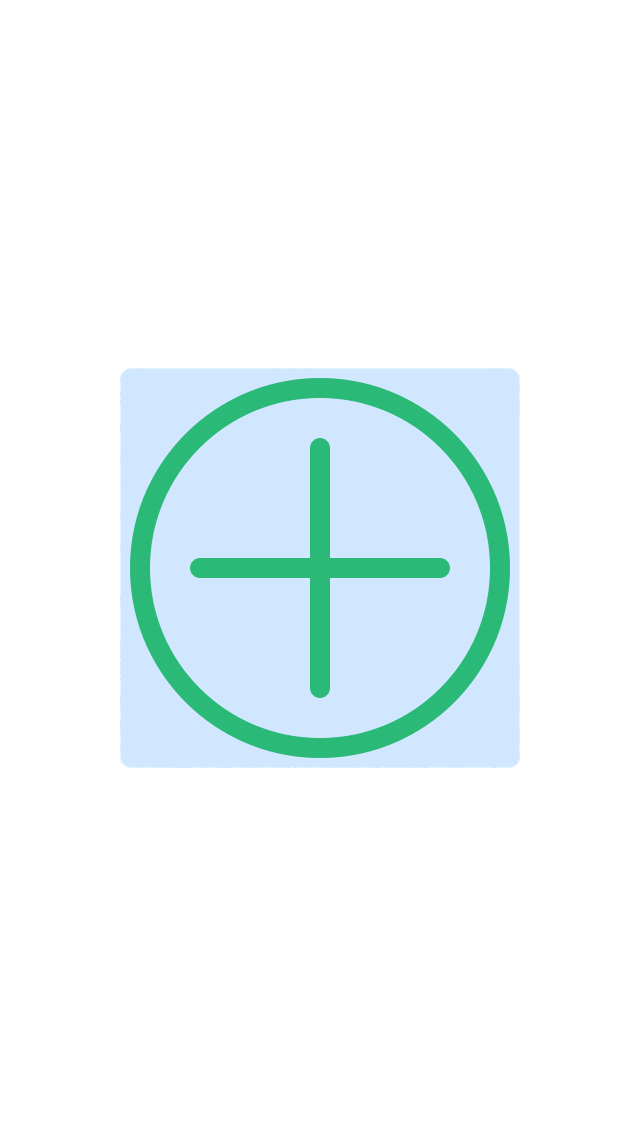
CoreGraphics를 활용해서 아래처럼 버튼에 그림을 그려보았다
1️⃣ Normal State
2️⃣ Selected State
🎨 Core Graphics
Core Graphics는 선, 도형 등을 기반으로 그림을 그리는 2차원 드로잉 툴이다.
Core Graphics는 Quartz라는 그래픽 라이브러리 안에 포함되어 있으며, Quartz는 Core Graphics와 Core Animation으로 구성되어 있다고 한다.
✏️ Core Graphics로 버튼 그려보기
📌 1. 커스텀 버튼 정의
- PlusButton이라는 클래스를 정의하고, UIButton을 상속받는다
📌 2. draw 메서드 재정의
1) 먼저 도화지인 context를 가져온다
2) 라인 두께와 색상을 설정해준다
3) context에 원을 추가해준다
4) isSelected 상태일 경우, 원 내부에 +를 그려준다
5) 현재까지의 path를 그려준다
override func draw(_ rect: CGRect) {
	// 1. context를 가져온다
	guard let context = UIGraphicsGetCurrentContext() else {
    return
    }

    let width = bounds.width
    let height = bounds.height

    // 2. 라인 두께와 색상을 설정해준다
    context.beginPath()
    context.setLineWidth(lineWidth)
    context.setStrokeColor(color.cgColor)

    // 3. context에 원을 추가해준다
    let circle = bounds.insetBy(dx: width * 0.05, dy: height * 0.05)
    context.addEllipse(in: circle)

    // 4. isSelected 상태일 경우, 원 내부에 +를 그려준다
    if isSelected {
    	context.setLineCap(.round) // 선 끝을 둥글게 해준다
        context.move(to: CGPoint(x: width * 0.2, y: height * 0.5)) // 해당 좌표로 이동
        context.addLine(to: CGPoint(x: width * 0.8, y: height * 0.5)) // 위 좌표에서 해당 좌표까지 선 추가
        context.move(to: CGPOint(x: width * 0.5, y: height * 0.2))
        context.addLine(to: CGPoint(x: width * 0.5, y: height * 0.8))
    }

    // 5. 현재까지의 path를 그려준다
    context.drawPath(using: .stroke)
    context.closePath()
}
3번에서 원을 추가할 때, addEllipse()가 있고, strokeEllipse()가 있고, 둘다 원이 잘 그려져서 공식문서를 찾아보니
addEllipse: Adds an ellipse that fits inside the specified rectangle
strokeEllipse: Strokes an ellipse that fits inside the specified rectangle
상당히 비슷한 느낌...
하지만 여러 그림을 겹칠 때 차이가 생기는데
add -> add -> add 하고 drawPath()를 하면 한번에 그려지지만,
add -> add -> add -> stroke -> drawPath()하면 stroke한 그림이 먼저 아래에 깔리게 된다고 한다.
📌 3. @IBDesignable 사용해보기
라이브 렌더링을 사용하면 뷰가 자신의 draw 메서드를 실행해서 스토리보드에서 바로 확인할 수 있다.
1번에서 선언한 커스텀 PlusButton 바로 앞에 @IBDesignable만 추가하면 된다.
그러고나니 렌더링할 수 없다는 오류가 떴었는데.. Xcode 종료하고 다시 실행하니 해결되었다..🙃
📌 4. @IBInspectable 사용해보기
@IBInspectable를 통해 Interface Builder에서 읽을 수 있는 프로퍼티를 추가할 수 있다.
코드 대신 스토리보드에서 해당 프로퍼티를 설정할 수 있게 해준다.
라인의 색과 너비를 스토리보드에서 설정하고 싶으면 아래와 같은 코드를 추가하면 된다
@IBInspectable var color: UIColor = UIColor.systemGreen
@IBInspectable var lineWidth: CGFloat = 10
이러면 초기값은 초록색, 너비 10으로 설정되지만 스토리보드에서 수정할 수 있다.

그리고 draw 메서드 내에서 색과 너비를 셋팅해주는 코드에 위에 선언해준 color과 lineWidth로 바꿔야 한다.
📌 5. ViewController에서 버튼 Action 추가
isSelected 상태에서 tap된 경우 -> !isSelected로 변경해주는 코드 추가
@IBAction func buttonIsTapped(_ sender: PlusButton) {
	sender.isSelected = !sender.isSelected
}
그러면 아래와 같이 버튼을 클릭했을 때만 +가 생긴다!
참고자료