Spring Rest Docs 채택 이유
자바 프로젝트 문서 자동화에는 주로 Swagger 와 Spring Rest Docs 가 사용된다고 한다.
Swagger 의 장점은 API를 테스트 해 볼 수 있는 화면을 제공하는 등 UI가 잘 구성되어 있다는 것이고, 단점은 제품코드와 즉시 동기화가 안 될 수 있다는 점이었다.
Spring Rest Docs 의 장점은 먼저 제품코드에 영향이 없는 방식으로 만들어지며 즉시 동기화가 이루어진다. 장점이자 단점이 될 수 있는 것은 테스트가 성공해야 문서 작성이 된다는 것인데, 테스트가 실패하면 문서가 만들어지지 않는다.
API 문서의 목적은 개발하는 스펙을 정의하는 것이라고 생각한다.
따라서 Spring Rest Docs 로 제품코드에 영향이 없으면서, 수정 내용이 곧바로 문서에 반영되는 점이 API 문서의 목적으로 더 부합한다고 생각했다.
작성 방법
개인 블로그 프로젝트 에서 Spring Rest Docs 문서를 설계해보았는데, 개발 환경은 다음과 같다.
Environment
- Spring Boot 2.7.6
- Java 11
- Junit5
- Gradle 7.5.1
plugins {
	id "org.asciidoctor.jvm.convert" version "3.3.2"
}

ext {
	asciidocVersion = "3.0.0"
	snippetsDir = file('build/generated-snippets')
}

asciidoctor {
	inputs.dir snippetsDir
	configurations 'asciidoctorExt'
	dependsOn test
}

bootJar {
	dependsOn asciidoctor

	copy{
		from asciidoctor.outputDir
		into "src/main/resources/static/docs"
	}
}

configurations {
	compileOnly {
		extendsFrom annotationProcessor
	}
	asciidoctorExt
}

dependencies {
	asciidoctorExt "org.springframework.restdocs:spring-restdocs-asciidoctor:${asciidocVersion}"
	testImplementation "org.springframework.restdocs:spring-restdocs-mockmvc:${asciidocVersion}"
}
우선 위와 같이 build.gradle 파일에 asciidoc 관련 환경 변수를 추가해주고, build 폴더에 복사하기 위해 세팅을 추가해준다.
전체적인 흐름은,
test 실행 -> gradle build 시작 -> asciidoctor 수행 -> bootJar 실행 -> src/main/resources/static/docs 에 html 파일 생성 -> /static/docs/ 폴더에 복사
이런 식으로 수행된다.
그런 다음, 테스트 코드에 ...DocTest 만들어 관련 Annotation을 붙이면 된다.
@SpringBootTest
@AutoConfigureMockMvc
@AutoConfigureRestDocs(uriScheme = "https", uriHost = "api.project-choi.com", uriPort = 443)
@ExtendWith(RestDocumentationExtension.class)
public class PostControllerDocTest {

    @Autowired
    private MockMvc mockMvc;

    @Autowired
    private ObjectMapper objectMapper;
다음에 API 문서에 추가하고 싶은 메서드에 대한 테스트를 아래와 같이 작성하고,
@Test
    @DisplayName("글 등록")
    void post_create() throws Exception {
        // given
        PostCreate request = PostCreate.builder()
                .title("새로운 제목")
                .content("새로운 내용")
                .authorId("1")
                .build();

        // Object -> String
        String json = objectMapper.writeValueAsString(request);

        // expected
        this.mockMvc.perform(post("/posts")
                        .contentType(APPLICATION_JSON)
                        .accept(APPLICATION_JSON)
                        .content(json)
                )
                .andDo(print())
                .andExpect(status().isOk())
                .andDo(document("post-create",
                        requestFields(
                                fieldWithPath("title").description("글 제목")
                                        .attributes(key("required").value("Y")),
                                fieldWithPath("content").description("글 내용")
                                        .attributes(key("required").value("Y")),
                                fieldWithPath("authorId").description("작성자")
                                        .attributes(key("required").value("Y"))
                        )
                ));
    }
우리는 src/main/resources/static/docs 경로에 adoc 파일이 생성되도록 설정했으니 build/generated-snippets 경로에 만들어진 snippets 들을 index.adoc 파일에 include 시켜 문서를 구성해주면 된다.
-- src/docs/asciidoc/index.adoc 경로 파일 --

= **[REST API Docs]** Choi's Blog Project
:toc: left
:source-highlighter: highlightjs
:toclevels: 2
:sectlinks:
:icons: font

== 글 작성

=== 요청
include::{snippets}/post-create/http-request.adoc[]

include::{snippets}/post-create/request-fields.adoc[]

=== 응답
include::{snippets}/post-create/http-response.adoc[]
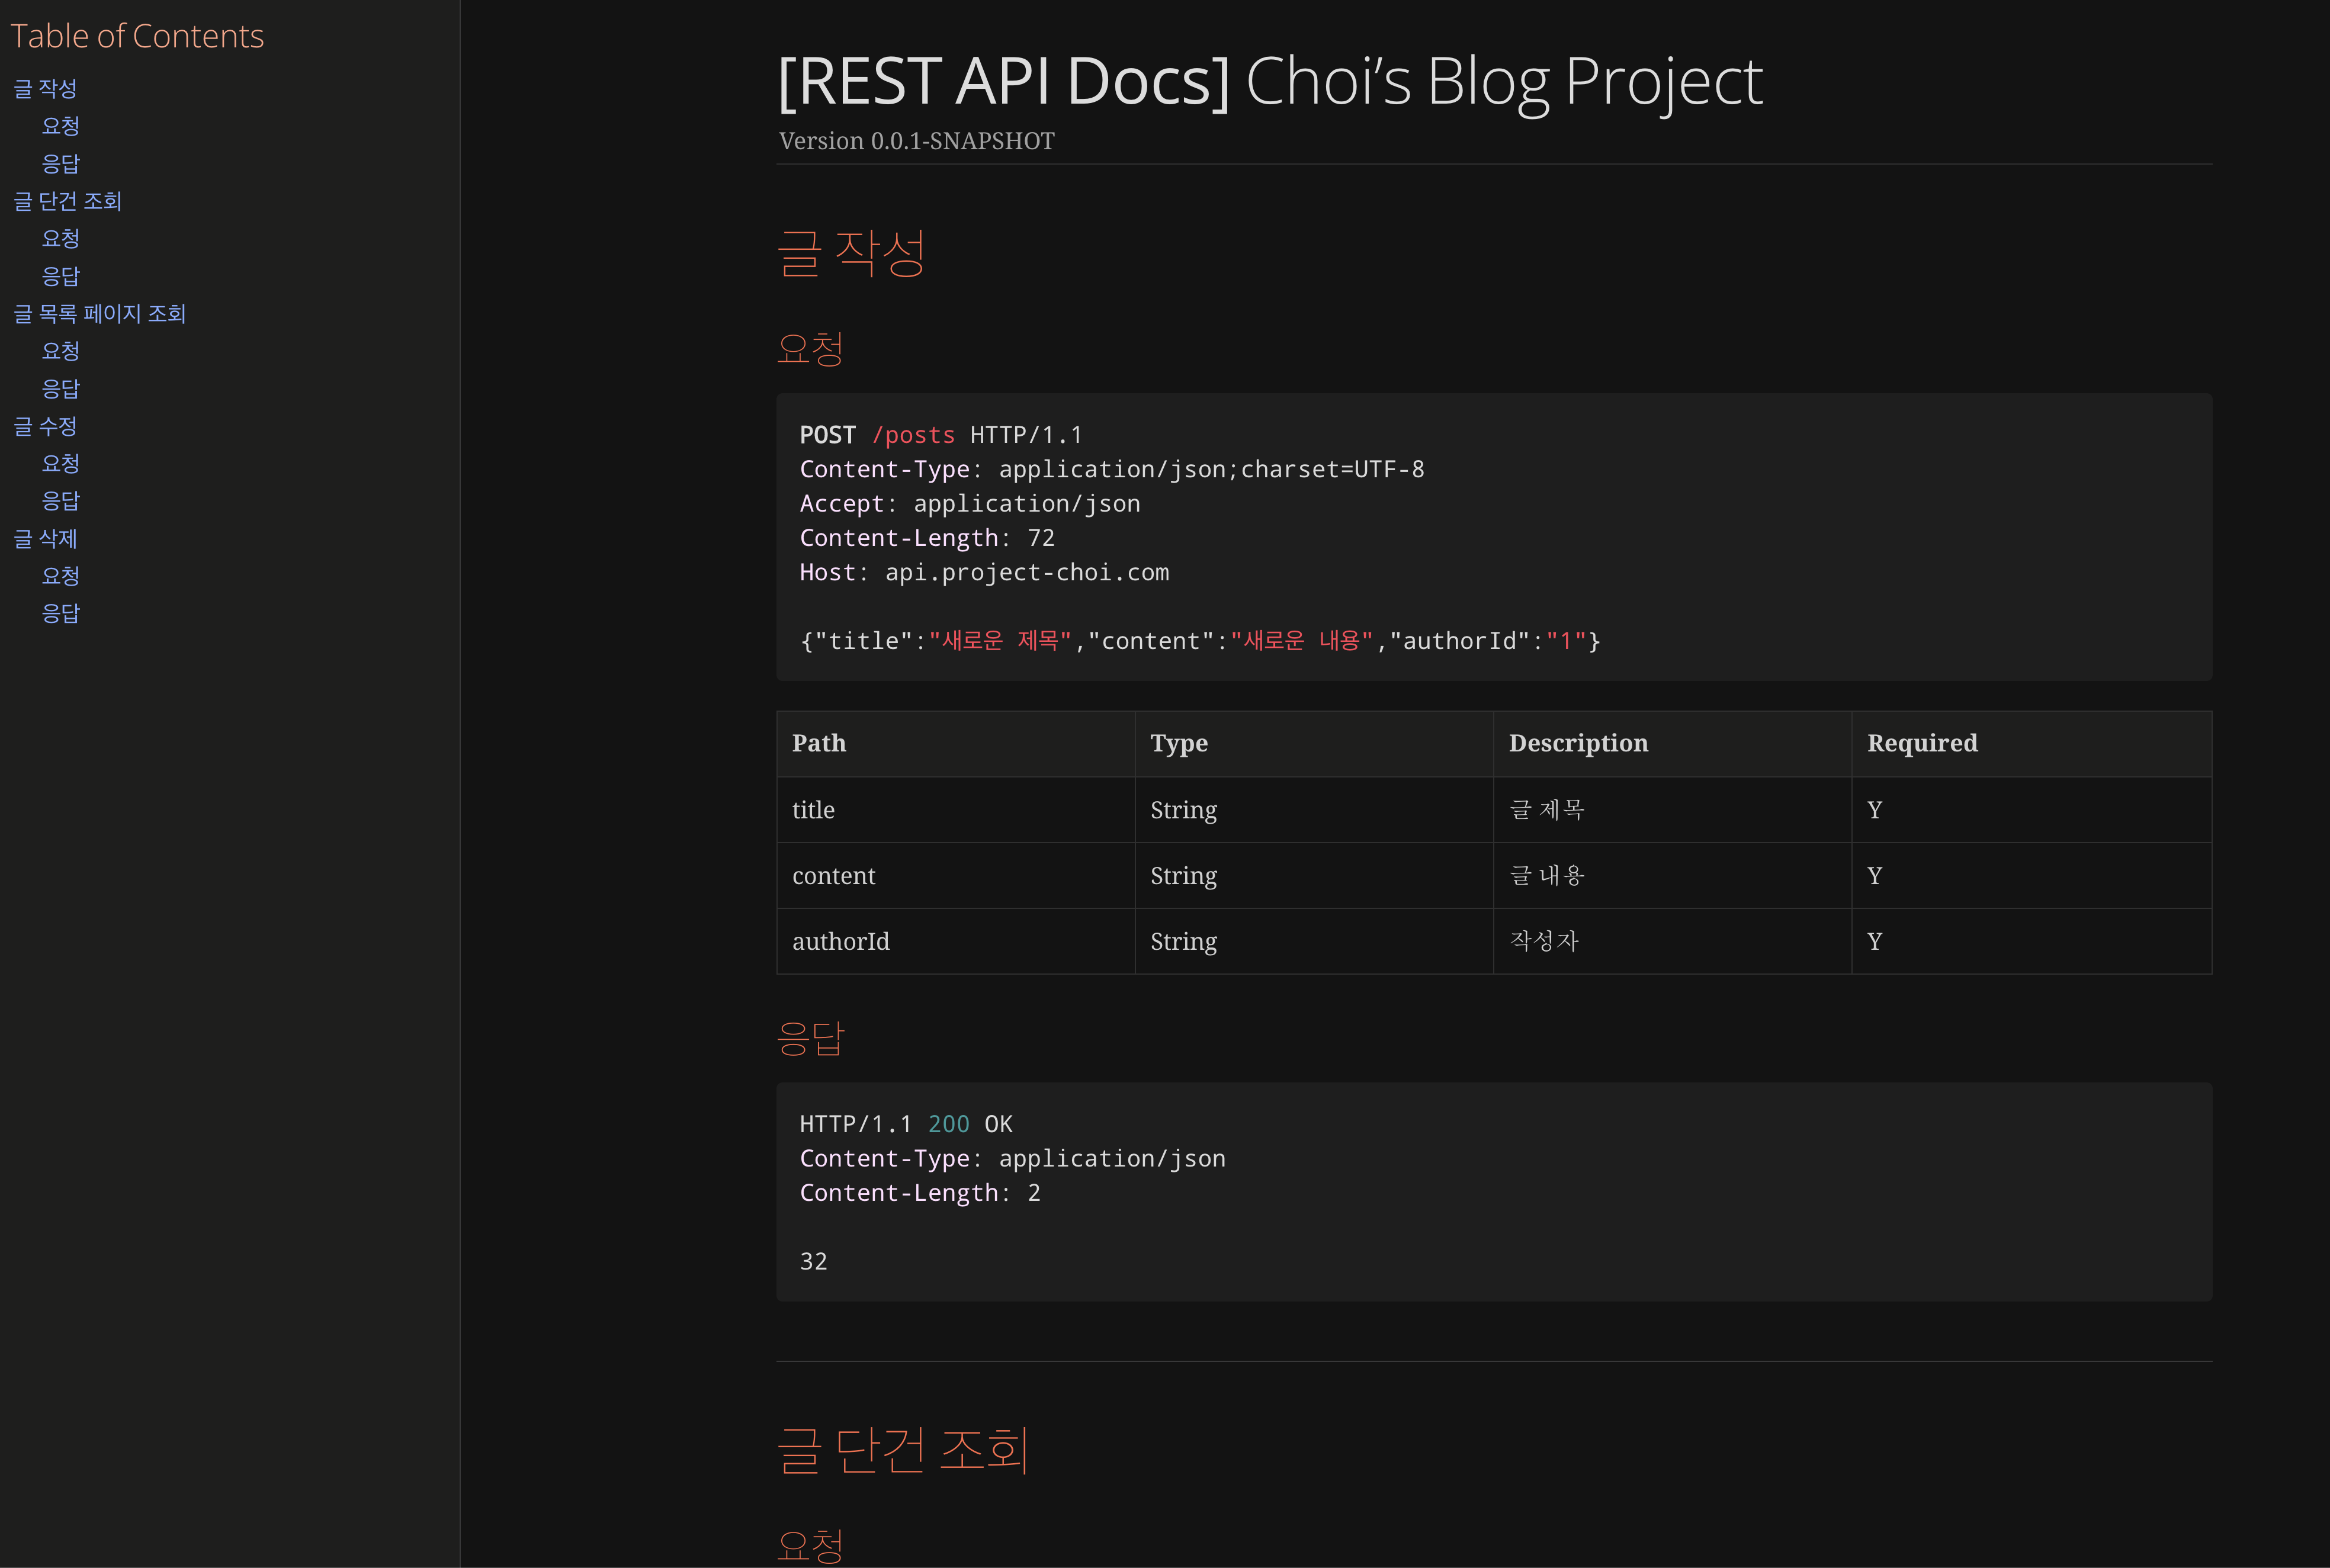
API 문서 생성
위 단계를 모두 마무리하고 테스트를 돌리면, 자동으로 다음과 같이 API 문서가 만들어진다.