
오늘은 코드로 uiview를 만들어 볼꺼다..!
첫번째로 UINavigationController 만드는 방법을 할꺼다.
새로운 Rating-App-Code-Test 프로젝트를 만들어준다.
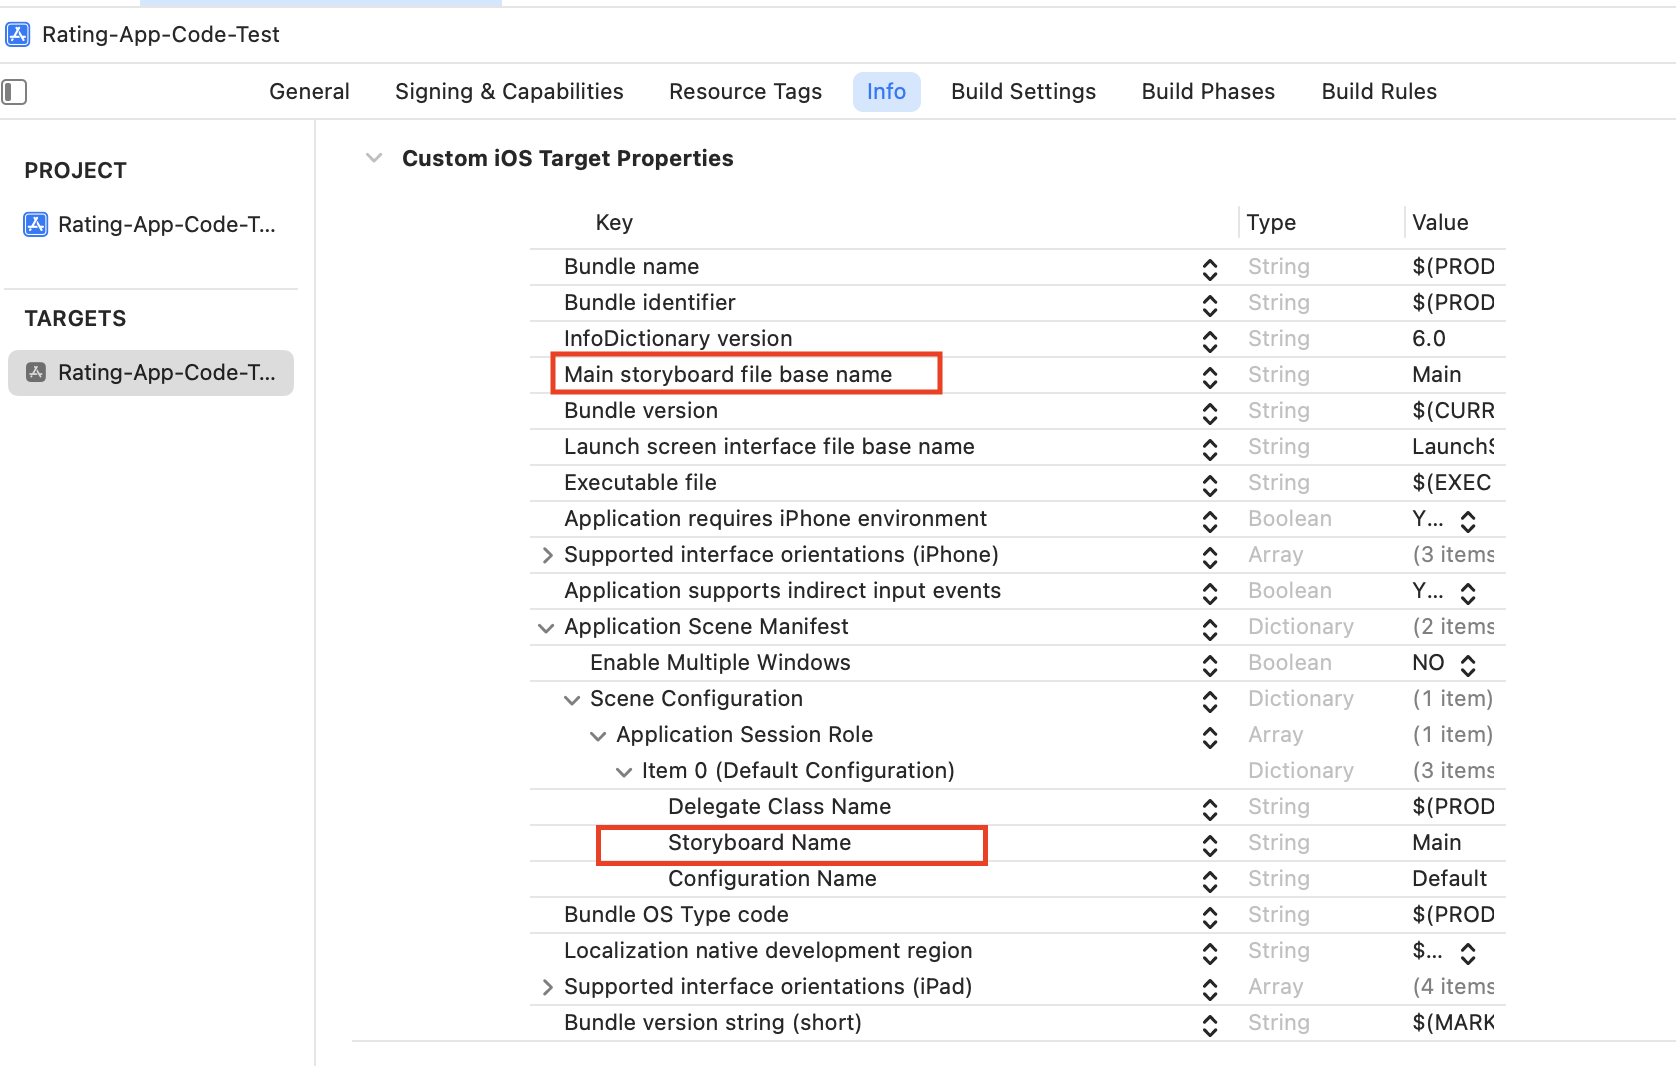
위에서부터 4번째 항목인 Main storyboard file base name과
Scene Configuration항목에 Item 0 하위에 있는 Storyboard Name항목을 delete 한다.

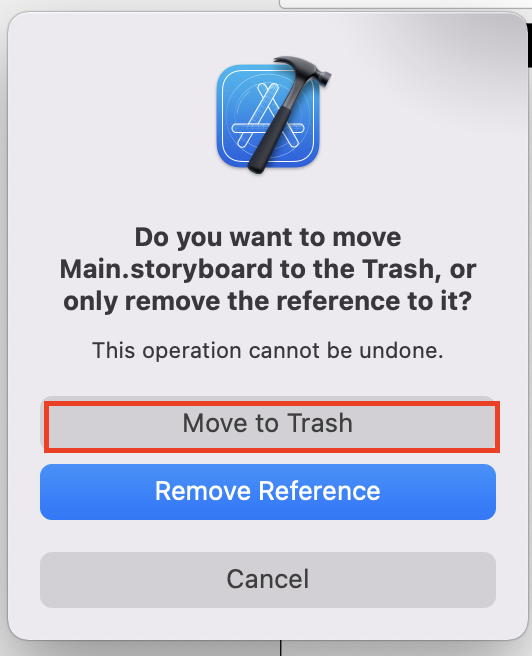 Move to Trash를 눌러준다. 그럼 뾰로롱 하고 main이 사라짐!
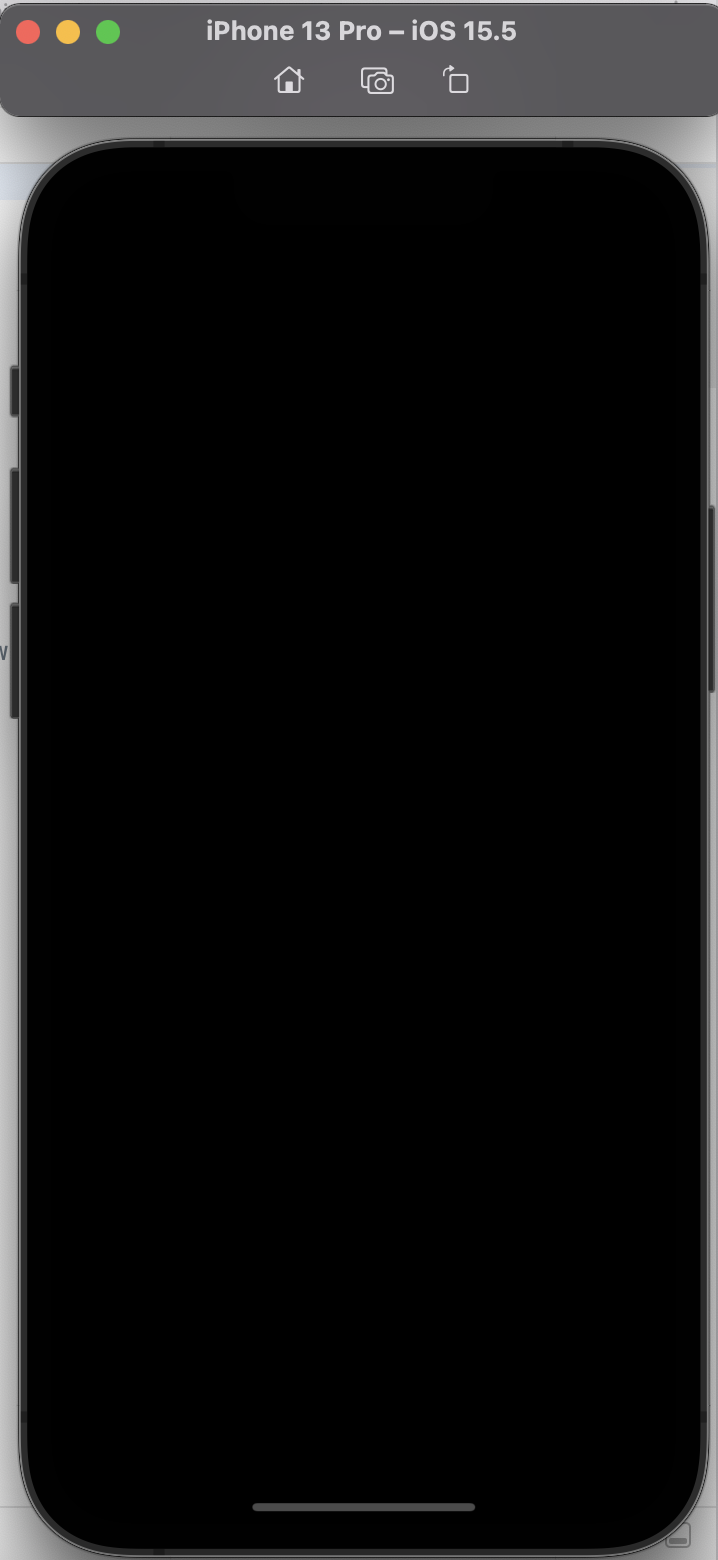 실행을 해주면 이렇게 아무것도 안뜬 검정 화면이 뜬다. 이제 이거를 코드로 연결해줄꺼다.
SceneDelegate로 넘어가서 코드를 수정해준다.
실행을 해주면 이렇게 아무것도 안뜬 검정 화면이 뜬다. 이제 이거를 코드로 연결해줄꺼다.
SceneDelegate로 넘어가서 코드를 수정해준다.
import UIKit

class SceneDelegate: UIResponder, UIWindowSceneDelegate {

    var window: UIWindow?


    func scene(_ scene: UIScene, willConnectTo session: UISceneSession, options connectionOptions: UIScene.ConnectionOptions) {

        guard let _ = (scene as? UIWindowScene) else { return }
    }

    func sceneDidDisconnect(_ scene: UIScene) {


    }

    func sceneDidBecomeActive(_ scene: UIScene) {


    }

    func sceneWillResignActive(_ scene: UIScene) {

    }

    func sceneWillEnterForeground(_ scene: UIScene) {


    }

    func sceneDidEnterBackground(_ scene: UIScene) {


    }


}
코드 수정
import UIKit

class SceneDelegate: UIResponder, UIWindowSceneDelegate {

    var window: UIWindow?


    func scene(_ scene: UIScene, willConnectTo session: UISceneSession, options connectionOptions: UIScene.ConnectionOptions) {

        guard let windowScene = (scene as? UIWindowScene) else { return }
       // windowScene으로 바꿔준다.
        window = UIWindow(windowScene: windowScene)
        window?.rootViewController = ViewController()
        window?.backgroundColor = .systemBackground
        //안해줘도 상관 없지만 안하면 까만화면으로 뜨는 경우가 있어서 해줌.
        window?.makeKeyAndVisible()
        //안해도 상관 없지만 window가 여러개일때 이 window를 'key window'로
        //만들겠다고 하는 명시적인 의미.
    }
    func sceneDidDisconnect(_ scene: UIScene) {

    }
실제 이 파일과 연결되었는지 확인해 보려면 ViewCotroller로 넘어가 backgroundColor로 확인해보면 된다.
import UIKit
class ViewController: UIViewController {
override func viewDidLoad() {
super.viewDidLoad()
view.backgroundColor = .red
//backgroundColor로 확인
}
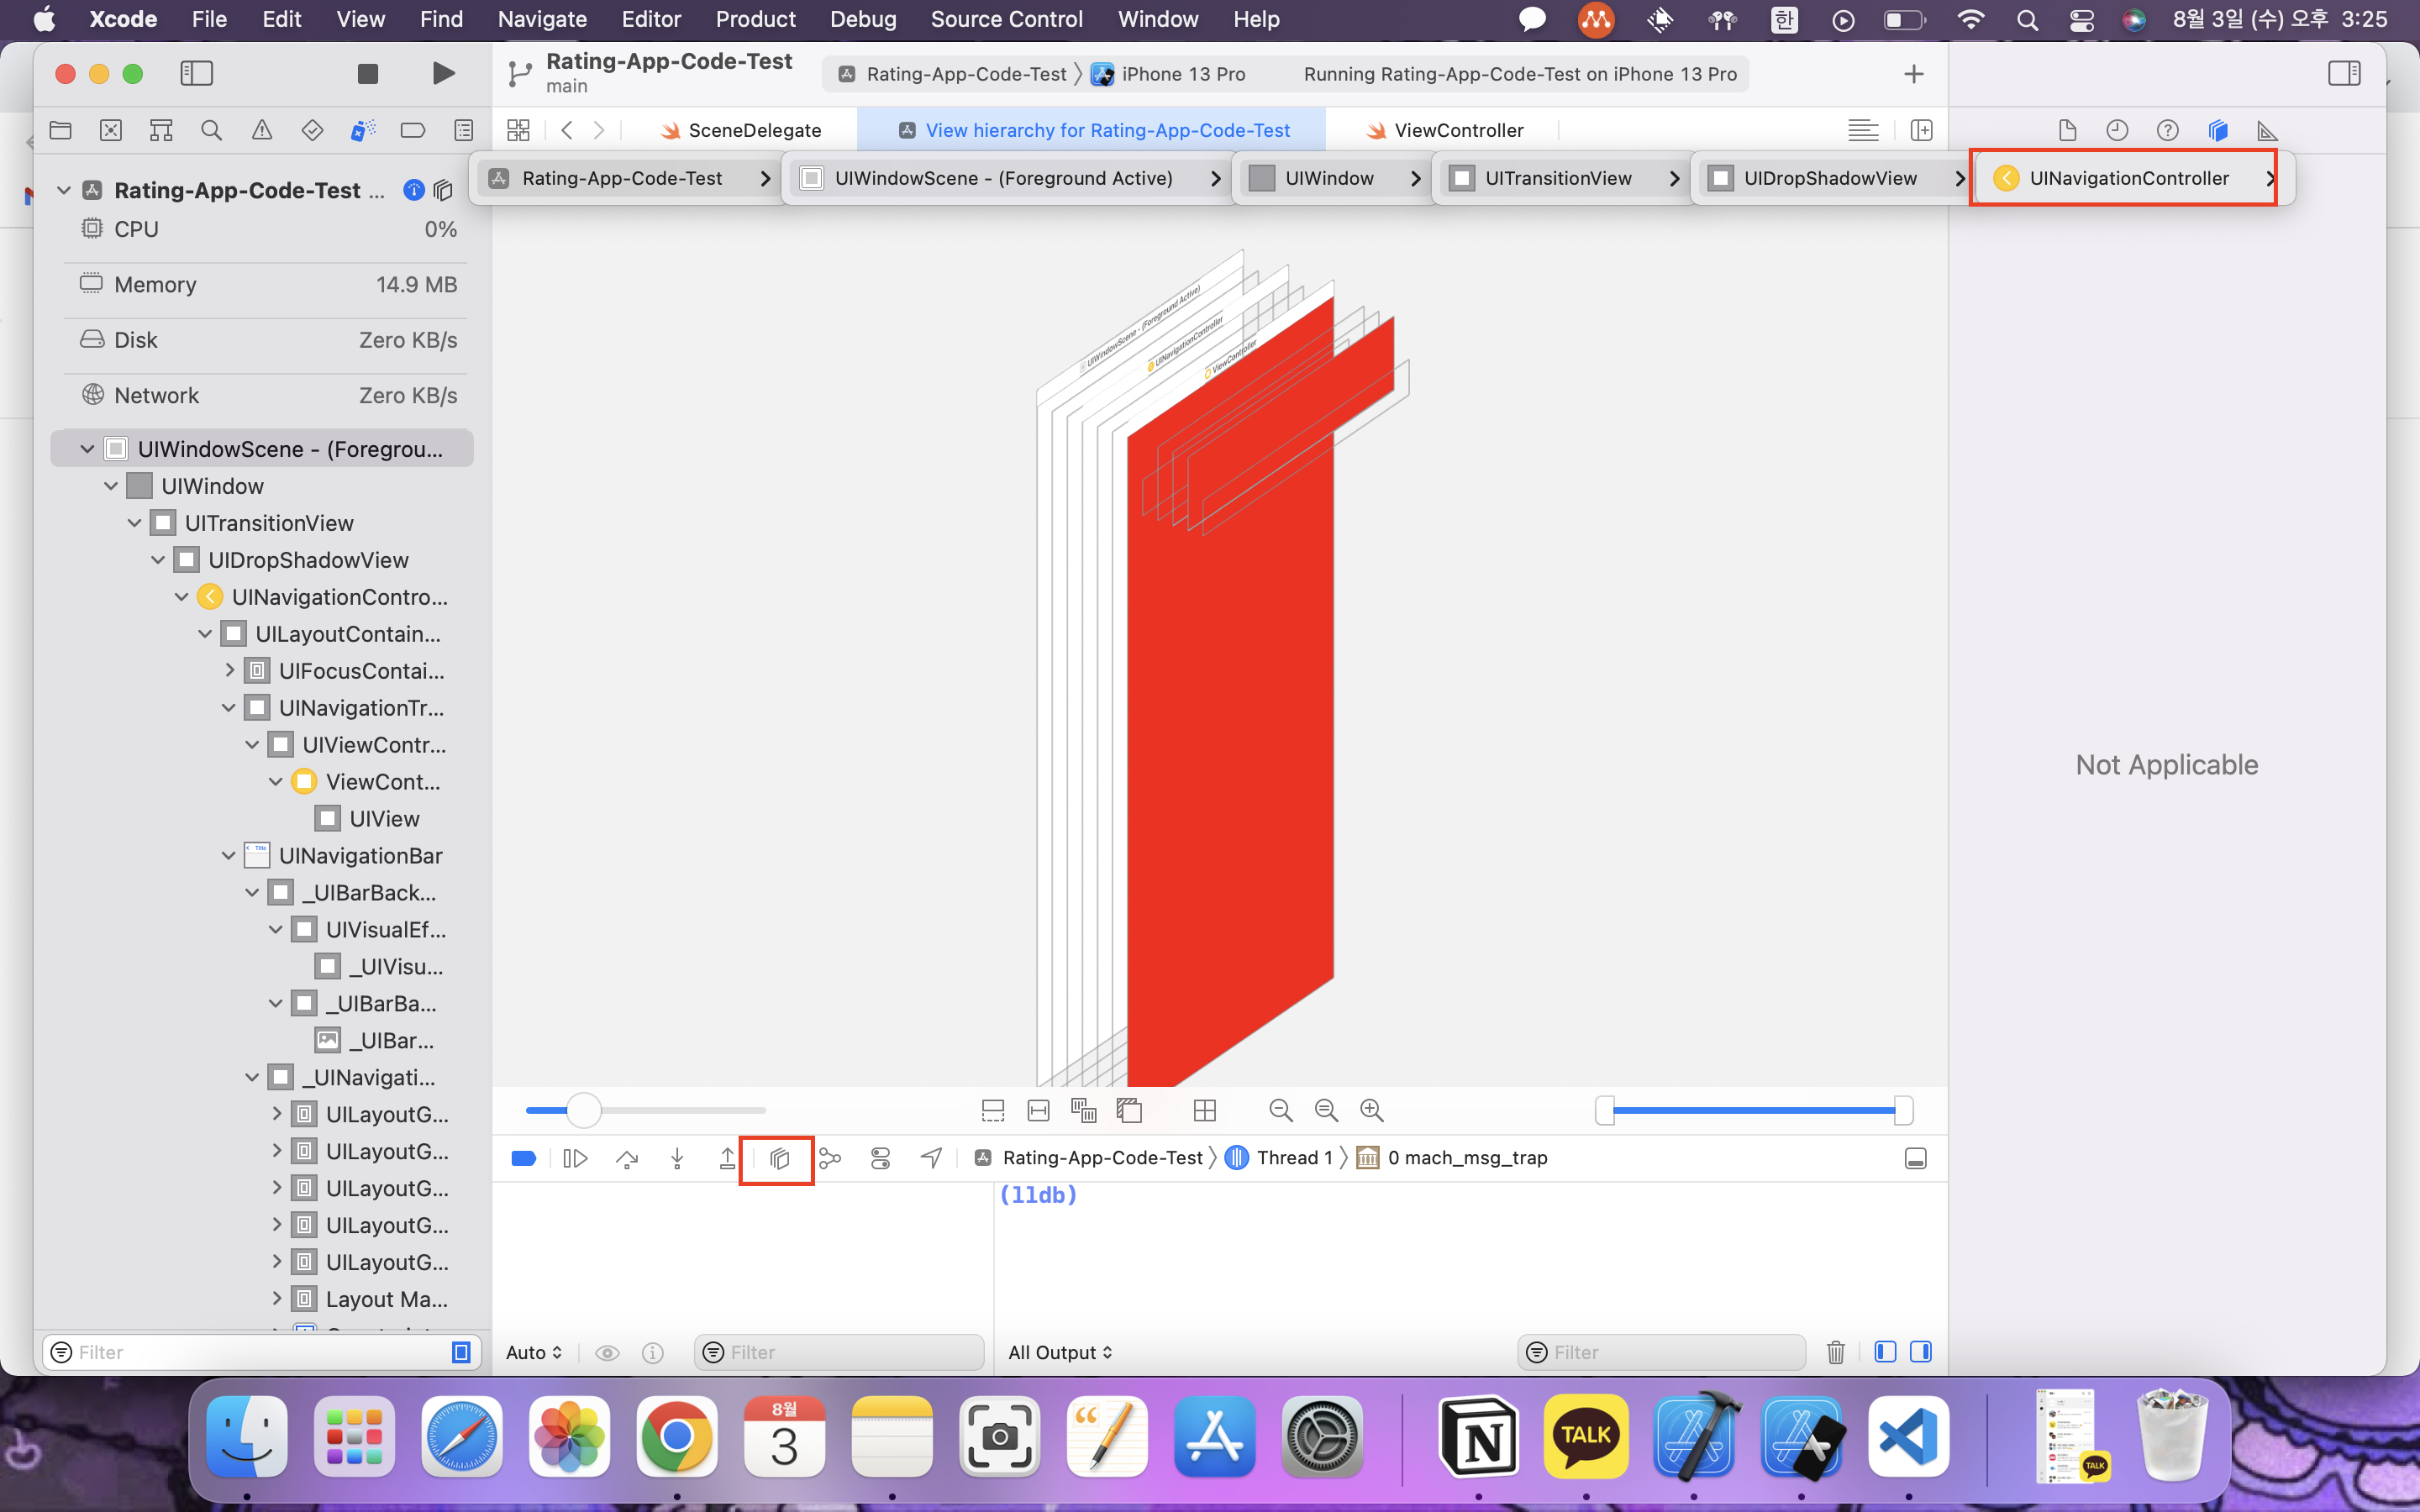
}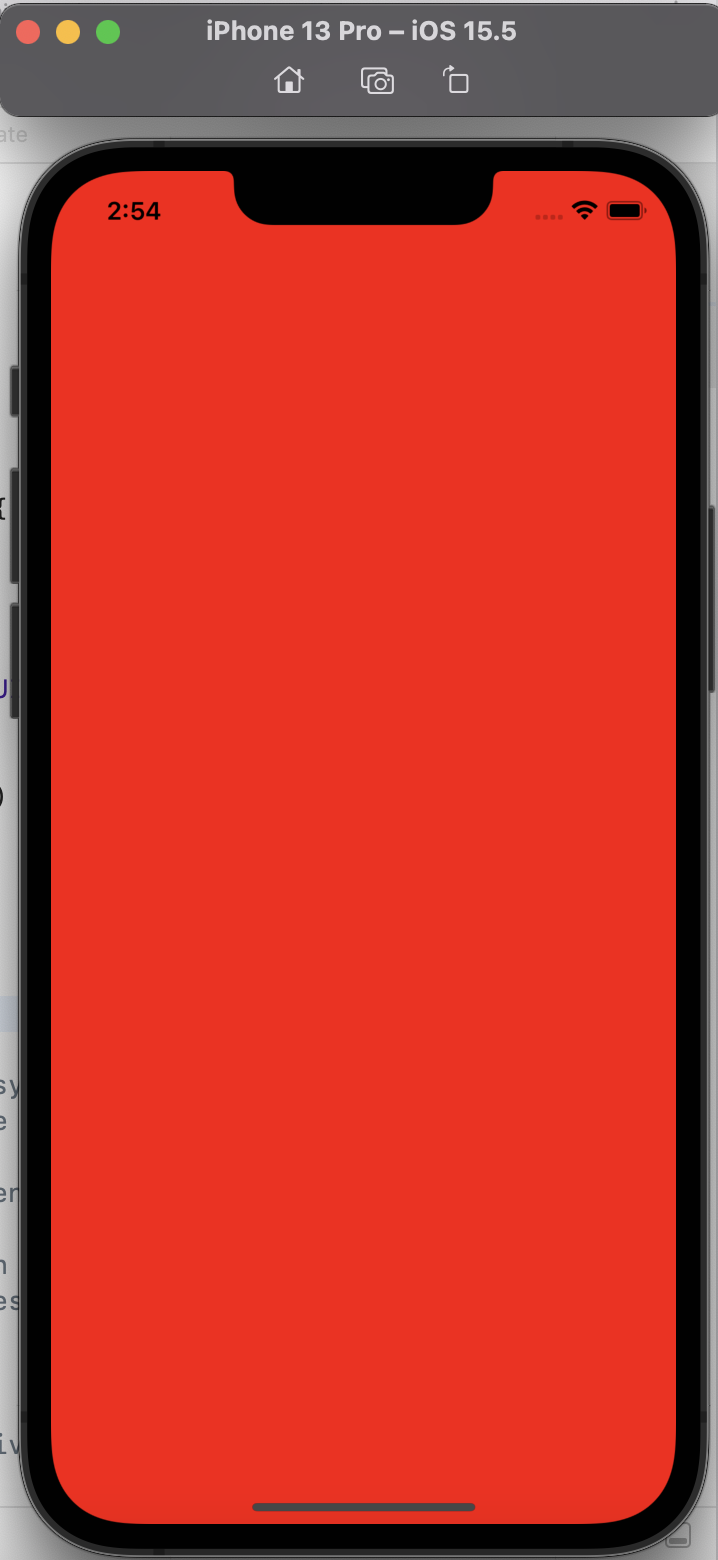 실행해보면 빨간색화면으로 잘 뜬다!
아래 20번줄부터 52번줄까지 코드를 지웠다. NavigationController을 씌워 볼꺼다.
import UIKit

class SceneDelegate: UIResponder, UIWindowSceneDelegate {

    var window: UIWindow?


    func scene(_ scene: UIScene, willConnectTo session: UISceneSession, options connectionOptions: UIScene.ConnectionOptions) {

        guard let windowScene = (scene as? UIWindowScene) else { return }

        window = UIWindow(windowScene: windowScene)
        let navVC = UINavigationController(rootViewController: ViewController)
        // ViewController을 복사해서 만들어주는 방법 (1)
        let homeVC = ViewController()
        let navVC = UINavigationController(rootViewController: homeVC)
        // 다른 방법 (2)똑같은 실행.
        window?.rootViewController = ViewController()
        window?.backgroundColor = .systemBackground
        window?.makeKeyAndVisible()

    }
    func sceneDidDisconnect(_ scene: UIScene) {

    }
주의할점💡 코드의 homeVC와 window?.rootViewController의Viewcontroller와 다른거고,
navVC도 마찬가지로 window?.rootViewController의 Viewcontroller과 다르고, homeVC와 navVC도 다 다른애들이다! 즉, Viewcontroller로 생김새가 똑같은거지 실행은 다름!
import UIKit

class SceneDelegate: UIResponder, UIWindowSceneDelegate {

    var window: UIWindow?


    func scene(_ scene: UIScene, willConnectTo session: UISceneSession, options connectionOptions: UIScene.ConnectionOptions) {

        guard let windowScene = (scene as? UIWindowScene) else { return }

        window = UIWindow(windowScene: windowScene
        let homeVC = ViewController()
        let navVC = UINavigationController(rootViewController: homeVC)
        navVC.navigationItem.title = "ABC"
        //navigation이 잘 들어갔는지 확인해보기 위해 넣어봄.
        homeVC.navigationItem.title = "ABC" //아래와 같은 화면
        homeVC.title = "ABC" // 위와 같은 화면. 방법은 위아래 둘 중 하나 해주면 됨.

        window?.rootViewController = navVC
        //navigationcontroller을 장착한 ViewController를 해줘야 하기 때문에
        //navVC 를 넣어준다.
        window?.backgroundColor = .systemBackground
        window?.makeKeyAndVisible()

    }
    func sceneDidDisconnect(_ scene: UIScene) {

    }
잘 들어가있는것을 확인할 수 있다.
import UIKit

class SceneDelegate: UIResponder, UIWindowSceneDelegate {

    var window: UIWindow?


    func scene(_ scene: UIScene, willConnectTo session: UISceneSession, options connectionOptions: UIScene.ConnectionOptions) {

        guard let windowScene = (scene as? UIWindowScene) else { return }

        window = UIWindow(windowScene: windowScene
        let homeVC = ViewController()
        let navVC = UINavigationController(rootViewController: homeVC)
        homeVC.navigationItem.title = "Players"
        window?.rootViewController = navVC
        window?.backgroundColor = .systemBackground
        window?.makeKeyAndVisible()

    }
    func sceneDidDisconnect(_ scene: UIScene) {

    }
이렇게 navigation을 만들어봤다!
이어서 다음편에는 UITabBarController하는 방법을 해야징~.~
이렇게 navigation을 만들어봤다!
이어서 다음편에는 UITabBarController하는 방법을 해야징~.~
나는 코딩하는 감자다!