
게시판 구현하기
Bords 기본 파일들 생성
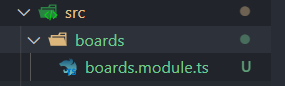
boardsModule 생성
nest g mo boards설치가 끝나면 CREATE, UPDATE 메시지와 함께 자동으로 폴더와 mouele이 생성된다. UPDATE는 app.module.ts에 자동으로 import 된다.


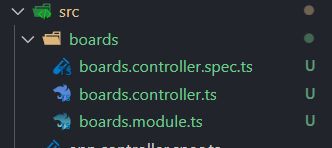
boardsController 생성
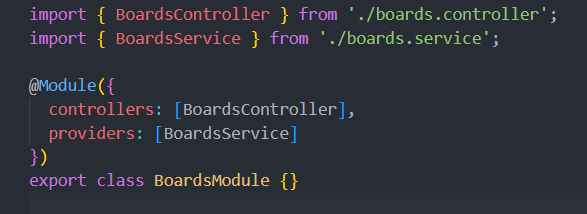
nest g co boardsController도 마찬가지로 파일이 생성 되면서 boards.module.ts파일에 자동으로 import 된다.

boardsService 생성
nest g s boards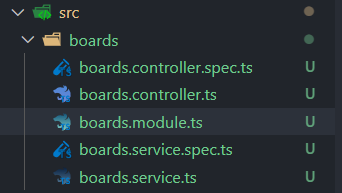
CRUD 구현
모든 게시물 가져오기(Read)
들어가기에 앞서 아직 데이터베이스와 연동은 무리가 있을 것 같아서 데이터를 로컬 메모리에 담아서 처리 함.
./boards./boards.service.ts

import { Injectable } from '@nestjs/common';

@Injectable()
export class BoardsService {
    private boards = [];

    getAllBoards() {
        return this.boards;
    }
}
데이터베이스를 사용하지 않기 때문에 boards 배열안에 게시물 데이터들을 저장 함.
private는 다른 컴포넌트에서 BoardsService에 접근해서 수정하는것을 방지하기 위해 사용.
getAllBoards 메소드는 boards 변수 안에 들어있는 모든 게시물을 가져온다.
./boards./boards.controller.ts

import { Controller, Get } from '@nestjs/common';
import { BoardsService } from './boards.service';

@Controller('boards')
export class BoardsController {
    constructor(private boardsService: BoardsService){}

    @Get()
    getAllBoards() {
        return this.boardsService.getAllBoards();
    }
}
클라이언트가 '/boards' 경로로 요청을 보내면 컨트롤러에 getAllBoards메소드에 요청이 도달하고, 컨트롤러는 서비스의 getAllBoards로 라우팅 한다.
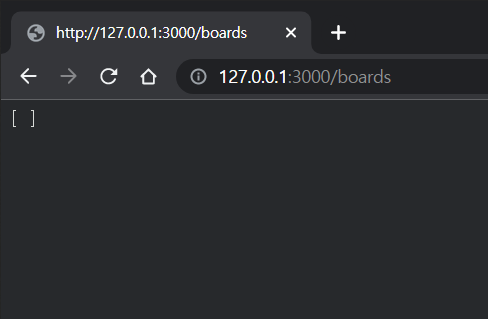
서버를 실행하고 'localhost:3000/boards'('127.0.0.1:3000/boards')로 접속을 하면 다음과 같이 boards의 배열을 확인 할 수 있다.
(아직 아무 값도 넣지 않아 빈배열로 나옴)
BoardsModel 정의하기
게시물 생성 전!
게시물에 필요한 데이터가 어떤것이 필요한지를 정의해주기 위해서 게시물의 모델을 만들어준다. 예를들어 Express의 Schema와 같은 역할이다.
모델을 정의 방법
Class를 이용하거나 Interface를 이용하면 된다.
- Interface: 변수의 타입만을 체크한다.
- Classes: 변수의 타입도 체그하고 인스턴스 또한 생성할 수가 있다.
board 모델 생성
boards 폴더 안에 board.model.ts 파일을 만든다.
board의 구조만 정의하기 위해 Interface를 사용 했다.
./boards./board.model.ts

export interface Board {
    id: string;
    title: string;
    descripiton: string;
}
Board 모델을 이용해서 타입 정의
./boards./boards.service.ts

@Injectable()
export class BoardsService {
    private boards: Board[] = [];

    getAllBoards(): Board[] {
        return this.boards;
    }
}
./boards./boards.controller.ts
@Controller('boards')
export class BoardsController {
constructor(private boardsService: BoardsService){}
@Get()
getAllBoards():Board[] {
return this.boardsService.getAllBoards();
}
}
이렇게 타입을 정의해주면 좋은 이유?
타입 정의해주는 것은 선택사항입니다. 하지만 이렇게 타입을 정의해주므로서 원하는 타입과 다른 코드를 사용할 시 에러가 발생합니다. 그리고 코드를 읽는 입장에서 더 코드를 쉽게 이해하며 읽을 수 있습니다.
게시물 생성(Create)
게시물 생성: Service
게시물 생성전 ID는 어떻게?
ID는 모든 게시물에 유니크 해야한다. 데이터베이스에 데이터를 넣어줄 때는 데이터베이스가 알아서 유니크 값을 주지만 현재는 데이터베이스를 쓰지 않기 때문에 임의로 유니크한 값을 주기 위해 uuid 모듈을 사용 했다.
npm i --save uuiduuid를 설치 후 모듈을 사용할 곳에 import 해준다.
import { v1 as uuid } from 'uuid';

...생략

createBoard(title: string, descripiton: string) {
    const board:Board = {
        id: uuid(),
        title,
        descripiton,
    };
    this.boards.push(board);
    return board;
}
게시물 생성: Controller
@Post()
createBoard(
    @Body('title') title: string,
    @Body('description') description: string,
    ): Board {
    return this.boardsService.createBoard(title, description);
    }
@Body를 이용해 클라이언트에서 보내온 값을 받아온다. >@Body() Body로 처리 해도 되지만 타입을 정의하기 위해 @Body('title) title: string, @Body('description') description: string 으로 각각 정의 해줬다.
Request에서 보내온 값들을 Controller에서 받아오면 값들을 Service에서 처리한다.
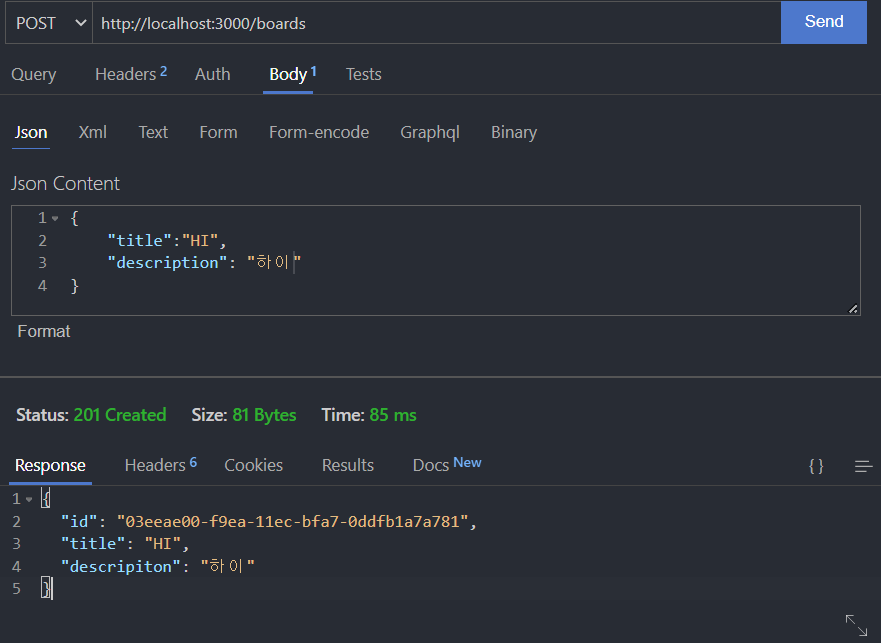
vscode의 Thunder Client로 테스트
DTO (Data Transfer Object) 생성
DTO란?
- 계층간 데이터 교환을 위한 객체
- DB에서 데이터를 얻어 Service나 Controller 등으로 보낼 때 사용하는 객체
- DTO는 데이터가 네트워크를 통해 전송되는 방법을 정의하는 객체
- interface나 class를 이용해서 정의 될 수 있다. (하지만 클래스를 이용 하는것을 Nest JS에서는 추천함)
DTO를 쓰는 이유는 무엇인가요?
- 데이터 유효성을 체크하는데 효율적이다.
- 더 안정적인 코드로 만들어준다. TypeScript의 Type으로도 사용 된다.
DTO 생성

export class CreateBoardDto {
    title: string;
    description: string;
}
DTO 적용
./boards./boards.service.ts

import { CreateBoardDto } from './dto/createBoard.dto';

...

createBoard(createBoardDto: CreateBoardDto) {
    const { title, description } = createBoardDto;
    const board:Board = {
        id: uuid(),
        title,
        description,
    };
    this.boards.push(board);
    return board;
}
./boards./boards.controller.ts
import { CreateBoardDto } from './dto/createBoard.dto';
...
@Post()
createBoard(@Body() createBoardDto: CreateBoardDto): Board {
return this.boardsService.createBoard(createBoardDto);
}
특정게시글 보기
./boards./boards.service.ts

getBoardById(id: string): Board {
    return this.boards.find((board) => board.id === id);
}
./boards./boards.controller.ts
@Get(':id')
getBoardById(@Param('id') id: string): Board {
return this.boardsService.getBoardById(id);
}게시물 삭제
./boards./boards.service.ts

deleteBoard(id: string): void {
    this.boards = this.boards.filter((board) => board.id !== id );
}
./boards./boards.controller.ts
@Delete(':id')
deleteBoard(@Param('id') id:string): void {
this.boardsService.deleteBoard(id);
}마무리
파일들이 나눠져 있어서 복잡할 줄 알았는데 생각보다 복잡하지 않고, module들을 여러 군데에서 불러 올 수 있어 편한거 같다.
[참조: 따라하며 배우는 NestJS]