🚨 [ OpenCV ]
OpenCV(Open Source Computer Vision)은 실시간 컴퓨터 비전을 목적으로 한 프로그래밍 라이브러리이다. 원래는 인텔이 개발하였다.
" 즉, 실시간 이미지 프로세싱에 중점을 둔 라이브러리"
OpenCV는 Open Source Computer Vision의 약자로 영상 처리에 사용할 수 있는 오픈 소스 라이브러리 입니다. 컴퓨터가 사람의 눈처럼 인식할 수 있게 처리해주는 역할을 하기도 하며, 우리가 많이 사용하는 카메라 어플에서도 OpenCV가 사용하기도 한다. (추가로 자율주행자동차에서 자동차의 눈이 되주는 것이 카메라와 OpenCV가 합작해서 해낸 일이다.)
➡️ 추가로 사용되는 예로는 ?
공장에서 제품 검사할 때
의료 영상 처리 및 보정 그리고 판단
CCTV영상
로보틱스
등 다양한 범위에서 사용되고 있다. 카메라로 찍어서 할 수 있는 모든 일은 OpenCV로 처리할 수 있다. 여기에 머신 러닝과 A.I를 활용해서 그 활용도를 더욱 넓혀가고 있는 중이다.
전에 학교 수업 파이썬 시간에 OpenCV를 이용하여 사전 학습된 모델 경로 설정하고, 모델을 불러와 사물인식 결과를 프레임에 표시하는 등,, 이미지 처리 하는 건 해본적이 있는데 TensorFlow를 사용하여 프로그래밍을 해본적은 없었다. 이번 기회에 개념을 확실히 알고자 하여 이렇게 복습겸 글로 남겨본다.😭
📌 학습모델 사물인식
import cv2

# OpenCV의 사전 학습된 모델 경로 설정
prototxt_path = "path/to/model.prototxt"
caffemodel_path = "path/to/model.caffemodel"

# 클래스 레이블 설정
class_labels = ["background", "class1", "class2", "class3"]  # 예시 클래스명

# 모델 불러오기
net = cv2.dnn.readNetFromCaffe(prototxt_path, caffemodel_path)

# 카메라 열기
cap = cv2.VideoCapture(0)  # 0은 기본 카메라를 의미합니다. 필요에 따라 카메라 인덱스를 수정해야 할 수 있습니다.

while True:
    # 카메라 프레임 읽기
    ret, frame = cap.read()

    # 이미지 전처리 및 입력 데이터 생성
    blob = cv2.dnn.blobFromImage(cv2.resize(frame, (300, 300)), 0.007843, (300, 300), 127.5)

    # 네트워크를 통한 사물인식 수행
    net.setInput(blob)
    detections = net.forward()

    # 감지 결과를 반복하여 사물인식 정보 추출
    for i in range(detections.shape[2]):
        confidence = detections[0, 0, i, 2]
        if confidence > 0.5:  # 임계값 설정
            class_id = int(detections[0, 0, i, 1])
            class_label = class_labels[class_id]
            box = detections[0, 0, i, 3:7] * np.array([frame.shape[1], frame.shape[0], frame.shape[1], frame.shape[0]])
            (startX, startY, endX, endY) = box.astype("int")

            # 사물인식 결과를 프레임에 표시
            cv2.rectangle(frame, (startX, startY), (endX, endY), (0, 255, 0), 2)
            y = startY - 15 if startY - 15 > 15 else startY + 15
            cv2.putText(frame, class_label, (startX, y), cv2.FONT_HERSHEY_SIMPLEX, 0.5, (0, 255, 0), 2)

    # 프레임 출력
    cv2.imshow("Object Detection", frame)

    # 'q' 키를 누르면 종료
    if cv2.waitKey(1) & 0xFF == ord('q'):
        break

# 리소스 해제
cap.release()
cv2.destroyAllWindows()
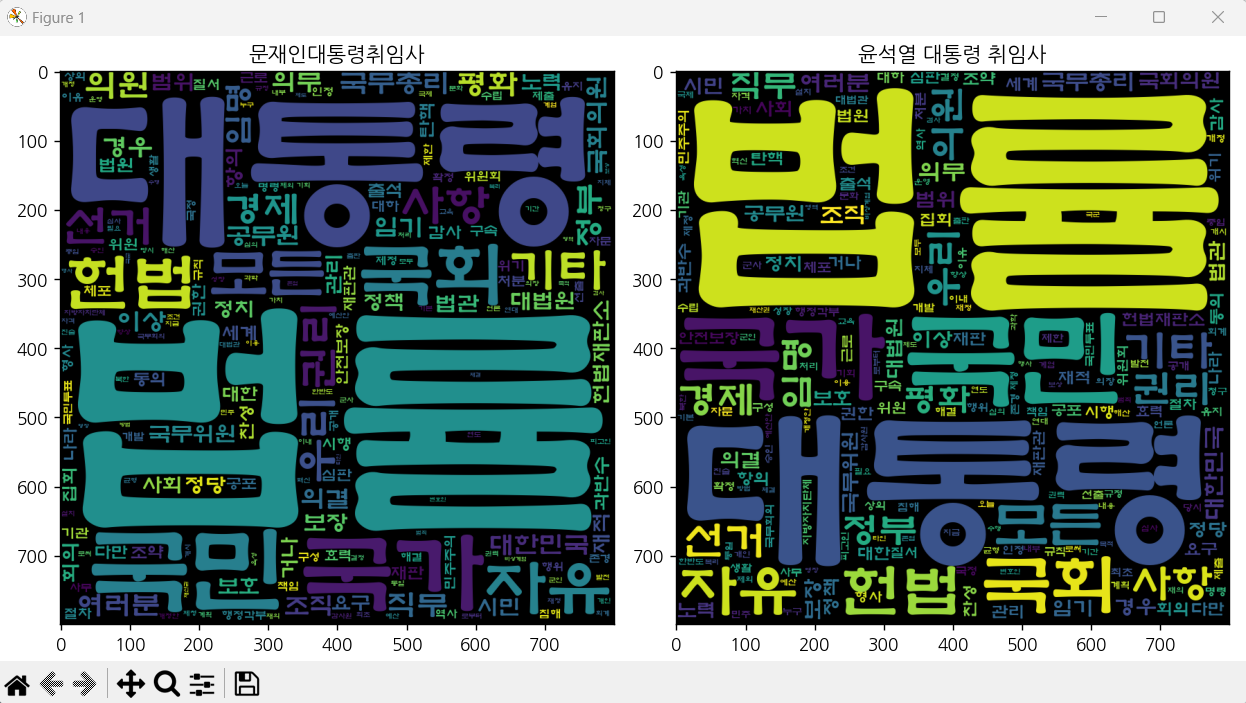
📌 txt 파일, matplotlib 사용
from wordcloud import WordCloud
import matplotlib.pyplot as plt
from collections import Counter
from konlpy.tag import Okt
from PIL import Image
import numpy as np
import matplotlib
matplotlib.rcParams['font.family'] ='Malgun Gothic'
matplotlib.rcParams['axes.unicode_minus'] =False


with open('문재인취임사.txt', 'r', encoding='utf-8') as f:
    text = f.read()

okt = Okt()
nouns = okt.nouns(text)# 명사만 추출
words = [n for n in nouns if len(n) > 1] # 단어의 길이가 1개인 것은 제외
c = Counter(words)
wc = WordCloud(font_path='malgun', width=400, height=400, scale=2.0, max_font_size=250)
gen = wc.generate_from_frequencies(c)


with open('윤석열취임사.txt', 'r', encoding='utf-8') as f2:
    text2 = f2.read()
okt2 = Okt()
nouns2 = okt2.nouns(text2) # 명사만 추출
words2 = [n for n in nouns2 if len(n) > 1]
c2 = Counter(words2)
wc2 = WordCloud(font_path='malgun', width=400, height=400, scale=2.0, max_font_size=250)

gen2 = wc2.generate_from_frequencies(c2)

fig = plt.figure()
rows = 1
cols = 2

ax1 = fig.add_subplot(rows, cols, 1)
ax1.imshow(gen)
ax1.set_title('문재인대통령취임사')
ax1.axis("off")

ax2 = fig.add_subplot(rows, cols, 2)
ax2.imshow(gen2)
ax2.set_title('윤석열대통령취임사')
ax2.axis("off")

plt.show()
📌 iris 데이터 사용
from sklearn.datasets import load_iris          # 싸이킷런
import pandas as pd
from sklearn.model_selection import train_test_split
from sklearn.tree import DecisionTreeClassifier
from sklearn.model_selection import KFold
from sklearn.model_selection import cross_val_score # 교차검증
from sklearn.svm import SVC

#iris 데이터 불러오기
iris=load_iris()

# 데이터 프레임을 만들기
df = pd.DataFrame(iris.data, columns=['sepalL', 'sepalW', 'petalL', 'petalW'])
df['target'] = iris.target

X=df.drop(columns=['target'])
y=df.target

#train용 test용으로 쪼개기
X_train,X_test,y_train,y_test = train_test_split(X,y,test_size=0.2)

#지도학습 결정트리분류로 모델삼기
model=DecisionTreeClassifier()
#model = SVC(C=10)


# 교차검증

kfold=KFold() #(n_splits=숫자)기본 숫자 안쓰면 5덩어리로 나뉨

#score=cross_val_score(model,X_train,y_train,cv=kfold,scoring='accuracy') # 폴드의 수 조절하기 (cv)
#print(score)


model.fit(X_train,y_train)


ypred = model.predict(X_test) #y데이터 출력

print((ypred==y_test).mean()) #평균값을 구해라
📌 OpenCV를 이용한 다양한 이미지 처리
import cv2
import numpy as np
import matplotlib.pyplot as plt

# 이미지 로드 및 크기 조정
boo = cv2.imread("C:/Users/82102/Desktop/proro.jfif", cv2.IMREAD_COLOR)
boo = cv2.resize(boo, (50, 50))
img1 = cv2.imread("C:/Users/82102/Desktop/rara.jfif", cv2.IMREAD_COLOR)
img1 = cv2.resize(img1, (250, 250))
img2 = cv2.imread("C:/Users/82102/Desktop/rara.jfif", cv2.IMREAD_COLOR)
img2 = cv2.resize(img2, (250, 250))

# boo 이미지의 크기 가져오기
h, w = boo.shape[:2]

# img2를 중심을 기준으로 45도 회전
height, width, channel = img1.shape
matrix = cv2.getRotationMatrix2D((width/2, height/2), 45, 1)
img7 = cv2.warpAffine(img2, matrix, (width, height))

# img1을 그레이스케일로 변환
img8 = cv2.cvtColor(img1, cv2.COLOR_BGR2GRAY)
img8 = cv2.cvtColor(img8, cv2.COLOR_GRAY2BGR)
hsv_img = cv2.cvtColor(img1, cv2.COLOR_BGR2HSV)
lower_blue = np.array([10, 10, 10])
upper_blue = np.array([30, 25, 25])
blue_mask = cv2.inRange(hsv_img, lower_blue, upper_blue)
blue_result = cv2.bitwise_or(img1, img1)
blue_result = cv2.flip(blue_result, 0)  # 상하반전
img8 = blue_result

# img1에서 50 빼기
img9 = img1 - 50

# img2를 시계 방향으로 90도 회전
img15 = cv2.rotate(img2, cv2.ROTATE_90_CLOCKWISE)

# 특정 영역에 boo를 img15 위에 덧씌우기
h_b, w_b = boo.shape[:2]
img15[200:200+h_b, 200:200+w_b] = boo

# img1을 그레이스케일로 변환하고 다시 BGR로 변환
img2 = cv2.cvtColor(img1, cv2.COLOR_BGR2GRAY)
img2 = cv2.cvtColor(img2, cv2.COLOR_GRAY2BGR)

# img1에 값을 더하거나 빼서 다른 변형 버전 생성
img3 = img1 - 50
img4 = img1 + 50
img5 = np.clip(img1.astype('int32') + 50, 0, 255).astype('uint8')
img6 = np.clip(img1.astype('int32') - 50, 0, 255).astype('uint8')

# img1을 시계 방향으로 90도 회전
img15 = cv2.rotate(img1, cv2.ROTATE_90_CLOCKWISE)

# img1에 GrabCut 세그멘테이션 수행
mask = np.zeros(img1.shape[:2], np.uint8)
bgdModel = np.zeros((1, 65), np.float64)
fgdModel = np.zeros((1, 65), np.float64)
rect = (10, 10, img1.shape[1] - 10, img1.shape[0] - 10)
cv2.grabCut(img1, mask, rect, bgdModel, fgdModel, 5, cv2.GC_INIT_WITH_RECT)
mask2 = np.where((mask == 2) | (mask == 0), 0, 1).astype('uint8')
img13 = img1 * mask2[:, :, np.newaxis]

# img1에 적응 임계처리 수행
max_output_value = 255
neighborhood_size = 99
subtract_from_mean = 10
gray_img1 = cv2.cvtColor(img1, cv2.COLOR_BGR2GRAY)
img14 = cv2.adaptiveThreshold(gray_img1,
                              max_output_value,
                              cv2.ADAPTIVE_THRESH_GAUSSIAN_C,
                              cv2.THRESH_BINARY,
                              neighborhood_size,
                              subtract_from_mean)

# img14를 BGR로 변환
img14 = cv2.cvtColor(img14, cv2.COLOR_GRAY2BGR)

# img1을 수평으로 뒤집기
img10 = cv2.flip(img1, 1)

# img1에 (10, 10) 크기의 커널로 블러 적용
img11 = cv2.blur(img1, (10, 10))

# img1에 (30, 30) 크기의 커널로 블러 적용
img12 = cv2.blur(img1, (30, 30))

# boo를 그레이스케일로 변환
gray_boo = cv2.cvtColor(boo, cv2.COLOR_BGR2GRAY)

# boo에 대한 이진 마스크 생성
_, mask = cv2.threshold(gray_boo, 254, 255, cv2.THRESH_BINARY_INV)

# 마스크를 이용하여 boo와 img1에 비트 AND 연산 적용
masked_boo = cv2.bitwise_and(boo, boo, mask=mask)


######  특정 영역을 masked_boo로 대체
.
.
.

# 연결된 이미지 표시
cv2.imshow('JongGang', img_concat)
cv2.waitKey(0)
cv2.destroyAllWindows()
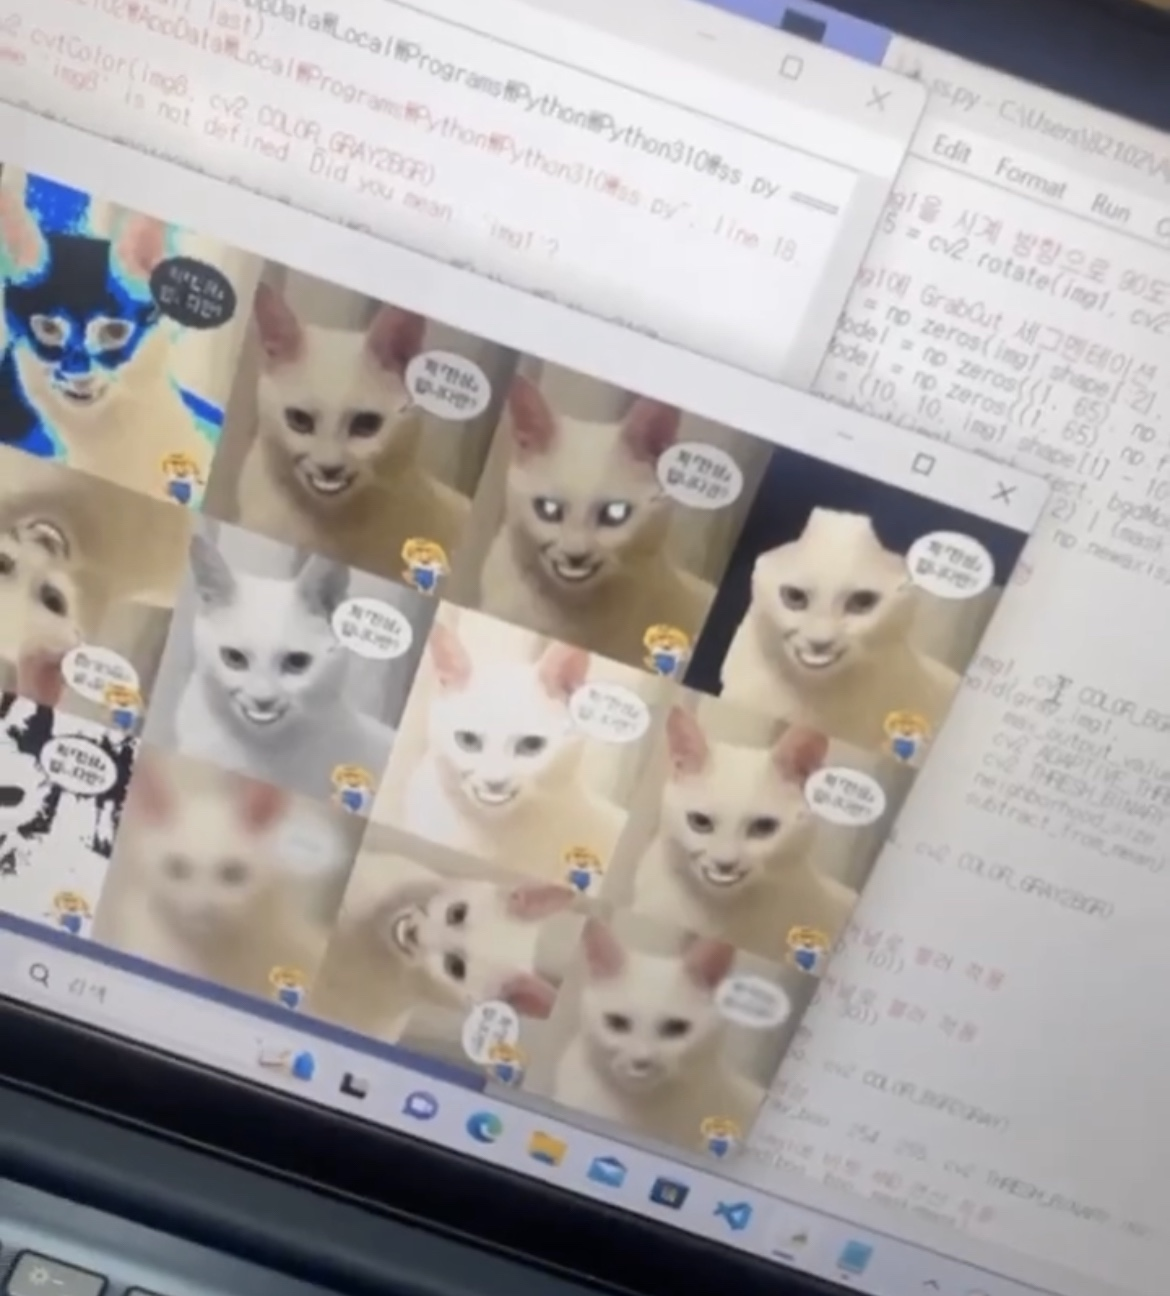
.. add 이런식으로 OpenCV에 접근해보면서 공부했었다.
쓰다보니, TensorFlow를 사용한 간단한 실시간 사물인식은 다음글에서 남기고자 한다.