Tiptap editor
선택을 위해 참고한 사이트는 아래와 같다 . nextjs에서 설정하는 방법도 상세히 알려줘서 쉽게 적용할수 있었다.
벨로그 사이트이다.
참고했던 사이트1
참고했던 사이트2
공식문서에서 쉽게 적용이 가능하고 nextjs도 알려줘서 참고 삼아 바로 적용해도 실행은 된다.
공식문서 : https://tiptap.dev/product/editor?gad_source=1
실행만 된다.. 실행만.. 내가 해본 결과 heading,list 가 작동하지 않는다.
headline과 ul,ol 이 적용되지않는 문제
h1 기능을 만들어서 실행해본 결과 적용이 되지 않았다.
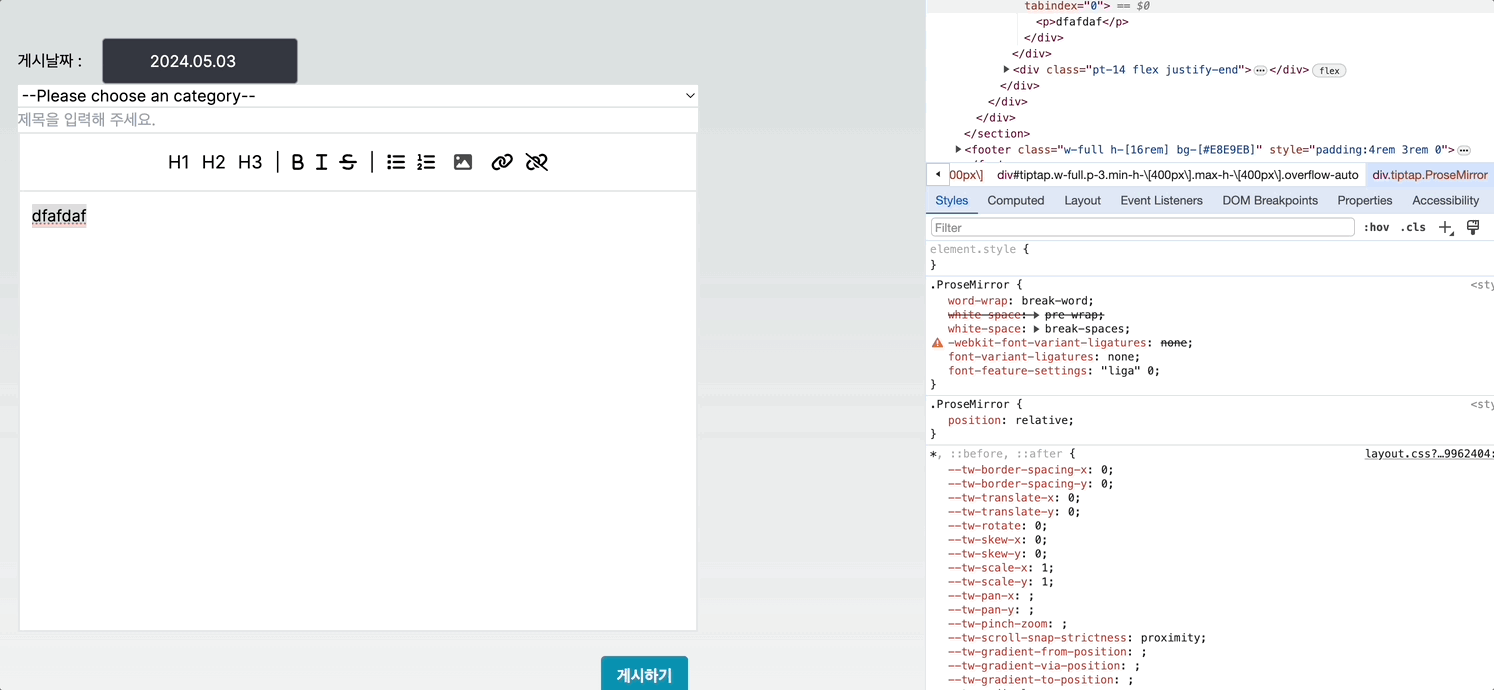
태그는 변경이 되는데 스타일이 먹히지 않았다.
찾아보니
https://stackoverflow.com/questions/78057571/why-isnt-the-headings-and-lists-working-in-tiptap
tailwind 를 사용하면 작동하지 않는다고한다. OTL..
해결 방법은 아래와 같다.
typography plugin을받아서 적용하라고 알려줬다.
npm install -D @tailwindcss/typography로 설치를 하고
//  tailwind.config.ts

plugins: [
    require('@tailwindcss/typography’),]
플러그인을 적용시켜준다.

그리고 에디터에 editor Props를 넣어준다.
 const editor = useEditor({
    editorProps: {
      attributes: {
        class:
          "prose prose-sm sm:prose lg:prose-lg xl:prose-2xl m-5 focus:outline-none",
      },
    },
    extensions: [
      StarterKit,
      Highlight,
      Image.configure({ inline: true, allowBase64: true }),
      CodeBlockLowlight.configure({
        lowlight,
      }),
    ],
  });
이렇게 하니 적용이 잘된다 ! 문제 해결 prose 에 대한것, tailwind/typography에 대해서 자세한것은 제대로 보지 못했다.
기능 커스텀
기본적으로 blod , heading , italic, 등등을 적용할수 있다.
이미지, a태그 적용에 대해서는 바로 나와 있지 않아서 공식문서를 뒤져봐야 했는데.
이미지에 대해서는 기본 input태그를 활용해서 적용을 했다.
input으로 file을 받아서 base64로변경하고 서버에서 url로 바꿔서 저장하는 것인데 기본 input태그라서 쉽게 함수를 만들수 있었다.
공식문서에서는 install 할게 적은데 다양한 옵션들을 사용하기 위해서는 install해야 할게 많다. 옵션이라서 그런지 한번에 안받아 지고 계속 받아야 했다.
내가 받은 npm들은 아래와 같다
"@tiptap/extension-code-block-lowlight": "^2.3.1",
    "@tiptap/extension-color": "^2.3.1",
    "@tiptap/extension-highlight": "^2.3.1",
    "@tiptap/extension-image": "^2.3.1",
    "@tiptap/extension-link": "^2.3.1",
    "@tiptap/extension-text-style": "^2.3.1",
    "@tiptap/pm": "^2.3.1",
    "@tiptap/react": "^2.3.1",
    "@tiptap/starter-kit": "^2.3.1",
여기서 더 필요한것은 추가적으로 받아서 구현 할수 있다.
tailwind라서 자꾸 꼬였는데 참고할 페이지를 첨부해둔다. typescript,taliwind,react 로 만든것 같은데 많이 참고해서 도움이 되었다. 코드량이 많아서 쭉쭉 파악하는데 시간이 조금 소요되었다.
구현 주소 : https://text-editor-tiptap.vercel.app/
깃허브주소 : https://github.com/ZanyuanYang/Text-Editor-Tiptap/blob/master/src/pages/TextEditor/components/Tiptap.tsx
나는 이미지와 a 태그까지 구현 했다.
공식문서를 활용하면 다 구현이 가능하다. (해석이 귀찮긴하지만)
아직까지는 원하는 목적을 다이룰수 있는 에디터를 찾게 되어서 다행이라고 생각이 든다.
버그가 많다고는 하지만 추후에는 여기서 기능을 더 추가하거나 자체 에디터를 만들어 보지 않을까 생각이 든다.
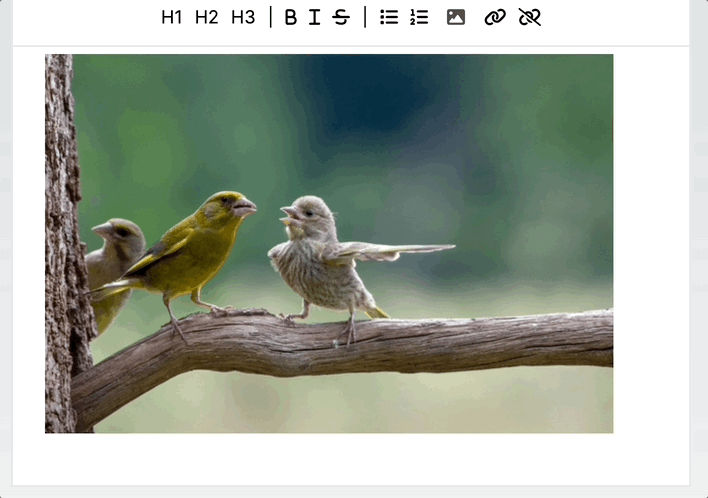
이미지 리사이징
추가로 이미지에 대해서 리사이징을 원해서 알아보았다.
찾아보는데 라이브러리로 있었다.
라이브러리는 이것
"tiptap-extension-resize-image"라이브러리를 받아서 extention에 넣어주면 적용이 된다.
구현 코드
아직 지저분하지만 조금더 공부해서 수정해야 겠다.
//Tiptap.tsx
import React, { useEffect } from "react";
import {
  useEditor,
  EditorContent,
  EditorProvider,
  useCurrentEditor,
  Editor,
} from "@tiptap/react";


//tiptap
import { Color } from "@tiptap/extension-color";
import ListItem from "@tiptap/extension-list-item";
import TextStyle from "@tiptap/extension-text-style";
import Image from "@tiptap/extension-image";
import StarterKit from "@tiptap/starter-kit";
import Highlight from "@tiptap/extension-highlight";
import CodeBlockLowlight from "@tiptap/extension-code-block-lowlight";
import Link from "@tiptap/extension-link";
import ImageResize from "tiptap-extension-resize-image";
import Toolbar from "./Toolbar";
import { common, createLowlight } from "lowlight";

interface TiptapProps {
  content: string;
  onSumbitFn: (contents: string) => Promise<void> | void;
}

const Tiptap = ({ content, onSumbitFn }: TiptapProps) => {
  const lowlight = createLowlight(common);
  const editor = useEditor({
    editorProps: {
      attributes: {
        class:
          "prose prose-sm sm:prose lg:prose-lg xl:prose-2xl m-5 focus:outline-none",
      },
    },
    content,
    extensions: [
      Color.configure({ types: [TextStyle.name, ListItem.name] }),
      TextStyle.configure({ types: [ListItem.name] } as any),
      StarterKit,
      Highlight,
      ImageResize,
      Image.configure({ inline: true, allowBase64: true }),
      CodeBlockLowlight.configure({
        lowlight,
      }),
      Link.configure({
        protocols: ["ftp", "mailto"],
        HTMLAttributes: { target: "_blank" },
        openOnClick: false,
        autolink: true,
      }),
    ],
  });

  const onSubmit = () => {
    const htmlContents = editor?.getHTML();
    if (htmlContents) onSumbitFn(htmlContents);
  };
  useEffect(() => {
    if (content) {
      editor?.commands.setContent(content);
    }
  }, [content]);
  return (
    <div className="border-2 h-[500px]">
      <Toolbar editor={editor} />
      <EditorContent
        className="w-full p-3 min-h-[400px] max-h-[400px] overflow-auto"
        id="tiptap"
        editor={editor}
        onClick={() => editor?.commands.focus()}
      />
      <div className="pt-14 flex justify-end">
        <button
          className="m-2 bg-cyan-600  hover:bg-blue-600 text-white font-bold py-2 px-4 rounded"
          onClick={onSubmit}
        >
          게시하기
        </button>
      </div>
    </div>
  );
};

export default Tiptap;