
쉬운걸 어렵게 하고 있었다..
임포트가 가장 상단에 있어야 한다!!
@import url('https://hangeul.pstatic.net/hangeul_static/css/nanum-square.css');


@tailwind base;
@tailwind components;
@tailwind utilities;

/* Update html font-family */
body {
  font-family: 'NanumSquareBold', inter, system-ui, sans-serif;
  line-height: 1.5;
  -webkit-text-size-adjust: 100%;
  -moz-tab-size: 4;
  -o-tab-size: 4;
  tab-size: 4;
}
▶ 첫 문장에 보면 @import url("주소")로 표현된 부분이있다.
▶ 구글 폰트의 URL에서 가져온 값을 저기다가 입력한다.
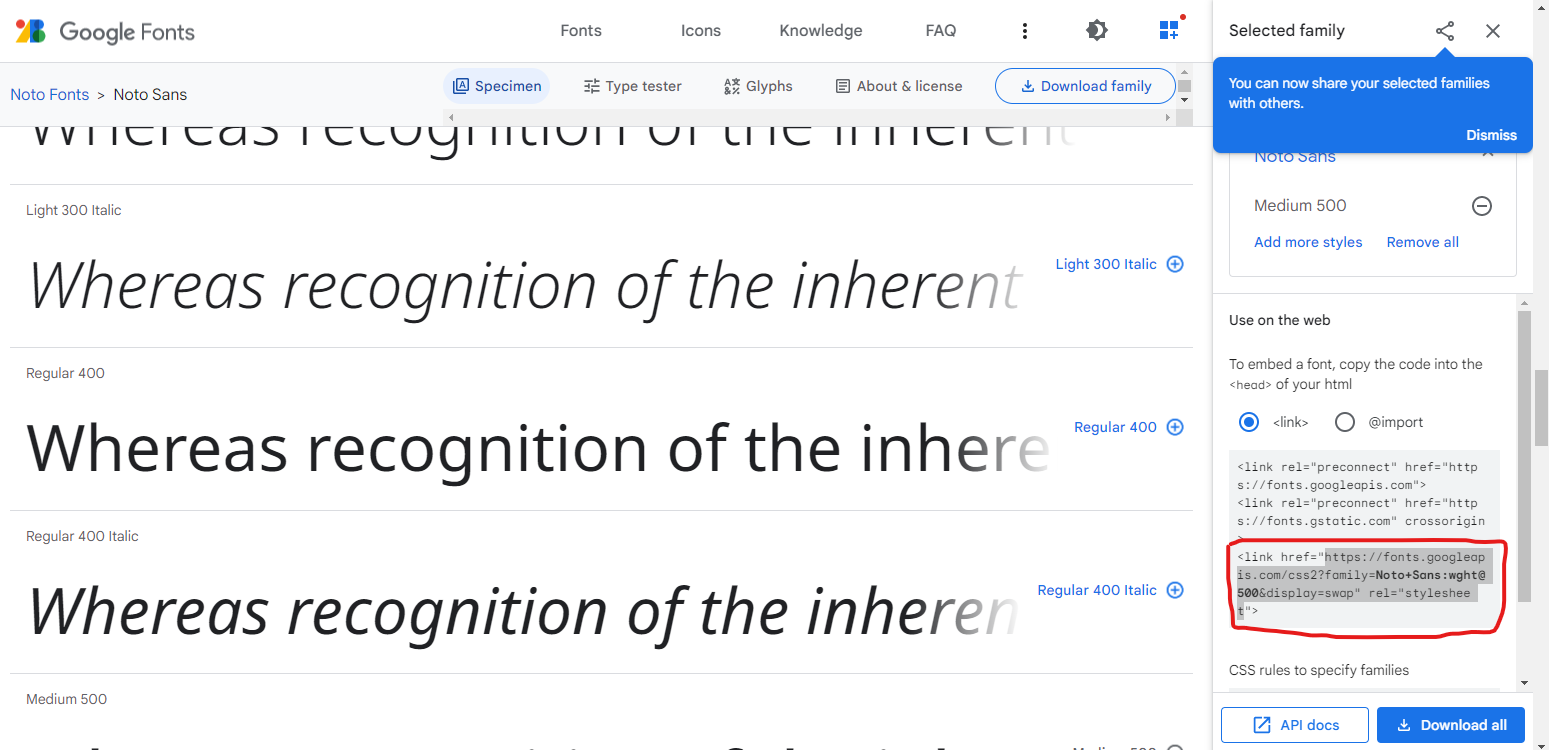
▶ 그리고 바로 font-family를 해당 폰트 이름으로 입력해주면 된다!
- 또 다른 방법
폰트를 넣고
- tailwind.config.js 파일을 수정
/** @type {import('tailwindcss').Config} */
module.exports = {
  content: [
    "./app/**/*.{js,ts,jsx,tsx}",
    "./components/**/*.{js,ts,jsx,tsx}",
  ],
  theme: {
    extend: {
      fontFamily: {
        SongMyung: ["Song Myung"],
      },
    },
  },
  plugins: [
  ],
}
- global.css파일을 수정
@font-face {
  font-family: "Song Myung";
  font-weight: 200;
  src: url("/fonts/SongMyung-Regular.ttf") format("truetype");
};
- 적용하기
<h1 className="font-SongMyung text-8xl my-2 lg:my-5 font-bold tracking-tight text-gray-900 lg:text-6xl ">
  미 래 민 중
</h1>
- 또 다른 버전. nextjs에서 폰트 불러오기
import { Song_Myung } from 'next/font/google'
- 변수지정
const SongMyung=Song_Myung({subsets:['latin'],weight:['400']})
- 스타일 지정
<p style={SongMyung.style} className="">미 래 민 중</p>
CODE DIVE!