예시 코드로 살펴보는 Swift UI 그리고 이걸 JS/CSS로 바꾸어보는
코드1
ios
import SwiftUI

struct ContentView: View {
    var body: some View {
        Text("Turtle Rock")
            .font(.title)
    }
}

#Preview {
    ContentView()
}- some View
some은불투명한 타입
ㄴ 함수나 메서드의 반환타입을 가린다.
ㄴ 특정한 타입을 반환하지 않고 프로토콜이나 프로토콜을 준수하는 타입을 반환한다.
View는 protocol이다. View를 반환형으로 지정하려면 some 이 들어가야 한다. 어떤 구조체가 ui요소로 사용될 수 있다는 것을 보장하는 방법으로 View protocol을 구현함으로써 보장한다.
-
불투명한 타입이라는 건
안에 뭐가 있는지 확실히 말해줄 수는 없지만, 어쨋든프로토콜을 준수하는 게 들어가 있어. 라고 말하면서 구체적인 타입을 알려주지 않아도 되는 것이다.
때문에 구체적인 형은 내부에서 지정되며, 외부에서는 어떤 형의 어떤 데이터들이 들어가 있는지에 대해서 정확히 모두 파악할 수 없다. -
때문에
피곤한 세부형 명시를 피하고 싶기 때문에 Swift UI에서는some view를 사용하였다.
코드2
import SwiftUI
struct ContentView: View {
var body: some View {
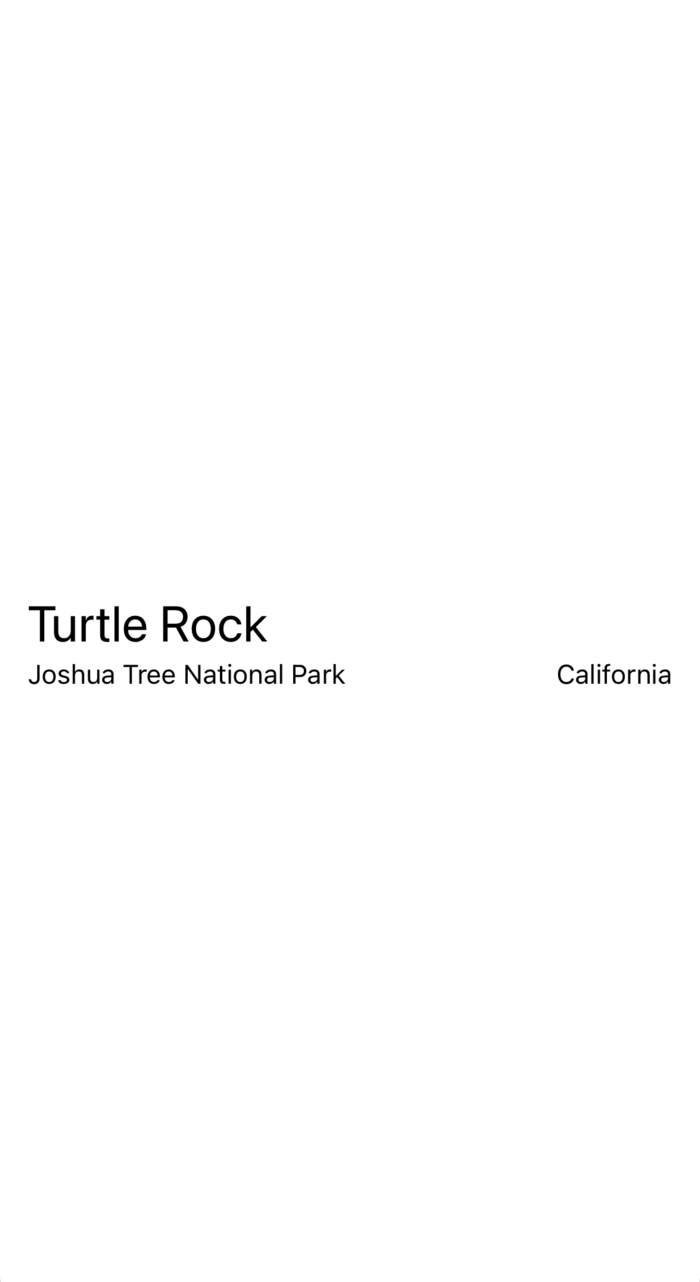
VStack(alignment: .leading) {
Text("Turtle Rock")
.font(.title)
HStack {
Text("Joshua Tree National Park")
.font(.subheadline)
Spacer()
Text("California")
.font(.subheadline)
}
}
.padding()
}
}
#Preview {
ContentView()
}- VStack : 수직정렬 , alignment : 교차 축 앞단 정렬
- HStack : 수평정렬 , s
ㄴ View를 배치할 때 사용하는 자체 spacing이 있다.
ㄴ 이를 완전히 없애고 싶다면 HStack(spacing:0) - Spacer : View 간의 간격을 완전히 띄우고 싶을 때 사용한다.
ㄴ flex에서의space-evenly나space-around와 비슷한 개념..?
ㄴ 기본적으로 사용가능한 전체 공간을 띄워버린다.
이를 js/css로 표현하면
<main style="height: 100vh;width: 100vw; display:flex; flex-flow: column nowrap; align-items : flex-start;">
  <div>
  	<span>Turtle Rock</span>
  </div>

  <div style="width:100%; display:flex; flex-flow : row nowrap; justify-content : space-evenly;">
    <p>Joshua Tree National Park</p>
	<p>California</p>
  </div>
</main>
이다. 위의 swift코드와 같이 동작한다.
코드3
import SwiftUI
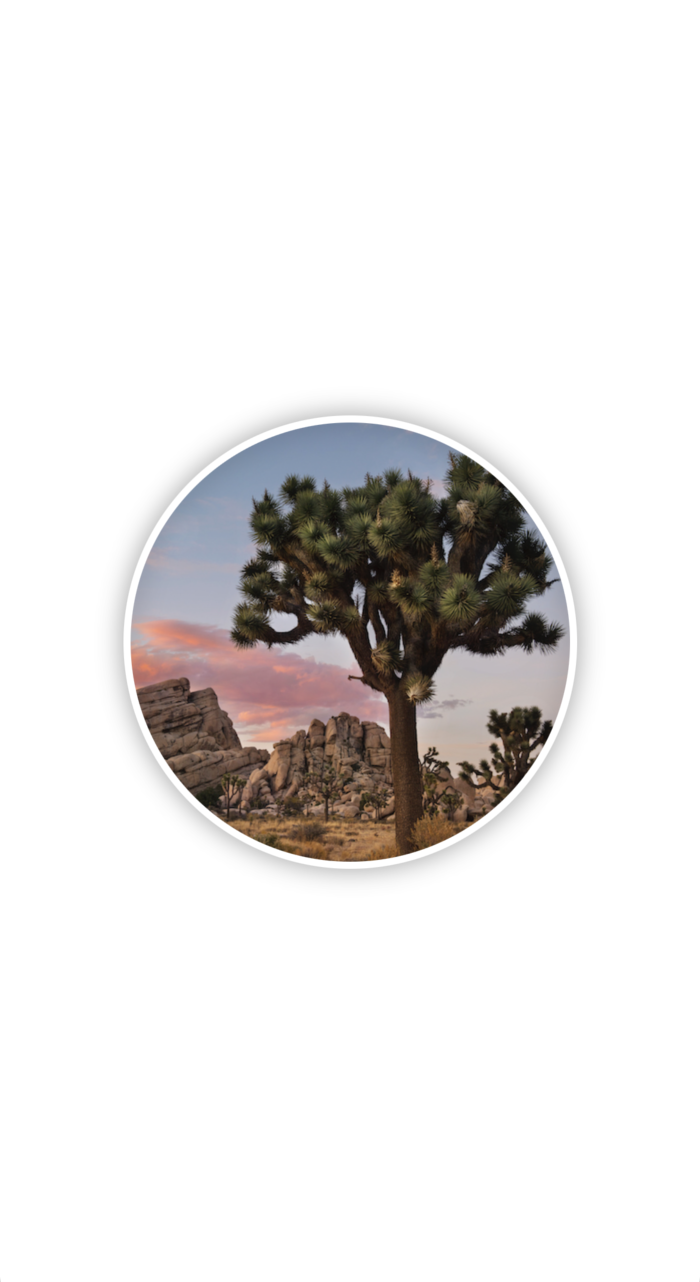
struct CircleImage: View {
var body: some View {
Image("turtlerock")
.clipShape(Circle())
.overlay {
Circle().stroke(.white, lineWidth: 4)
}
.shadow(radius: 7)
}
}
#Preview {
CircleImage()
}- overlay{
Circle().stroke(.gray, lineWidth:4) }
: 원모양으로 border를 그려준다. 4px - shadow(radius : 7) : 그림자 효과를 넣어준다. radius는 7px
코드4
import SwiftUI
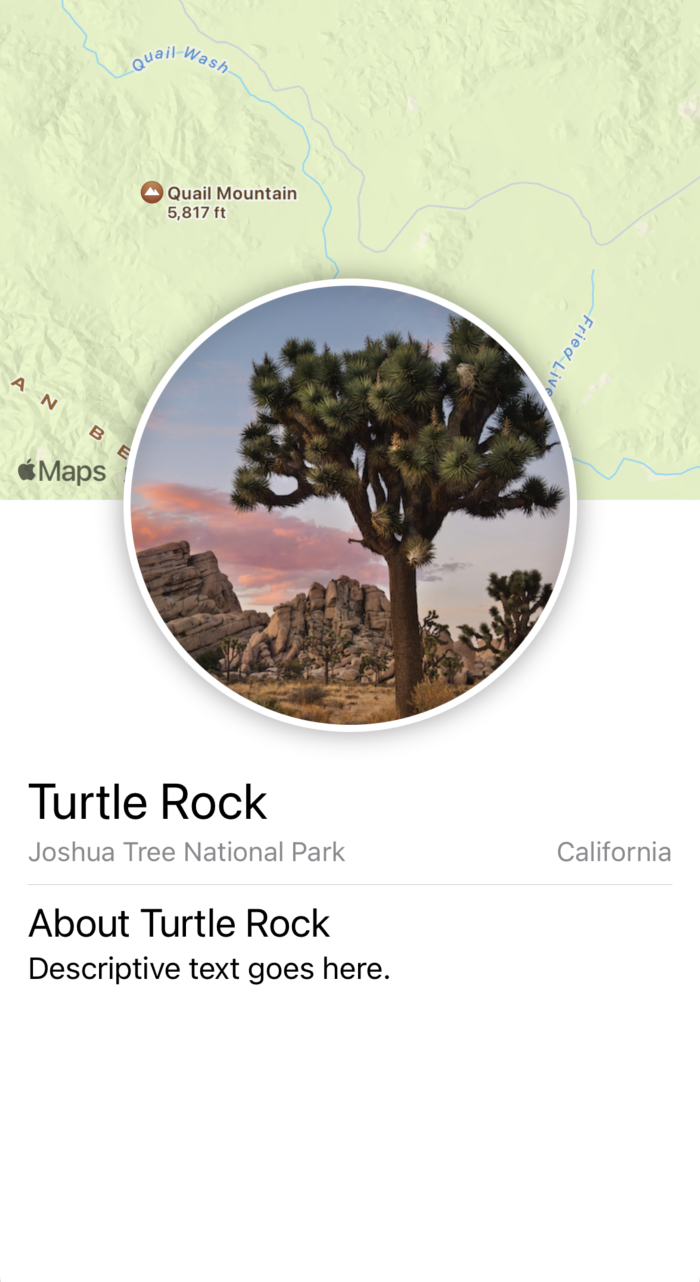
struct ContentView: View {
var body: some View {
VStack {
MapView()
.frame(height: 300)
CircleImage()
.offset(y: -130)
.padding(.bottom, -130)
VStack(alignment: .leading) {
Text("Turtle Rock")
.font(.title)
HStack {
Text("Joshua Tree National Park")
Spacer()
Text("California")
}
.font(.subheadline)
.foregroundStyle(.secondary)
Divider()
Text("About Turtle Rock")
.font(.title2)
Text("Descriptive text goes here.")
}
.padding()
Spacer()
}
}
}
#Preview {
ContentView()
}