안녕하싑니까!
오늘 소개해볼 내용은~~
storyboard 사용 하지 않고 rootViewController를 설정하고!
설정된 ViewController를 시뮬레이터 에 올려보는것을 해볼것인데유!
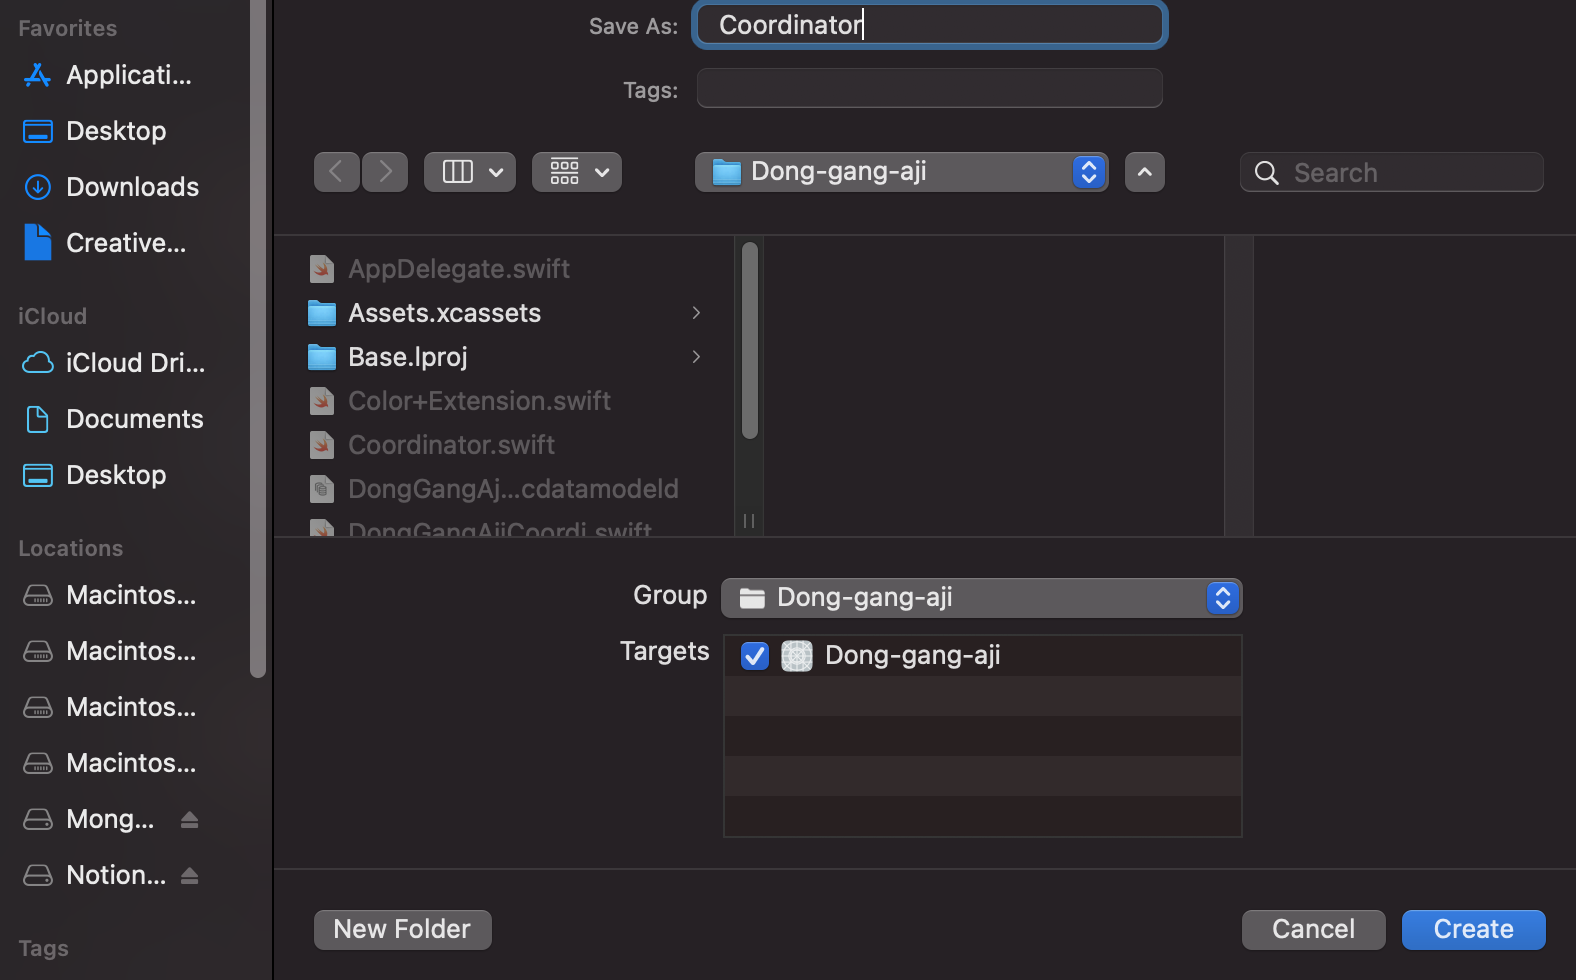
프로젝트 생성후! -> Coordinator Swift 파일을 하나 만들어주세요
이제 이곳에서 ViewController 를 움직여 보도록 하겠습니다.
일단 코드먼저 보고 설명드릴께요!
import UIKit

protocol CoordinatorProtocol {
    var childCoordinator : [CoordinatorProtocol] { get }
    func goingStart()
}

// 파이널은 마음대루!!
final class Coordinator : CoordinatorProtocol{

    private(set) var childCoordinator: [CoordinatorProtocol] = []

    private let window : UIWindow

    init(window:UIWindow) {

        self.window = window
    }

    func goingStart() {
        let navigationController = UINavigationController()

        let dongGangAjiCoordinator = DongGangAjiCoordi(navigationController: navigationController)

        childCoordinator.append(dongGangAjiCoordinator)

        dongGangAjiCoordinator.goingStart()

        window.rootViewController = navigationController

        window.makeKeyAndVisible()
    }
}
}
하나씩 설명해보겠습니다!!
일단 저는 protocol 로 Data를 전해줄껀데유!!
protocol CoordinatorProtocol {
var childCoordinator : [CoordinatorProtocol] { get }
func goingStart()
}
저는 이 protocol 로 데이터 전해주려고 합니다!!
Swift 는 protocol 지향 프로그래밍 이기 때문에 굉장히 중요한 부분입니돠!!!
⭐️key point⭐️
- {get} 은 protocol 따를때 {get} , {get set} 하나만 구현 가능!
- {get set} 은 {get set} 모두 구현!
- 선언된 모든 메소드와 프로퍼티를 다 구현해야된다!
- 근데 하기 싫은건?ㅠㅠ 답) @ojbc optional 를 사용하긔~
@objc protocol CoordinatorProtocol {
var childCoordinator : [CoordinatorProtocol] { get }
@objc optional func goingStart()
아주 간단하쥬??ㅎㅎ 요정도만 기억하시면 좋을것 같습니다!!.
protocol은 중요하니 공부가 필수 입니다!!. 저도 더 많이 해야겠어요 ㅎㅎ
흠.. 그러면
여러분들은
private let window : UIWindow
init(window:UIWindow) {
self.window = window
}
이 부분은 아실꺼라 생각하고 생략 하겠습니다!!
나중에 SceneDelegate 와 연결되는 부분 이라는거 다아시쥬?!ㅎㅎ
그럼~
func goingStart() {
let navigationController = UINavigationController()
let dongGangAjiCoordinator = DongGangAjiCoordi(navigationController: navigationController)
childCoordinator.append(dongGangAjiCoordinator)
dongGangAjiCoordinator.goingStart()
window.rootViewController = navigationController
window.makeKeyAndVisible()
}
goingStart 메서드는 무엇이냐면요!! 첫줄 부터 보겠습니다!!
일단 뷰를 전환하기 위해서 Sege사용하지 않고 Navigation을 이용해서 전환 할것이기 때문에!
navigationController 인스턴스를 생성을 해주겠습니다!ㅎㅎ
앗 그런데 DongGangAjiCoordi< 가 갑자기 튀어나와버렸네여!?뭐지 이 똥강아지는..ㄷ ㄷ
이 코드를 보시면 될것 같아요!!ㅎㅎ
final class DongGangAjiCoordi : CoordinatorProtocol {
    private(set) var childCoordinator: [CoordinatorProtocol] = []

    private let navigationController : UINavigationController

    init(navigationController : UINavigationController ) {
        self.navigationController = navigationController
    }
    func goingStart() {
        let dongGangAjiVC = DongGangAjiViewController.instantiate()
        let ddongViewModel = DongGangAjiViewModel()
        dongGangAjiVC.ddongViewModel = ddongViewModel
        navigationController.setViewControllers([dongGangAjiVC], animated: false)
    }
}
보시면~ 제가 이미 만들어 놨습니다 ㅎㅎ
일단 이부분에서 final에 대해서 의문을 갖는 분들이 있을수도 있기때문에 설명한번 하겠습니다!
일단 final은 값 타입인 struct에는 선언이 되지 않습니다!!
class에 접두사 로 사용가능합니다
final이 선언된 class는 상속이 되는 것을 막아줍니다! 때문에 값타임인 enum이나 struct는 final을 받을수가 없는거에여 ㅎㅎ
그렇기 때문에 재정의가 필요하지 않은 class에 선언하시면 됩니다!
자 DongGangAjiCoordi 에 CoordinatorProtocol 을 상속 받았기 때문에~
프로퍼티와 메서드를 구현 해주어야 하기때문에 구현 해줍니다!!!
이제 Coordinator에서 리모컨을 띡 눌러주면 이부분이 실행되게 됩니다!
init(navigationController : UINavigationController ) {
self.navigationController = navigationController
}
func goingStart() {
let dongGangAjiVC = DongGangAjiViewController.instantiate()
let ddongViewModel = DongGangAjiViewModel()
dongGangAjiVC.ddongViewModel = ddongViewModel
navigationController.setViewControllers([dongGangAjiVC], animated: false)
}
이쪽은 조금 복잡할수 있는에요! 일단 아까 Coordinator에서 init으로 넘어온 navigation을 프로퍼티 navigation으로 값으로 받아줍니다! 그 navigation 한테 ViewController를 넘겨주게 되는 겁니다 그럼 화면에 ViewController를 띄우게 되는거쥬!! ㅎㅎ
그리고~ ViewController를 하나 만들겁니다!!
class DongGangAjiViewController: UIViewController {
   //MARK: - Properties

   //MARK: - storyboard.instantiateViewController
    static func instantiate() -> DongGangAjiViewController {
        let storyboard = UIStoryboard(name: "Main", bundle: .main)
        let controller = storyboard.instantiateViewController(withIdentifier: "DongGangAjiViewController") as! DongGangAjiViewController
        return controller
    }
    //MARK: -라이프사이클
    override func viewDidLoad() {
        super.viewDidLoad()

    }

}
이제 여기서 띄울것인데요~ storyboard 잠깐만 설정하겠습니다@@
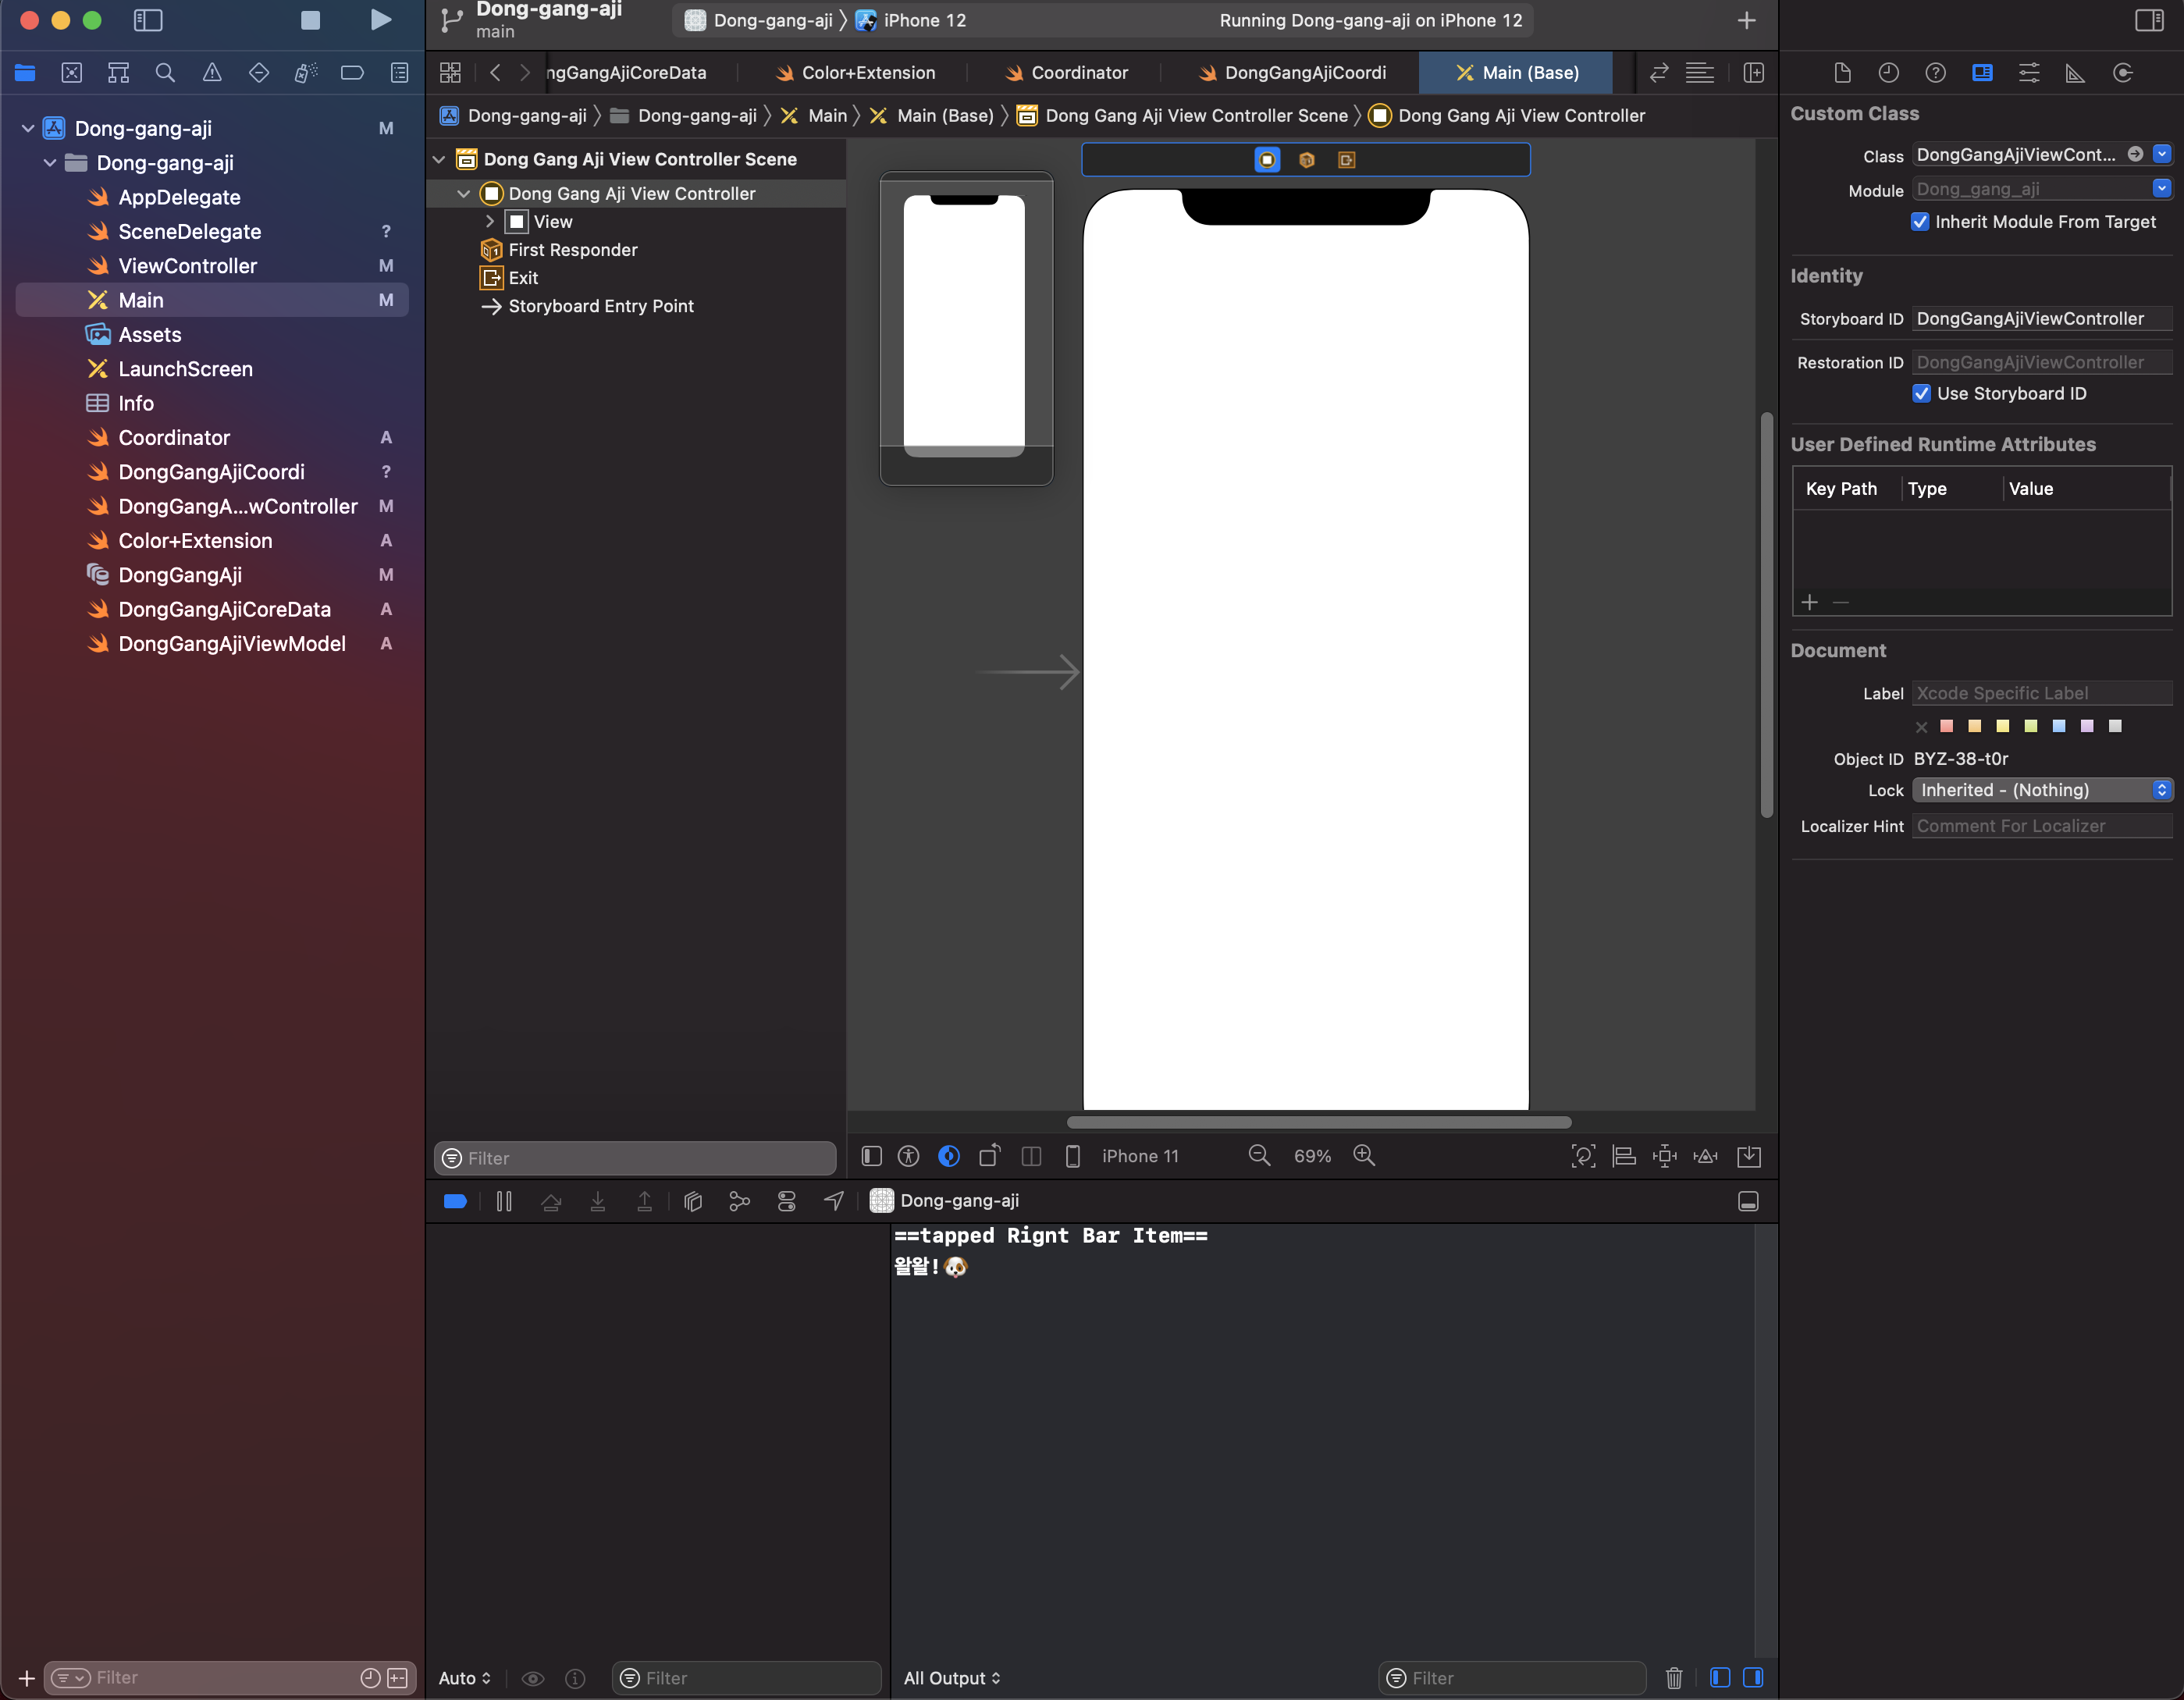
class를 방금 만들었던 ViewController로 변경하시구
스토리보드 ID 또한 바꿔 주시고 instantiate() 코드 작성해주시면 됩니다!!
아그리고 Use Storyboard ID 버튼 꼭 눌러주세요 ㅎㅎ
이렇게 navigation을 이용한 ViewController에 대해 알아보았습니다!