공유마인드 프로젝트를 진행하면서 도움이 되고자 하는 내용 업로드
Spring으로 회원 정보를 db에 저장한 후 로그인 기능을 구현할 때 카O오로 소셜 로그인까지 구현하려 한다.
먼저 SecurityConfig 코드
package com.spring.config;

import org.springframework.context.annotation.Bean;
import org.springframework.context.annotation.Configuration;
import org.springframework.security.authentication.AuthenticationManager;
import org.springframework.security.config.annotation.authentication.configuration.AuthenticationConfiguration;
import org.springframework.security.config.annotation.web.builders.HttpSecurity;
import org.springframework.security.config.annotation.web.configuration.EnableWebSecurity;
import org.springframework.security.crypto.bcrypt.BCryptPasswordEncoder;
import org.springframework.security.crypto.password.PasswordEncoder;
import org.springframework.security.web.SecurityFilterChain;
import org.springframework.security.web.header.writers.frameoptions.XFrameOptionsHeaderWriter;
import org.springframework.security.web.util.matcher.AntPathRequestMatcher;

@Configuration
@EnableWebSecurity
public class SecurityConfig {
    @Bean
    SecurityFilterChain filterChain(HttpSecurity http) throws Exception {

        // 위의 코드에서 CSRF 설정만 비활성화 함
        http.authorizeHttpRequests().requestMatchers(
                        new AntPathRequestMatcher("/**")).permitAll()
                .and()
                .csrf().disable() // CSRF를 비활성화합니다.
                .headers()
                .addHeaderWriter(new XFrameOptionsHeaderWriter(
                        XFrameOptionsHeaderWriter.XFrameOptionsMode.SAMEORIGIN))
                .and() //로그인 구현
                .formLogin()
                .loginPage("/user/login")
                .defaultSuccessUrl("/home"); //성공하면 home으로..

        return http.build();
    }
    @Bean
    PasswordEncoder passwordEncoder() { //패스워드를 bean으로
        return new BCryptPasswordEncoder();
    }

    @Bean //스프링 시큐리티의 인증 담당
    AuthenticationManager authenticationManager(AuthenticationConfiguration authenticationConfiguration) throws Exception {
        return authenticationConfiguration.getAuthenticationManager();
    }
}
보는 것과 같이 시큐리티를 통해 회원 서비스를 구현했다.
UserController
package com.spring.controller;

import com.spring.Service.BaseException;
import com.spring.Service.UserService;
import com.spring.entity.User;
import org.springframework.http.ResponseEntity;
import org.springframework.stereotype.Controller;
import org.springframework.ui.Model;
import org.springframework.web.bind.annotation.*;

import java.util.HashMap;
import java.util.List;
import java.util.Map;

@Controller
@RequestMapping("/")
public class UserController {

    // 생성자 주입
    private final UserService userService;

    public UserController(UserService userService) {
        this.userService = userService;
    }

    @PostMapping("/signup")
    public ResponseEntity<String> addUser(@RequestBody Map<String, String> payload) {

        String username = payload.get("username");
        String email = payload.get("useremail");
        String password = payload.get("password");

        userService.signup(username, email, password);

        return ResponseEntity.ok("유저 회원가입 완료");
    }

    @GetMapping("/user/list")
    @ResponseBody
    public List<User> getUsers() {

        List<User> users = userService.getUsers();

        if (users == null) return null;

        return userService.getUsers();
    }

    @ResponseBody
    @GetMapping("/home")
    public void kakaoCallback(@RequestParam String code) throws BaseException {
        String access_Token = userService.getKaKaoAccessToken(code);
        userService.createKakaoUser(access_Token);
    }
}
컨트롤러는 뭐.. 딱히 필요는 없을 듯 하지만 그래도 올린다.
UserCreateForm
package com.spring.Form;

import lombok.Getter;
import lombok.Setter;

@Getter
@Setter
public class UserCreateForm {
    private String name;

    private String password;
}
UserRepository
package com.spring.Repository;

import com.spring.entity.User;
import org.springframework.data.jpa.repository.JpaRepository;

import java.util.Optional;

public interface UserRepository extends JpaRepository<User, Long> {
    Optional<User> findByUserId(String userId);
    Optional<User> findByUsername(String username);
}
UserService
package com.spring.Service;

import com.nimbusds.jose.shaded.gson.Gson;
import com.nimbusds.jose.shaded.gson.JsonElement;
import com.spring.Repository.UserRepository;
import com.spring.entity.User;
import lombok.RequiredArgsConstructor;
import org.springframework.security.core.userdetails.UserDetails;
import org.springframework.security.core.userdetails.UsernameNotFoundException;
import org.springframework.security.crypto.bcrypt.BCryptPasswordEncoder;
import org.springframework.security.crypto.password.PasswordEncoder;
import org.springframework.stereotype.Service;

import java.io.*;
import java.net.HttpURLConnection;
import java.net.URL;
import java.util.ArrayList;
import java.util.List;

@RequiredArgsConstructor
@Service
public class UserService {

    private final UserRepository userRepository;
    private final PasswordEncoder passwordEncoder; //빈으로 객체를 받아오게끔

    public List<User> getUsers() {
        return userRepository.findAll();
    }

    public void signup(String username, String email, String password) {
        BCryptPasswordEncoder passwordEncoder = new BCryptPasswordEncoder();
        User user = new User();

        user.setUserId(username);
        user.setEmail(email);
        user.setPassword(passwordEncoder.encode(password));

        userRepository.save(user);
    }

    public UserDetails loadUserByUsername(String username) {
        User user = userRepository.findByUsername(username)
                .orElseThrow(() -> new UsernameNotFoundException("User not found with username: " + username));

        return new org.springframework.security.core.userdetails.User(user.getUsername(), user.getPassword(), new ArrayList<>());
    }

    //getKaKaoAccessToken , createKakaoUser
    public String getKaKaoAccessToken(String code) {
        String access_Token = "";
        String refresh_Token = "";
        String reqURL = "https://kauth.kakao.com/oauth/token";

        try {
            URL url = new URL(reqURL);
            HttpURLConnection conn = (HttpURLConnection) url.openConnection();

            //POST 요청을 위해 기본값이 false인 setDoOutput을 true로
            conn.setRequestMethod("POST");
            conn.setDoOutput(true);

            //POST 요청에 필요로 요구하는 파라미터 스트림을 통해 전송
            BufferedWriter buffer = new BufferedWriter(new OutputStreamWriter(conn.getOutputStream()));
            StringBuilder Sbuilder = new StringBuilder();
            Sbuilder.append("grant_type=authorization_code");
            Sbuilder.append("&client_id="); //REST API
            Sbuilder.append("&redirect_uri=http://localhost:8082/home");
            Sbuilder.append("&code=" + code);
            buffer.write(Sbuilder.toString());
            buffer.flush();

            //결과 코드가 200이라면 성공
            int responseCode = conn.getResponseCode();
            System.out.println("responseCode : " + responseCode);
            //요청을 통해 얻은 JSON타입의 Response 메세지 읽어오기
            BufferedReader reader = new BufferedReader(new InputStreamReader(conn.getInputStream()));
            String line = "";
            String result = "";

            while ((line = reader.readLine()) != null) {
                result += line;
            }
            System.out.println("response body : " + result);

            Gson gson = new Gson();
            JsonElement element = gson.fromJson(result, JsonElement.class);

            access_Token = element.getAsJsonObject().get("access_token").getAsString();
            refresh_Token = element.getAsJsonObject().get("refresh_token").getAsString();

            System.out.println("access_token : " + access_Token);
            System.out.println("refresh_token : " + refresh_Token);

            reader.close();
            buffer.close();
        }catch (IOException e) {
            e.printStackTrace();
        }

        return access_Token;
//        return "test";
    }
    public String createKakaoUser(String token) throws BaseException {

        String reqURL = "https://kauth.kakao.com/oauth/token";

        //access_token을 이용하여 사용자 정보 조회
        try {
            URL url = new URL(reqURL);
            HttpURLConnection conn = (HttpURLConnection) url.openConnection();

            conn.setRequestMethod("POST");
            conn.setDoOutput(true);
            conn.setRequestProperty("Authorization", "Bearer " + token); //전송할 header 작성, access_token전송

            //결과 코드가 200이라면 성공
            int responseCode = conn.getResponseCode();
            System.out.println("responseCode : " + responseCode);

            //요청을 통해 얻은 JSON타입의 Response 메세지 읽어오기
            BufferedReader buffer = new BufferedReader(new InputStreamReader(conn.getInputStream()));
            String line = "";
            String result = "";

            while ((line = buffer.readLine()) != null) {
                result += line;
            }
            System.out.println("response body : " + result);

            //Gson 라이브러리로 JSON파싱
            Gson gson = new Gson();
            JsonElement element = gson.fromJson(result, JsonElement.class);

            int id = element.getAsJsonObject().get("id").getAsInt();
            boolean hasEmail = element.getAsJsonObject().get("kakao_account").getAsJsonObject().get("has_email").getAsBoolean();
            String email = "";
            if (hasEmail) {
                email = element.getAsJsonObject().get("kakao_account").getAsJsonObject().get("email").getAsString();
            }

            System.out.println("id : " + id);
            System.out.println("email : " + email);

            buffer.close();

        } catch (IOException e) {
            e.printStackTrace();
        }
        return reqURL;
    }

}
getKaKaoAccessToken와 createKakaoUser 메서드를 통해 구현했다.
application.properties
kakao.client_id=
kakao.redirect_uri=http://localhost:8082/home
client_id는 REST API이다.
https://developers.kakao.com/ 접속 후
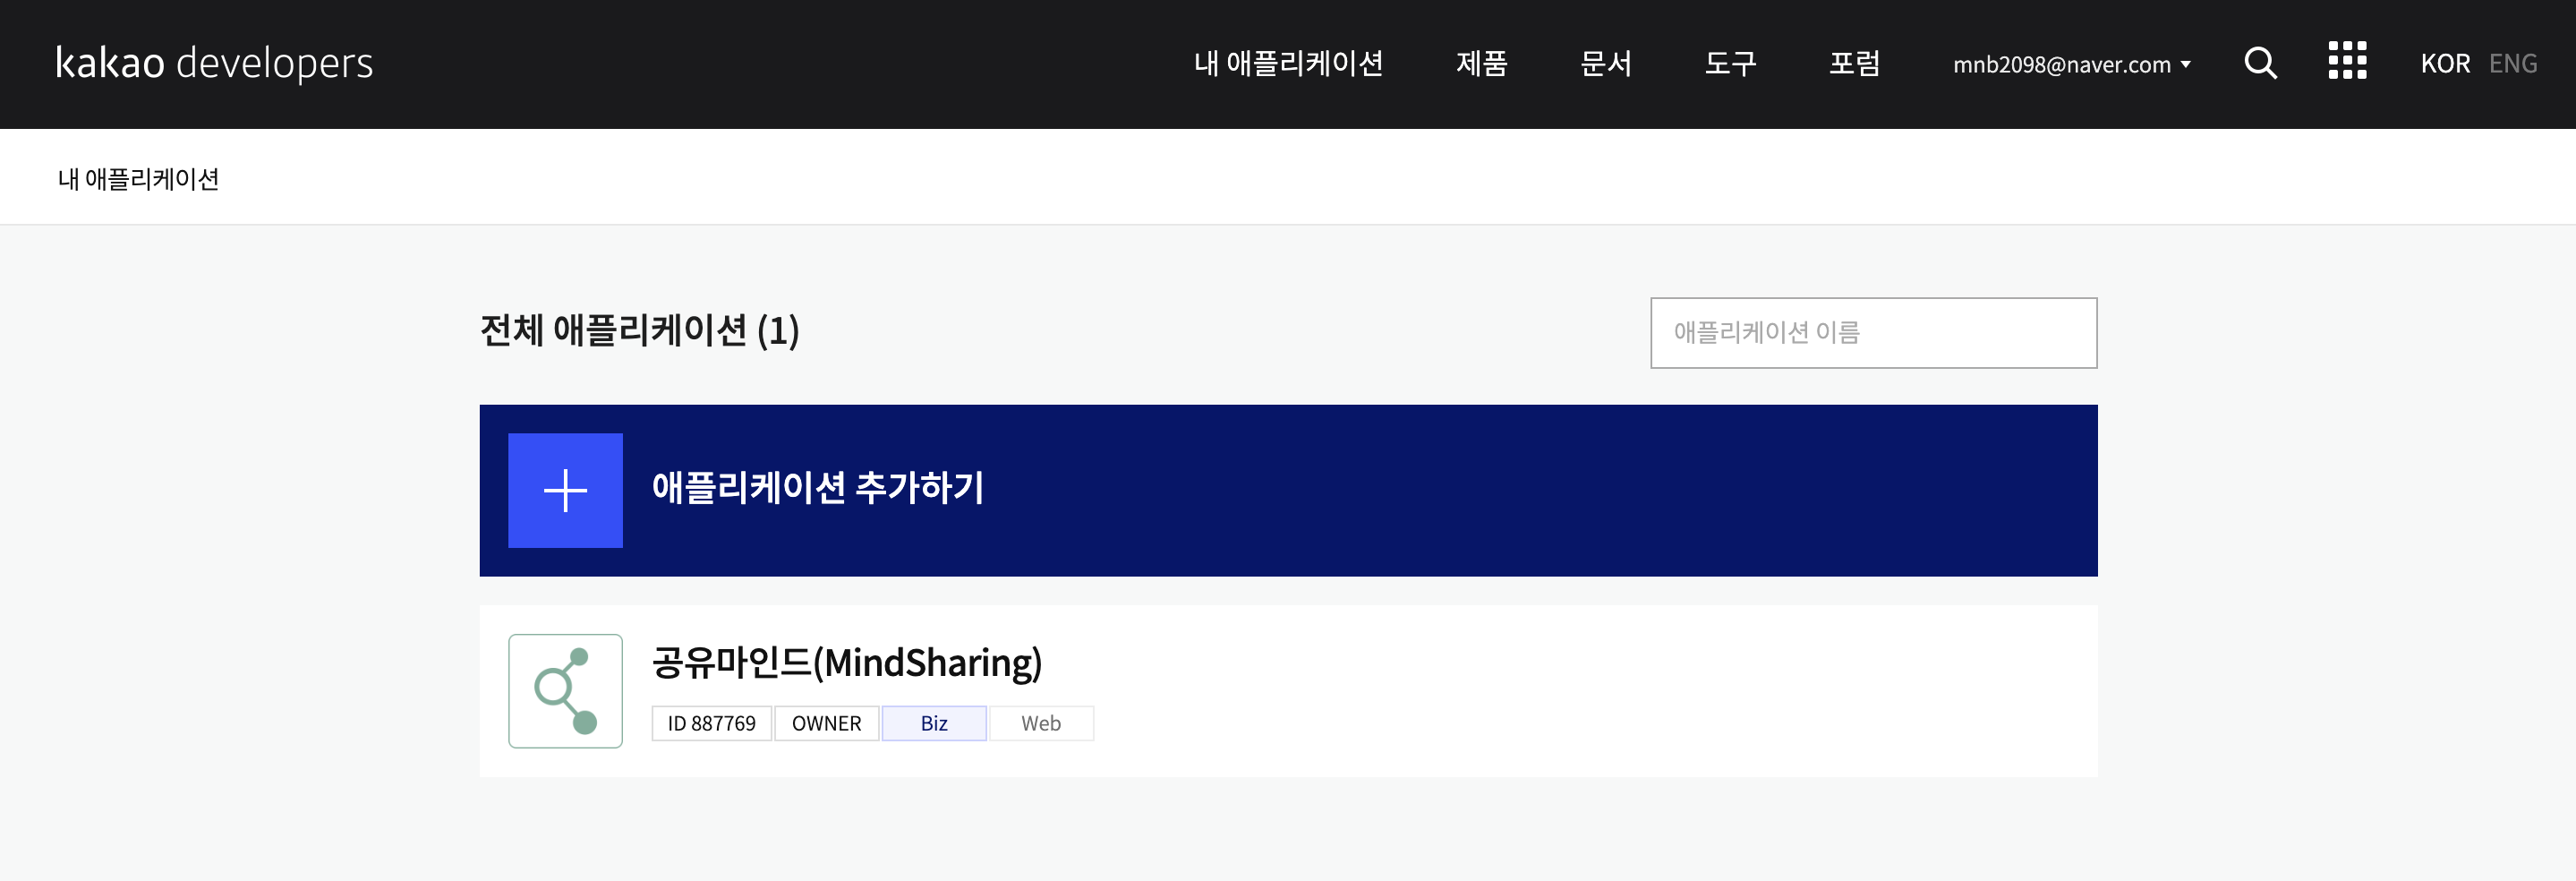
애플리케이션을 추가했다.
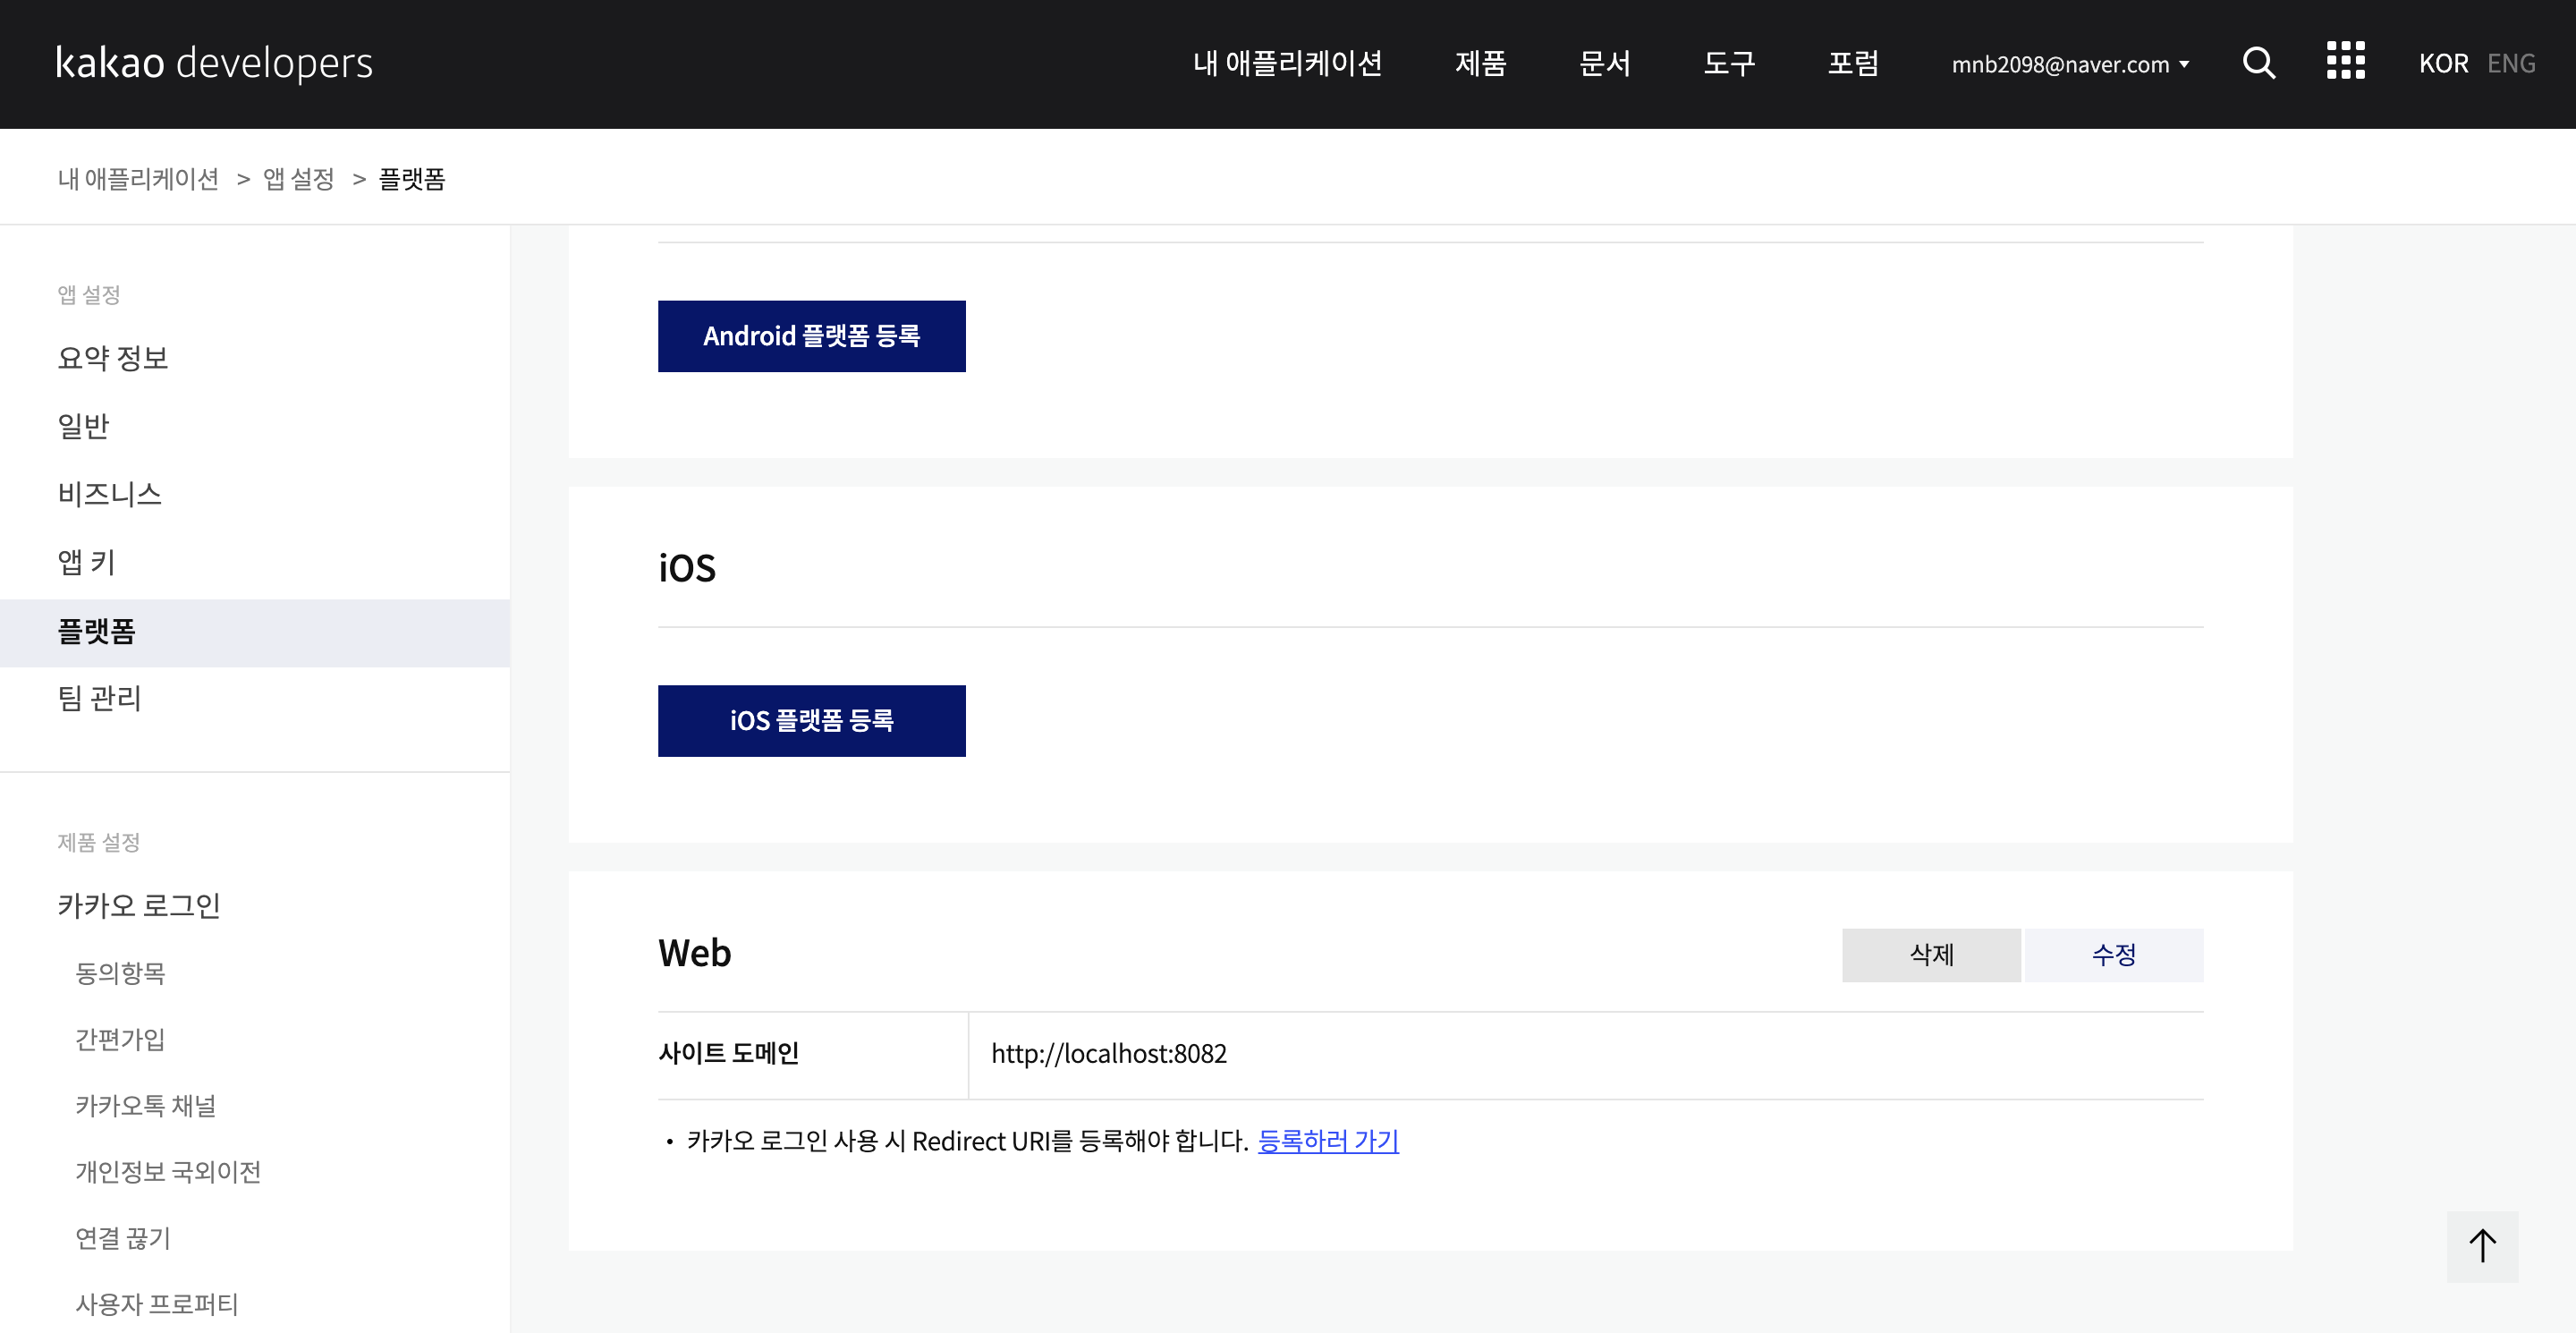
사이트 도메인 주소도 적어주고 (port번호를 8082로 지정하였다.)
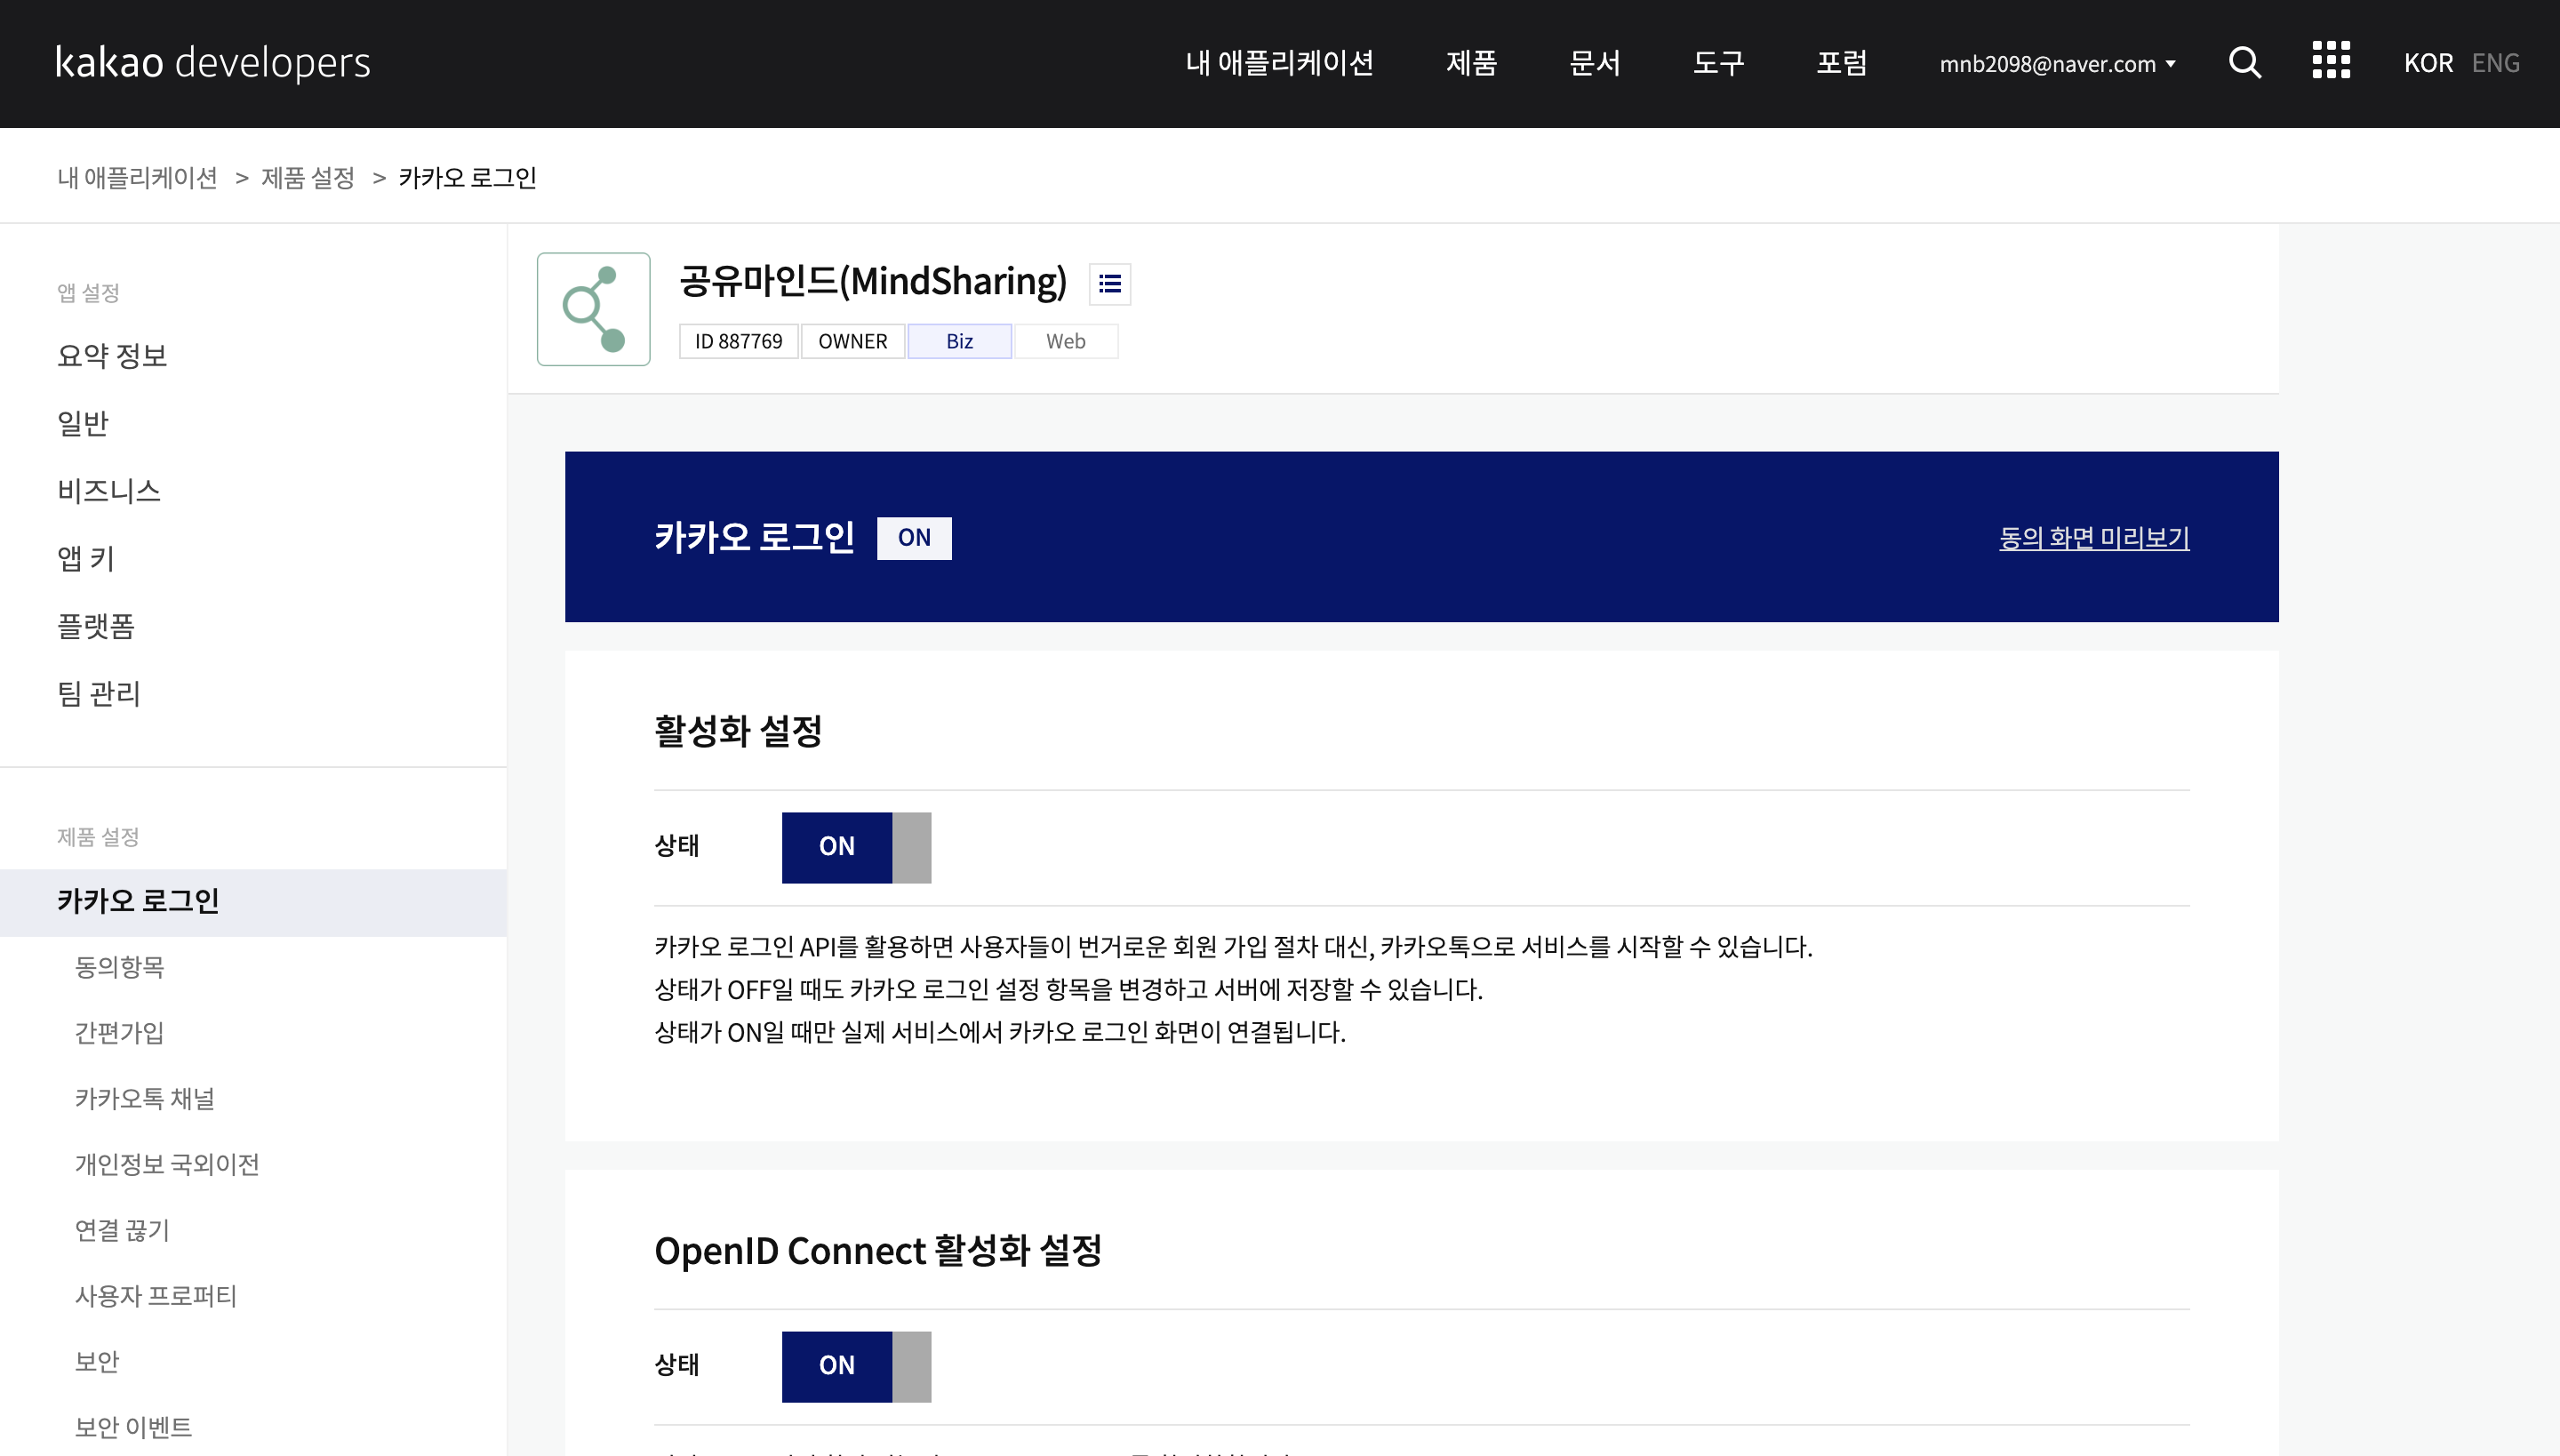
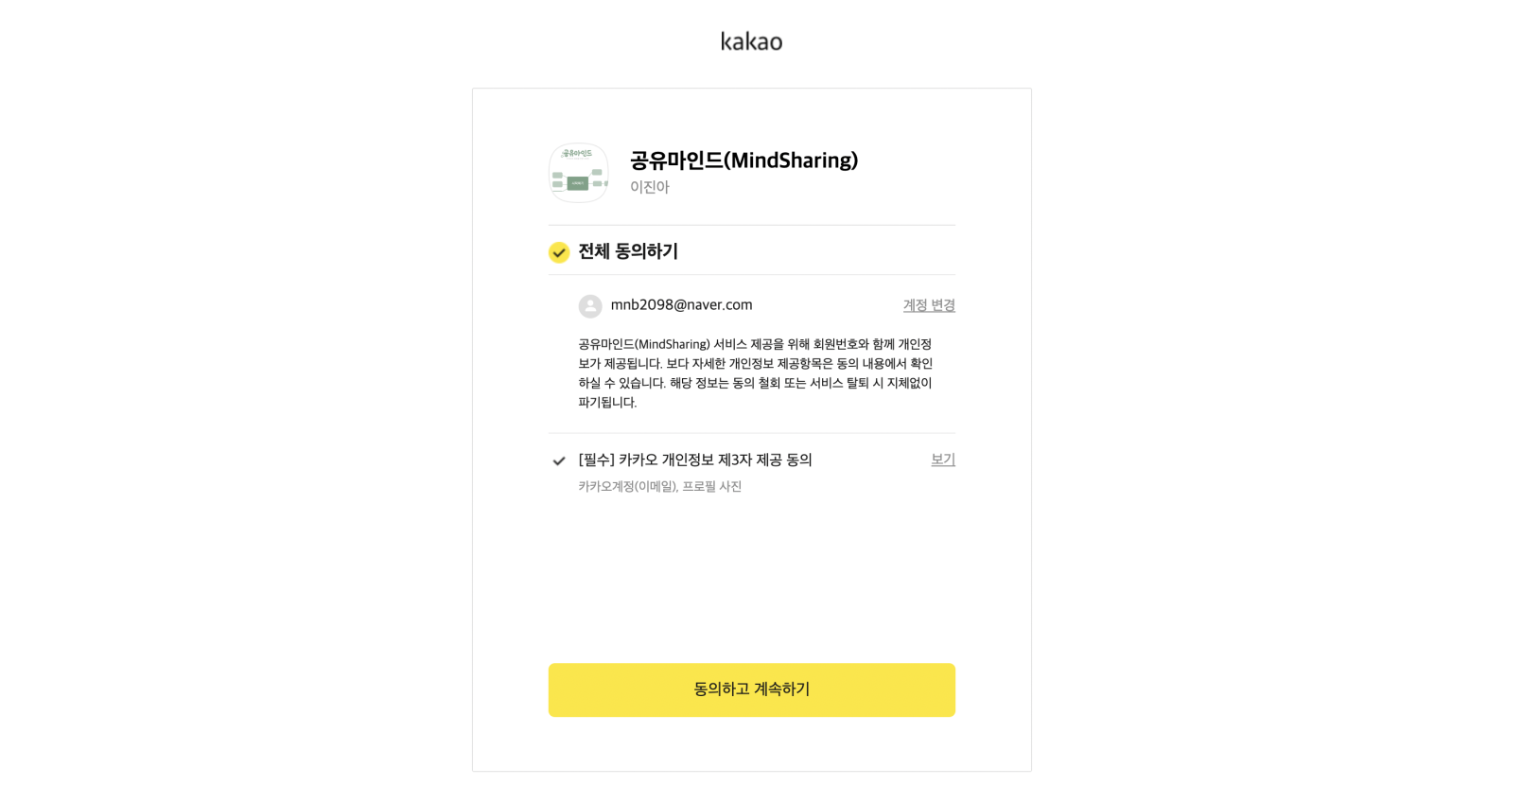
카카오 로그인 활성화 버튼도 눌러준다.
중요한 건 우리가 사용할 RESR API키인데
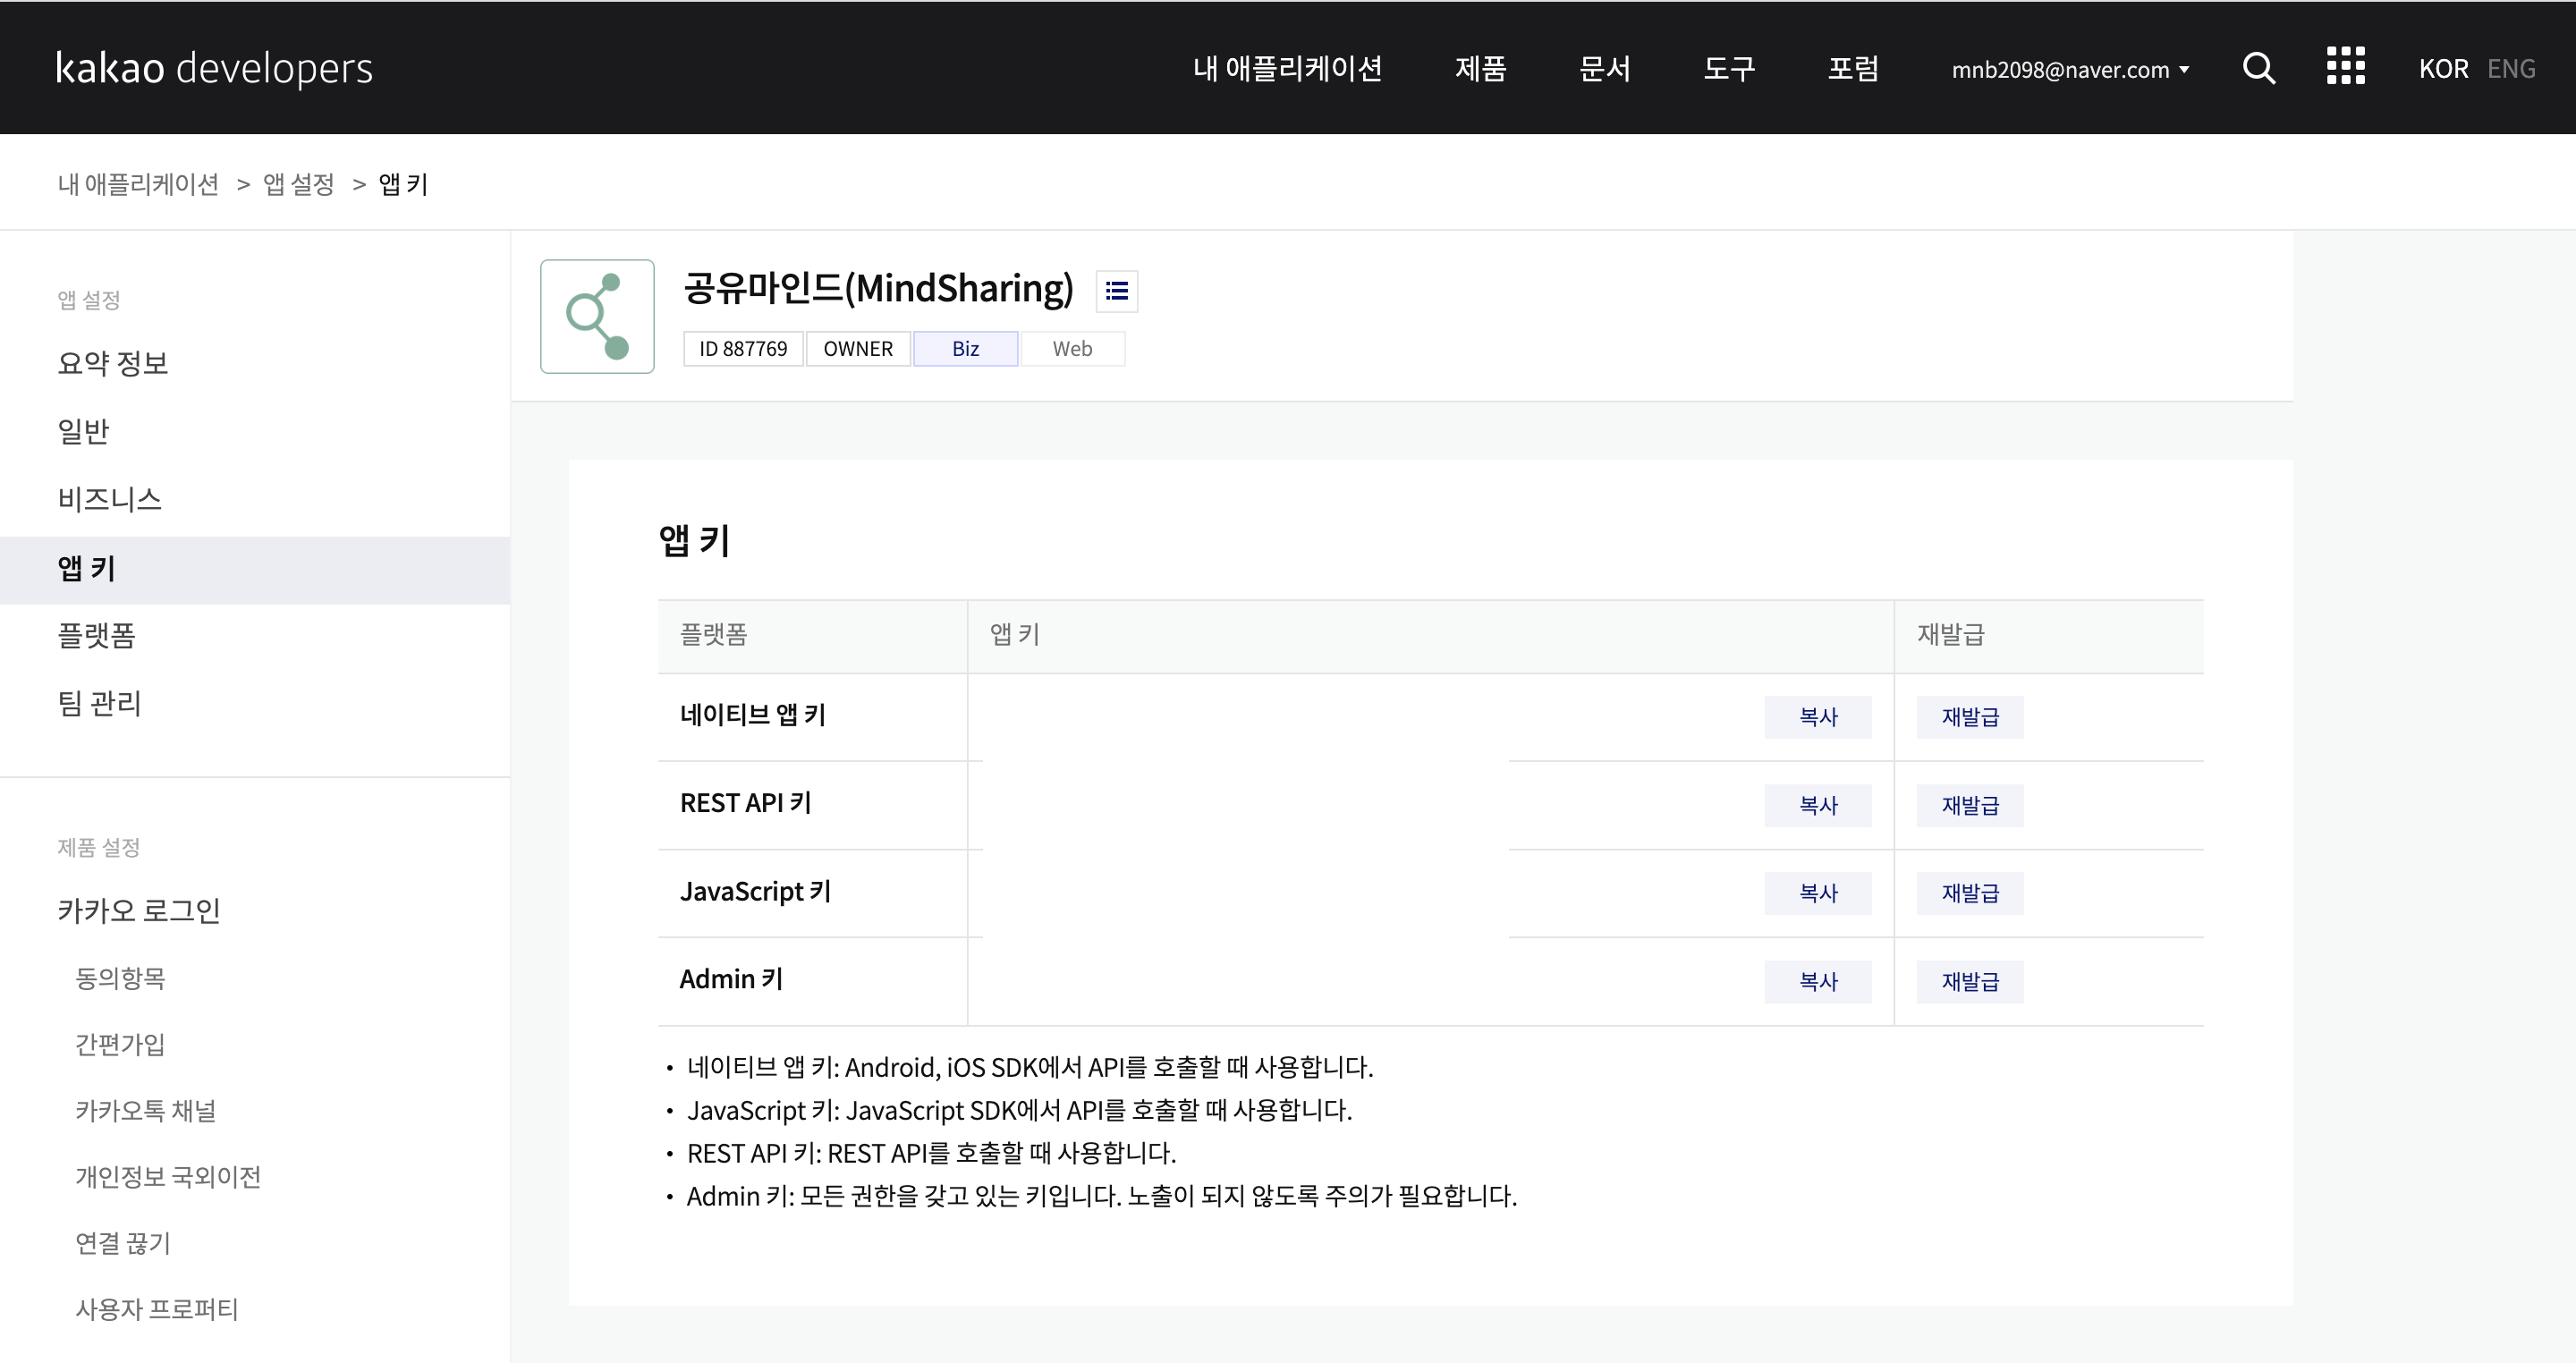
여기에 있는 키를 가지고
application.properties의 kakao.client_id= 칸에 넣어주고
getKaKaoAccessTokend메서드의 Sbuilder.append("&client_id="); 에도 입력해준다.
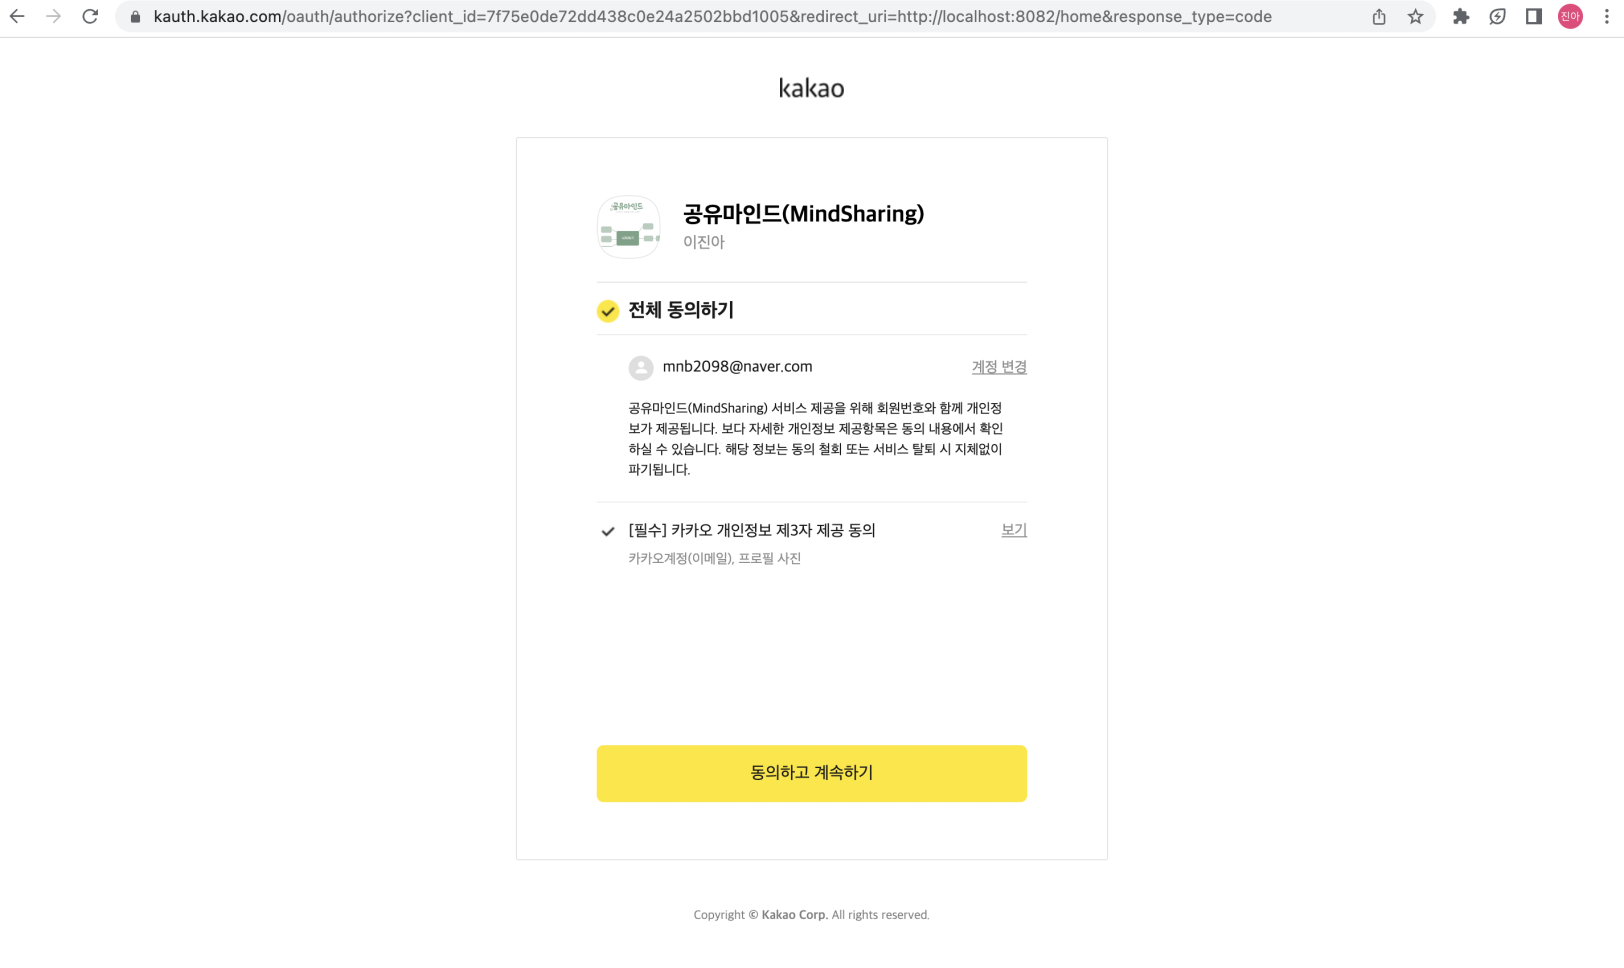
그럼 이렇게 잘 나온다.

이것저것 개발 블로그