2025.02.06 작성
OS : Window
개발환경 : VScode
개발언어 : JavaScript
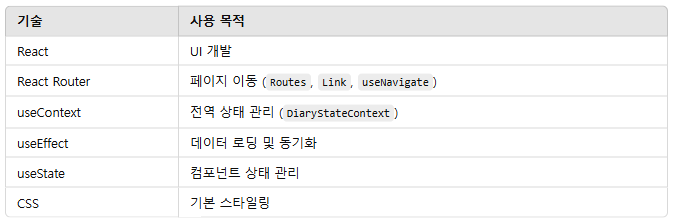
프레임워크 : React
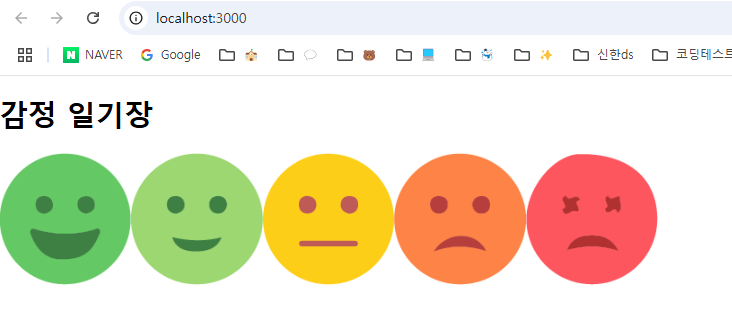
[ 감정 일기장 ] 만들기
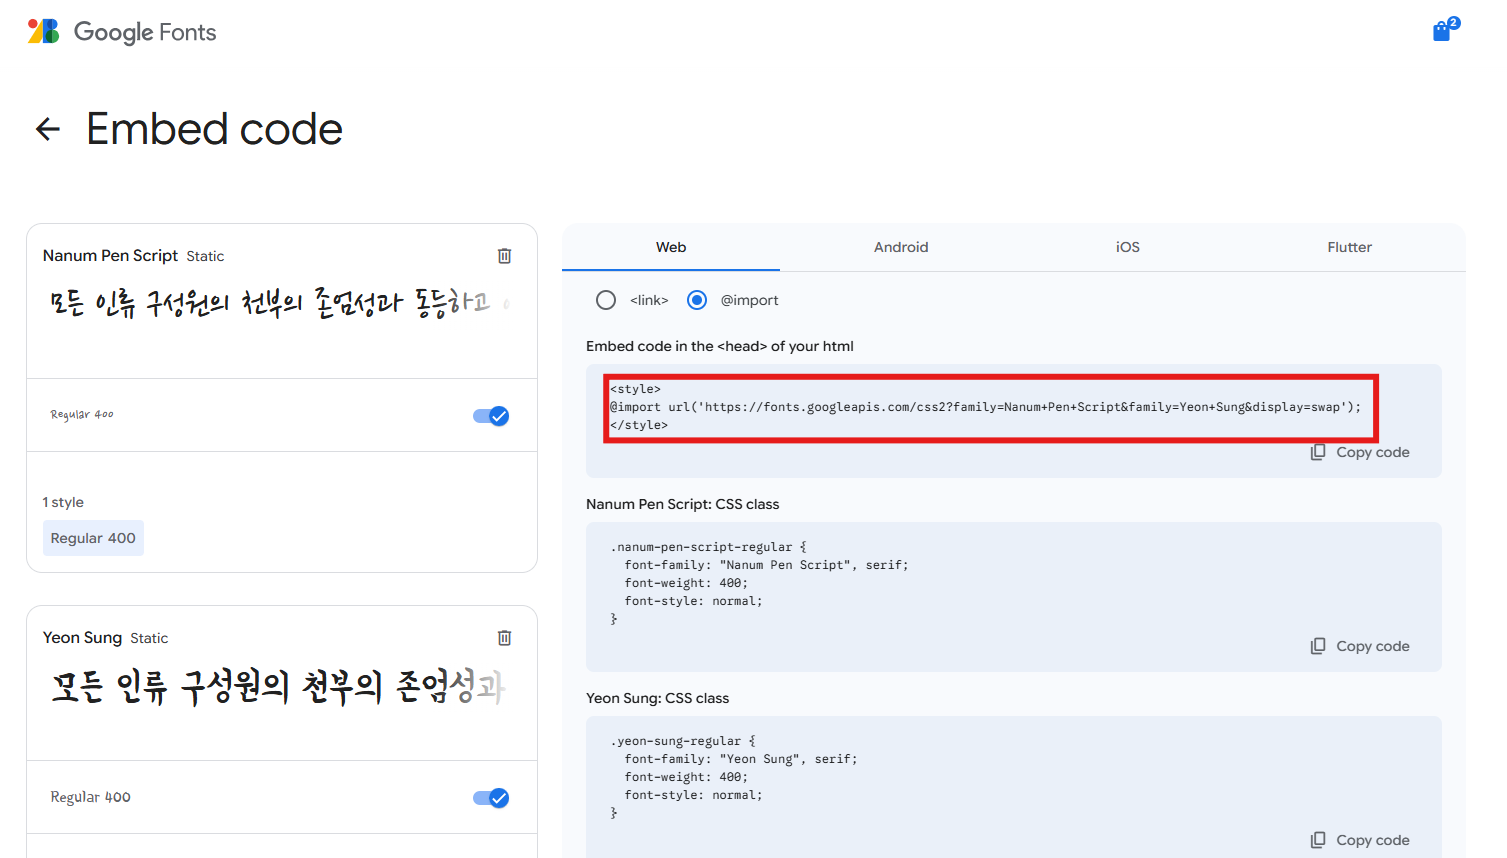
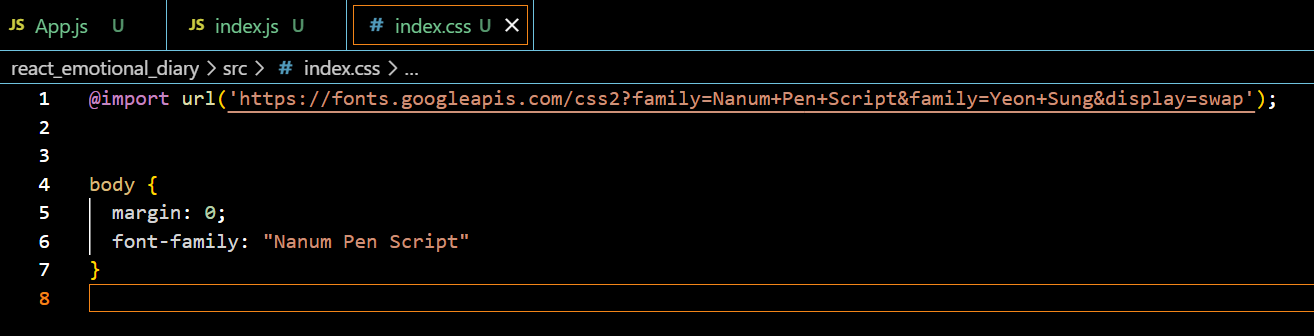
Font 설정
- 구글 폰트
이미지 불러오는 함수
util.js
import emotion1 from './img/emotion1.png';
import emotion2 from './img/emotion2.png';
import emotion3 from './img/emotion3.png';
import emotion4 from './img/emotion4.png';
import emotion5 from './img/emotion5.png';

export const getEmotionImgById = (emotionId) => {
    const targetEmotionId = String(emotionId);
    switch (targetEmotionId) {
        case "1" :
            return emotion1;
        case "2" :
            return emotion2;
        case "3" :
            return emotion3;
        case "4" :
            return emotion4;
        case "5" :
            return emotion5;
        default:
            return null;
    }
};
App.js
import './App.css';
import {getEmotionImgById} from './util';

function App() {
  return (
    <div className="App">
      <h1>감정 일기장</h1>
      <img alt='감정1' src={getEmotionImgById(1)} />
      <img alt='감정2' src={getEmotionImgById(2)} />
      <img alt='감정3' src={getEmotionImgById(3)} />
      <img alt='감정4' src={getEmotionImgById(4)} />
      <img alt='감정5' src={getEmotionImgById(5)} />
    </div>
  );
}

export default App;
페이지 이동
Route, Routes, Link
import './App.css';
import { Route, Routes, Link } from 'react-router-dom';
import Home from './pages/Home';
import New from './pages/New';
import Diary from './pages/Diary';
import Edit from './pages/Edit';

function App() {
  return (
    <div className="App">
      <Routes>
        <Route path='/' element={<Home />} />
        <Route path='/new' element={<New />} />
        <Route path='/diary' element={<Diary />} />
        <Route path='/edit' element={<Edit />} />
      </Routes>
      <div>
        <Link to={"/"}>Home</Link>
        <Link to={"/new"}>New</Link>
        <Link to={"/diary"}>Diary</Link>
        <Link to={"/edit"}>Edit</Link>
      </div>
    </div>
  );
}

export default App;
버튼 Component
Button.js
import "./Button.css"

const Button = ({ text, type, onClick }) => {
    const btnType = ["positive", "negative"].includes(type) ? type : "default";
    return (
        <button
            className={["Button", `Button_${btnType}`].join(" ")}
            onClick={onClick}
        >
            {text}
        </button>
    )
};

Button.defaultProps = {
    type: "default",
};

export default Button;
Home.js
import Button from "../component/Button";
import Header from "../component/Header";

const Home = () => {
    return (
        <div>
            <Header
                title={"Home"}
                leftChild={
                    <Button
                        type="positive"
                        text={"긍정 버튼"}
                        onClick={() => {
                            alert("positive button");
                        }}
                    />
                }
                rightChild={
                    <Button
                        type="negative"
                        text={"부정 버튼"}
                        onClick={() => {
                            alert("negative button");
                        }}
                    />
                }
            />
        </div>
    );
};

export default Home;
달력
...(생략)
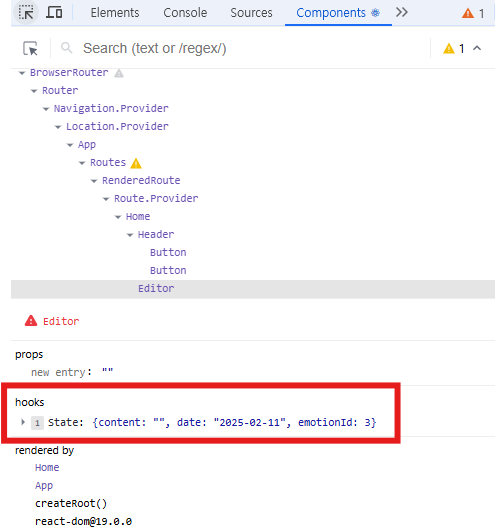
const [state, setState] = useState ({
date: "",
emotionId: 3,
content: "",
});
const handleChangeDate = (e) => {
setState({
...state,
date: e.target.value,
});
...(생략)
<div className="editor_section">
{/* {날짜} */}
<h4>오늘의 날짜</h4>
<div className="input_wrapper">
<input type="date" value={state.date}
onChange={handleChangeDate} />
</div>
</div>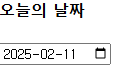
오늘의 감정

- EmotionItem.js는 감정 선택 버튼을 구성하는 컴포넌트로, 사용자가 특정 감정을 선택하면 해당 감정을 강조 표시하고 부모 컴포넌트로 선택된 감정 ID를 전달하는 역할을 함.
EmotionItem.js
import React from "react";
import "./EmotionItem.css";

const EmotionItem = ({ id, img, name, onClick, isSelected }) => {
    const handleOnClick = () => {
        onClick(id);
    };
    return (
        <div className={[
            "EmotionItem",
            isSelected ? `EmotionItem_on_${id}` : `EmotionItem_off`,
        ].join(" ")}
            onClick={handleOnClick} >
            <img alt={`emotion${id}`} src={img} />
            <span> {name} </span>
        </div>
    );
};

export default EmotionItem;- div 태그의 클래스 이름을 동적으로 설정하여 선택 여부에 따라 스타일을 변경.
- isSelected가 true이면 "EmotionItemon${id}" 클래스가 적용.
- isSelected가 false이면 "EmotionItem_off" 클래스가 적용됩니다.
EmotionItem.css
.EmotionItem {
    cursor: pointer;
    border-radius: 5px;
    padding: 20px;
    display: flex;
    flex-direction: column;
    justify-content: center;
    align-items: center;
}

.EmotionItem img {
    width: 50%;
    margin-bottom: 10px;
}

.EmotionItem span {
    font-size: 18px;
}

.EmotionItem_off {
    background-color: #ececec;
}

.EmotionItem_on_1 {
    background-color: #64c964;
    color: white;
}

.EmotionItem_on_2 {
    background-color: #9dd772;
    color: white;
}

.EmotionItem_on_3 {
    background-color: #fdce17;
    color: white;
}

.EmotionItem_on_4 {
    background-color: #fd8446;
    color: white;
}

.EmotionItem_on_5 {
    background-color: #fd565f;
    color: white;
}
Editor.js
                <h4>오늘의 감정</h4>
                <div className="input_wrapper emotion_list_wrapper">
                    {emotionList.map((it) => (
                        <EmotionItem
                            key={it.id}
                            {...it}
                            onClick={handleChangeEmotion}
                            isSelected={state.emotionId === it.id} />
                    ))}
</div>- EmotionItem은 감정을 선택할 수 있는 개별 버튼 컴포넌트이며, Editor.js에서 이를 활용하여 감정 선택 UI를 구현함.
데이터 로딩 상태 구현하기
  const [isDataLoaded, setIsDataLoaded] = useState(false);

  useEffect(() => {
    dispatch({
      type: "INIT",
      data: mockData,
    });
    setIsDataLoaded(true);
  }, []);

  ...

  if (!isDataLoaded) {
    return <div>데이터를 불러오는 중입니다.</div>;
  } else {
    return (
      <div className="App">
        <Routes>
          <Route path='/' element={<Home />} />
          <Route path='/new' element={<New />} />
          <Route path='/diary/:id' element={<Diary />} />
          <Route path='/edit' element={<Edit />} />
        </Routes>

      </div>
    );
  }
일치하는 데이터 불러오기
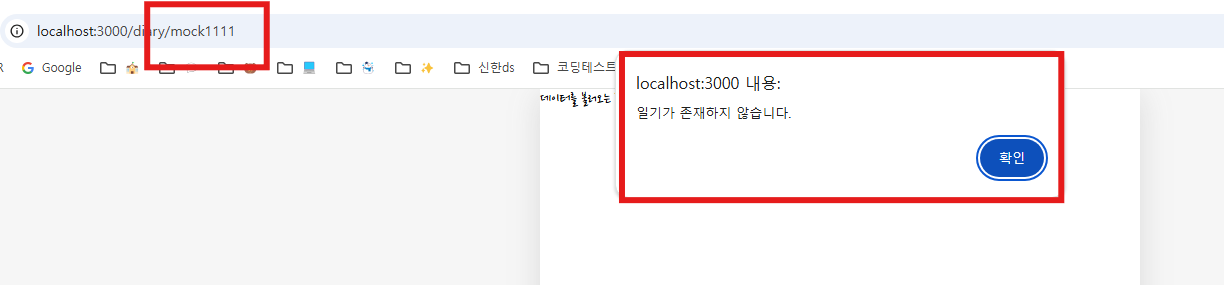
import { useContext, useEffect, useState } from "react";
import { DiaryStateContext } from "../App";
import { useNavigate } from "react-router-dom";

const useDiary = (id) => {
    const data = useContext(DiaryStateContext);
    const [diary, setDiary] = useState();
    const navigate = useNavigate();

    useEffect(() => {
        const matchDiary = data.find((it) => String(it.id) === String(id));
        if (matchDiary) {
            setDiary(matchDiary);
        } else {
            alert("일기가 존재하지 않습니다.");
            navigate("/", { replace: true });
        }
    }, [id, data]);

    return diary;
};

export default useDiary;

벨로그 쫌 재밌네?