JDBC
지난 주말 JDBC 학습에 이서어 이번 주말도 JDBC 배워봤다.
지난번에는 디비에 연결하고 쿼리문 넣어보고 하는 시간을 가져봤고,
이번엔 지금까지 스프링으로 해보았던 CRUD를 순수 JDBC로 해봤다.
예제로 한건 게시판 예제이다. 먼저 스프링이랑 똑같이 entity 객체를 만든다.
public class Notice {
private int id;
private String title;
private String writerId;
private Date regDate;
private String content;
private int hit;
private String files;
//...Constructor
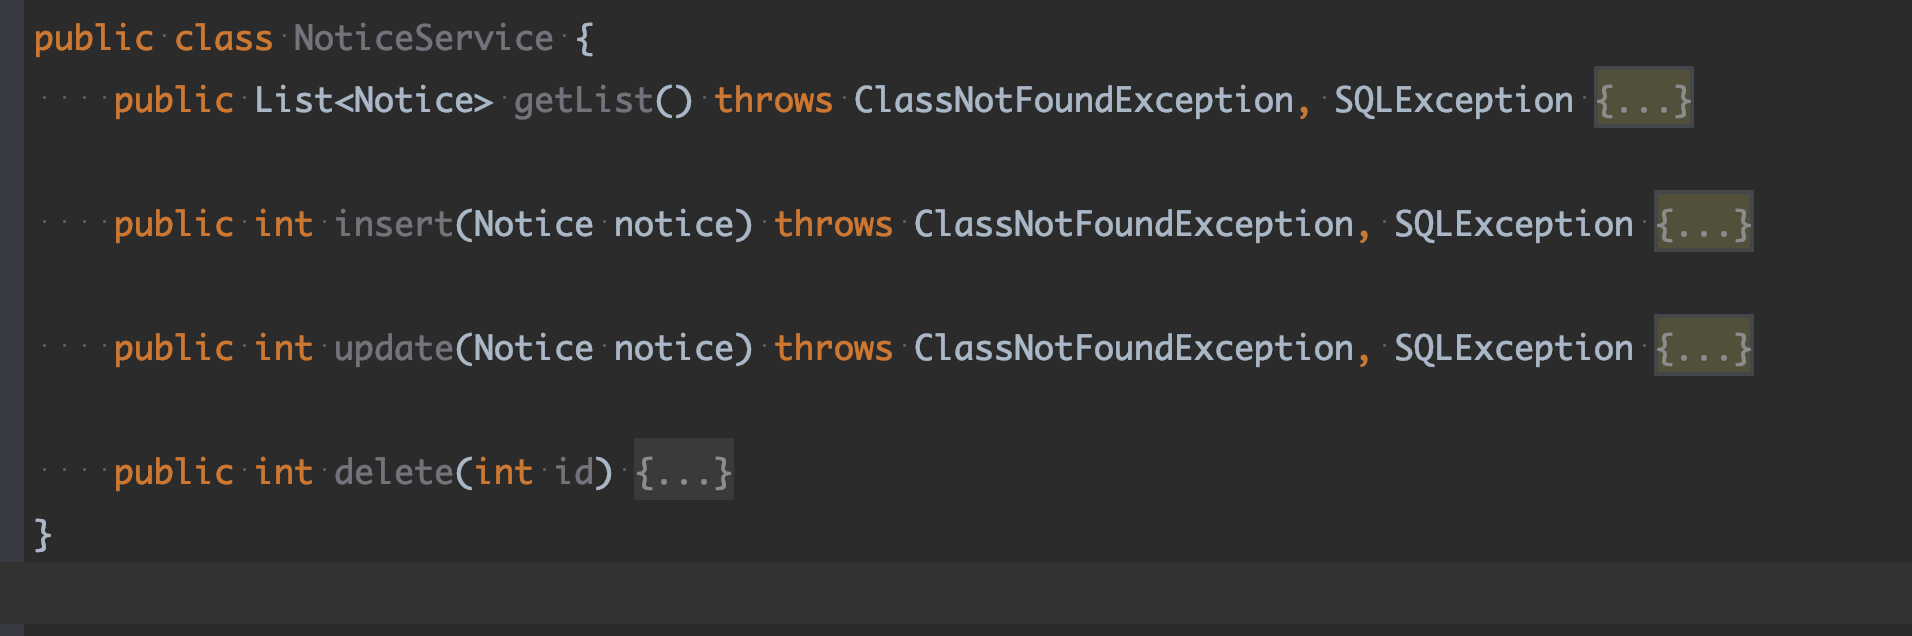
//...Getter and Setter그리고 NoticeService 라는 서비스 클래스를 만든다.
서비스 클래스 내에는 Notice가 List로 들어가있고, 리스트에 레코드들(객체들)이 담긴다.
    public int insert(Notice notice) throws ClassNotFoundException, SQLException {

        String title = notice.getTitle();
        String writerId = notice.getWriterId();
        String content = notice.getContent();
        String files = notice.getFiles();

        String url = "jdbc:mysql://localhost:3306/myNewLecture?useSSL=false";
        String sql = "insert into NOTICE" +
                "(" +
                "id," +
                "title," +
                "writer_id," +
                "content," +
                "files" +
                ")" +
                "values" +
                "(?,?,?,?)";

        Class.forName("com.mysql.cj.jdbc.Driver");
        Connection con = DriverManager.getConnection(url, "kyu", "kyu");
        // Statement st = con.createStatement();
        // st.ex....(sql)
        PreparedStatement st = con.prepareStatement(sql);
        st.setString(1, title);
        st.setString(2, writerId);
        st.setString(3, content);
        st.setString(4, files);

        int result = st.executeUpdate();

        st.close();
        con.close();
        return result;
    }
디비에 연결해주는 구문을 작성해주고,,PreparedStatement를 이용해서 좀 더 쉽게 쿼리를 만든다. 그리고 executeUpdate() 를 이용해서 결과패치를 해준다. 결과패치를 해준다는 말은 실제로 만든 구문을 적용 시킨다정도로 보면 될것같다.
    public int update(Notice notice) throws ClassNotFoundException, SQLException {
        String title = notice.getTitle();
        String content = notice.getContent();
        String files = notice.getFiles();
        int id = notice.getId();

        String url = "jdbc:mysql://localhost:3306/myNewLecture?useSSL=false";
        String sql = "UPDATE NOTICE SET TITLE=?, CONTENT=?, FILES=? WHERE ID=?";

        Class.forName("com.mysql.cj.jdbc.Driver");
        Connection con = DriverManager.getConnection(url, "kyu", "kyu");
        // Statement st = con.createStatement();
        // st.ex....(sql)
        PreparedStatement st = con.prepareStatement(sql);
        st.setString(1, title);
        st.setString(2, content);
        st.setString(3, files);
        st.setInt(4, id);

        int result = st.executeUpdate();

        st.close();
        con.close();

        return result;
    }
업데이트도 똑같다. 쿼리문만 바꿔주고 똑같은 방식으로 만들수있다. 이런식으로 delete까지 만들어주면 된다.
getList()는 디비에 들어가있는 Notice들을 List에 다 넣어서 반환시키는 메서드이다.
    public List<Notice> getList() throws ClassNotFoundException, SQLException {
        String url = "jdbc:mysql://localhost:3306/myNewLecture?useSSL=false";
        String sql = "SELECT * FROM NOTICE";

        Class.forName("com.mysql.cj.jdbc.Driver");
        Connection con = DriverManager.getConnection(url, "kyu", "kyu");
        Statement st = con.createStatement();
        ResultSet rs = st.executeQuery(sql);

        List<Notice> list = new ArrayList<Notice>();

        while (rs.next()) {
            int id = rs.getInt("ID");
            String title = rs.getString("TITLE");
            String writerId = rs.getString("WRITER_ID");
            Date regDate = rs.getDate("REGDATE");
            int hit = rs.getInt("hit");
            String content  = rs.getString("CONTENT");
            String files  = rs.getString("FILES");

            Notice notice = new Notice(
                    id,
                    title,
                    writerId,
                    regDate,
                    content,
                    hit,
                    files
            );

            list.add(notice);

        }

        rs.close();
        st.close();
        con.close();

        return list;
    }
executeQuery()도 아까 executeUpdate()처럼 결과패치를 해주는건데 executeQuery는 오직 목록을 불러올떄만 사용한다. 그래서 저런식으로 코드가 작성되어있으면 SELECT * FROM NOTICE 라는 목록을 rs에 결과패치를 한것이다.
rs.next()를 통해 다음 레코드가 있는지 없는지 여부를 판단하고 true이면 그 레코드를 읽어서 List에 넣어준다.
그런식으로 레코드를 읽다가 EOF를 가리키게되면 rs.next()가 false가 되고 이때까지 레코드를 담은 List를 반환하고 메서드가 종료된다.
담주 주말은...
남은 JDBC 강의에서 페이징하는 것도 알려주는데,, Servlet/JSP 를 할지 JDBC로 페이징을 할지 고민이 되네......음,, JDBC페이징하는걸 배우면 JPA로 페이징 했던게 좀더 이해가 갈거같은데,,고거 이해하자고 더 듣기는 싫고...걍 Servlet/JSP 들어보띾?
