
📌 로그인, 회원가입 페이지를 생성한다.
Spring boot를 이용하여 웹페이지를 구현할 때 가장 기본적인 것은 회원관리이다.
그렇기 때문에 로그인,회원가입을 구현하고 User Entity를 생성하여 회원관리를 해보겠다.
먼저 백엔드를 공부하기 위해 프로젝트를 하는것이므로 프론트엔드 부분은 다른분의 코드를 참고하여 만들겠다.
💻 회원가입, 로그인 페이지 생성
프론트엔드는 이 분의 블로그에서 참조하였습니다.
https://velog.io/@hyounglee/instagram-clone-2
login.html
로그인 화면을 구현하기위해 html 파일을 생성하였다.
<!DOCTYPE html>
<html lang="en" xmlns:th="http://www.w3.org/1999/XSL/Transfo">
<head>
    <meta charset="utf-8">
    <meta name="viewport" content="width=device-width">
    <title>Instagram</title>
    <link href="/style/common.css" rel="stylesheet" type="text/css" />
    <link href="/style/login.css" rel="stylesheet" type="text/css" />

    <!-- favicon -->
    <link rel="icon" href="/img/favicon.png">
    <link rel="instagram-icon" href="/img/favicon.png">

</head>
<body>
<div class="container">
    <form action="/loginForm" method="post">
        <img class="logo_instagram" src="/img/logo_text.png" alt="instagram_logo">
        <input type="text" class="username" name="username" id="username" placeholder="이메일">
        <input type="password" class="password" name="password" id="password" placeholder="비밀번호">
        <button id="btn_login" disabled>로그인</button>
    </form>
    <span class="login_input_check" th:if="${param.error}" > 입력한 계정을 찾을 수 없습니다. </span>
    <!-- Oauth 소셜로그인 -->
    <div class="login_facebook">
        <img class="logo_facebook" src="/img/facebook_icon.png">
        <a href="/oauth2/authorization/facebook" class="btn_facebook">Facebook으로 로그인</a>
    </div>
    <!-- Oauth 소셜로그인end -->
    <a href="/signup" class="button_signup">계정이 없으신가요? 가입하기</a>
</div>
<script src="/js/login.js"></script>
</body>
</html>
signup.html
회원가입 화면을 구현 html 파일
<!DOCTYPE html>
<html lang="en" xmlns:th="http://www.w3.org/1999/XSL/Transfo">
<head>
    <meta charset="UTF-8">
    <title>Instagram</title>
    <link href="/style/signup.css" rel="stylesheet" type="text/css" />
    <link href="/style/login.css" rel="stylesheet" type="text/css" />

    <!-- favicon -->
    <link rel="icon" href="/img/favicon.png">
    <link rel="instagram-icon" href="/img/favicon.png">

</head>
<body>
<div class="container">
    <img class="logo_instagram" src="/img/logo_text.png" alt="instagram_logo">
    <form action="/signup" method="post">
        <input type="email" class="input_signup" name="email" id="email" placeholder="이메일 주소" required="required"  maxlength="30"/>
        <input type="password" class="input_signup" name="password" id="password" placeholder="비밀번호" required="required" />
        <input type="text" class="input_signup" name="phone" id="phone" placeholder="전화번호" required="required" />
        <input type="text" class="input_signup" name="name" id="name" placeholder="성명" required="required" />
        <button id="btn_signup" disabled> 가입 </button>
    </form>
    <span class="email_input_check" th:if="${param.error}" > 이메일 계정이 이미 존재합니다. </span>
    <a href="/login" class="button_login">계정이 있으신가요?  로그인</a>
</div>
<script src="/js/signup.js"></script>
</body>
</html>
프론트엔드를 구현하였으니 Spring Security를 이용하여 로그인 화면을 출력해 보겠다.
Spring Security는 이전 프로젝트인 쇼핑몰에서도 사용하였으니 간단히 사용할 수 있을것이다.
그 전에 User 도메인을 먼저 생성해 주도록 하겠다.
💻 User 도메인 / 서비스 / 컨트롤러
💬 User Entity
package clone.instargram.domain.user;

import lombok.*;

import javax.persistence.Entity;
import javax.persistence.GeneratedValue;
import javax.persistence.GenerationType;
import javax.persistence.Id;

@Builder
@AllArgsConstructor
@NoArgsConstructor
@Entity
@Getter
@Setter
public class User{
    @Id
    @GeneratedValue(strategy = GenerationType.IDENTITY)
    private long id;

    private String email;
    private String password;
    private String phone;
    private String username;
}
다음과 같이 User Entity를 생성하였다.
ID를 PK 값으로 가진다.
이메일 / 패스워드 / 핸드폰번호 / 사용자이름을 변수로 가지도록 하였다.
💬 UserLoginDTO
package clone.instargram.web.dto;

import clone.instargram.domain.user.User;
import lombok.*;

@Builder
@AllArgsConstructor
@NoArgsConstructor
@Getter
@Setter
@Data
public class UserLoginDto {
    private String email;
    private String password;
    private String phone;
    private String username;

    public User toEntity() {
        return User.builder()
                .email(email)
                .password(password)
                .phone(phone)
                .username(username)
                .build();
    }
}
Controller에서 User의 정보를 전달하기 위한 DTO를 생성
💬 User Repository
package clone.instargram.domain.user;

import org.springframework.data.jpa.repository.JpaRepository;

public interface UserRepository extends JpaRepository<User, Long> {
    User findByEmail(String email);
}
Repository는 JPA를 이용하여 구현하였고 이메일을 통하여 User를 찾는 메소드를 생성하였다.
User를 만들었으니 이제 로그인을 위해 Security를 이용하도록 한다.
PrincipalDetails, PrincipalDetailsService는 이전글을 참고하길 바랍니다
💬 Security.config
package clone.instargram.config;

import org.springframework.context.annotation.Bean;
import org.springframework.context.annotation.Configuration;
import org.springframework.security.config.annotation.web.builders.HttpSecurity;
import org.springframework.security.config.annotation.web.configuration.EnableWebSecurity;
import org.springframework.security.config.annotation.web.configuration.WebSecurityConfigurerAdapter;
import org.springframework.security.crypto.bcrypt.BCryptPasswordEncoder;

@EnableWebSecurity
@Configuration
public class SecurityConfig extends WebSecurityConfigurerAdapter {

    @Bean
    public BCryptPasswordEncoder encoder(){
        // 패스워드 암호화
        return new BCryptPasswordEncoder();
    }

    @Override
    protected void configure(HttpSecurity http) throws Exception {
        // super.configure(http);
        http.csrf().disable();

        http.authorizeRequests()
                .antMatchers("/", "/login", "/signup", "/style/**", "/js/**", "/img/**").permitAll()
                .anyRequest().authenticated()
                .and()
                .formLogin()
                .loginPage("/login")
                .loginProcessingUrl("/loginForm")
                .defaultSuccessUrl("/main")
                .and()
                .logout()
                .logoutSuccessUrl("/login")
                .invalidateHttpSession(true);
    }
}
이 부분에서 아주 오래걸렸다.
antMatchers는 권한없이 접근을 허용해줄 페이지를 설정하는 것이다.
이 부분에서 css,js,img 부분을 넣어주지 않아 프론트엔드가 안뜨는 현상이 일어나 엄청 힘들었다.... 잘 기억하길 바란다.
다음은 로그인 / 회원가입 기능구현이다
💬 AuthService
@RequiredArgsConstructor
@Service
public class AuthService {
    private final UserRepository userRepository;
    private final BCryptPasswordEncoder bCryptPasswordEncoder;

    @Transactional
    public User signup(User user){
        String rawPassword = user.getPassword();
        String encPassword = bCryptPasswordEncoder.encode(rawPassword);
        user.setPassword(encPassword);

        User userEntity = userRepository.save(user);

        return userEntity;
    }

    @Transactional
    public User userUpdate(User user){
        User userEntity = userRepository.save(user);
        return userEntity;
    }
}
@Transactional 을 이용하여 하나라도 안되면 처리가 안되도록 하였다.
회원가입을 할때 비밀번호를 암호화하여 저장하도록 하였고
User 정보를 수정하는 메소드를 추가하였다.
💬 AuthController
@RequiredArgsConstructor
@Controller
public class AuthController {
    private final AuthService authService;

    @GetMapping({"/login" , "/"})
    public String LoginForm(){
        return "login";
    }

    @GetMapping("/signup")
    public String SignupForm(){
        return "signup";
    }

    @PostMapping("/signup")
    public String Signup(UserLoginDto userLoginDto){
        User user = userLoginDto.toEntity();

        User userEntity = authService.signup(user);

        return "login";
    }
}
로그인페이지, 회원가입페이지를 보여주도록 하였고, UserDTO를 이용하여 회원가입을 하도록 구현하였다.
💻 실행화면
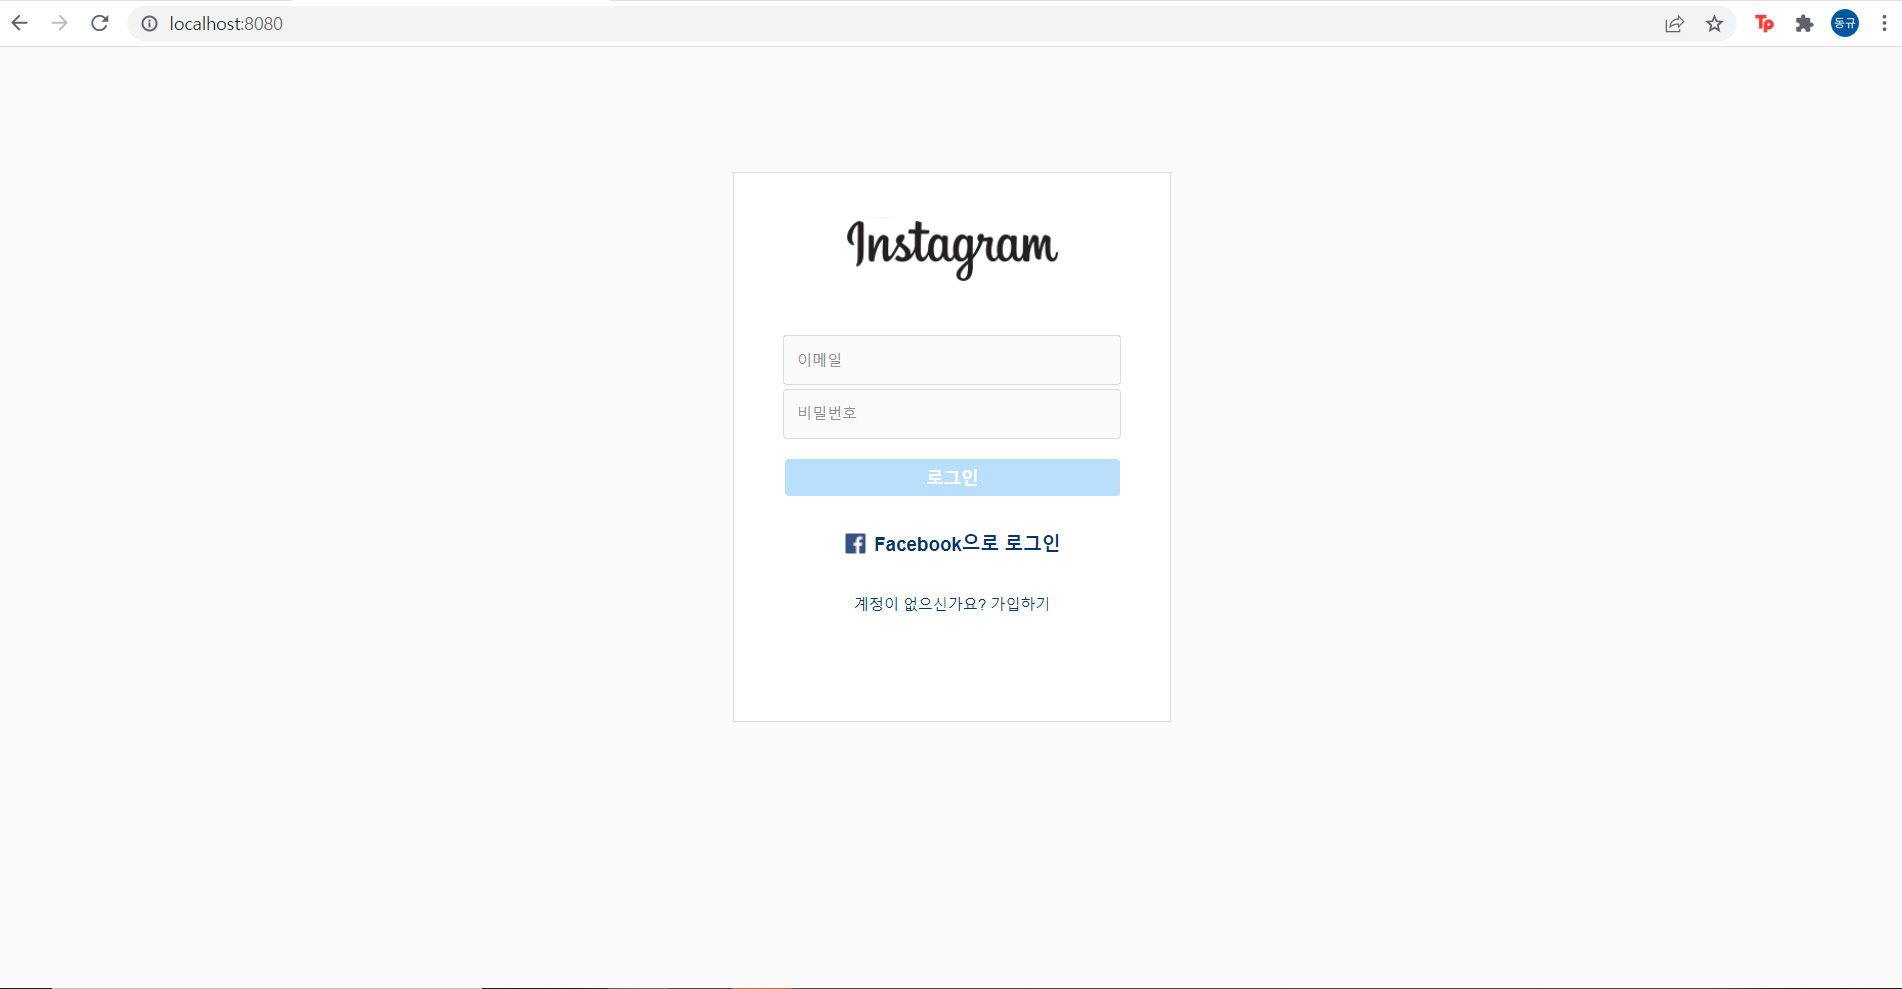
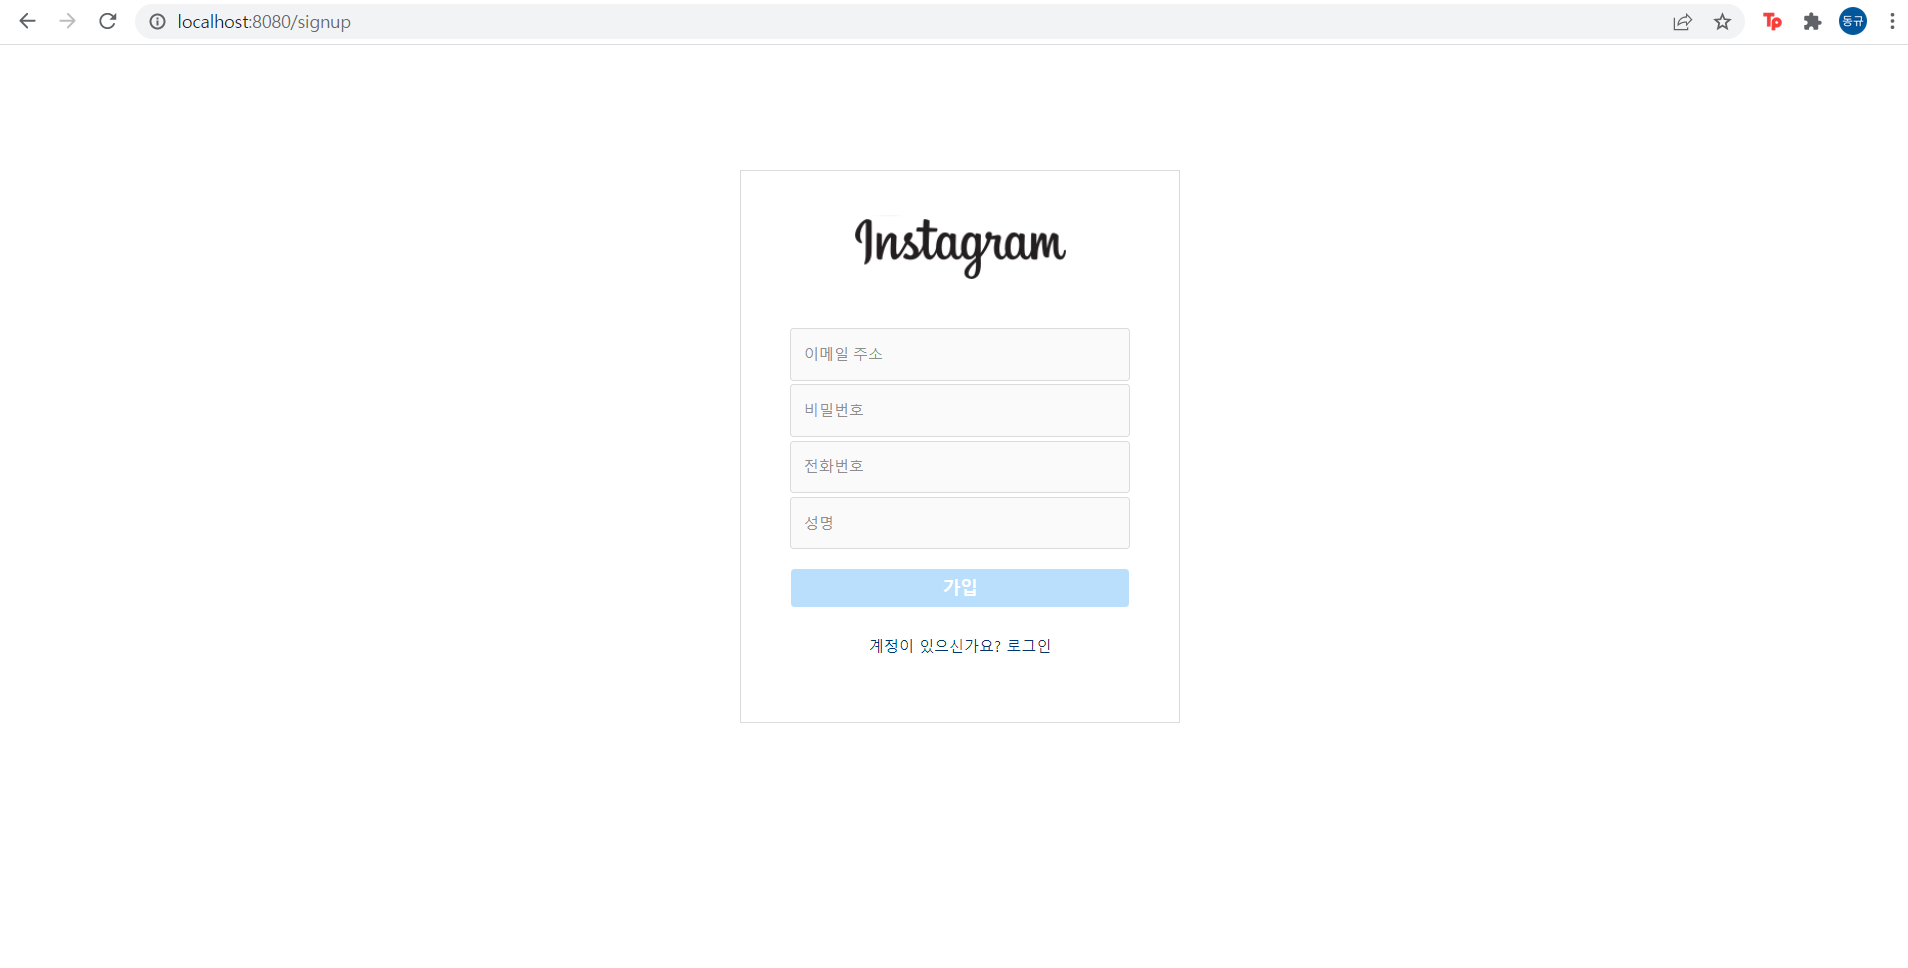
다음과 같이 잘 나오는것을 확인할 수 있다!!
로그인과 회원가입은 프론트엔드 단에서 조건에 맞지않으면 버튼이 눌리지않도록 구현되어있다.