AWS API Gateway와 Kong API Gateway를 실습하며 간단한게 REST API를 구축하는 방법을 남긴다.
개인적인 공부, 실습, 프로토타입을 만들때 사용하면 좋은것이 json-server이다.
설치
$ npm i -g json-server실행
$ json-server --watch db.json --port {포트번호}결과
  \{^_^}/ hi!

  Loading db.json
  Done

  Resources
  http://localhost:3001/posts
  http://localhost:3001/comments
  http://localhost:3001/profile

  Home
  http://localhost:3001

  Type s + enter at any time to create a snapshot of the database
  Watching...
3개의 endpoint가 있다. 차례대로 요청해보면 데이터가 리턴된다.
데이터 변경
data.json파일을 만들어 리턴되는 데이터를 커스터마이징 하여 사용할 수 있다.
{
  "posts":[
    {
      "id": 1,
      "title": "제목1",
      "contents": "내용1"
    },
    {
      "id": 2,
      "title": "제목 2",
      "contents": "내용 2"
    },
    {
      "id": 3,
      "title": "제목 3",
      "contents": "내용 3"
    }
  ]
}
$ json-server --watch {경로}/data.json --port {포트번호}json-server는 어디까지나 local에서 테스트할때 사용한다.
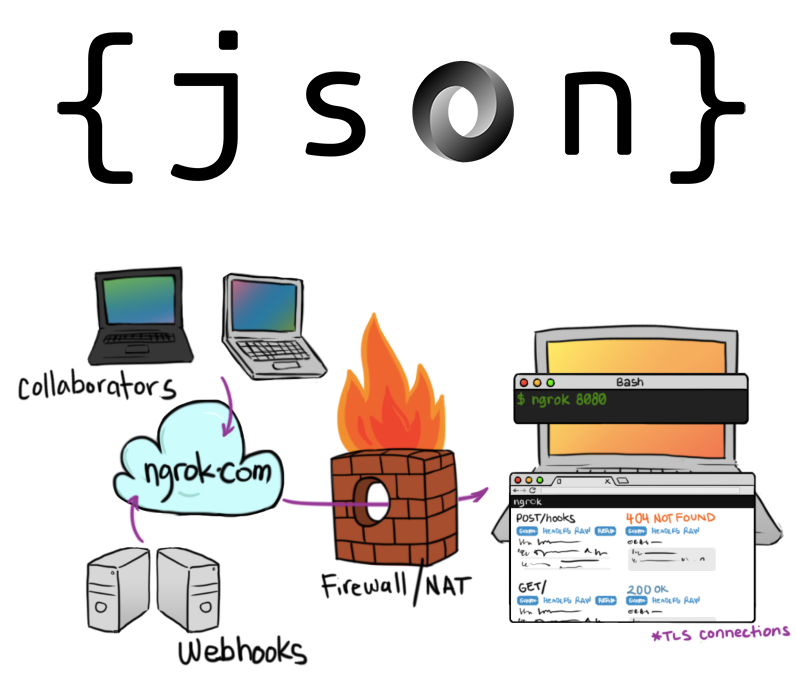
그러나 실습을 하다보면 이 API가 외부에 노출되야 할 때가 있다. 이때 ngrok를 사용한다.
ngrok는 NAT와 방화벽 뒤에있는 서버를 터널을 통해 공개 인터넷에 노출할 수 있도록 지원해주는 플랫폼으로 네트워크 환경 설정 병경없이 로컬에 실행중인 서버를 외부에서 접근 가능하게 한다.
설치
https://dashboard.ngrok.com/get-started/setup
실행
$ ngrok http {포트번호}결과
ngrok

Session Status                online
Session Expires               1 hour, 14 minutes
Update                        update available (version 3.0.4, Ctrl-U to update)
Terms of Service              https://ngrok.com/tos
Version                       3.0.3
Region                        Japan (jp)
Latency                       calculating...
Web Interface                 http://127.0.0.1:4040
Forwarding                    https://b886-211-206-114-80.jp.ngrok.io -> http://localhost:3001

Connections                   ttl     opn     rt1     rt5     p50     p90
                              0       0       0.00    0.00    0.00    0.00
Forwarding부분에 알수없는 url이 나오는대 접속하면 위에서 json-server로 호출되는 것을 볼 수 있다.

주니어 Java 개발자