🌈 DOM
🌃 .insertBefore
<body>
    <div id="parentElement">
        <!-- <span></span> 여기에 생깁니다 -->
        <span id="childElement">hello guys~</span>
    </div>


    <script>
// parentElement.insertBefore(target, location);
//target요소를 이동! 어디에? parentElement의 자식인 location 위치 앞으로

const span = document.createElement("span"); //span을 만들자!
const sibling = document.getElementById("childElement"); //hello guys
const parentDiv = document.getElementById("parentElement");
parentDiv.insertBefore(span, sibling);

    </script>
</body>
🌃 innerHTML / textContent / innerText
예제 1
textContent: 노드의 텍스트 콘텐츠를 표현합니다. 컨텐츠를 단순히 텍스트로만 다룹니다.
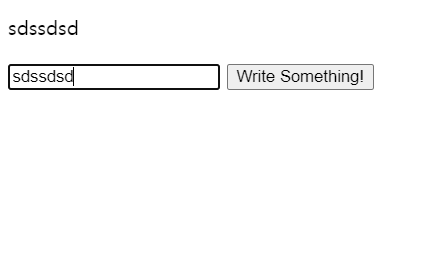
<p></p>
<input type="text">
<button>Write Something!</button>


<script>
const myBtn = document.querySelector("button");
const myP = document.querySelector("p");
const myInput = document.querySelector("input");


 // input 요소에 'input' 이벤트를 연결하면 실시간으로 값이 반영되게 만들 수도 있습니다.
        myInput.addEventListener('input', ()=>{
                myP.textContent = myInput.value;
        });

------------------------------------------------------------
     myBtn.addEventListener('click', function(){
     myP.textContent = myInput.value;

         // myP.innerHTML = "<strong>I'm Strong!!</strong>";
        //이렇게하면  I'm Strong!! 만 굵게 뜸
     });


// myP.innerHTML = '<a href="https://daum.net">다음</a>'
// 이런것도됨 굳이 createElement안해도되죠
</script>
더 자세하게 알고싶으면 https://velog.io/@kim_unknown_/JavaScript-Difftext 을 참고하자.
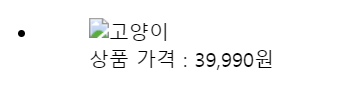
예제 2
<ul>
     <li>
          <figure>
               <img src="" alt="고양이">
               <figcaption>
                    상품 가격 : 39,990원 <span class="hidden">(주의) VIP만 받을수있는 혜택입니다.</span>
               </figcaption>
           </figure>
       </li>
    </ul>


<script>
  //우리가원하는건 상품가격
const info = document.querySelector('figcaption');

        console.log(info.textContent);
// 상품 가격 : 39,990원 (주의) VIP만 받을수있는 혜택입니다.
// 숨겨진 text라도 다 가져옵니다.<span>이런건 안나오죠.

        console.log(info.innerText);
// 상품 가격 : 39,990원
// 렌더링 되어서 나오므로 숨겨진 텍스트는 안나옵니다.

        console.log(info.innerHTML)
// 상품 가격 : 39,990원 <span class="hidden">(주의) VIP만 받을수있는 혜택입니다.</span>
// 태그를 포함해 다나옵니다.
</script>
🌃 Attribute 메소드 - 속성 접근 및 수정
getAttribute메소드는 요소의 특정 속성 값에 접근setAttribute메소드는 요소의 특정 속성 값에 접근하여 값을 수정
<p id='myTxt'>hello lions</p>
<img src='뽀로로 사진.png'>

<script>
	const p = document.querySelector('p');
    const img = document.querySelector('img');
    const pId = p.getAttribute('id');

	console.log(pId); // 'myTxt'

 img.setAttribute('src', "도그.jpg"); //사진이 뽀로로에서 도그로 바뀝니다
</script>
🌃 data 속성 - 요소에 데이터 저장
data-
HTML 요소에 추가적인 정보를 저장하여 마치 프로그램 가능한 객체처럼 사용할 수 있게 합니다. 단, data 속성의 이름에는 콜론(:) 이나 영문 대문자가 들어가서는 안됩니다.
<img
  class="terran battle-cruiser"
  src="battle-cruiser.png"
  data-ship-id="324"
  data-weapons="laser"
  data-health="400"
  data-mana="250"
  data-skill="yamato-cannon"
/>

<script>
	const target = document.querySelector('img');
    console.log(target.dataset); //data 속성을 객체값으로 가져옴니다.

    {
  "shipId": "324",
  "weapons": "laser",
  "health": "400",
  "mana": "250",
  "skill": "yamato-cannon"
   }

	console.log(target.dataset.shipId);
    //324 //대쉬제거 그대신 카멜케이스로 대문자로
</script>
🌃 insertAdjacentHTML
요소 노드를 대상의 인접한 주변에 배치합니다.
여기서 begin 이란 여는 태그를, end 란 닫는 태그를 의미합니다.

<strong class="sayHi">
    반갑습니다.
</strong>

<script>
  const sayHi = document.querySelector('.sayHi');
  sayHi.insertAdjacentHTML('beforebegin', '<span>안녕하세요 저는</span>');
  sayHi.insertAdjacentHTML('afterbegin', '<span>재현입니다</span>');
</script>
📌 실습
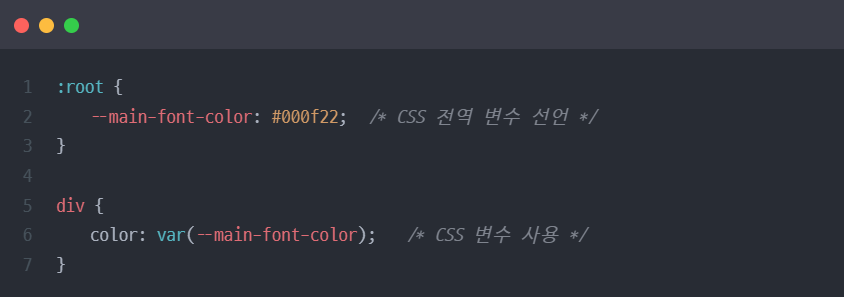
CSS 복습
- CSS 변수 선언 및 호출
CSS에서 변수의 이름을 지정할 때는 변수 맨 앞에--를 붙여주어야 한다.
그리고 변수를 호출해 사용할 때는var(변수명)
실습해보기
//한줄한줄 의미를 확실히 알아야한다. 코드를 뜯어보자!

👩💻안녕하세요🌞