▶ 구글 소셜 로그인 과정
1. Google API를 요청하기 위해선 Google Cloud Platform(이하 GCP)에서 OAuth인증을 위해 사용할 애플리케이션을 등록하고 Client ID와 Client Secret을 받아와야 한다.
1-1. 프로젝트 생성을 한다

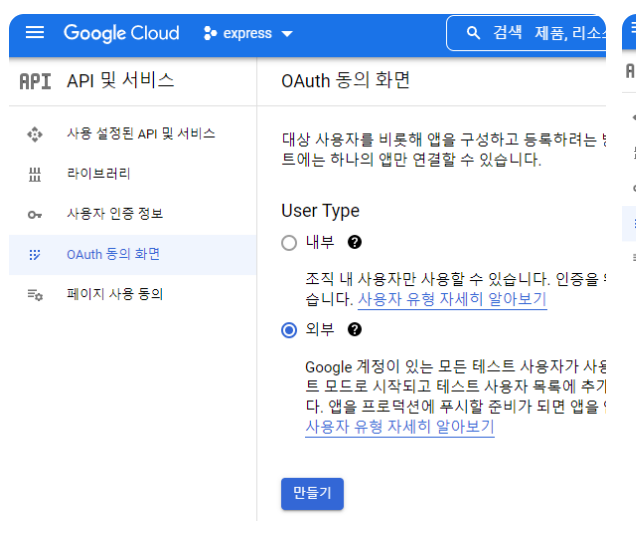
1-2. OAuth 동의 화면을 다음과 같이 작성한다.
1-3. OAuth 클라이언트 아이디를 생성
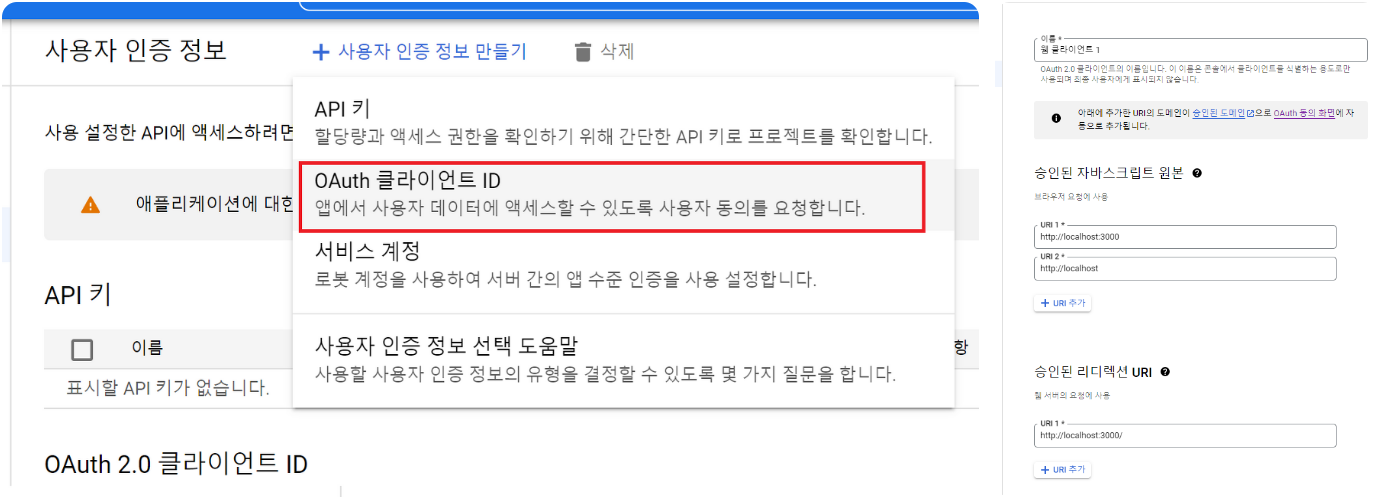
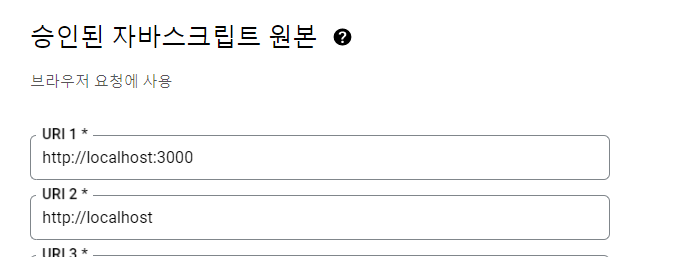
※ localhost 와 localhost:port 를 둘 다 적어주어야 한다!
완료!

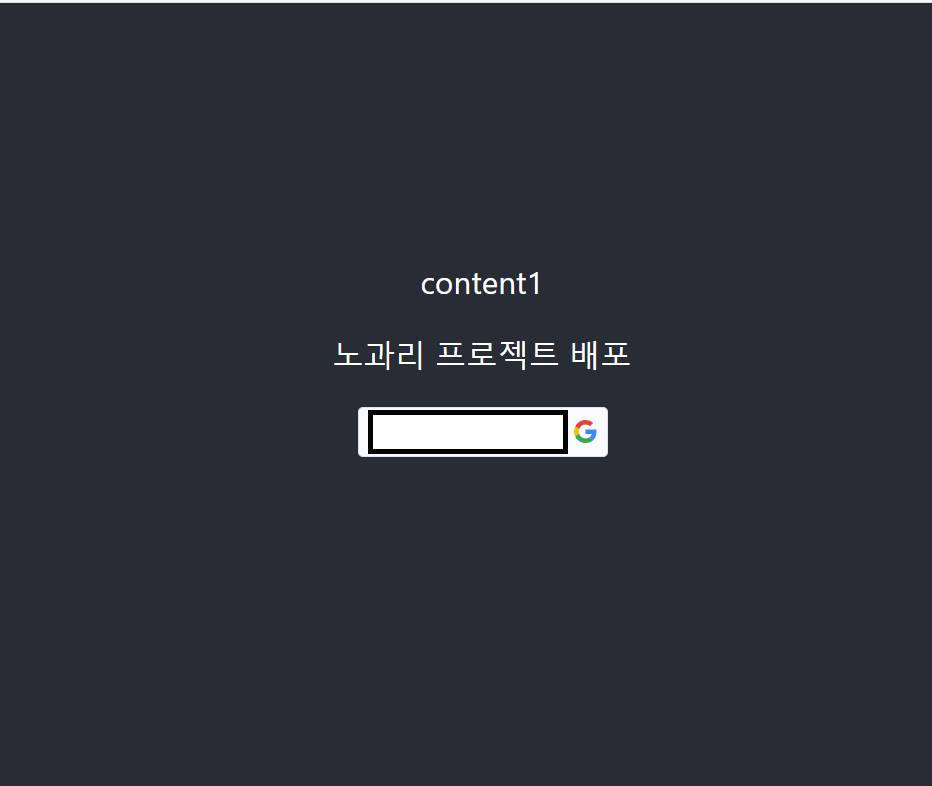
2. 구글 로그인 코드 작성
import {GoogleLogin} from "@react-oauth/google";
import {GoogleOAuthProvider} from "@react-oauth/google";
import jwtDecode from "jwt-decode";

const GoogleLoginButton = () => {
    const clientId = '${clientKey}'
    return (
        <>
            <GoogleOAuthProvider clientId={clientId}>
                <GoogleLogin
                    onSuccess={(res) => {
                        console.log(jwtDecode(res.credential));
                    }}
                    onFailure={(err) => {
                        console.log(err);
                    }}
                />
            </GoogleOAuthProvider>
        </>
    );
};
3. 끝
▶ 마치며
배포한 사이트에서 clientKey 가 허락되지 않았다는 이슈로 막히고 있다 문제 해결 뒤 그 과정을 공유하고자 한다.

좋은 문장이 될 FE 개발자