이미지 업로드?
MariaDB같은 데이터베이스보다
아마존S3 와 같은 클라우드 스토리지 서비스를 사용하는게 더 좋다.
데이터베이스는 구조화된 데이터를 저장, 관리, 검색하는데에 특화되어있고 복잡한 쿼리나 트랜잭션 처리가 필요한 경우에 사용한다.
반면 클라우드스토리지는 비정형화된 데이터(이미지, 동영상, 파일 등)을 저장하고 관리하는데 더 용이하다.
클라우드 스토리지 사용시 이점:
1. 확장성: 스케일링에 용이하여, 더 많은 데이터를 처리하고 저장해야하는데에 더 효율적이다.
2. 성능: 데이터를 분산 저장, 병렬처리할수있으므로, 업로드, 다운로드 속도가 빠르다.
3. 보안 및 내구성: 다양한 보안, 백업 매커니즘을 제공하므로, 손실을 예방
4. 유연성: 다양한 기능과 API를 통해 메타데이터 추가, 버전관리, 검색 기능등을 활용하여 이미지 등을 더 효과적으로 관리할 수 있다.
어떻게 쓸것인가?
처음에 생각했던건
파일업로드 -> 임시로 프로젝트내부에 저장 -> 스토리지에 저장 -> 임시파일 삭제
이었는데 굳이 그렇게 할필요있나? 다이렉트로 올려보자!를 해서 진행하게 되었다.
네이버클라우드스토리지 등록, 버켓 생성
Amazon S3와 거의 유사하고, sdk도 사용가능하다.
Java용 AWS SDK: https://guide.ncloud-docs.com/docs/storage-storage-8-1
url이나 이런부분들이 달라지기 때문에 잘 적용시켜야한다.
ncloud에서 만든 sdk도 있긴한데, 정보가 많이 없을거같아서 저걸로 사용했다.
등록 버켓생성은 이 가이드를 보면 잘 나와있다.
https://guide.ncloud-docs.com/docs/objectstorage-procedure
이거보고 따라해서 일단 버켓을 생성하자.
BucketConfig
accesskey와 secretkey를 application-secret.yml에 담아놓고 사용했다.
endpoint가 아마존꺼랑 다르므로, 빌더에서
.withEndpointConfiguration(new AwsClientBuilder.EndpointConfiguration(endPoint, regionName))
이부분을 추가해서 작성해준다.
@Configuration
public class BucketConfig {
    private final String endPoint = "https://kr.object.ncloudstorage.com";
    private final String regionName = "kr-standard";

    @Value("${spring.s3.accessKey}")
    private String accessKey;

    @Value("${spring.s3.secretKey}")
    private String secretKey;

    @Value("${spring.s3.bucket}")
    private String bucketName;

    @Bean
    public AmazonS3Client amazonS3Client() {
        BasicAWSCredentials basicAWSCredentials = new BasicAWSCredentials(accessKey, secretKey);
        return (AmazonS3Client) AmazonS3ClientBuilder
                .standard()
                .withEndpointConfiguration(new AwsClientBuilder.EndpointConfiguration(endPoint, regionName))
                .withCredentials(new AWSStaticCredentialsProvider(basicAWSCredentials))
                .build();
    }

}
FileDTO
@Getter
@Setter
@ToString
@Builder
public class FileDto {

    private String originalFileName;
    private String uploadFileName;
    private String uploadFilePath;
    private String uploadFileUrl;

}
FileService - uploadfiles() 구현
@Service
@RequiredArgsConstructor
public class FileService {

    private final AmazonS3Client amazonS3Client;

    @Value("${spring.s3.bucket}")
    private String bucketName;

    @Value("${file.upload-dir}")
    private String uploadDir;

    public String getUuidFileName(String fileName) {
        String ext = fileName.substring(fileName.indexOf(".") + 1);
        return UUID.randomUUID().toString() + "." + ext;
    }
    public List<FileDto> uploadFilesSample(List<MultipartFile> multipartFiles){

        return uploadFiles(multipartFiles, "sample-folder");
    }

    //NOTICE: filePath의 맨 앞에 /는 안붙여도됨. ex) history/images
    public List<FileDto> uploadFiles(List<MultipartFile> multipartFiles, String filePath) {

        List<FileDto> s3files = new ArrayList<>();

        for (MultipartFile multipartFile : multipartFiles) {

            String originalFileName = multipartFile.getOriginalFilename();
            String uploadFileName = getUuidFileName(originalFileName);
            String uploadFileUrl = "";

            ObjectMetadata objectMetadata = new ObjectMetadata();
            objectMetadata.setContentLength(multipartFile.getSize());
            objectMetadata.setContentType(multipartFile.getContentType());

            try (InputStream inputStream = multipartFile.getInputStream()) {

                String keyName = filePath + "/" + uploadFileName;

                // S3에 폴더 및 파일 업로드
                amazonS3Client.putObject(
                        new PutObjectRequest(bucketName, keyName, inputStream, objectMetadata)
                                .withCannedAcl(CannedAccessControlList.PublicRead));

                // S3에 업로드한 폴더 및 파일 URL
                uploadFileUrl = "https://kr.object.ncloudstorage.com/"+ bucketName + "/" + keyName;

            } catch (IOException e) {
                e.printStackTrace();
            }

            s3files.add(
                    FileDto.builder()
                            .originalFileName(originalFileName)
                            .uploadFileName(uploadFileName)
                            .uploadFilePath(filePath)
                            .uploadFileUrl(uploadFileUrl)
                            .build());
        }

        return s3files;
    }
}
putObject()로 넣는다.
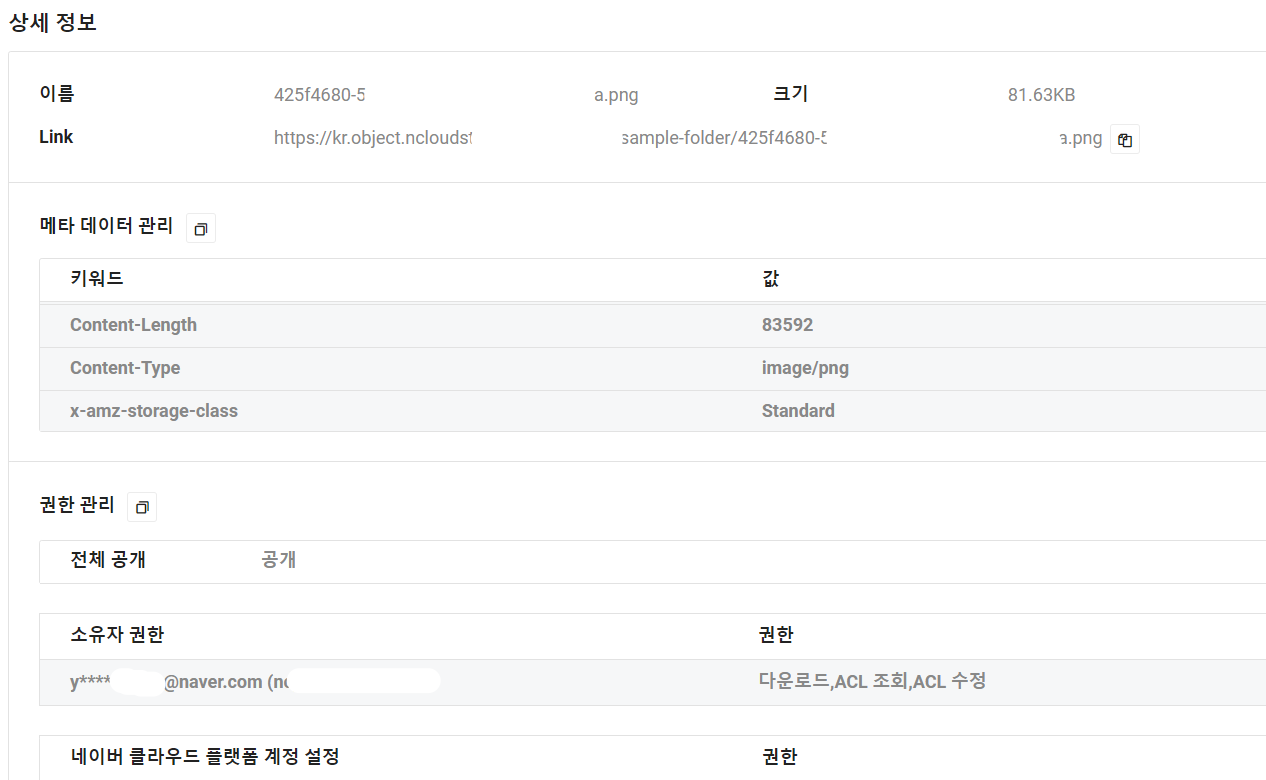
withCannedAcl 로 acl을 publicRead로 바꿔주면 url로 접속시 바로 사진이 전체공개된다.
FileController
이거는 그냥 파일 업로드 잘 되는지 테스트해볼라고 매핑해본 컨트롤러이다. 실제로는 다른 도메인의 서비스에서 FileService를 주입받아서 사용했다.
@Controller
@RequiredArgsConstructor
public class FileController {
    private final FileService fileService;

    @GetMapping("/upload")
    public String getUpload(){
        return "upload";
    }

    @PostMapping("/upload")
    public ResponseEntity<Object> uploadFilesSample(
        @RequestPart(value = "files") List<MultipartFile> multipartFiles) {
            return ResponseEntity
                    .status(HttpStatus.OK)
                    .body(fileService.uploadFiles(multipartFiles));
    }
}
upload.html
<!DOCTYPE html>
<html xmlns:th="http://www.thymeleaf.org">
<head>
    <meta charset="UTF-8" />
    <title>Title</title>
</head>
<body>
<h1>File Upload</h1>
<form method="post" th:action="@{/upload}" enctype="multipart/form-data">
    <input type="file" name="files" multiple />
    <input type="submit" value="Submit" />
</form>
</body>
</html>
대충 잘 올라가더라.
파일 불러오기
Amazon S3는 getUrl() 이거로 편하게 가져오던데....
네이버클라우드랑 url이 달라서 좀 귀찮더라도 직접 url을 만들어야한다. 어렵지는 않다.
uploadFileUrl = "https://kr.object.ncloudstorage.com/"+ bucketName + "/" + keyName;
이런식으로 진행했다.
공개로 설정했으니까 그냥 만들어진 url로 불러오자.
실제 원본 파일을 사용하기에는 너무 크기 때문에 추후에 ncp image optimizer 를 써볼 생각이다.
사이즈 크기도 편하게 줄여주고 좋은점이 많더라.
삽질내역
keyName, filePath부분이 되다 안되다 해서 이것저것 실험해보았다. 만약 자기가 원하는대로 안된다면 이것저것 실험해보자. 그게 제일 빠르다.
레퍼런스
NCP Object Storage 시나리오: https://guide.ncloud-docs.com/docs/objectstorage-procedure
Java용 AWS SDK: https://guide.ncloud-docs.com/docs/storage-storage-8-1
오브젝트 스토리지란 무엇입니까? :https://www.youtube.com/watch?v=ZfTOQJlLsAs
https://umanking.github.io/2020/01/02/spring-fileupload/
https://tychejin.tistory.com/418
