
편집기능 구현
점점 더 웹 앱의 모양새를 갖춰가고 있다. 사실 웹 앱이라고 한다면 기본적인 CRUD (생성, 조회, 수정, 삭제) 가 가능해야한다. 게시판, 쇼핑몰, 블로그 등 거의 모든 웹 사이트에서 사용자는 자유롭게 컨텐츠를 생성하고 조회하고 수정하고 삭제한다.
저번 시간에 웹에서 글 목록을 생성하는 것을 구현했다. 이제 편집 기능을 구현해보자.
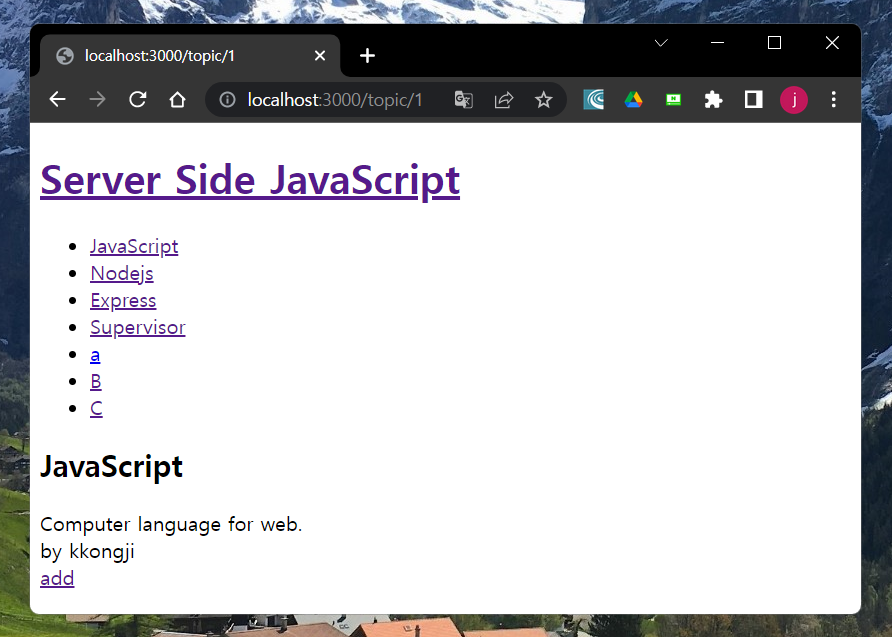
위 화면은 메인 페이지에서 첫번째 아이템인 JavaScript 를 눌러 localhost:3000/topic/1 주소로 들어온 상태이다. 이 때, add 버튼 옆에 edit 버튼을 추가하고 글의 내용을 수정하고 싶다면 어떻게 해야할까?
view.pug 를 수정해서 이른 바, '디자인' 을 먼저 해주자.
    div
      a(href='/topic/add') add
다른 부분은 볼 것 없이 div 태그를 살펴보면 add 를 누를 경우, 우리가 생성한 app.post ('topic/add', ...) 메소드로 이동시켜 리스트를 추가할 수 있도록 했다. 이제 이것을 리스트 형태로 만들어서 topic/ 즉, 메인화면일 때는 add 만 나타내고 /topic/1 과 같이 리스트 항목을 눌렀을 때는 edit 기능을 추가로 사용할 수 있도록 다음과 같이 코드를 작성한다.
ul
  li
    a(href='/topic/add') add
  if topic
    li
      a(href='/topic/'+topic.id+'/edit') edit
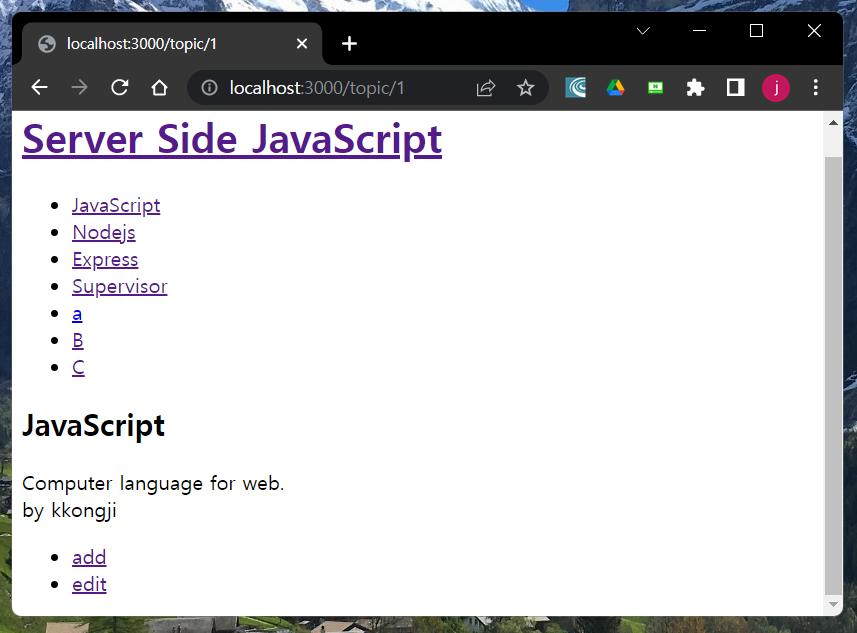
리스트 중, JavaScript 항목을 누르니 다음과 같이 edit 버튼이 생긴다.
수정이라는 기능에 대해서 생각해보자. 읽기(read), 추가(create) 에 비해서 수정(update) 은 조금 복잡한 프로세스이다. create 의 경우, 입력 폼을 만들고 SQL 문을 통해 입력된 양식을 그대로 서버에 전달하면 되지만 update 의 경우는 전에 입력된 데이터를 그대로 가져와야하고, 수정해서 나온 결과를 다시 반영시켜야하는 작업을 거쳐야하기 때문이다.
한 마디로 add 기능과 read 기능이 결합되어있어야 한다.
1. read 기능
먼저 read 기능부터 구현하자.
이전에 read 기능을 구현할 때, 사용했던 코드를 보면..
app.get(['/topic', '/topic/:id'], function(req, res){
  var sql = 'SELECT id, title FROM topic';
  conn.query(sql, function(err, topics, fields) {
    var id = req.params.id;
    if(id){
      var sql = 'SELECT * FROM topic WHERE id=?';
      conn.query(sql, [id], function(err, topic, fields){
        if(err) {
          console.log(err);
          res.status(500).send('Internal Server Error');
        } else {
          res.render('view', {topics:topics, topic:topic[0]});
        }
      });
    } else {
      res.render('view', {topics:topics});
    }
  });
우리는 get방식을 통해 topic의 id값을 주소로해서 edit를 진행할 것이기 때문에 app.get(['/topic/:id/edit'] 으로 바꿔준다.
edit의 로직을 생각해보면 당연히 /topic/1 과 같이 id(숫자) 값이 있을 때, 수정이 가능하다.
일반적인 웹 어플리케이션에서 게시글을 수정한다고 했을 때, id와 password를 입력해서 로그인한 후, 전에 입력했던 게시글에 접속해서 수정 할 수 있듯 히스토리가 있어야 할 수 있는 작업인 셈이다.
다음의 if-else 문을 살펴보자.
        if(err) {
          console.log(err);
          res.status(500).send('Internal Server Error');
        } else {
          res.render('edit', {topics:topics, topic:topic[0]});
        }
      });
    } else {
      console.log('There is no id.');
      res.status(500).send('Internal Server Error');
    }
});err발생 -> internal Server Error 출력err발생하지 않은 경우 (정상) -> edit이 가능- 1번도 아니고 2번도 아닌 경우 (예외) -> 잘못된 접근 (There is no id.) 출력
2. edit 기능
본격적으로 edit.pug 를 통해 edit 기능을 구현하자. view.pug 를 duplicate 해서 edit.pug 라는 이름의 파일을 생성한다. 그 후, article 태그 밑에 add.pug 에서 post 방식으로 입력 양식을 만들어서 전달했던 부분을 똑같이 작성해준다.
edit.pug
doctype html
html
  head
    meta(charset='utf-8')
  body
    h1
      a(href='/topic') Server Side JavaScript
    ul
      each topic in topics
        li
          a(href='/topic/'+topic.id)= topic.title
    article
      form(action='/topic/add' method='post')
        p
          input(type='text' name='title' placeholder='title')
        p
          textarea(name='description' placeholder='description')
        p
          input(type='text' name='author' placeholder='author')
        p
          input(type='submit')
    ul
      li
        a(href='/topic/add') add
위의 작업까지 모두 마치면 다음과 같이 리스트를 눌러서 edit 버튼을 눌렀을 때, edit 입력 양식까지 잘 뜨게 된다.
그런데 이건 add 에 불과하다. edit 을 하기 위해서는 전에 입력했던 정보가 남아있어야한다. 이를 어떻게 구현할 수 있을까?
정답은 value 값.
이를 이용해 간단하게 불러올 수 있다.
    article
      form(action='/topic/'+topic.id+'/edit' method='post')
        p
          input(type='text' name='title' value=topic.title placeholder='title')
        p
          textarea(name='description' placeholder='description')
            =topic.description
        p
          input(type='text' name='author' value=topic.author placeholder='author')
        p
          input(type='submit')
article 태그를 살펴보면 value=topic.title 로 topic의 정보를, topic.description 으로 description의 입력 정보를 불러왔다.
리스트의 항목을 누르고 edit 버튼을 눌렀을 때, 정상적으로 입력했던 값이 남아있는 것을 확인할 수 있다.
3. router 구현
거의 다 왔다. 마지막으로 이제 edit에 연결할 라우터를 생성할 차례이다.
app.post(['/topic/:id/edit'], function(req, res) {
  var title = req.body.title;
  var description = req.body.description;
  var author = req.body.author;
  var id = req.params.id;

  var sql = 'UPDATE topic SET title=?, description=?, author=? WHERE id=?';
  conn.query(sql, [title, description, author, id], function(err, result, fields) {
    if(err) {
      console.log(err);
      res.status(500).send('Internal Server Error');
    } else {
      res.redirect('/topic/' + id);
    }
  });
});
add 라우터를 생성할 때와 마찬가지로 전달할 내용이 있으므로 post 방식을 사용하고 각 항목에 변수를 생성하여 저장한다. sql문은 update 문을 통해 각 변수의 내용들이 DB에 연결되어 저장되게끔 한다. 서버 err 를 출력하는 것도 이젠 익숙하다.
이제... 드디어! 앱을 실행하고 수정을 진행해보자.

구현한대로 잘 작동한다.