[목차]
- class 문법
- try...catch
1. class 문법
- 생성자 함수
function Comment2 () {}
Comment2 ()
- 함수 선언식
function comment1 () {}
new comment1 ()
- class 문법
class Comment3 {constructor() {}}
new comment3 ()
function을 사용한 함수 선언식과 생성자 함수는 헷갈리기 쉽다.
인스턴스 생성시 new 키워드를 실수로 빼먹었을 경우에도 함수로써 실행이 되기 때문에
오류 코드를 찾기 쉽지 않다.
- 앞으로는 생성자 함수 대신 class 문법으로 객체를 생성하기로 하자
- class 문법을 사용하면 호이스팅 이슈도 해결된다
- 오류 코드를 찾기 쉽다 (객체 생성시 new 키워드가 없으면 에러 출력)
2. try...catch
이벤트 핸들러 함수 안에는 이벤트의 실행과 관련한 부분만 담을 수 있도록 최대한 간결하게 코드를 짜는 것이 좋다.
핸들러 함수를 다룰 때 유용하게 사용할 수 있는 것이 바로 try...catch 구문
아래는 문법구조 및 간단한 예제이다.
try...catch문법 구조function checkName (value) { if (value !== "Joo") { throw new Error("에러") } else { return true } } try { // 코드가 실행될 영역 let name = "Joo2" checkName(name) console.log("실행") // 에러가 나는 시점에서 try 코드 종료 } catch (e) { // 에러가 발생하는 시점에서 try 내부의 코드는 종료된다 // throw new Error("에러")는 catch의 매개변수가 된다 console.log("error") }
- 먼저
try블록 안의 코드가 실행된다. - 에러가 없을 경우
try블록 안의 마지막 줄까지 코드가 실행되고catch블록은 건너 뛴다. - 에러가 발생하면 그 시점에서
try블록 안의 코드의 실행이 중단되고,
catch블록으로 제어 흐름이 넘어가며 에러 발생 코드에 대한 정보가 담긴 에러 객체를 반환한다.
↓ class & try...catch 예제)
class Student {
  constructor(name, age) {
    this.name = name;
    this.Age = age;
  }
  set Age(value) {
    if (value < 0) {
      throw new Error("에러 발생");
    }
    this.age = value;
  }
  get Age() {
    return this.age;
  }
}

try {
    let JD = new Student ("JD", 7)
    console.log(JD)
    let SI = new Student ("SI", -1)
    console.log(SI)
} catch (e) {
    console.log(e)
}

>
Student {name: 'JD', age: 7}
Error: 에러 발생
    at set Age [as Age] (index.js:8:13)
    at new Student (index.js:4:14)
    at index.js:20:14
댓글창 생성-2
↓ 댓글창 완성 코드 및 주석 정리
const commentFrm = document.querySelector("#commentFrm");
const commentList = document.querySelector("#comment-list");
const commentCount = document.querySelector(".comment-count")
const state = [];


class Comment {
  constructor(content) {
    this.userid = "web7722";
    this.Content = content;
    // this.date = "2022-11-16";
    this.now = new Date ()

    this.updated = false
    // update를 위한 코드
  }

  set Content(value) {
    // 대소문자 주의
    if (value.length === 0) {
      throw new Error("댓글 내용을 적어주세요");
      // try 코드로 에러 '객체'를 던진다
    }
    this.content = value;
  }

  getToday () {
    const date = this.now
    let mm = date.getMonth() + 1 // 0 ~ 11
    mm = ((mm > 9) ? "" : "0") + mm;  // 01 02...09 10 11
    let dd = date.getDate() // 1 ~ 31
    dd = ((dd > 9) ? "" : "0") + dd;
    let yyyy = date.getFullYear ()
    const arr = [yyyy,mm,dd]
    return arr.join(" / ")
  }
}


function addComment(instance) {
  state.push(instance);
}


// 댓글 html을 만들기 위한 함수
function createRow(index) {
  const ul = document.createElement("ul")
  const li1 = document.createElement("li")
  const li2 = document.createElement("li")
  const li3 = document.createElement("li")
  const deleteBtn = document.createElement("span")


  ul.append(li1)
  ul.append(li2)
  ul.append(li3)


  ul.setAttribute('class', 'comment-row')
  ul.setAttribute('data-index', index)
  // 댓글 객체 index를 찾을 수 있도록 dataset 부여

  li1.setAttribute('class', 'comment-id')
  li2.setAttribute('class', 'comment-content')
  li3.setAttribute('class', 'comment-date')
  deleteBtn.setAttribute('class', "comment-delete-btn")
  deleteBtn.innerHTML = "🅇"
  // 여기까지가 데이터를 만드는(html) 행위

  // 이제 만든 데이터를 토대로 화면에 띄울 차례
  li1.innerHTML = state[index].userid
  // li2.innerHTML = state[index].content
  if (state[index].updated) {
    const input = document.createElement('input')
    input.addEventListener('keyup', function (e) {
      // console.log(e.keyCode)
      // Enter의 키코드는 13이다
      if (e.keyCode !== 13) return
      // keyup이 Enter키를 감지하지 못하면 아래 코드 실행 X

        state[index].content = e.target.value
        state[index].updated = false
        drawing()
    })
    input.setAttribute('class', 'comment-update-input')
    input.value = state[index].content
    li2.append(input)
  } else {
    li2.innerHTML = state[index].content
    li2.append(deleteBtn)
  }
  //updated가 true냐 false냐에 따라 다르게 화면 구성하겠다는 의미

  li3.innerHTML = state[index].getToday()

  return ul
  // 보여주고 싶은 내용(li)은 모두 ul에 담겨있으므로 ul을 리턴
  // 항상 함수의 리턴을 염두에 두자


  /**
   <ul class="comment-row">
        <li class="">web7722</li>
        <li class=""></li>
        <li class="">2022-11-16</li>
   </ul>
   */
}


function count () {
    commentCount.innerHTML = `(${state.length})`
}


// DOM을 위한 함수
function drawing () {
  commentList.innerHTML = ""
  // ↑ 반복문이 쌓이지 않도록 초기화
  for (let i = state.length-1; i >= 0; i--) {
    const row = createRow(i)
    commentList.append(row)
    console.log(state[i])
  }
}


function submitHandler(e) {
  e.preventDefault();
  const form = e.target;
  const value = form.content.value;
  //form 태그 속에서 name 혹은 id가 content인 자식요소.

  try {
    const instance = new Comment (value);
    addComment(instance);
    drawing()

    console.log(state)
    count()

  } catch (error) {
    alert(error.message)
    // (error.message) <- 에러 객체에 담긴 string을 가져온다
    console.log(error)
    // 에러가 발생한 코드를 찾아 출력
  }


  form.content.focus()
  // 댓글을 입력하면 마우스 커서가 인풋박스로 이동

  e.target.reset();
  // 핸들러 함수가 발동하면 댓글 입력창을 비운다
}


function clickHandler (e) {
  if (e.target.className === "comment-content") {
    const index = parseInt(e.target.parentNode.dataset.index)
    const value = e.target.innerHTML

    state[index].updated = true
    drawing()
    // 이미 화면에 구현한 것을 바꾸고 싶다면?
    // 데이터를 바꾼다
    // 바꾼 데이터를 토대로 화면을 다시 그린다


  } else if (e.target.className === "comment-delete-btn") {
    const index = parseInt(e.target.parentNode.parentNode.dataset.index)
    // 삭제버튼의 부모요소인 ul을 찾아가려면 parentNode를 2번 입력
    console.log(index)
    state.splice(index,1)
    drawing()
    count ()
    // 댓글 삭제시 count 함수가 재반영되도록
  }

  if(e.target.className !== 'comment-content') return
  //코드를 반대로(!==) 걸고 return. if문이 좀 더 간결해진다.
}

count()

commentList.addEventListener("click", clickHandler)
commentFrm.addEventListener("submit", submitHandler);
코드의 실행흐름을 파악하는 것이 최우선.
흐름을 이해하려면 우선 생성자 함수(class)부터 바라보자
핵심 기능구현을 담당하는 코드부터...
CRUD에서 어려운 점은 내가 만들거나 바꾸고자 하는 데이터를 어떻게 찾을 것인지.
데이터를 만들 때부터 항상 흔적(인덱스)를 남기는 것을 염두에 두어야 한다
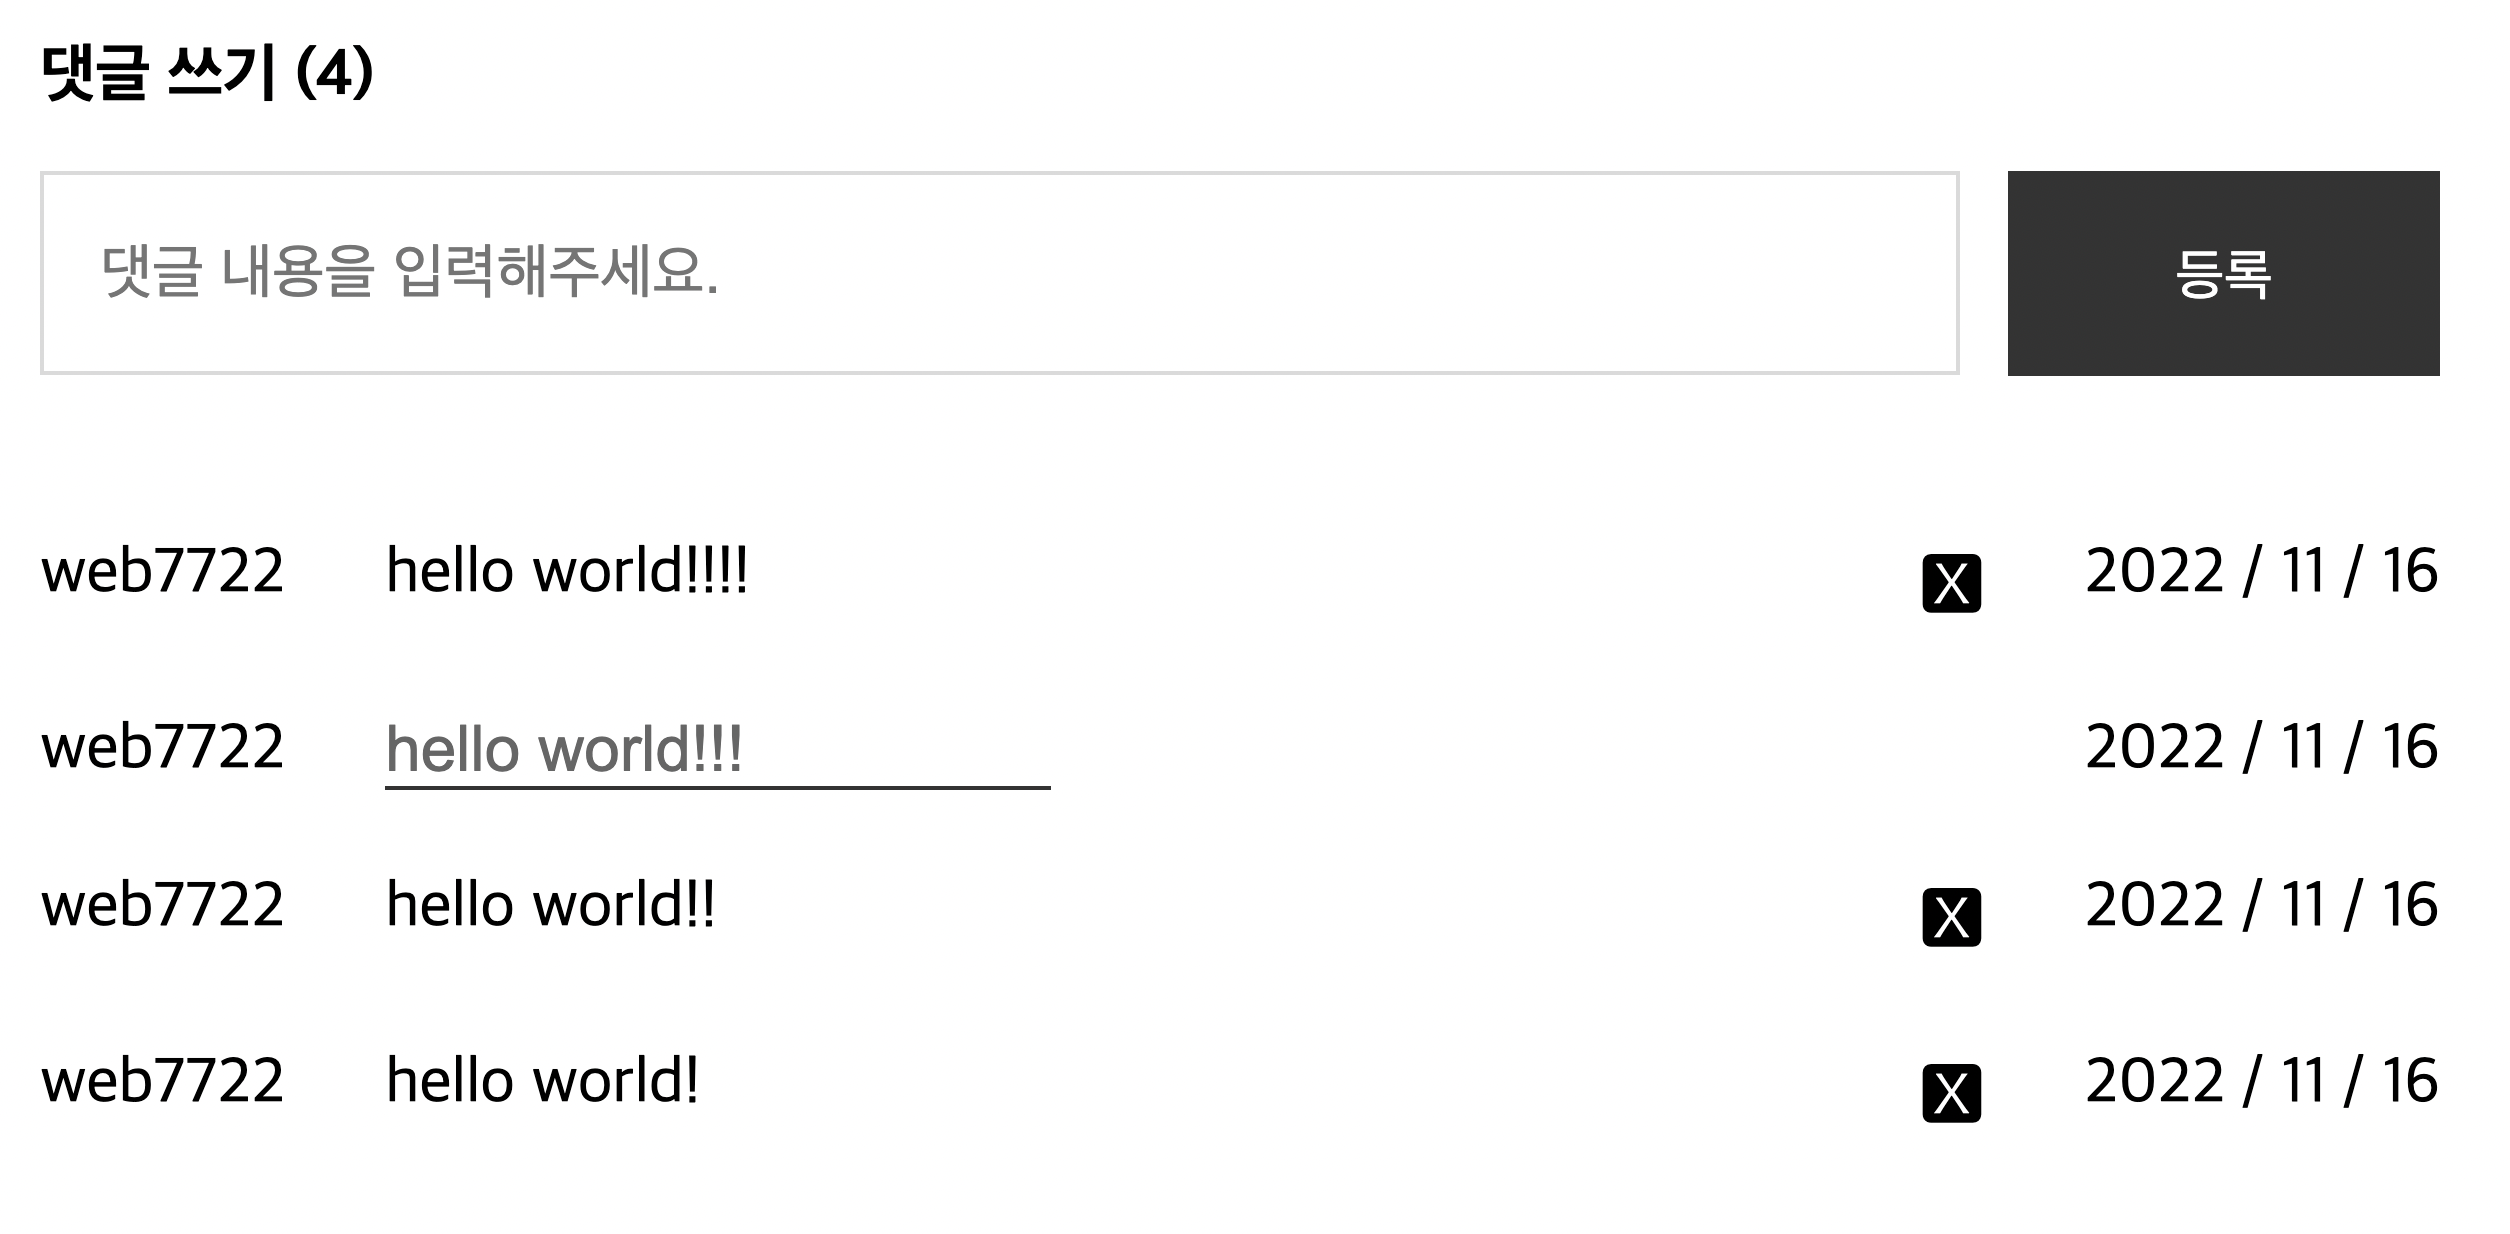
(↑ 완성된 댓글창 이미지)
