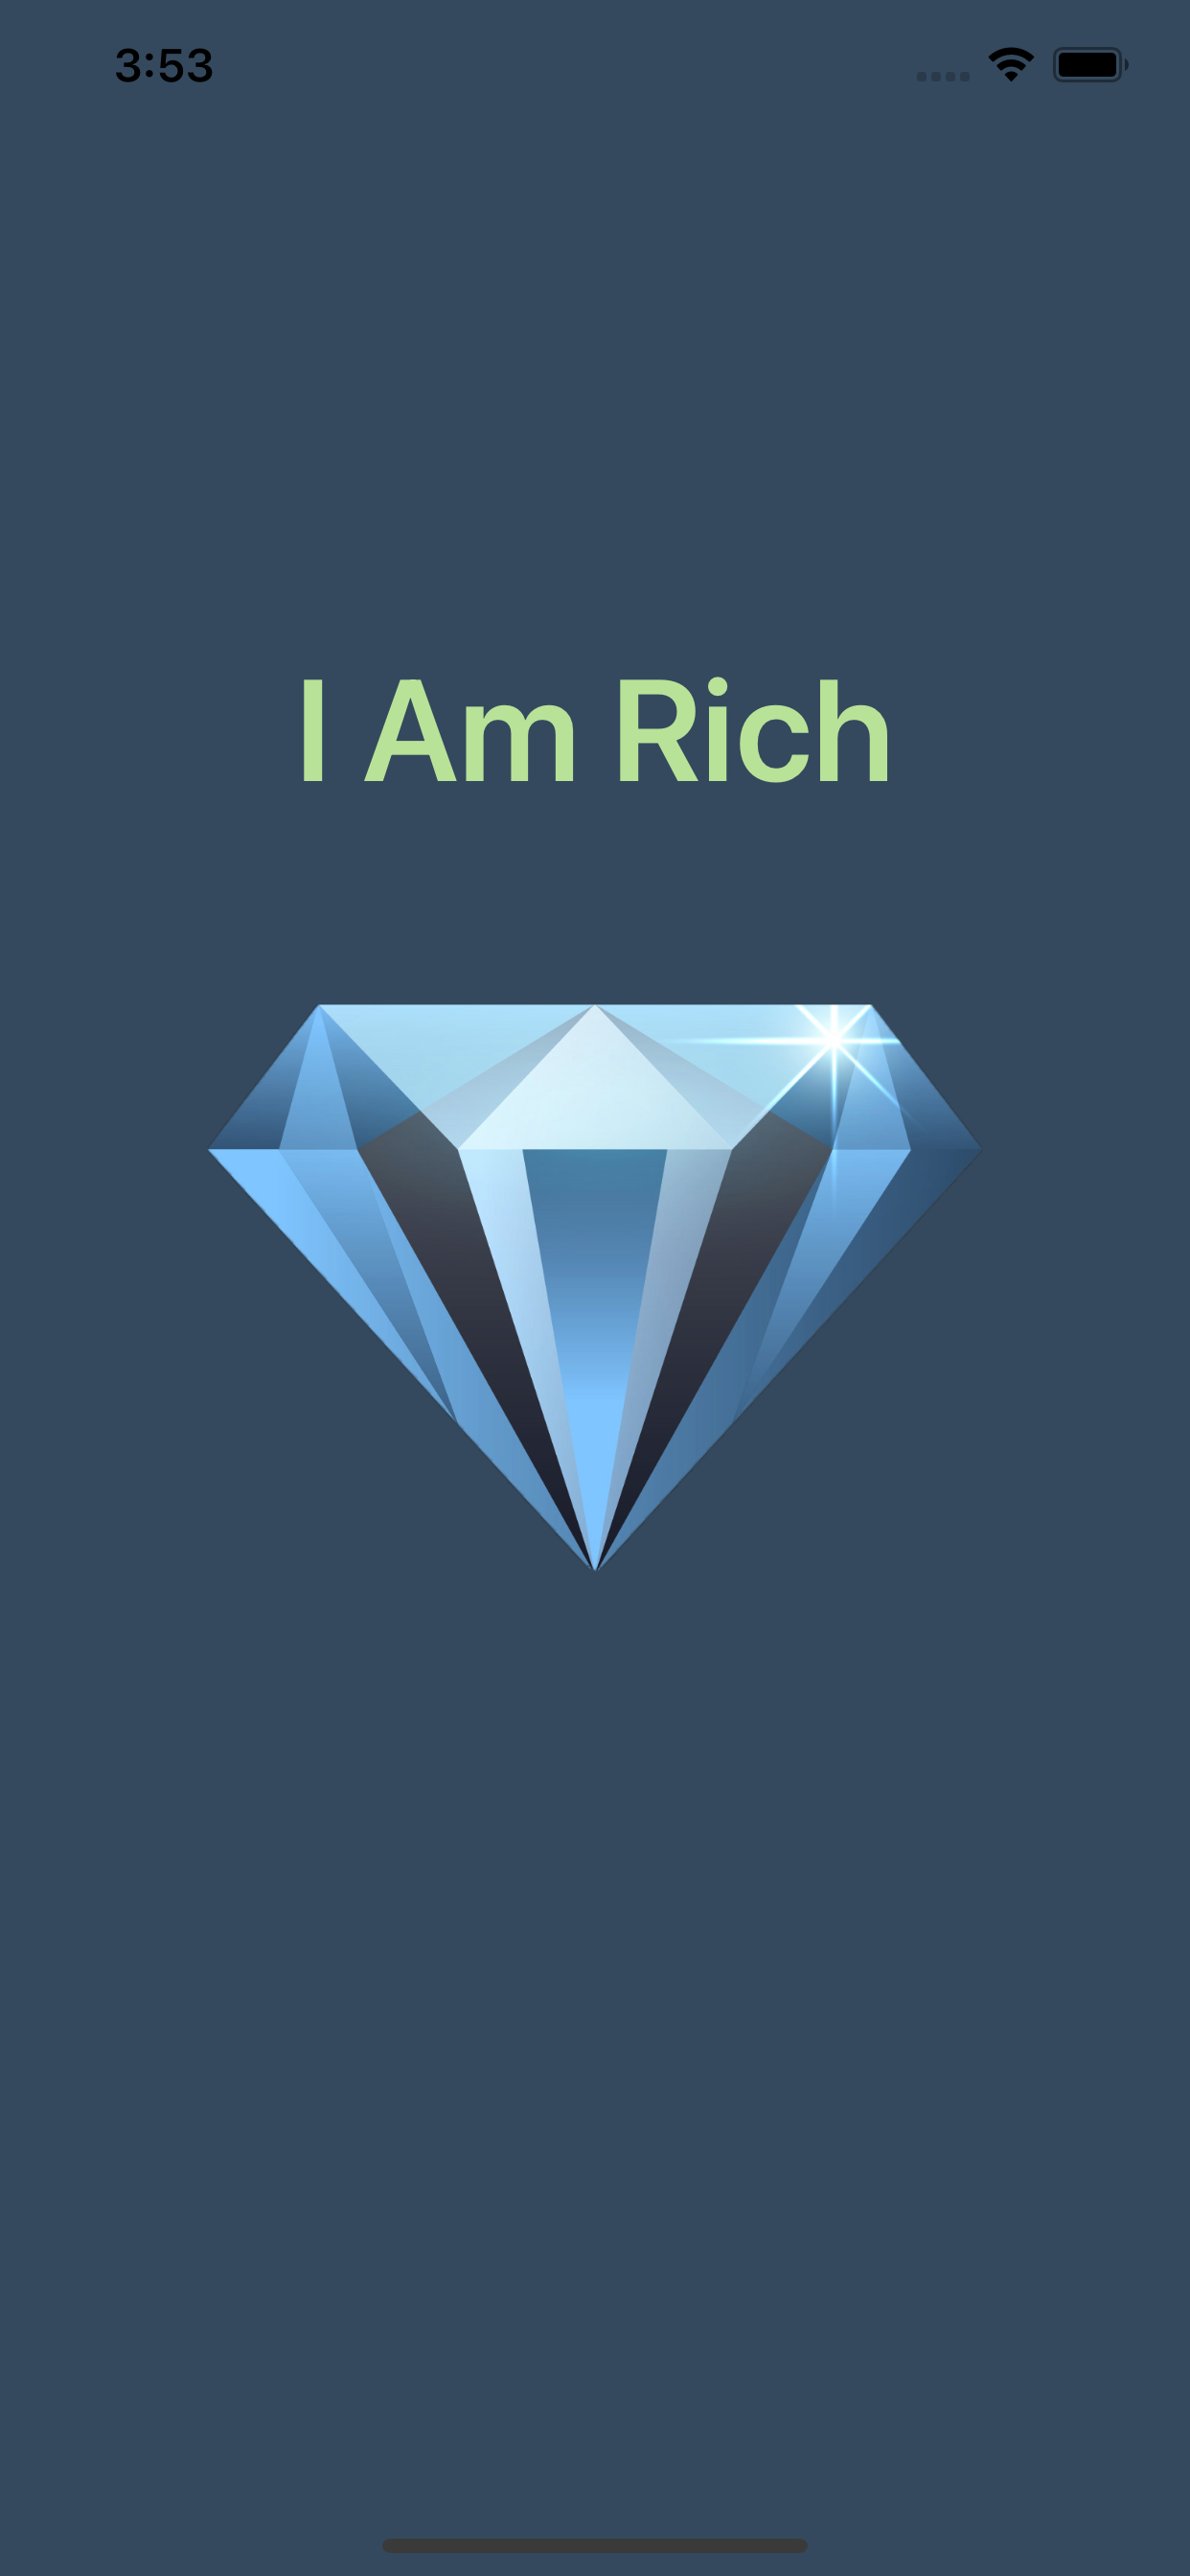
I Am Rich App
자료
- App Icon 제작 및 이미지 해상조 조절사이트 : https://appicon.co
- 디자이너가 제작한 색상 제공사이트 : https://colorhunt.co
- 1024x1024 이미지 제작 사이트 : https://www.canva.com
설명)
Udemy강의 중에서 안젤라님의 강의의 첫번째 프로젝트입니다.
그냥 UIImageView와 UILabel을 사용해서 구성한 것으로 아주 간단한 앱입니다.
그럼에도 Day01으로 한 이유는 이 앱이 실제로 앱스토어에 10만원에 올라간 적이 있었다는 점입니다.
아마 안젤라님은 처음공부하는 사람들에게 부담을 주지 않도록 하기위해서 이렇게 간단한 앱도 출시될 수도 있었음을 언급한 것 같습니다.
코드설명)
일반 Storyboard로 하면 복습하는데 의미가 없을 것 같아서 code로 UI를 작성해봤고, 많은 기업들에서 사용하는 라이브러리인 then 을 활용해봤습니다.
https://github.com/devxoul/Then.git
이런 라이브러리 만드시는 분 보면, 나는 언제 그런 날이 올까 싶네..ㅠ
1) 먼저 SceneDelegate.swift에서 rootViewController를 지정해줍니다.
    func scene(_ scene: UIScene, willConnectTo session: UISceneSession, options connectionOptions: UIScene.ConnectionOptions) {


        guard let scene = (scene as? UIWindowScene) else { return }
        window = UIWindow(windowScene: scene)
        window?.rootViewController = ViewController()

        window?.makeKeyAndVisible()
    }
2) 이후 ViewController.swift에서 UI를 구현해줍니다.
import UIKit
import Then

class ViewController: UIViewController {

    //MARK: - Properties

    private let diamondImageView = UIImageView().then {
        $0.image = #imageLiteral(resourceName: "diamond")
        $0.contentMode = .scaleAspectFit

    }

    private let iAmRichLabel = UILabel().then {
        $0.text = "I Am Rich"
        $0.font = UIFont.boldSystemFont(ofSize: 50)
        $0.textAlignment = .center
        $0.textColor = #colorLiteral(red: 0.721568644, green: 0.8862745166, blue: 0.5921568871, alpha: 1)
    }


    //MARK: - Lifecycle

    override func viewDidLoad() {
        super.viewDidLoad()
        view.backgroundColor = #colorLiteral(red: 0.2037905157, green: 0.2867187262, blue: 0.3680408895, alpha: 1)
        configureUI()
        navigationController?.navigationBar.barTintColor = #colorLiteral(red: 0.2037905157, green: 0.2867187262, blue: 0.3680408895, alpha: 1)


    }


    //MARK: - Helpers

    func configureUI() {

        // Diamond 이미지
        view.addSubview(diamondImageView)
        diamondImageView.centerX(inView: view)
        diamondImageView.centerY(inView: view)
        diamondImageView.setDimensions(height: 270, width: 270)

        // I Am Rich 타이틀
        view.addSubview(iAmRichLabel)
        iAmRichLabel.centerX(inView: view)
        iAmRichLabel.anchor(top: view.topAnchor, paddingTop: view.frame.height / 4)
    }

}
3) 첫 번째 등장할 ViewController 입니다.
import UIKit

class PoorViewController: UIViewController {

    //MARK: - Properties

    private let iAmPoorLabel = UILabel().then {
        $0.text = "I Am Poor"
        $0.font = UIFont.boldSystemFont(ofSize: 50)
        $0.textAlignment = .center
        $0.textColor = #colorLiteral(red: 0.9999942183, green: 0.5762591362, blue: 0.2989623249, alpha: 1)
    }


    private let stoneImageView = UIImageView().then {
        $0.image = #imageLiteral(resourceName: "brownStron")
        $0.contentMode = .scaleAspectFill
    }

    private let changeBtn = UIButton(type: .system).then {
        $0.setTitle("인생역전", for: .normal)
        $0.setTitleColor(#colorLiteral(red: 0.9921520074, green: 1, blue: 0.5527443134, alpha: 1), for: .normal)
        $0.titleLabel?.font = UIFont.boldSystemFont(ofSize: 20)
        $0.layer.borderWidth = 2
        $0.layer.borderColor = #colorLiteral(red: 0.4666666687, green: 0.7647058964, blue: 0.2666666806, alpha: 1)
        $0.layer.cornerRadius = 10
        $0.backgroundColor = #colorLiteral(red: 0.09019608051, green: 0, blue: 0.3019607961, alpha: 1)
    }


    //MARK: - Lifecycle

    override func viewDidLoad() {
        super.viewDidLoad()
        configureUI()
    }

    //MARK: - Actions

    @objc func handleChagneView() {

        changeRootViewController(ViewController())


    }


    //MARK: - Helpers

    func configureUI() {
        view.backgroundColor = #colorLiteral(red: 0.285852313, green: 0.1755764782, blue: 0.1780927777, alpha: 1)

        // I Am Poor 레이블
        view.addSubview(iAmPoorLabel)
        iAmPoorLabel.centerX(inView: view)
        iAmPoorLabel.anchor(top: view.topAnchor, paddingTop: view.frame.height / 4)

        // Stone ImageView
        view.addSubview(stoneImageView)
        stoneImageView.centerX(inView: view)
        stoneImageView.centerY(inView: view)
        stoneImageView.setDimensions(height: 270, width: 270)

        // Button
        view.addSubview(changeBtn)
        changeBtn.centerX(inView: view)
        changeBtn.anchor(top: stoneImageView.bottomAnchor, paddingTop: 20)
        changeBtn.setDimensions(height: 30, width: 100)
        changeBtn.addTarget(self, action: #selector(handleChagneView), for: .touchUpInside)


    }

    func changeRootViewController(_ viewControllerToPresent: UIViewController) {
        if let window = UIApplication.shared.windows.first {
            window.rootViewController = viewControllerToPresent
            UIView.transition(with: window, duration: 0.5, options: .transitionCrossDissolve, animations: nil)
        } else {
            viewControllerToPresent.modalPresentationStyle = .overFullScreen
            self.present(viewControllerToPresent, animated: true, completion: nil)
        }
    }


}
마지막 메소드를 통해서 이전의 rootViewController를 변경해줍니다.
그냥 present하거나 segue를 해도 되겠지만, 공부의 차원에서 해봤습니다.
정말 단순하죠. 이번기회에 then이라는 유용한 라이브러리를 활용해보고 싶었습니다. 추후에도 지속적으로 사용할 예정입니다.
깨알디테일로 앱아이콘도 해봤습니다.


iOS & Flutter