0. 프로젝트 셋업
아래에서 작성한 프로젝트 이어서 작업
1. 프로젝트 구조
- 어디서든 사용할 수 있는 버튼을 컴포넌트로 만들어보자
ng g c common/button
AppModule
    ├── (AppService)
    │
    ├── ButtonComponent
	│
    ├── HomeModule
	│
	└── UserModule
        │
    	└── UserInfoComponent
2. 선언하기
- 컴포넌트를 다른 모듈에서 사용하고 싶으면 컴포넌트를 선언한 모듈 export에 컴포넌트를 포함시키고 해당 모듈을 다른 모듈에서 임포트하면된다.
HomeModule의declarations/exports에ButtonComponent포함UserMoule에서HomeModule임포트
# home/home.module.ts

import { ButtonComponent } from '../common/button/button.component';

@NgModule({
  declarations: [
    ...
    ButtonComponent
  ],
  ...
  exports: [ButtonComponent],
})
export class HomeModule {}
# user/user.module.ts

@NgModule({
  ...
  imports: [
    ...
    HomeModule],
})
export class UserModule {}
3. ButtonComponent 정의
기본적인 버튼 형태의 컴포넌트를 만들어보자
# common/button/button.component.ts

...
export class ButtonComponent implements OnInit {
  @Input() btnText?: string;
  @Input() btnStyle?: {};

  constructor() {
    this.btnText = 'button';
  }

  ngOnInit(): void {}
}
# common/button/button.component.html

<button class="common-btn" [ngStyle]="btnStyle">
  {{ btnText }}
</button>
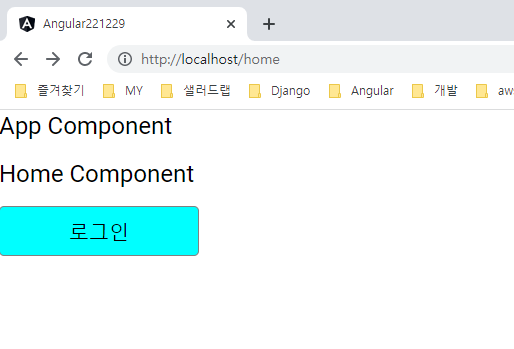
4. HomeComponent
HomeComonent에서는 버튼 텍스트를 바꿔보자
#home/home.component.ts

export class HomeComponent {
  ...
  homeBtnText: string = '로그인';
}
<h1>Home Component</h1>
<app-button [btnText]="homeBtnText" (click)="onClick()"> </app-button>
- 적용 화면
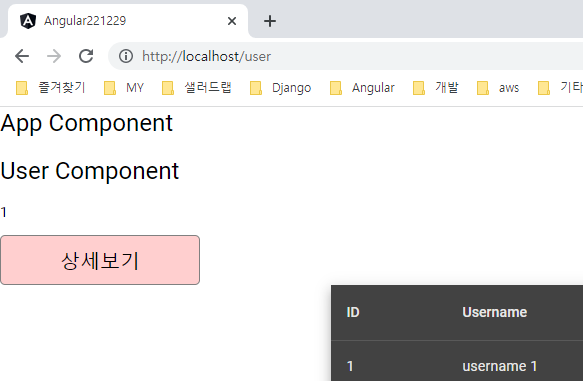
5. UserInfoComponent
UserInfoComponent에서는 버튼 스타일도 바꿔보자
# user/user-info/user-info.component.ts

export class UserInfoComponent implements OnInit {
  ...

  userBtnText: string = '상세보기';
  userBtnStyle: {} = {
    'background-color': '#ffcfcf',
  };
}
# user/user-info/user-info.component.html

<app-button
  [btnText]="userBtnText"
  [btnStyle]="userBtnStyle"
  (click)="openDialog()"
</app-button>

...
- 적용 화면
구현 코드
참고

kimphysicsman