들어가기전에..
GraphQL, Apollo-Server에 대한 기본적인 지식은 생략 후 진행하겠습니다.
1. Apollo-Server 설정
// index.js

const express = require("express");
const { ApolloServer, gql } = require("apollo-server-express");
const { typeDefs, resolvers } = require("./schema");

async function startApolloServer() {
  const app = express();

  const server = new ApolloServer({
    typeDefs,
    resolvers,
    context: ({ req }) => ({
      authScope: req.headers.authorization,
    }),
  });
  await server.start();

  server.applyMiddleware({ app });

  app.use("/api", (req, res) => {
    res.status(200);
    res.send("Hello!");
    res.end();
  });

  await new Promise((resolve) => app.listen({ port: 4000 }, resolve));
  console.log(`🚀 Server ready at http://localhost:4000${server.graphqlPath}`);
  return { server, app };
}

startApolloServer();
저의 경우 rest API를 사용할 경우를 대비하여 apollo-server-express 패키지를 설치하였습니다.
해당 포트 path 중 /graphql만 제외하면 자유롭게 rest를 구현 할 수있습니다.
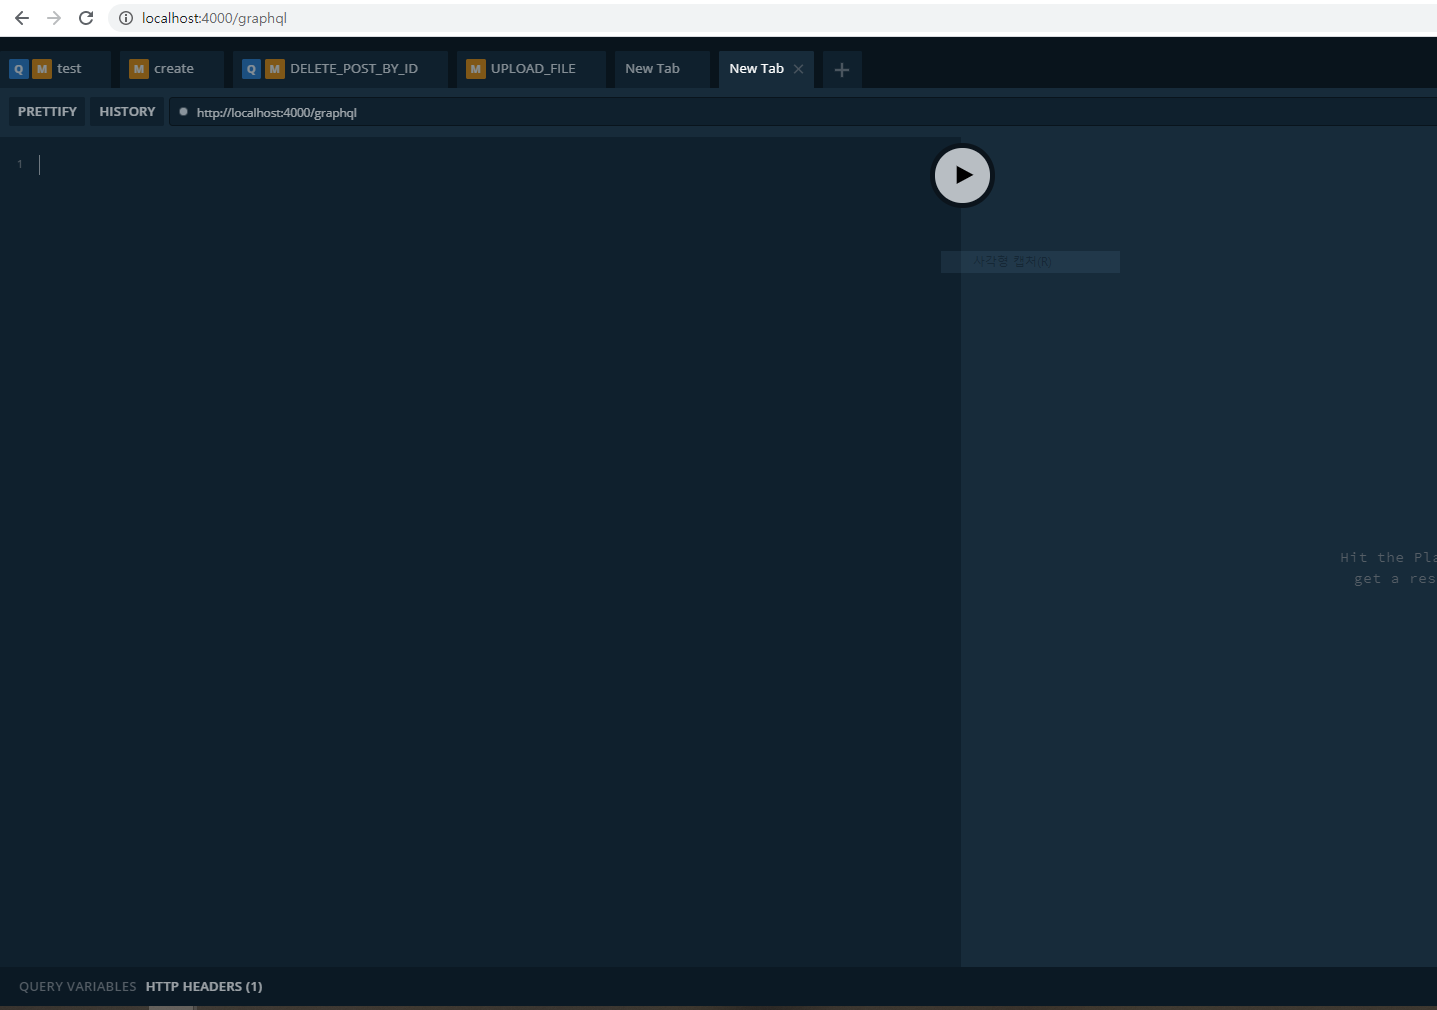
또한 /graphql에서 플레이그라운드를 제공하기 때문에 기존 Postman처럼 활용할 수 있습니다.
2. 스키마 설정
// ./schema

const typeDefs = gql`
  enum AllowedColor {
    RED
    GREEN
    BLUE
  }
  type User {
    id: ID!
    name: String
  }
  type Book {
    title: String
    author: String
  }
  type Author {
    name: String
    books: [Book]
  }
  type Query {
    books: [Book]
    authors: [Author]
    favoriteColor: AllowedColor # enum return value
    avatar(borderColor: AllowedColor): String # enum argument
    user(id: ID!): User
  }
`;
먼저, 기본적인 User / Book / Author / Query 스키마 type을 정했습니다. 위 type 중 enum은 사용자가 지정된 옵션 목록을 선택해야하는 경우 유용하게 사용할 수 있습니다.
3. 리졸버
// ./schema

// 임시 데이터
const authors = [
  {
    name: "jisub",
    books: [
      {
        title: "The Awakening",
        author: "Kate Chopin",
      },
    ],
  },
];
const books = [
  {
    title: "the Awakening",
    author: "kate Chopin",
  },
  {
    title: "city of Glass",
    author: "paul Auster",
  },
];

const users = [
  {
    id: "1",
    name: "Elizabeth Bennet",
  },
  {
    id: "2",
    name: "Fitzwilliam Darcy",
  },
];

const resolvers = {
  Book: {
    title: (parent) => {
      console.log(parent.title);
      return parent.title.toUpperCase();
    },
  },
  /* resolver의 첫번째 인자인 parent는 아래 Query books를 불러온 후
  return 값 중 title을 모두 uppercase로 변경합니다. */
  AllowedColor: {
    RED: "#f00",
    GREEN: "#0f0",
    BLUE: "#00f",
  },
  // enum type AllowedColor RED/GREEN/BLUE 각각의 내부 값을 설정합니다.
  Query: {
    books: () => books,
    authors: () => authors,
    avatar: (parent, args) => {
      // 리졸버의 두번째 인자 args는 borderColor에 설정한 값을 받아옵니다.
      let result = args.borderColor;
      console.log(result);
      return result;
    },
    favoriteColor: () => "#f00",
    user(parent, args, context, info) {
      // 리졸버의 세번째 인자 context는 express의 미들웨어처럼 전체 리졸버에
      // 필요한 정보를 받아 올 수 있습니다.
      console.log(context.authScope);
      return users.find((user) => user.id === args.id);
    },
  },
};
3. 결과값
books
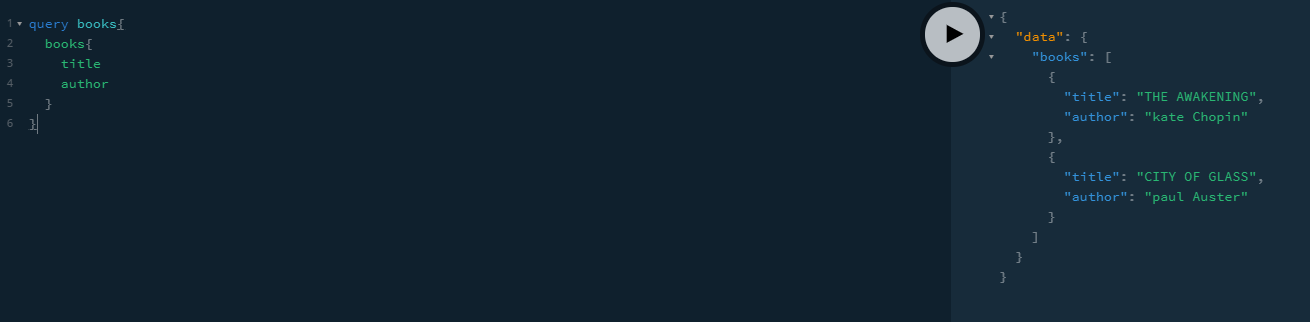
다음과 같이 books 쿼리를 불러왔는데, 리졸버 parent를 이용하여 title의 데이터를 uppercase로 변경하였습니다.
결론적으로 parent를 활용하면 추 후 dataloader를 활용하여 N+1문제를 해결 할 수 있고, 또한 DB에서 제공하는 DATE 날짜가 밀리세컨드일 경우 반환값을 local 날짜로 변경할 수 있어 유용합니다.
avatar

avatar argument에 앞서 enum type AllowedColor 중 RED를 출력해 보았고, 다음과 같이 해당 내부 값을 확인 할 수 있습니다.
이처럼, args 인풋을 받아 db에서 원하는 정보를 가져올 수 있습니다.
user
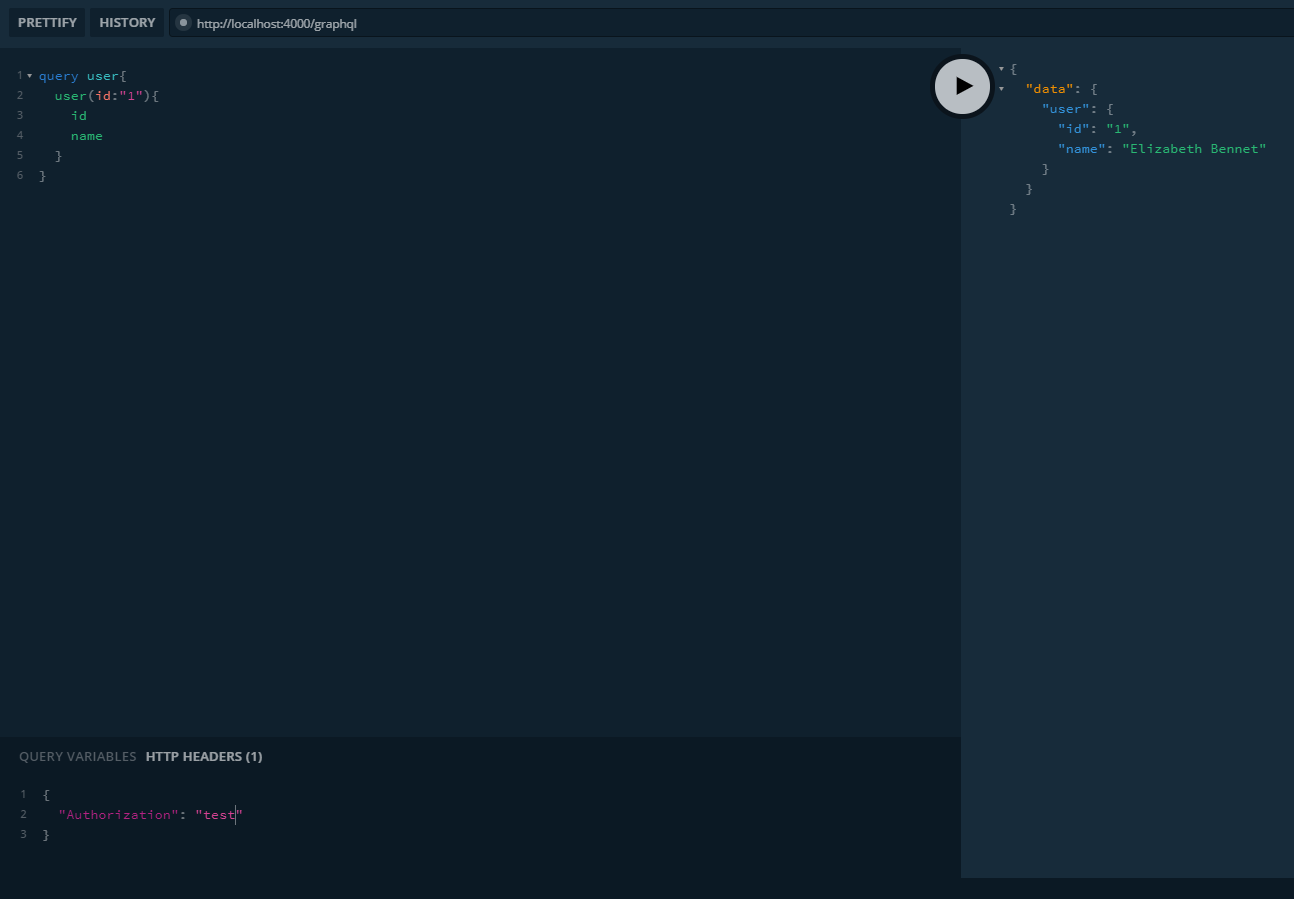
user argument에 id를 1번으로 설정 후 해당 값을 반환받은 것을 확인 할 수 있습니다.
여기서 중요한 점은 초기 아폴로 서버 생성시 context항목에 authScope: req.headers.authorization를 설정했는데, context를 이용하여 원하는 곳에서 req.headers에 대한 정보를 언제든지 받아 올 수 있습니다.
결론적으로, context는 토큰 시스템, 인증, db connection을 구현하는데 있어 유용합니다.
3. 정리
이번 포스트의 중점 사항은 resolver argument입니다.
parent
- resolver의 첫번째 인자이다.
- 리졸버를 실행 후 해당 값을 가져오고 변경 한 후 최종적으로 값을 출력하는데 사용된다. (ex) N+1이슈)
args
- resolver의 두번째 인자이다.
- Query, Mutation 실행 시 인자로 넣은 값을 받아온다.
context
- resolver의 세번째 인자이다.
- 기존 express 미들웨어처럼 전역적으로 필요한 데이터를 원하는 리졸버에서 받아 올 수 있다.
- jwt 토큰 인증, db connection 등에 사용된다.