쉐이더로 그루비한 효과 구현하기

Step. 0
기본적으로 @react-three/fiber를 사용합니다.
쉐이더에대한 기본지식이 있다고 가정하며 자세한 설명은 제 이전 글을 참고해주세요.
먼저 아래 모듈을 설치해줍니다
yarn add @react-three/fiber three @types/three그리고 Canvas와 plane을 하나 추가합니다.
// App.tsx

import React, { FC, memo } from 'react';
import { Canvas } from '@react-three/fiber';

interface Props {

}

const App: FC<Props> = memo(() => {
  return (
    <Canvas orthographic>
      <mesh scale={[500, 500, 1]}>
        <planeGeometry />
        <meshStandardMaterial />
      </mesh>
    </Canvas>
  );
});

export default App;
Canvas가 화면에 꽉차도록 CSS를 추가해줍니다.
// index.scss

* {
  margin: 0;
  padding: 0; }

html, body, #root {
  width: 100%;
  height: 100%;
}
React.Suspense 를 추가해줍시다.
// index.tsx
import './index.scss';
import React from 'react';
import ReactDOM from 'react-dom';
import App from './App';
import reportWebVitals from './reportWebVitals';

ReactDOM.render(
  <React.StrictMode>
    <React.Suspense fallback={null}>
      <App />
    </React.Suspense>
  </React.StrictMode>,
  document.getElementById('root')
);

// If you want to start measuring performance in your app, pass a function
// to log results (for example: reportWebVitals(console.log))
// or send to an analytics endpoint. Learn more: https://bit.ly/CRA-vitals
reportWebVitals();
검은색 사각형이 나왔으면 성공입니다.

Step. 1
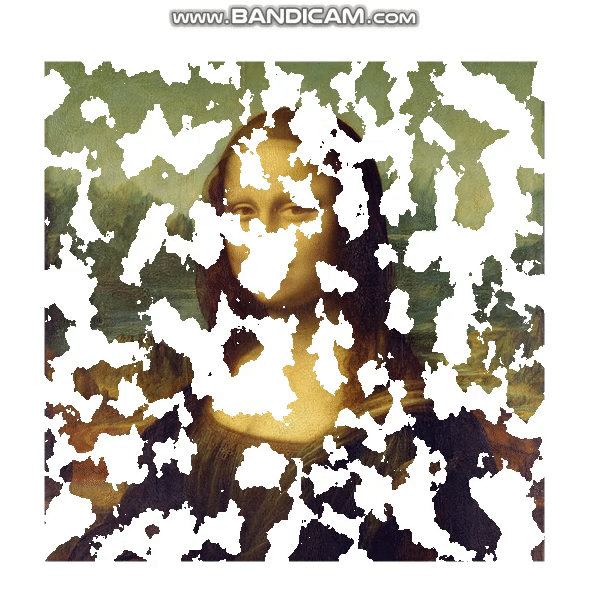
이제 이미지를 로드하여 봅시다.
아래 이미지를 사용하셔도됩니다.
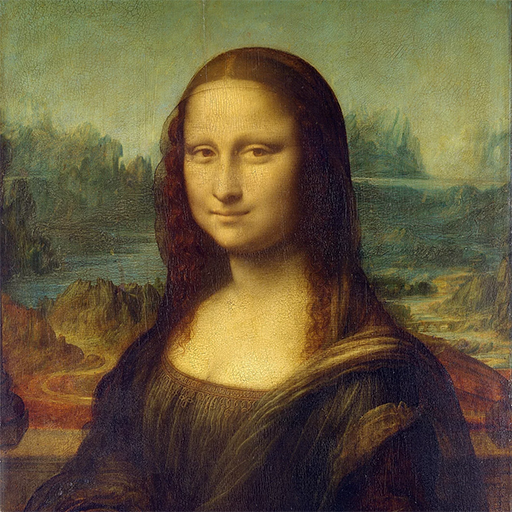
Monalisa라는 컴포넌트를 새로 만들고 vertexShader, fragmentShader를 추가해주었습니다.
import React, { FC, memo, useRef } from 'react';
import { Canvas, useFrame, useLoader, } from '@react-three/fiber';
import { ShaderMaterial, TextureLoader } from 'three';
import monalisa from './images/monalisa.png';

const vertexShader = `
varying vec2 vUv;

void main() {
  vUv = uv;
  gl_Position = projectionMatrix * modelViewMatrix * vec4(position,1.0);
}
`;

const fragmentShader = `
varying vec2 vUv;

uniform float time;
uniform sampler2D channel0;

void main() {
  gl_FragColor = texture2D(channel0, vUv);
}
`;

const Monalisa = memo(() => {
  const materialRef = useRef<ShaderMaterial | null>(null);
  const monalisaTexture = useLoader(TextureLoader, monalisa);

  useFrame((state) => {
    if (!materialRef.current) {
      return;
    }

    materialRef.current.uniforms.time.value = state.clock.elapsedTime;
  })

  return (
    <mesh scale={[500, 500, 1]}>
      <planeBufferGeometry />
      <shaderMaterial
        ref={materialRef}
        vertexShader={vertexShader}
        fragmentShader={fragmentShader}
        uniforms={{ time: { value: 0 }, channel0: { value: monalisaTexture } }}
      />
    </mesh>
  )
});

interface Props {

}

const App: FC<Props> = memo(() => {
  return (
    <Canvas orthographic>
      <Monalisa />
    </Canvas>
  );
});

export default App;
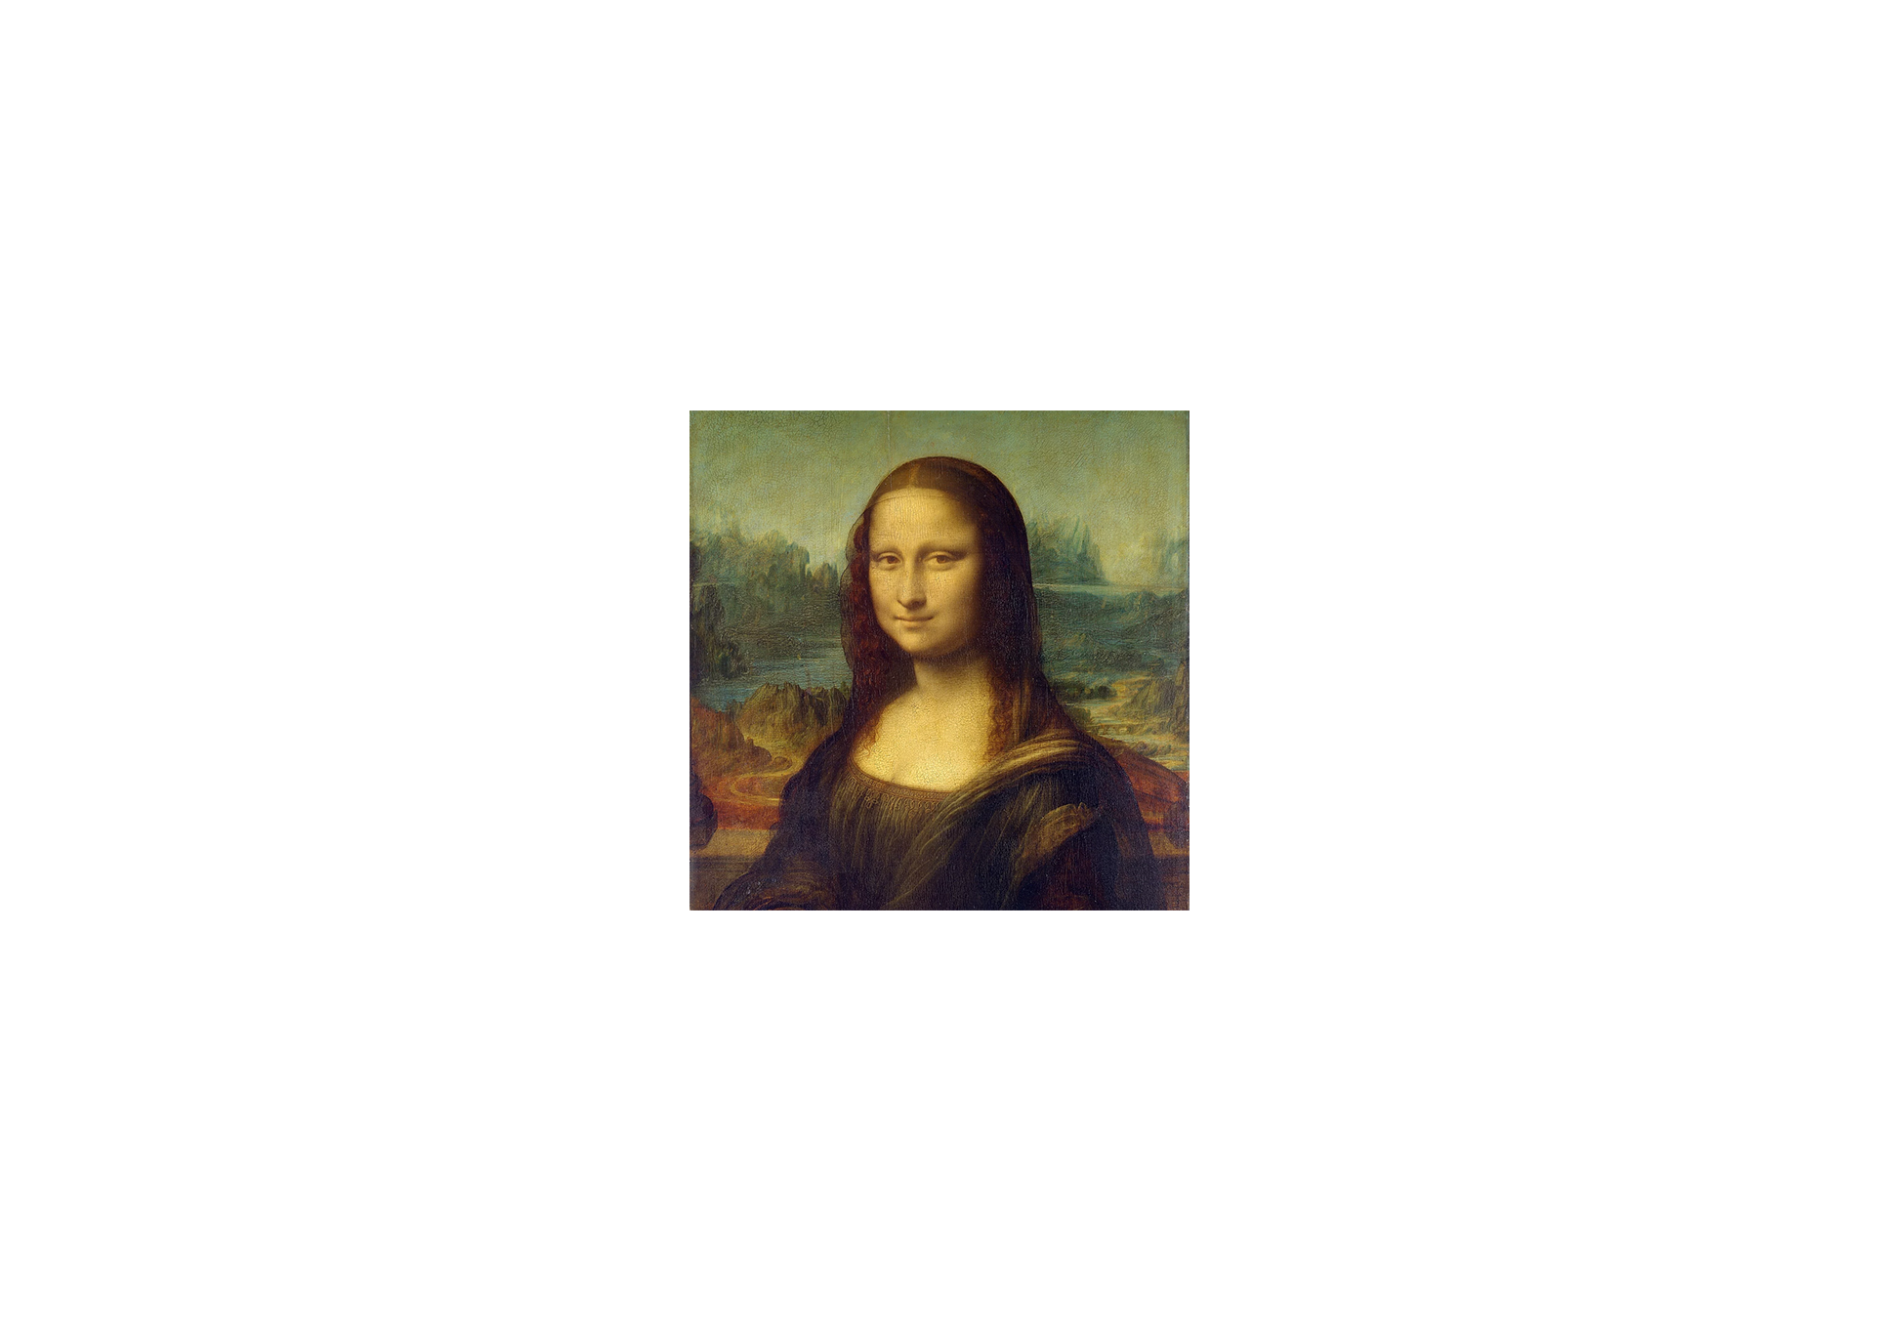
이렇게 이미지가 출력되었다면 성공입니다.
Step. 2 (Wave)
웨이브 효과를 추가해봅시다.
일단 fragmentShader 부분을 아래와 같이 변경해봅시다.
varying vec2 vUv;
uniform float time;
uniform sampler2D channel0;
void main() {
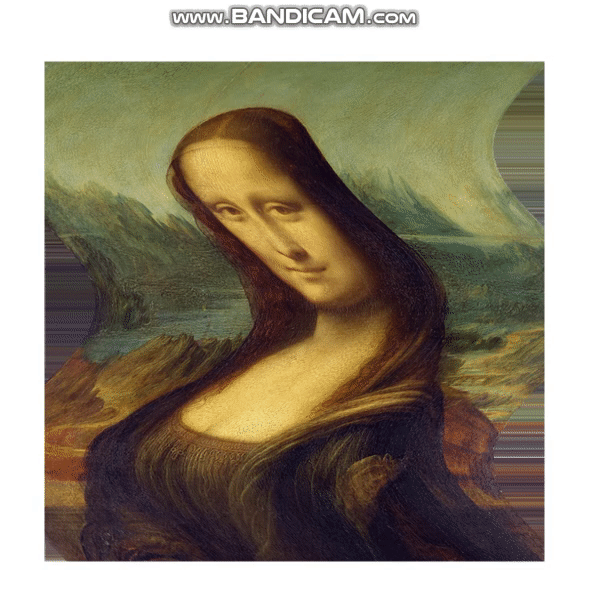
vec2 st = vUv;
st.x += sin(time);
gl_FragColor = texture2D(channel0, st);
}이런식으로 움직이는것을 확인할수있습니다.

이렇게 변경해봅시다.
- st.y 값을 sin 함수안에 추가하였습니다.
varying vec2 vUv;

uniform float time;
uniform sampler2D channel0;

void main() {
  vec2 st = vUv.xy;

  st.x += sin(time * 5.0 + st.y * 10.0) * 0.1;

  gl_FragColor = texture2D(channel0, st);
}
st.y를 기준으로 sin 그래프가 st.x값에 더해져 그림의 x픽셀 부분이 움직이게 됩니다.
Step. 3 (Dissolve)
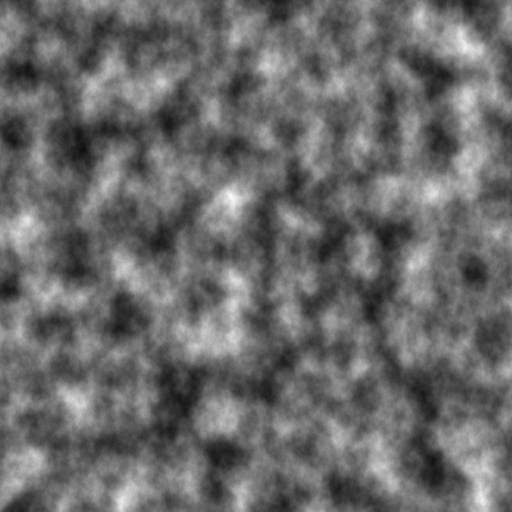
아래 노이즈 이미지를 추가해줍시다.
import React, { FC, memo, useRef } from "react";
import { Canvas, useFrame, useLoader } from "@react-three/fiber";
import { ShaderMaterial, TextureLoader } from "three";
import monalisa from "./images/monalisa.png";
import noise from "./images/noise.png";

const vertexShader = `
varying vec2 vUv;

void main() {
  vUv = uv;
  gl_Position = projectionMatrix * modelViewMatrix * vec4(position,1.0);
}
`;

const fragmentShader = `
varying vec2 vUv;

uniform float time;
uniform sampler2D channel0;
uniform sampler2D channel1;

void main() {
  vec2 st = vUv.xy;

  st.x += sin(time * 5.0 + st.y * 10.0) * 0.1;

  gl_FragColor = texture2D(channel0, st);
}
`;

const Monalisa = memo(() => {
  const materialRef = useRef<ShaderMaterial | null>(null);
  const [monalisaTexture, noiseTexture] = useLoader(TextureLoader, [
    monalisa,
    noise,
  ]);

  useFrame((state) => {
    if (!materialRef.current) {
      return;
    }

    materialRef.current.uniforms.time.value = state.clock.elapsedTime;
  });

  return (
    <mesh scale={[500, 500, 1]}>
      <planeBufferGeometry />
      <shaderMaterial
        ref={materialRef}
        vertexShader={vertexShader}
        fragmentShader={fragmentShader}
        uniforms={{
          time: { value: 0 },
          channel0: { value: monalisaTexture },
          channel1: { value: noiseTexture },
        }}
      />
    </mesh>
  );
});

interface Props {}

const App: FC<Props> = memo(() => {
  return (
    <Canvas orthographic>
      <Monalisa />
    </Canvas>
  );
});

export default App;
fragmentShader를 아래와 같이 변경해줍니다.
varying vec2 vUv;

uniform float time;
uniform sampler2D channel0;
uniform sampler2D channel1;

void main() {
  vec2 st = vUv.xy;

  vec4 noiseCol = texture2D(channel1, st);

  float progress = mod(time, 1.0);
  float alpha = step(noiseCol.x, progress);

  vec4 finalCol = texture2D(channel0, st);
  finalCol.w *= alpha;

  gl_FragColor = finalCol;
}
noise 이미지의 색상으로 dissolve되는 효과가 완성되었습니다.
이제 부드럽게 변경해볼까요?
fragmentShader를 이렇게 변경해줍니다.
varying vec2 vUv;

uniform float time;
uniform sampler2D channel0;
uniform sampler2D channel1;

void main() {
  vec2 st = vUv.xy;

  vec4 noiseCol = texture2D(channel1, st);

  float smoothness = 0.3;
  float progress = mod(time, 1.0);
  progress += progress * smoothness;
  float alpha = smoothstep(noiseCol.x - smoothness, noiseCol.x, progress);

  vec4 finalCol = texture2D(channel0, st);
  finalCol.w *= alpha;

  gl_FragColor = finalCol;
}
step을 smoothstep으로 변경하여 부드럽게 처리하였습니다.

여기까지 쉐이더를 사용해 그루비한 효과 구현해보기였습니다.
쉐이더에대한 자세한 설명은 제 이전글을 참고 부탁드립니다.
조금더 디테일하게 사용하면 마우스 이벤트를 사용하거나
oil painting
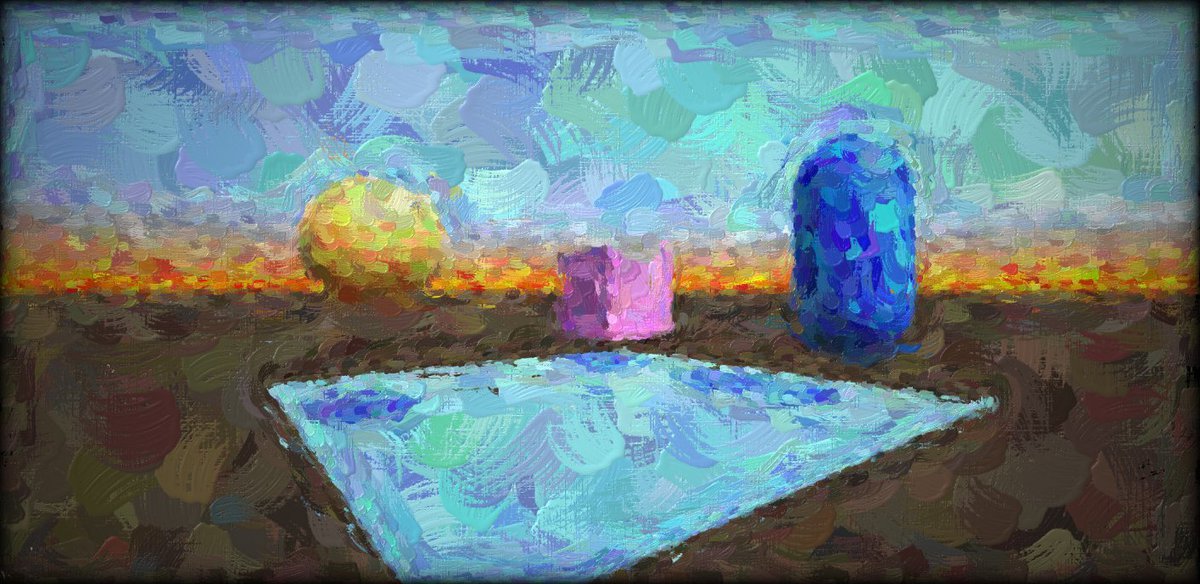
이런 효과도 구현할 수 있습니다.
현재 WE-AR(위에이알) 에서 채용을 진행하고있습니다. 많은 지원 부탁드립니다.

5개의 댓글


우연히 관심있을만한 포스트로 들어오게 돼서 전체글에 매료돼서 봤습니다.
제가 처음 프론트에 관심을 가지게 되고 공부를 시작하게 된 이유가 인터랙티브하고 재밌는 요소들 때문인데
공부를 하면서 점점 취업을 위한 부분들에만 더 신경을 쓰면서 지냈던것 같습니다. (물론 둘 다 중요하지만)
다시 처음 제가 왜 프론트에 관심을 가지고 흥미를 느꼈는지 첫 기억이 되살아나기도 하고
조금 더 공부해서 나중에 구현해야지 하면서 미뤄왔던 것들에 대한 반성을 하게 됩니다.
우선 가장 처음 올려주신 canvas animation부터 이해하면서 구현해보고 그 댓글에 남겨주신 codepen의 Rain도 구현해보겠습니다.
너무 관심있고 흥미를 가지는 부분인데 우선 canvas에 대한 이해가 필요할 것같다고 판단이 돼서 제공해주신 자료들을 잘 활용해보겠습니다.
이외 더 추천해주실 것들 있으신가요 배울때?
말씀하신것 처럼 영상이나 게임에서 본 것들을 캔버스로 구현하려고 연습하고 한계를 느낄 때 webGL등에도 관심을 가지라고 하셔서요
혹시 여쭤보고 싶은 것들이 있는데 연락드릴 방법이 있을까요?
오.... 너무 신기하네요!