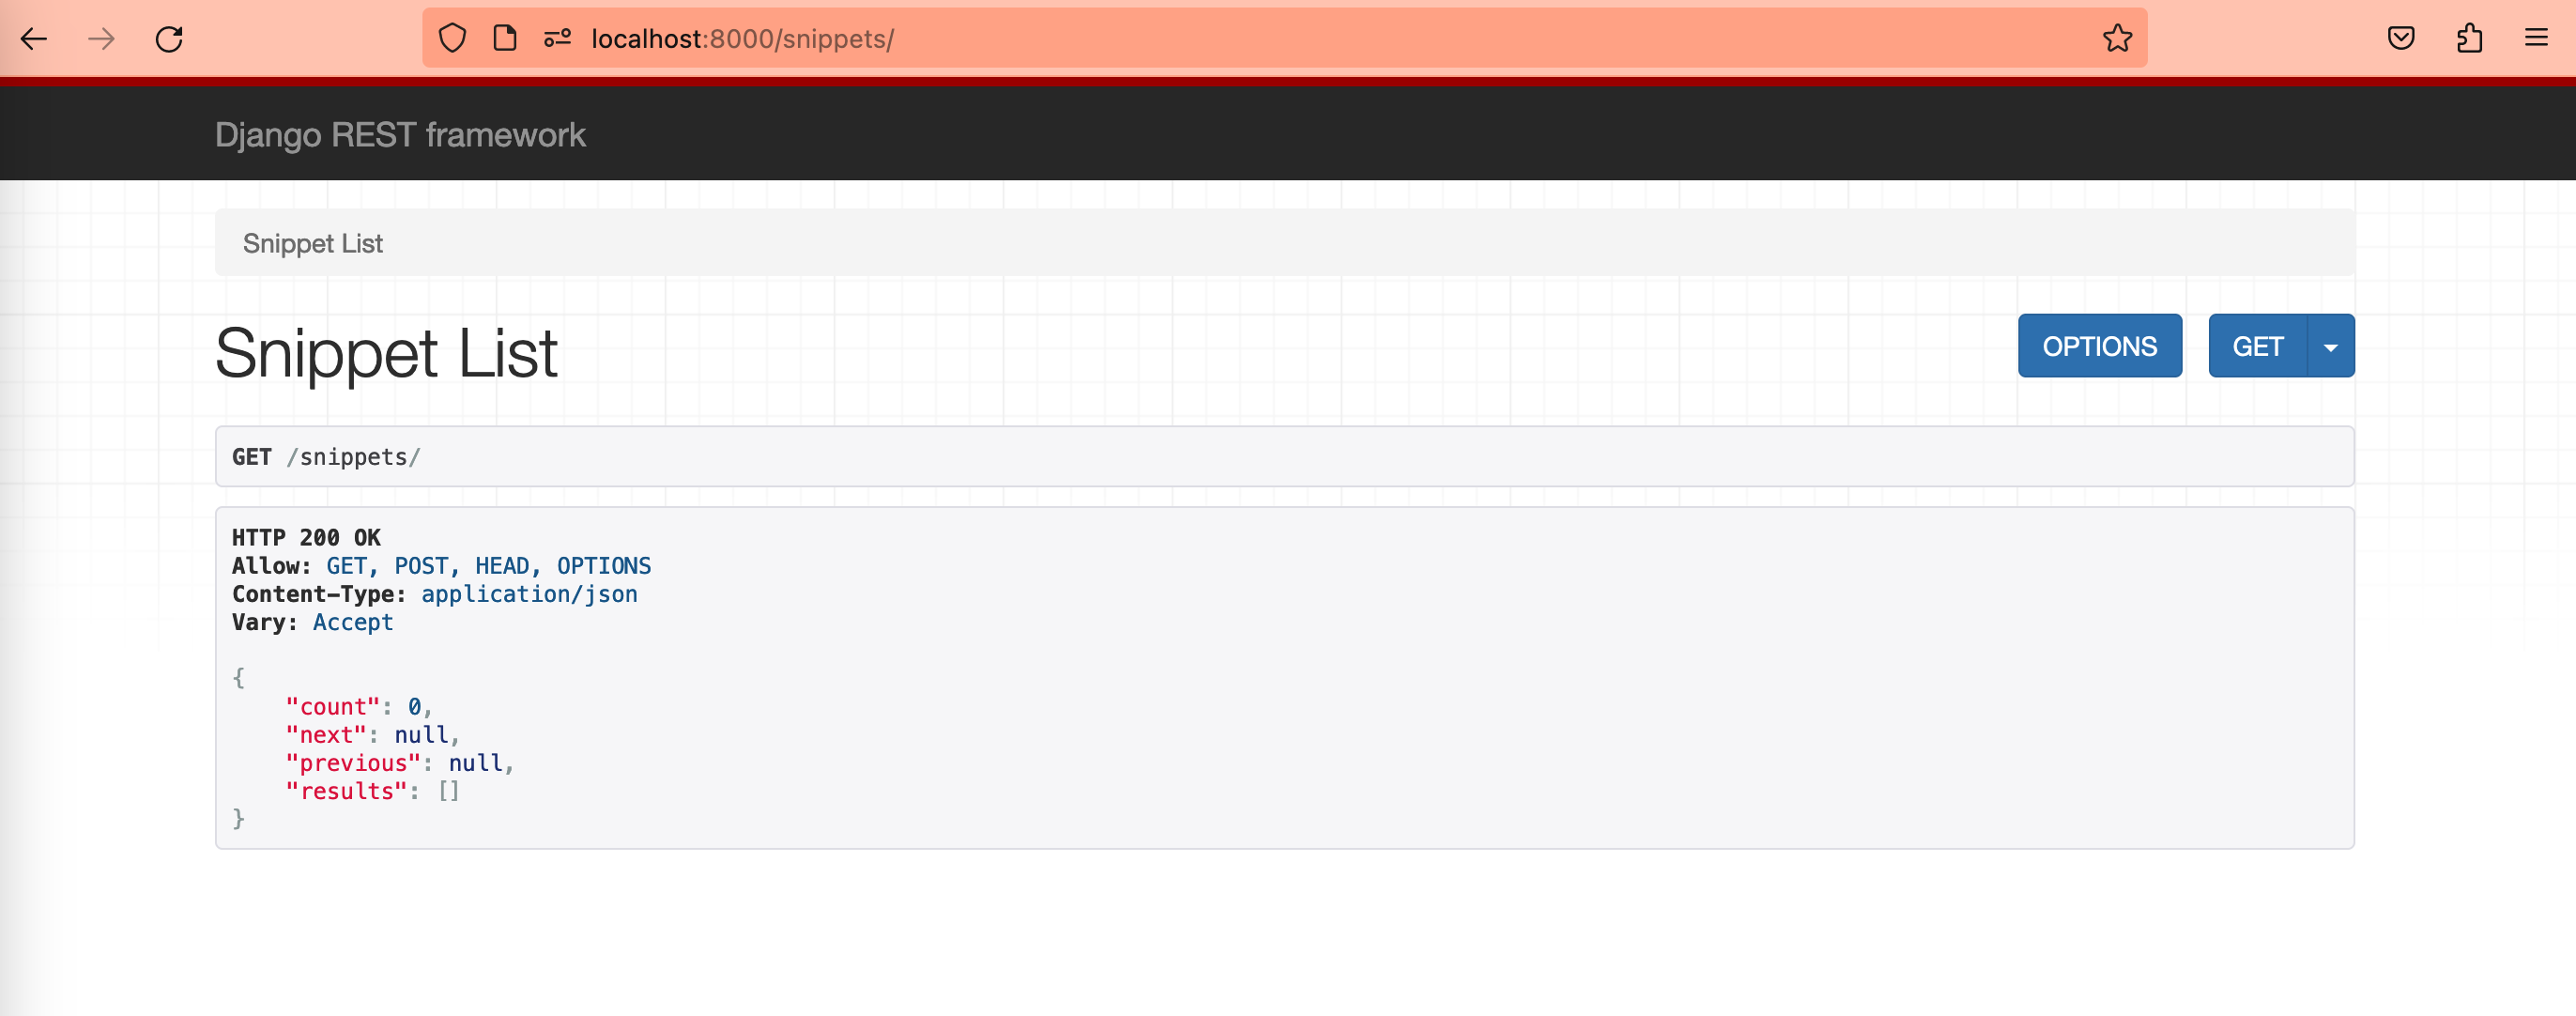
아직까지 그러나 치명적이게도 API 접근에 제한이 없다.
누구나 데이터를 조회하고 삭제하고 생성하고 업데이트할 수 있다.
snippet 프로젝트의 요구사항을 정리해보자.
- 인증된 사용자만이 snippet을 생성할 수 있다.
- snippet 생성한 유저에게만 업데이트/삭제 권한이 있다.
- 인증되지 않은 사용자는 오로지 읽기만 가능하다.
1. Snippet 모델 변경
owner필드 추가- 누가 작성했는지
highlighted필드 추가- 강조 표시된 코드의 HTML 저장
class Snippet(models.Model):
    created = models.DateTimeField(auto_now_add=True)
    title = models.CharField(max_length=100, blank=True, default="")
    code = models.TextField()
    linenos = models.BooleanField(default=False)
    language = models.CharField(
        choices=LANGUAGE_CHOICES,
        default="python",
        max_length=100,
    )
    style = models.CharField(choices=STYLE_CHOICES, default="friendly", max_length=100)
    owner = models.ForeignKey(
        "auth.User", related_name="snippets", on_delete=models.CASCADE
    )
    highlighted = models.TextField()

    class Meta:
        ordering = ["created"]

    def save(self, *args, **kwargs):
        """
        Use the `pygments` library to create a highlighted HTML
        representation of the code snippet.
        """

        lexer = get_lexer_by_name(self.language)
        linenos = "table" if self.linenos else False
        options = {"title": self.title} if self.title else {}
        formatter = HtmlFormatter(
            style=self.style, linenos=linenos, full=True, **options
        )
        self.highlighted = highlight(self.code, lexer, formatter)
        super().save(*args, **kwargs)
2. UserSerializer 생성
class UserSerializer(serializers.ModelSerializer):
    snippets = serializers.PrimaryKeyRelatedField(
        many=True,
        queryset=Snippet.objects.all(),
    )

    class Meta:
        model = User
        fields = [
            "id",
            "username",
            "snippets",
        ]
두 가지 포인트가 있다.
- User 모델을 기반으로 하는 UserSerializer가 생성됐다.
User 모델이 가지고 있지 않은, 추가되는 필드로는 snippets 필드가 있다.('snippets'는 유저와 reverse 관계에 있으므로 유저 모델 시리얼라이저의 디폴트 필드로 지정되어 있지 않으므로 명시적으로 선언해야 한다.)
- User는 여러개의 snippets를 작성할 수 있으므로
유저가 작성한 snippets를 가져오기 위해PrimaryKeyRelatedField라는 기능을 사용했다.
3. snippet과 유저 연결시키기
perform_create를 오버라이딩하여 snippet 인스턴스 생성 전에 유저 정보를 넣어준다.
class SnippetList(generics.ListCreateAPIView):
    queryset = Snippet.objects.all()
    serializer_class = SnippetSerializer

    def perform_create(self, serialzier):
        serialzier.save(owner=self.request.user)
위에서 Snippet 이 생성될 때, owner정보가 입력되도록 하고 있다.
따라서, SnippetSerialzier에도 owner 정보가 표현되도록 수정한다.
class SnippetSerializer(serializers.ModelSerializer):
    owner = serializers.ReadOnlyField(source="owner.username")

    class Meta:
        model = Snippet
        fields = [
            "id",
            "title",
            "code",
            "linenos",
            "language",
            "style",
            "owner",
]-
sourceargument는 필드를 생성하기 위해 어떤 속성을 참조해야 하는지 알려주며, 정의된 인스턴스의 필드라면 모두 접근할 수 있게 한다. -
ReadOnlyField로 정의할 수도 있지만, CharField(read_only=True)로 정의할 수도 있다.
어떤 방법이든 필드를 위와 같이 정의하면, 업데이트 시 API 표현에 나오지 않고 읽기 행동 시에만 나타나게 된다.
4. 뷰에 permissions 도입
코드 snippet이 owner(유저)와 연결되도록 했다.(models.py, views.py, serializer.py)
그러므로 CUD작업에 있어 인증된 유저만 가능하도록 리팩터링이 필요하다.
IsAuthenticatedOrReadOnly 를 도입할건데, 인증된 유저는 읽기쓰기 권한이 있고, 미인증 유저는 읽기 권한만 있다.
class SnippetList(generics.ListCreateAPIView):
    permission_classes = [permissions.IsAuthenticatedOrReadOnly]
    queryset = Snippet.objects.all()
    serializer_class = SnippetSerializer

    def perform_create(self, serialzier):
        serialzier.save(owner=self.request.user)


class SnippetDetail(generics.RetrieveUpdateDestroyAPIView):
    permission_classes = [permissions.IsAuthenticatedOrReadOnly]
    queryset = Snippet.objects.all()
    serializer_class = SnippetSerializer
5. Browsable API 로그인 기능 도입
브라우저에서 로그인할 수 있는 기능이 없다.
프로젝트의 URLconf를 urls.py로 수정하여 로그인 뷰를 추가한다.
urlpatterns += [
    path("api-auth/", include("rest_framework.urls")),
]
우측 상단에 Log in 버튼이 생성됐다.
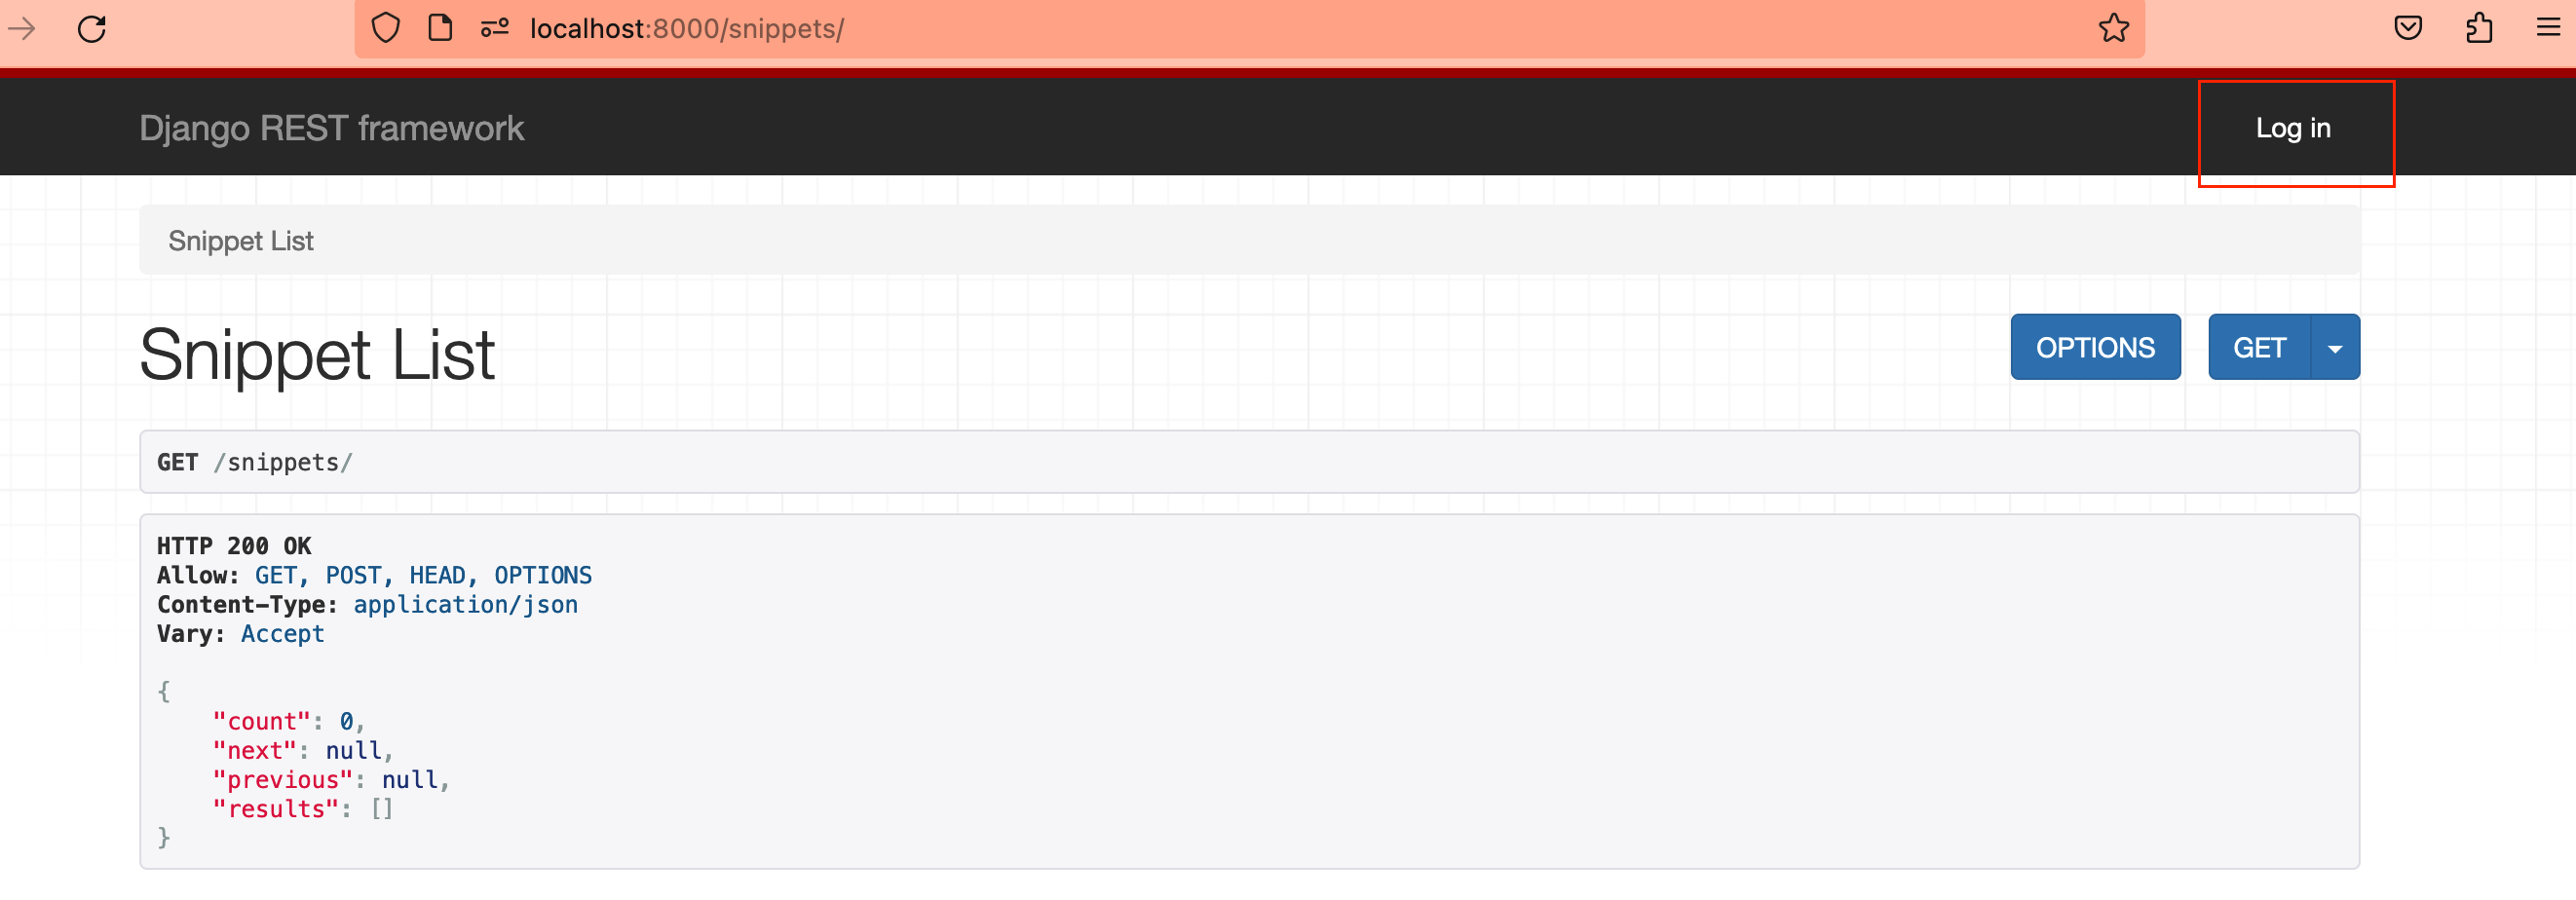
'api-auth/'를 다른 이름으로 변경해도 상관없다.
6. 객체 permissions
커스텀 permission 객체를 만들어 본다.
# permissions.py
from rest_framework import permissions


class IsOwnerOrReadOnly(permissions.BasePermission):
    """객체의 소유자만 수정할 수 있는 커스텀 permission"""

    def has_object_permission(self, request, view, obj):
        if request.method in permissions.SAFE_METHODS:
            return True
        return obj.owner == request.user
# views.py
class SnippetDetail(generics.RetrieveUpdateDestroyAPIView):
permission_classes = [permissions.IsAuthenticatedOrReadOnly, IsOwnerOrReadOnly]
queryset = Snippet.objects.all()
serializer_class = SnippetSerializer7. API 인증
DRF는 디폴트로 아래 두 가지의 인증이 적용된다.
SessionAuthenticationBasicAuthentication
# settings.py
REST_FRAMEWORK = {
    "DEFAULT_AUTHENTICATION_CLASSES": [
      "rest_framework.authentication.SessionAuthentication",
      "rest_framework.authentication.BasicAuthentication",

    ],
}SessionAuthentication는 웹 브라우저에서 로그인하여 적합한 인증된 Browsable API를 확인해 볼 수 있게 한다.
(만약 SessionAuthentication을 해제하면, 웹 브라우저 환경에서 로그인할 수 없게 된다.)
하지만 DRF를 사용하는 주 목적은 API 자체의 인증이다. 각 요청에 자격인증이 부여돼야 한다.
자격 인증 없이 인증이 필요한 API를 호출하면 아래와 같이 에러가 발생한다.
Authentication credentials were not provided.
>> curl -X POST 'Accept: application/json; indent=4' http://127.0.0.1:8000/snippets/

curl: (3) URL rejected: Malformed input to a URL function
{"detail":"Authentication credentials were not provided."}
따라서, API에 인증 자격을 부여하여 POST 요청을 보내도록 수정한다.
>>> curl -X POST -u 'test:12341234' http://127.0.0.1:8000/snippets/ -d code='print(789)'

{
    "id":2,
	"title":"",
    "code":"print(789)",
    "linenos":false,
    "language":"python",
    "style":"friendly",
    "owner":"test"
}