
정수원님의 강의 스프링 시큐리티 완전 정복 [6.x 개정판] 보면서 공부한 내용입니다.
Rest 인증 보안 및 화면 구성
- 다중 보안 설정 시 사용할 수 있다
- 설정의 순서가 중요하다
- Rest 방식의 비동기 통신은 클라이언트에서 CSRF 값을 직접 전달해 주어야 한다
    @Bean
    @Order(1)
    public SecurityFilterChain restSecurityFilterChain(HttpSecurity http) throws Exception {
        http
                .securityMatcher("/api/login")
                .authorizeHttpRequests(auth -> auth
                        .requestMatchers("/css/**","/images/**","/js/**","/favicon.*","/*/icon-*").permitAll()
                        .anyRequest().permitAll()
                )
              .csrf(AbstractHttpConfigurer::disable)
        ;

        return http.build(); // securityFilterChain 빈 생성
    }
Rest 인증 필터 구현
RestAuthenticationFilter
- 스프링 시큐리티는 HttpSecurity 설정을 통해 어플리케이션의 보안 요구사항에 맞게 필터 체인을 추가 할 수 있도록 제공한다
- 필터 추가는 addFilterBefore, addFilterAfter, addFilter, addFilterAt 메소드를 사용하여 필터의 순서와 위치를 제어할 수 있다
필터 구성
- addFilterBefore
- 지정된 필터를 필터 체인의 특정 필터 이전에 추가하며 주로 특정 처리가 다른 필터보다 먼저 실행되어야 할 때 사용된다
- UsernamePasswordAuthenticationFilter.class보다 new CustomFilter()를 먼저 처리하겠다
http.addFilterBefore(new CustomFilter(), UsernamePasswordAuthenticationFilter.class)
- addFilterAfter
- 지정된 필터를 필터 체인의 특정 필터 이후에 추가하며 특정 작업이 다른 필터의 처리를 따라야 할 때 사용된다
- UsernamePasswordAuthenticationFilter.class이후에 new CustomFilter()를 처리한다
http.addFilterAfter(new CustomFilter(), UsernamePasswordAuthenticationFilter.class)
- addFilter
- 필터의 위치를 지정하지 않고 필터의 유형에 따라 자동으로 적절한 위치에 필터를 추가한다
- 단, 추가하는 필터가 스프링 시큐리티가 관리하고 있는 security filter 중 하나를 상속받아 추가해야지 해당되며 그렇지 않을 경우 예외가 발생한다
http.addFilter(new CustomFilter());
- addFilterAt
- 지정된 필터를 필터 체인의 특정 필터 위치에 추가한다.
- 특정 필터를 대체하지는 않는다
- new CustomFilter()를 UsernamePasswordAuthenticationFilter.class의 위치에 넣고, UsernamePasswordAuthenticationFilter.class는 스프링 시큐리티가 자동으로 적절한 위치에 배치한다
http.addFilterAfter(new CustomFilter(), UsernamePasswordAuthenticationFilter.class);
    @Override
    public Authentication attemptAuthentication(HttpServletRequest request, HttpServletResponse response) throws AuthenticationException, IOException, ServletException {

        // 비동기식으로 올 때만 인증 필터 작용하도록 설정
        if(HttpMethod.POST.name().equals(request.getMethod()) || !WebUtil.isAjax(request)){
            throw new IllegalArgumentException("POST나 비동기 방식이 아닙니다.");
        }

        // 사용자가 입력한 정보를 가져와서 인증처리 진행히여 AccountDto에 담도록 설정
        AccountDto accountDto = objectMapper.readValue(request.getReader(), AccountDto.class);
        if(!StringUtils.hasText(accountDto.getUsername()) || !StringUtils.hasText(accountDto.getPassword())){
            // username 또는 password에 값이 없으면 예외 발생
            throw new AuthenticationServiceException("아이디 또는 비밀번호가 없습니다.");
        }

        // 모든 조건 통과하면 인증 처리되도록 진행
        RestAuthenticationToken restAuthenticationToken = new RestAuthenticationToken(accountDto.getUsername(),accountDto.getPassword());

        return getAuthenticationManager().authenticate(restAuthenticationToken);
    }
RestAuthenticationProvider 구현하기
    @Override
    public Authentication authenticate(Authentication authentication) throws AuthenticationException {

        String loginId = authentication.getName();
        String password = (String) authentication.getCredentials();
        AccountContext accountContext = (AccountContext) userDetailsService.loadUserByUsername(loginId);

        if(!passwordEncoder.matches(password, accountContext.getPassword())){
            throw new BadCredentialsException("Invalid password");
        }

        return new RestAuthenticationToken(accountContext.getAuthorities(), accountContext.getAccountDto(), null);
    }
Rest 인증 성공 / 실패 핸들러
- 성공 핸들러
    @Override
    public void onAuthenticationSuccess(HttpServletRequest request, HttpServletResponse response, Authentication authentication) throws IOException, ServletException {
        ObjectMapper mapper = new ObjectMapper();

        AccountDto accountDto = (AccountDto) authentication.getPrincipal();
        response.setStatus(HttpStatus.OK.value());
        response.setContentType(MediaType.APPLICATION_JSON_VALUE);
        accountDto.setPassword(null);
        mapper.writeValue(response.getWriter(),accountDto);

        clearAuthenticationAttributes(request);
}- 실패 핸들러
    @Override
    public void onAuthenticationFailure(HttpServletRequest request, HttpServletResponse response, AuthenticationException exception) throws IOException, ServletException {
        ObjectMapper mapper = new ObjectMapper();

        // 401 코드 => 인증 실패
        response.setStatus(HttpStatus.UNAUTHORIZED.value());
        response.setContentType(MediaType.APPLICATION_JSON_VALUE);

        if(exception instanceof BadCredentialsException){
            mapper.writeValue(response.getWriter(), "유효하지 않은 아이디 또는 비밀번호 입니다.");
        }

        mapper.writeValue(response.getWriter(),"인증 실패");
    }
Rest 인증 상태 영속하기
SecurityContextRepository 설정하기
- 인증 필터에서 인증에 성공한 이후 인증객체를 세션에 저장할 수 있도록 HttpSessionSecurityContextRepository 를 지정 한다
- AbstractAuthenticationProcessingFilter 를 상속하면 RequestAttributeSecurityContextRepository 가 기본으로 설정 된다
- 단, 비동기 인증을 위해 별도의 필터를 만든 경우 쓰레드까지 저장되지만 세션에는 저장이 안되므로 영속성을 보장받기 위해 별도의 요청을 추가해야된다
    /**
     * 세션을 사용하도록 설정
     */
    private SecurityContextRepository getSecurityContextRepository(HttpSecurity http) {
        SecurityContextRepository securityContextRepository = http.getSharedObject(SecurityContextRepository.class);
        if(securityContextRepository == null){
            securityContextRepository = new DelegatingSecurityContextRepository(
                    new RequestAttributeSecurityContextRepository(), new HttpSessionSecurityContextRepository()
            );
        }
        return securityContextRepository;
    }
Rest 예외 처리
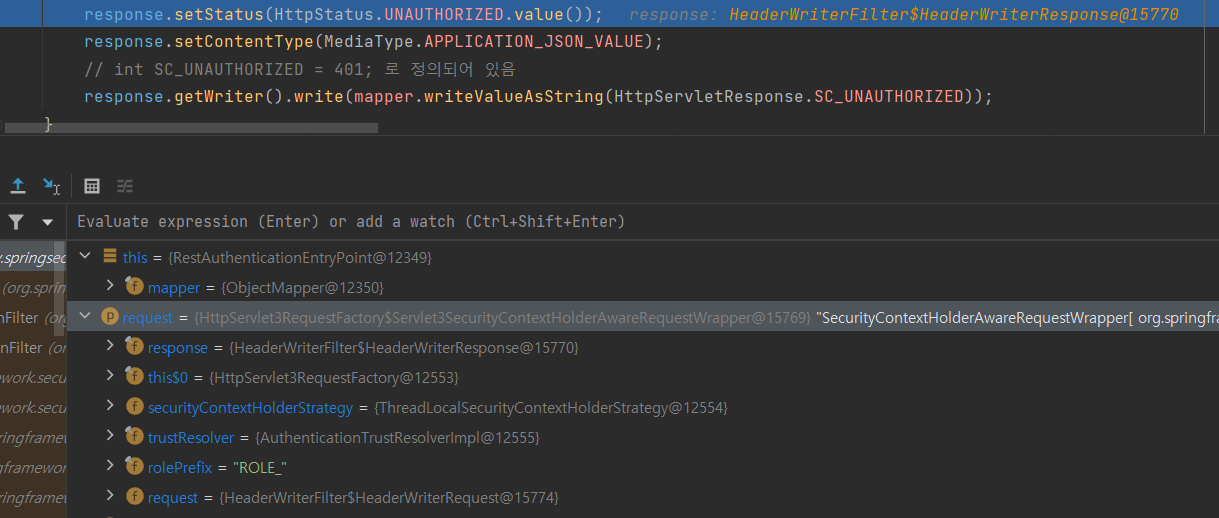
RestAuthenticationEntryPoint
- 인증을 받지 않은 상태에서 접근을 거부당했을 때 사용
- 로그인 페이지로 이동함
- 401 코드(인증)로 떨어짐
    @Override
    public void commence(HttpServletRequest request, HttpServletResponse response, AuthenticationException authException) throws IOException, ServletException {
        // 인증받지 못한 상태에서 왔기 때문에 오류코드를 응답해야됨
        // => 401 코드
        response.setStatus(HttpStatus.UNAUTHORIZED.value());
        response.setContentType(MediaType.APPLICATION_JSON_VALUE);
        // int SC_UNAUTHORIZED = 401; 로 정의되어 있음
        response.getWriter().write(mapper.writeValueAsString(HttpServletResponse.SC_UNAUTHORIZED));
    }
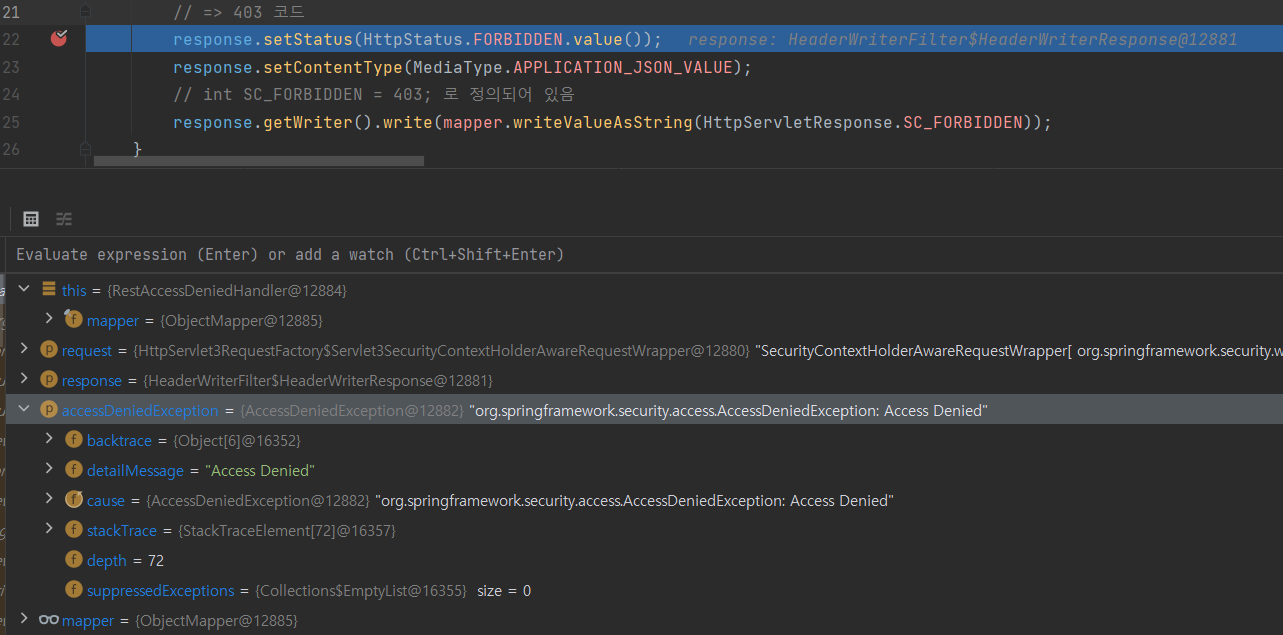
RestAccessDeniedHandler
- 인증을 받은 상태에서 접근을 거부당했을 때 사용
- denied 관련된 화면으로 이동함
- 403 코드(인가)로 떨어짐
    @Override
    public void handle(HttpServletRequest request, HttpServletResponse response, AccessDeniedException accessDeniedException) throws IOException, ServletException {
        // 인증 받은 상태에서 접근 거부 당했기 때문에 오류코드를 응답해야됨
        // => 403 코드
        response.setStatus(HttpStatus.FORBIDDEN.value());
        response.setContentType(MediaType.APPLICATION_JSON_VALUE);
        // int SC_FORBIDDEN = 403; 로 정의되어 있음
        response.getWriter().write(mapper.writeValueAsString(HttpServletResponse.SC_FORBIDDEN));
    }
securityConfig에 exception 추가
. exceptionHandling(exption -> exption
   .authenticationEntryPoint(new RestAuthenticationEntryPoint())
   .accessDeniedHandler(new RestAccessDeniedHandler()))
Rest 로그아웃 구현
- 세션을 무효화시키는 작업
@GetMapping("/logout")
public String logout(HttpServletRequest request, HttpServletResponse response){
Authentication authentication = SecurityContextHolder.getContextHolderStrategy().getContext().getAuthentication();
if(authentication != null){
new SecurityContextLogoutHandler().logout(request, response, authentication);
}
return "logout";
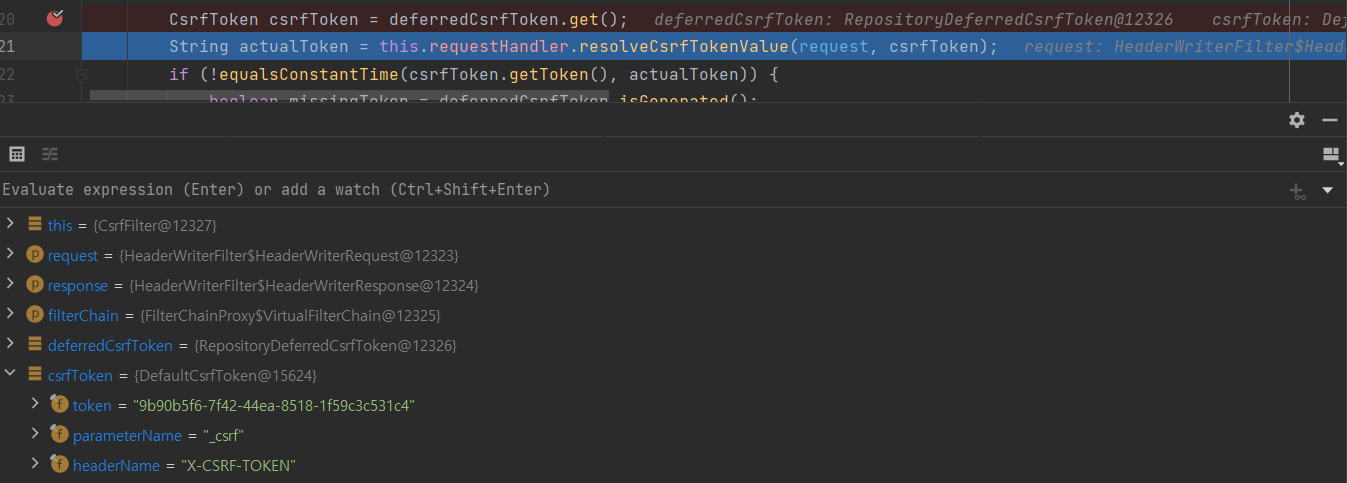
}Rest CSRF 구현
- 메타 태그 활용
function login() {

            const csrfHeader = $('meta[name="_csrf_header"]').attr('content');
            const csrfToken = $('meta[name="_csrf"]').attr('content')

            const username = document.getElementById('username').value;
            const password = document.getElementById('password').value;

            fetch('/api/login', {
                method: 'POST',
                headers: {
                    'Content-Type': 'application/json',
                    'X-Requested-With': 'XMLHttpRequest',
                    [csrfHeader]: csrfToken
                },
                body: JSON.stringify({ username, password }),
            })
                .then(response => {
                    response.json().then(function (data) {
                        console.log(data);
                        window.location.replace('/api')
                    })
                })
                .catch(error => {
                    console.error('Error during login:', error);
                });
        }
Rest DSLs 구현
- 코드를 전체적으로 묶거나 가독성을 위해 활용하는 요소
.with(new RestApiDsl<>(), restDsl -> restDsl
  .restSuccessHandler(restSuccessHandler)
  .restFailureHandler(restFailureHandler)
  .loginPage("/api/login")
  .loginProcessingUrl("/api/login"))
높은 곳을 향해서