- There are many ways to connect a segue between view controllers.
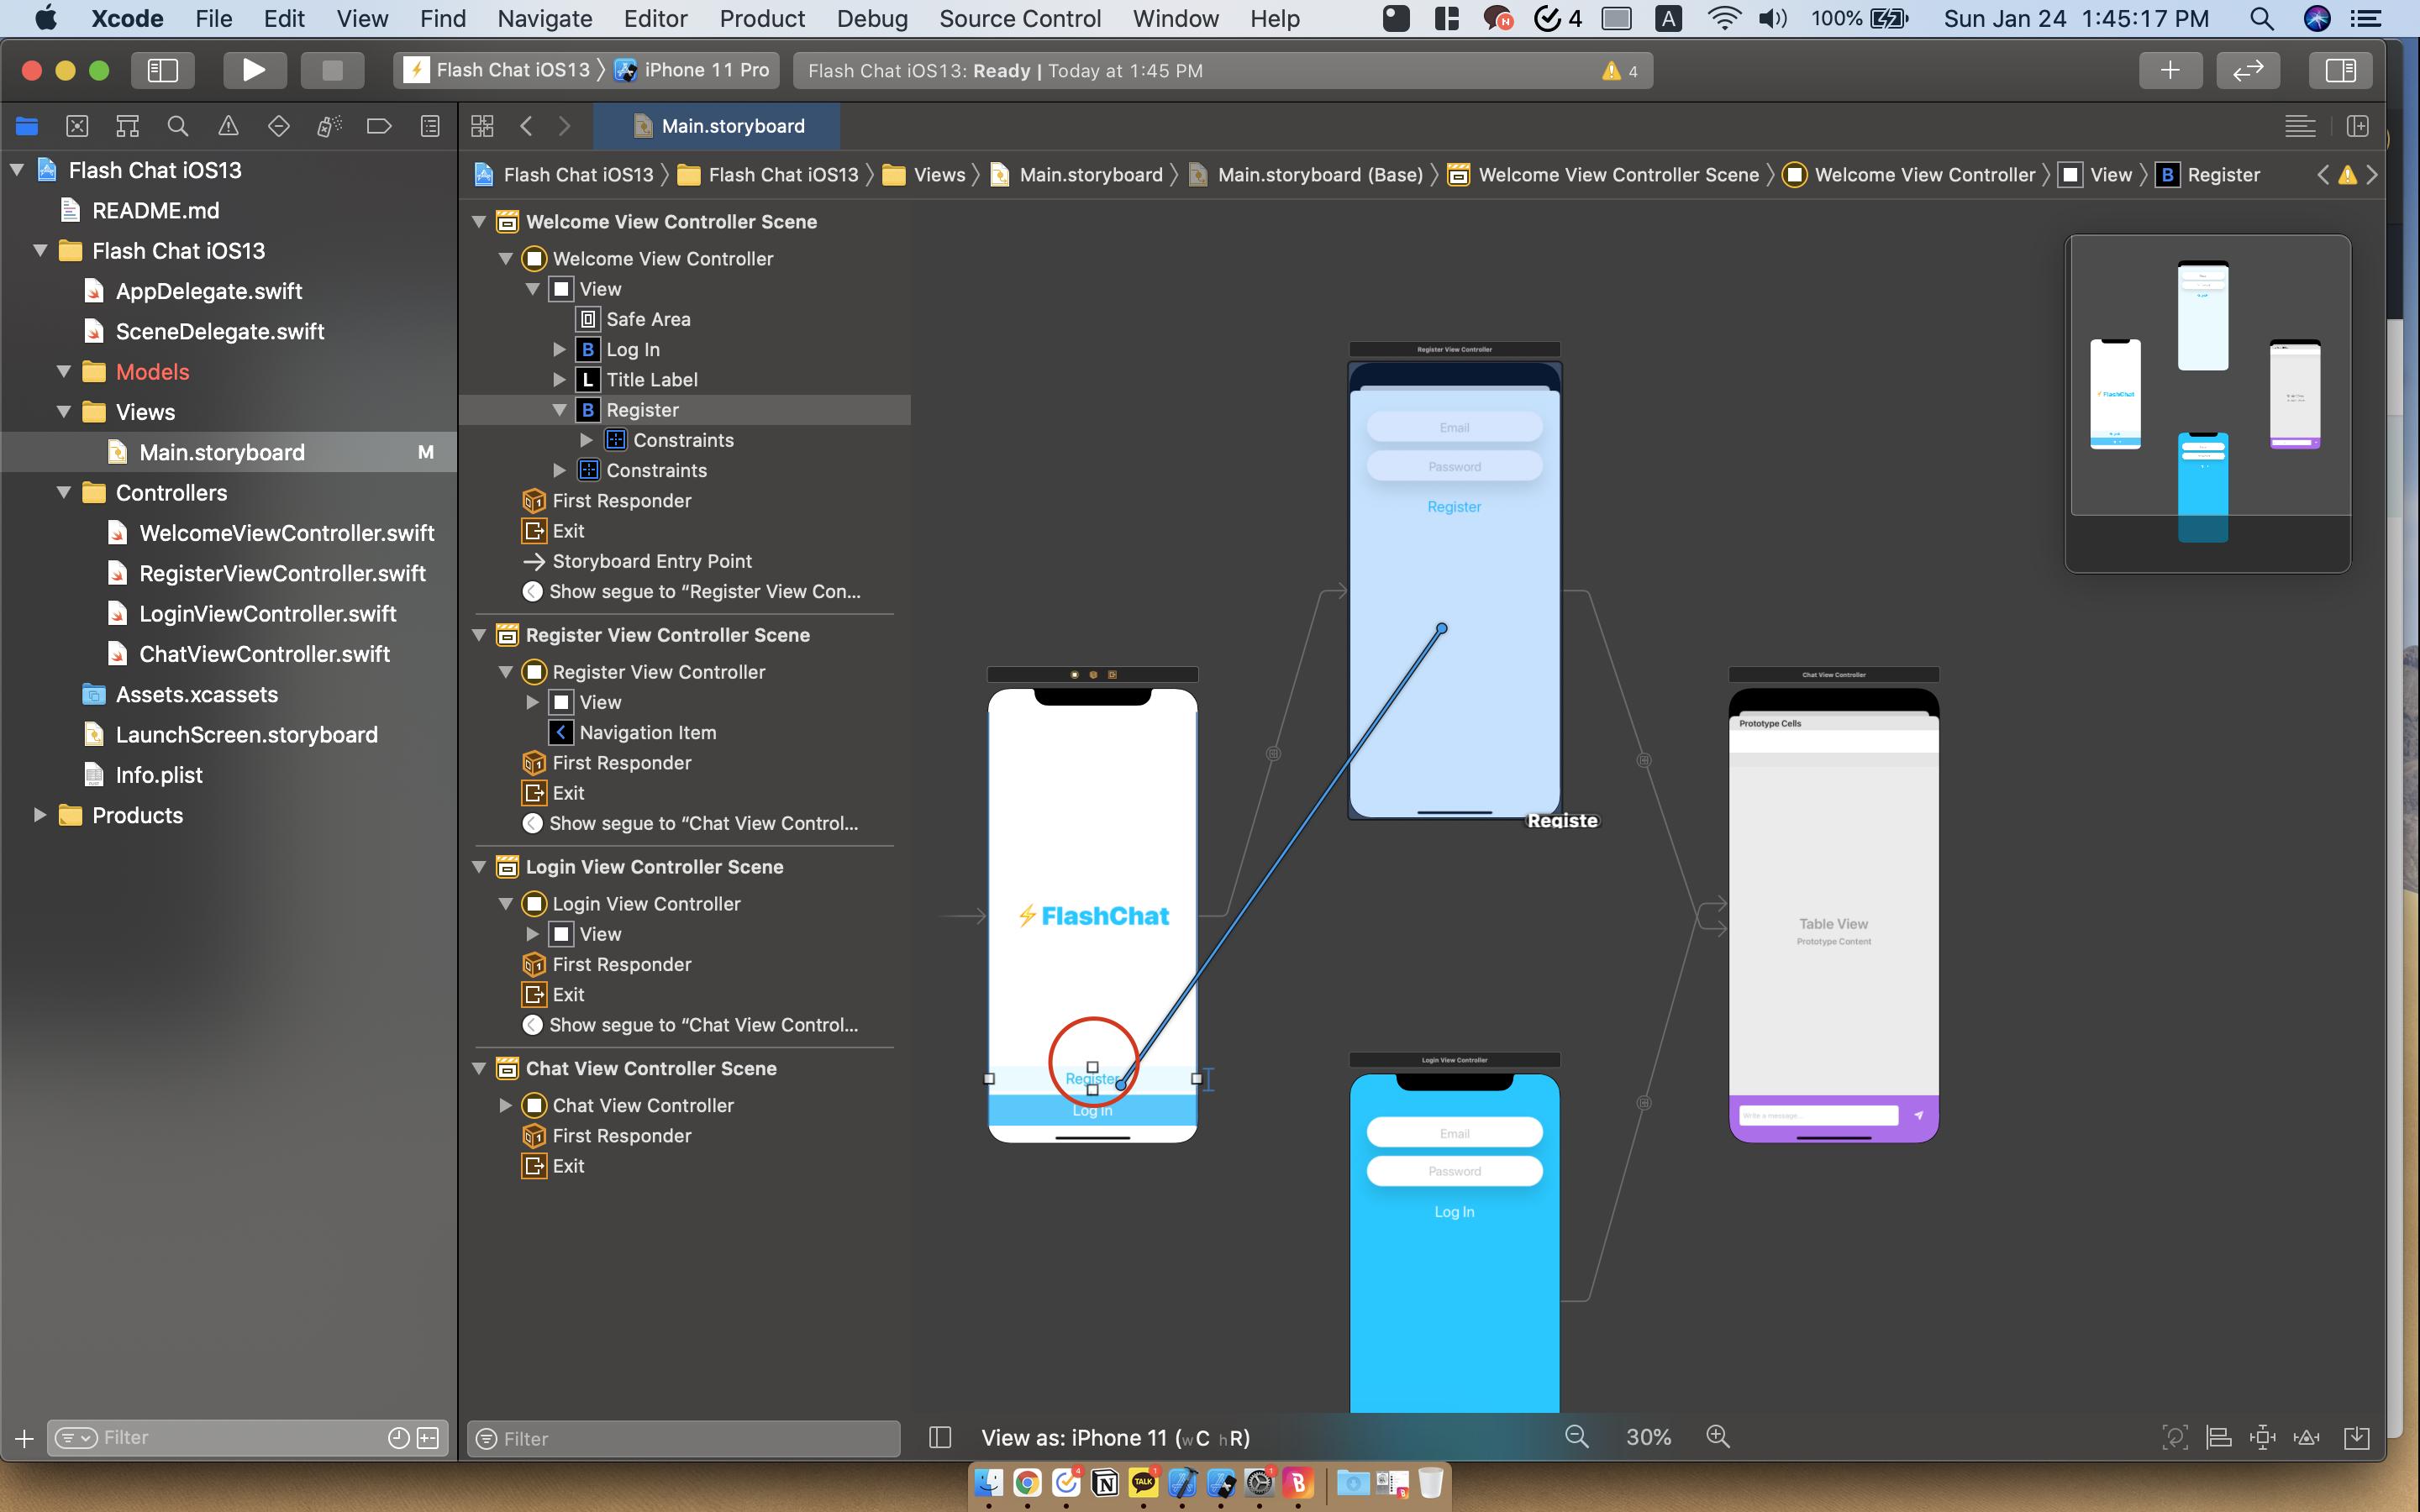
- Like the picture above, you can click a button on your view controller and drag it to another view controller that you would like to present when that button is pressed. This is an "unconditional" segue, meaning that the designated view controller will be presented no matter what when the button (in the red circle) is pressed by the user.
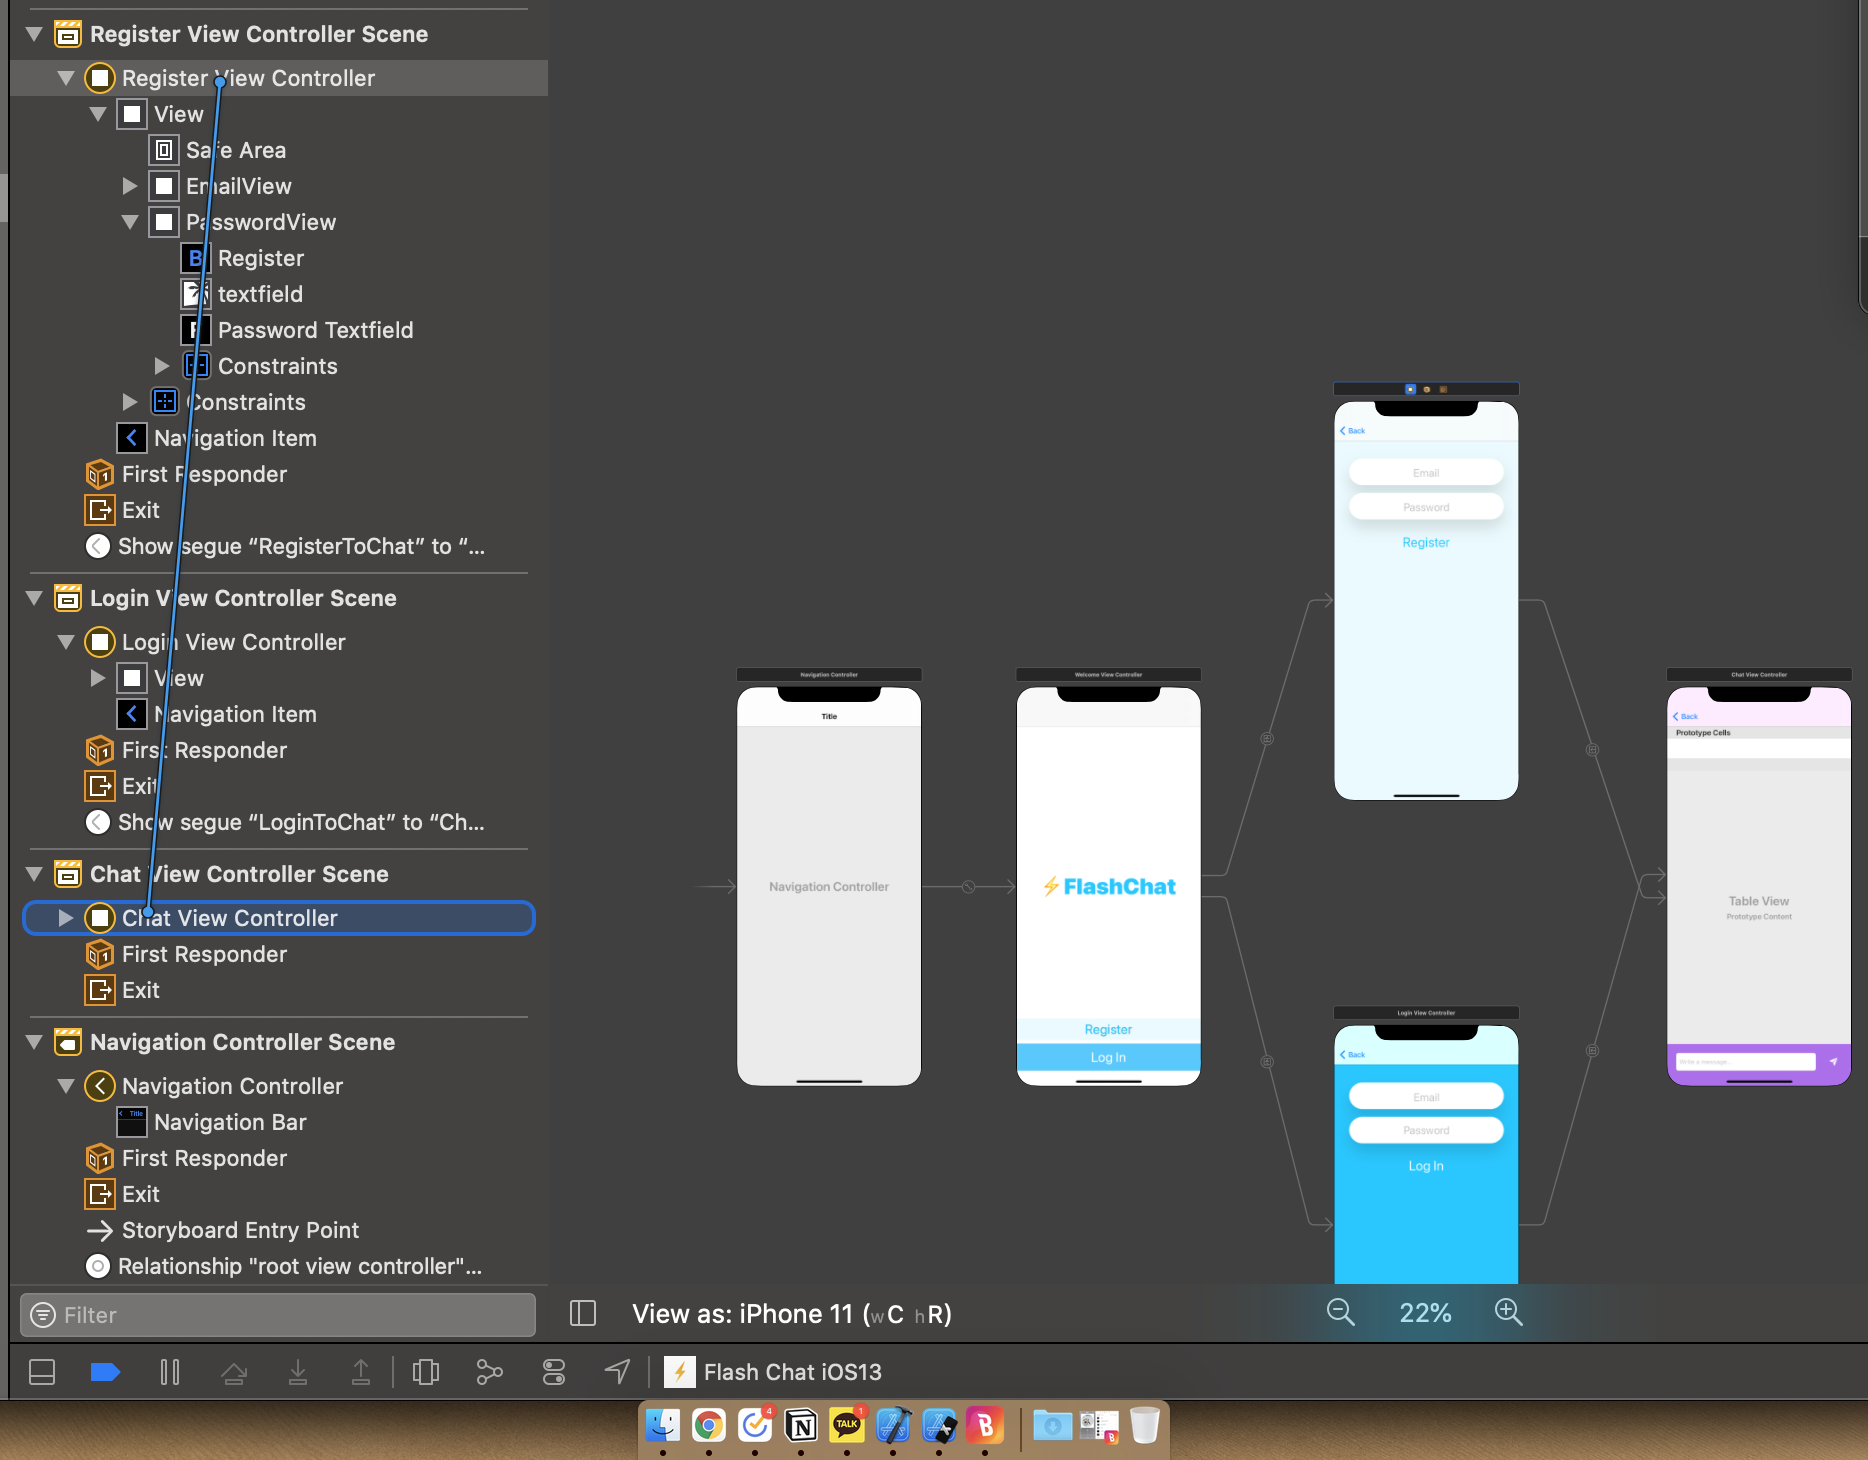
- Another way is to do the way like the above picture. You drag (with two fingers using the trackpad) the view controller to the other view controller you would like to present.
→ This way, a segue is created, but you would have to specifiy the "identifier"
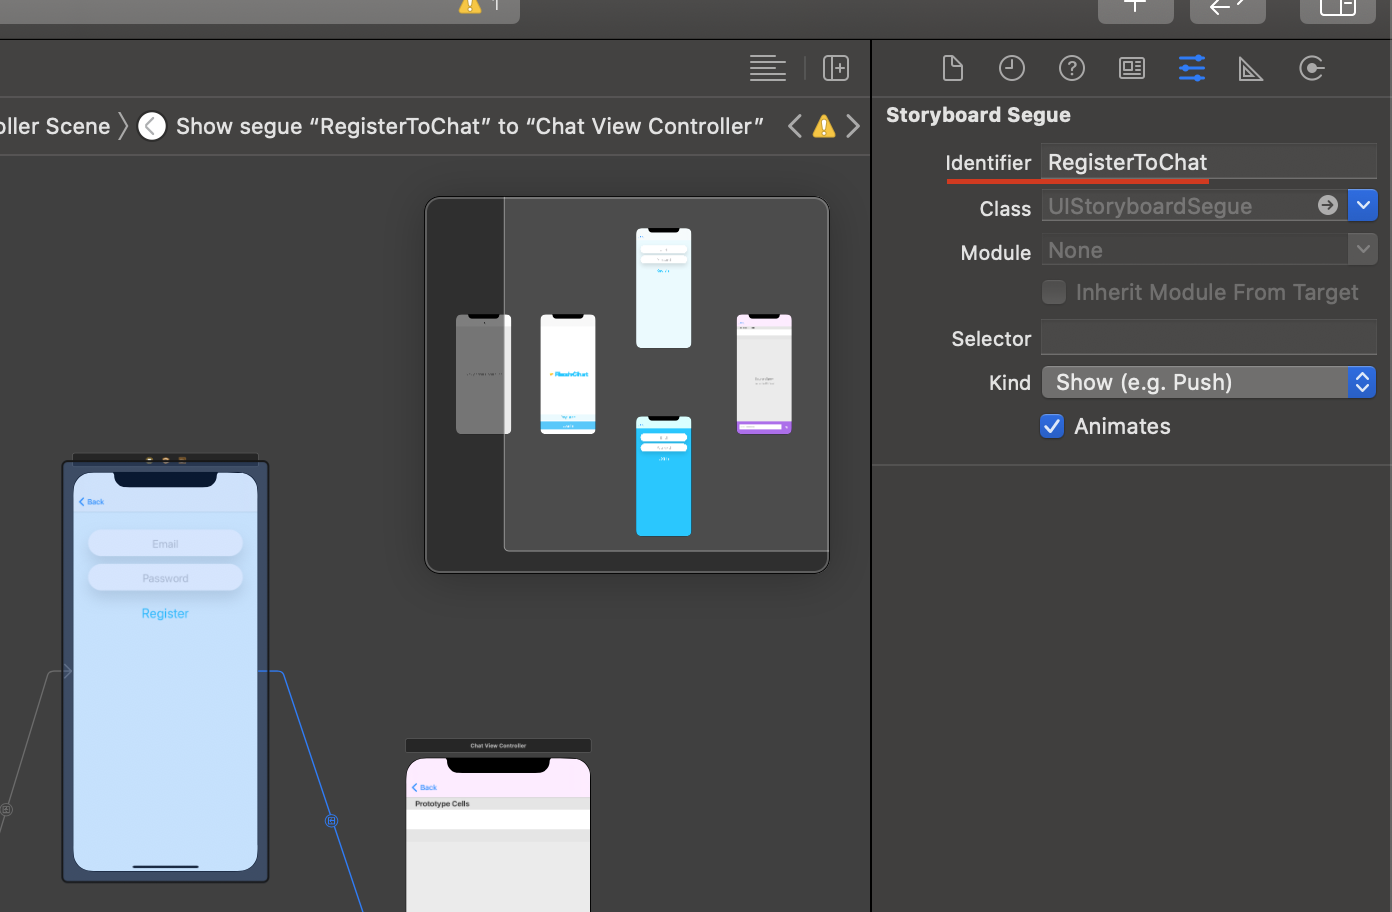
→ A specific identifier is needed because Xcode doesn't know exactly when to present the new view controller. In other words, we would have to manually write the code to instantiate the new view controller that we would like to present with the identifier. Thus, this can be seen as a "conditional" segue
Why would you need to know how to do both ways?
- Sometimes, we need an "unconditional" segue. In the above example, which is a simple chat application, we would like to present the view controller for Login or Register when the user clicks on the appropriate button, no matter what. In other words, there is no condition for presenting the new view controller.
- For a "conditional" segue, as the name mentions, some condition must be matched before presenting the next view controller. For example, if the user completes their registration process, we would have to verify and double check that he or she has input all the necessary information. If not, we should not let the user go on to the next view controller. Thus, making it a "conditional" segue.

맛있는 iOS 프로그래밍