작업내용
1. 관리자 상품 등록 구현
- S3로 이미지 업로드
S3 IAM 권한 설정 및 S3 연결
-
IAM 생성
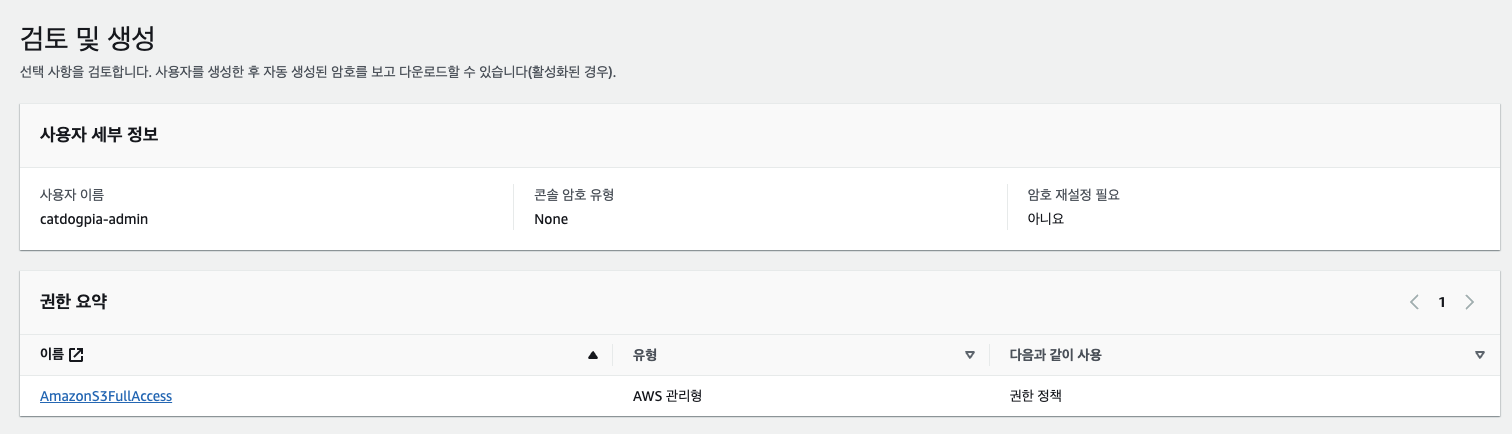
- S3에만 접근을 할 사용자 이기 때문에 S3FullAccess 권한을 넣어줌
-
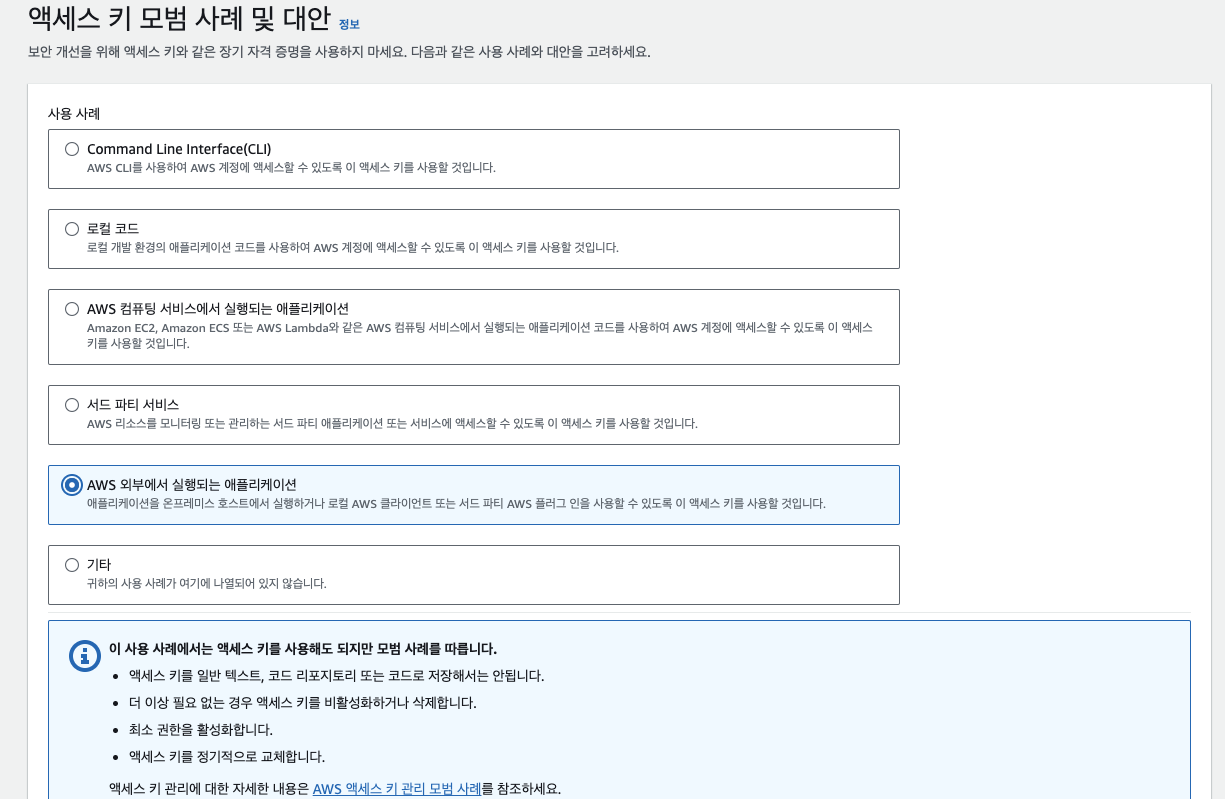
보안 자격증명 (엑세스 키 발급)
-
application.yml 작성
cloud: aws: credentials: access-key: {다운받은 키 파일 중 Access Key ID} secret-key: {다운받은 키 파일 중 Secret Access Key} region: static: ap-northeast-2 stack: auto: false -
S3 bucket 생성
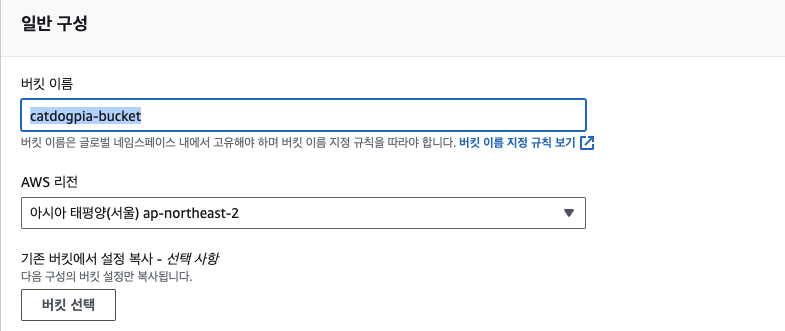
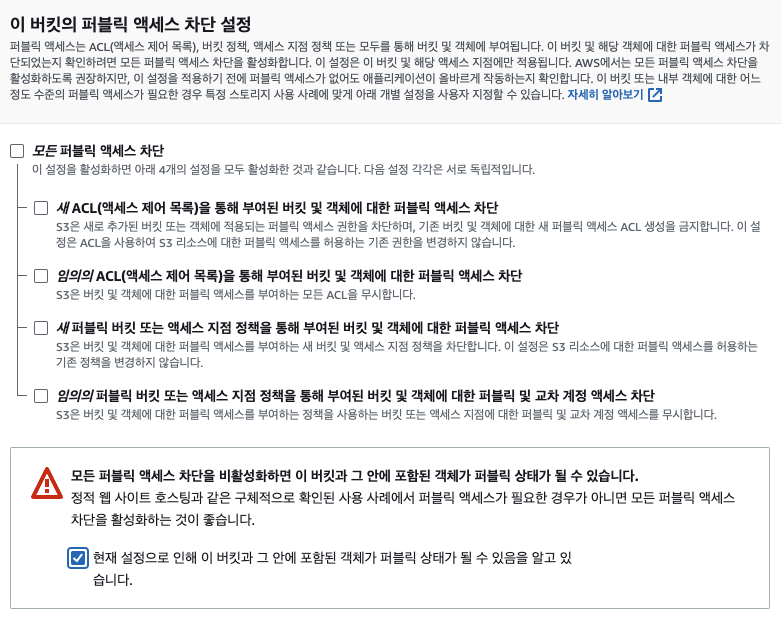
- 외부에서 접근이 가능하도록 퍼블릭으로 설정
-
S3 버킷 정책 설정
# 버킷 설정 { "Version": "2012-10-17", "Statement": [ { "Sid": "AddPerm", "Effect": "Allow", "Principal": "*", "Action": "s3:*", "Resource": "arn:aws:s3:::버킷 이름/*" } ] } # CORS 설정 [ { "AllowedOrigins": ["*"], "AllowedMethods": ["GET", "PUT", "POST", "HEAD"], "AllowedHeaders": ["*"], "ExposeHeaders": ["x-amz-server-side-encryption", "x-amz-request-id", "x-amz-id-2"], "MaxAgeSeconds": 3000 } ] -
S3Config 설정
package com.likelion.catdogpia.config; import com.amazonaws.auth.AWSCredentials; import com.amazonaws.auth.AWSStaticCredentialsProvider; import com.amazonaws.auth.BasicAWSCredentials; import com.amazonaws.services.s3.AmazonS3; import com.amazonaws.services.s3.AmazonS3ClientBuilder; import org.springframework.beans.factory.annotation.Value; import org.springframework.context.annotation.Bean; import org.springframework.context.annotation.Configuration; // application.yml(application-secret) 파일에서 설정하였던 값들을 가져와, 이를 통하여 AmazonS3Client를 Bean 등록 @Configuration public class S3Config { @Value("${cloud.aws.credentials.access-key}") private String accessKey; @Value("${cloud.aws.credentials.secret-key}") private String secretKey; @Value("${cloud.aws.region.static}") private String region; @Bean public AmazonS3 amazonS3Client() { AWSCredentials credentials = new BasicAWSCredentials(accessKey, secretKey); return AmazonS3ClientBuilder .standard() .withCredentials(new AWSStaticCredentialsProvider(credentials)) .withRegion(region) .build(); } }AmazonS3Client: Amazon S3 서비스와 상호 작용하는 클라이언트 객체로 S3 서비스에 파일을 업로드, 다운로드, 삭제 등의 작업을 수행하는 데 사용BasicAWSCredentials: AWS 계정의 액세스 키와 시크릿 키를 사용하여 AWS 서비스에 액세스하는 인증 정보AmazonS3ClientBuilder: AmazonS3 클라이언트를 생성하기 위한 빌더 클래스 AWS 설정 및 인증 정보, 지역(region) 등을 설정하여 클라이언트를 생성withCredentials: 생성된 클라이언트에 인증 정보를 제공withRegion: Amazon S3의 리전(region)을 설정
🚀 Trouble Shooting
- ajax로 파일과 다른 데이터들이 함께 controller로 넘어가지 않음
- 문제 : @RequestBody로 데이터를 받으면 415 에러 발생
- 원인 : FormData()를 사용하면 @RequestBody로 받을 수 없음
<script> //== 등록 요청 ==// $("#submitBnt").on("click", function() { const productData = { categoryId: $("#selectedSubCategory :selected").val(), name: $("#name").val(), status: $("#status").val(), price: parseInt($("#price").val()), productOptionList: [] }; const formData = new FormData(); const mainImg = $("#mainImg")[0].files[0]; formData.append("mainImg", mainImg); const detailImg = $("#detailImg")[0].files[0]; formData.append("detailImg", detailImg); $("#items-container .item").each(function() { const color = $(this).find("input.color").val(); const size = $(this).find("select.size").val(); const stock = $(this).find("input.stock").val(); if (color && size && stock) { const optionData = { color: color, size: size, stock: parseInt(stock) }; productData.productOptionList.push(optionData); } }); formData.append("productDto", JSON.stringify(productData)); $.ajax({ type: "POST", url: "/admin/products/create", contentType: false, processData: false, enctype: 'multipart/form-data', data: formData, success: function(response) { console.log("Product created successfully!"); window.location.href = "/admin/products"; }, error: function(error) { console.error("Error creating product:", error); } }); }); </script> // Controller public String productCreate( @RequestParam("mainImg") MultipartFile mainImg, @RequestParam("detailImg") MultipartFile detailImg, @RequestBody ProductDto productDto ) { - 해결 : RequestParam으로 받아서 json으로 넘어온걸 Controller에서 객체형식으로 변경하기로 함
// Controller 수정
public String productCreate(
            @RequestParam("mainImg") MultipartFile mainImg,
            @RequestParam("detailImg") MultipartFile detailImg,
            @RequestParam("productDto") String productDto
  ) throws JsonProcessingException {

				ObjectMapper objectMapper = new ObjectMapper();
        ProductDto product = objectMapper.readValue(productDto, ProductDto.class);
        log.info("product toString : " + product.toString());
	}
- S3 업로드 시 오류 발생
- 문제 : S3 업로드 The bucket does not allow ACLs (Service: Amazon S3; Status Code: 400; Error Code: AccessControlListNotSupported;) 오류 발생
- 원인 : S3 버킷에서 액세스 제어 목록(Access Control List, ACL)을 허용하지 않아서 발생
- 결과 : ACL을 사용할 수 없는 경우에는 해당 기능을 사용하지 않도록 버킷 설정을 변경

머리로 이해한것을 적으며 기록하자!