2023.03.13 뷰 템플릿과 MVC 패턴
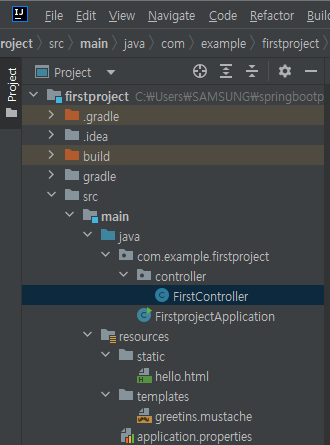
뷰 템플릿 위치
main - resources - templates 안에 위치
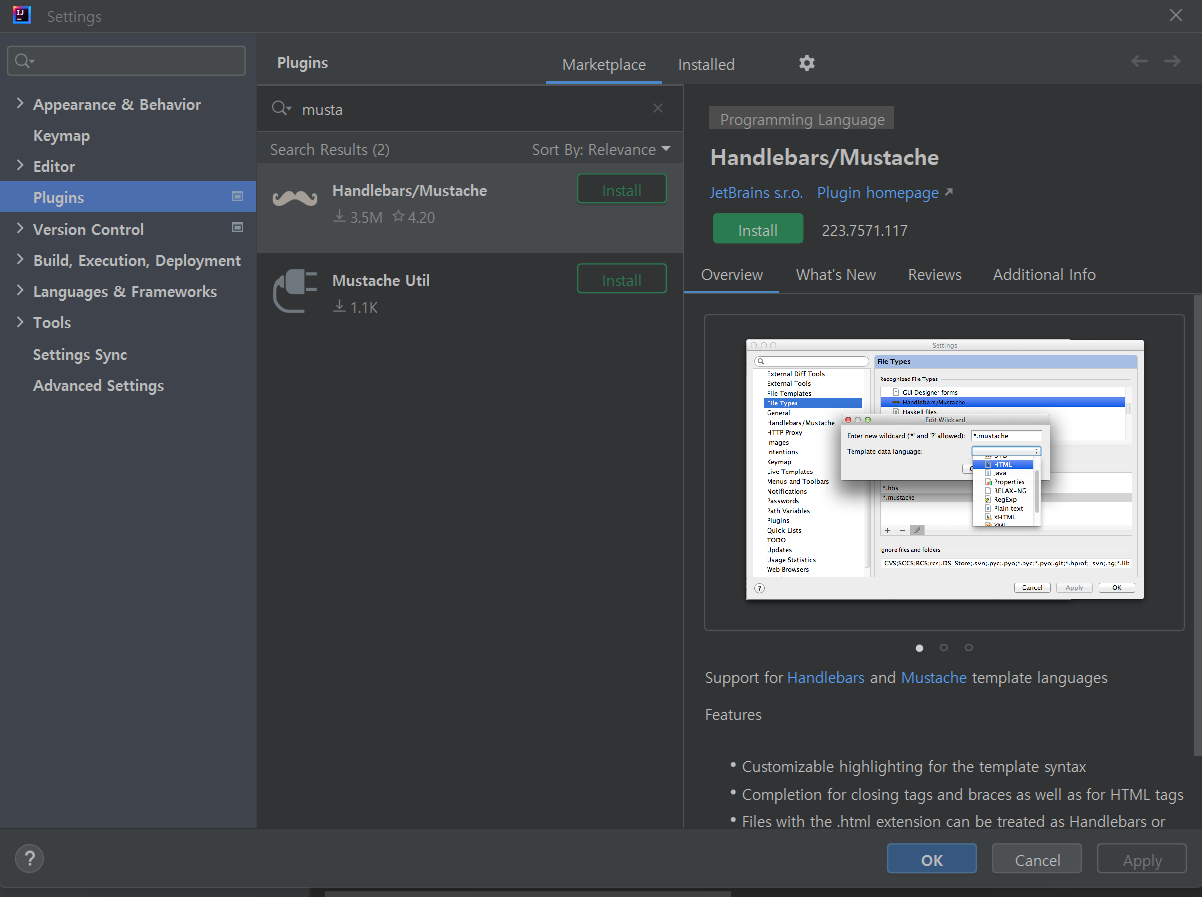
mustache plugin 설치
mustache 사용하기전에 plugin 설치
Help - FindAction - Plugins
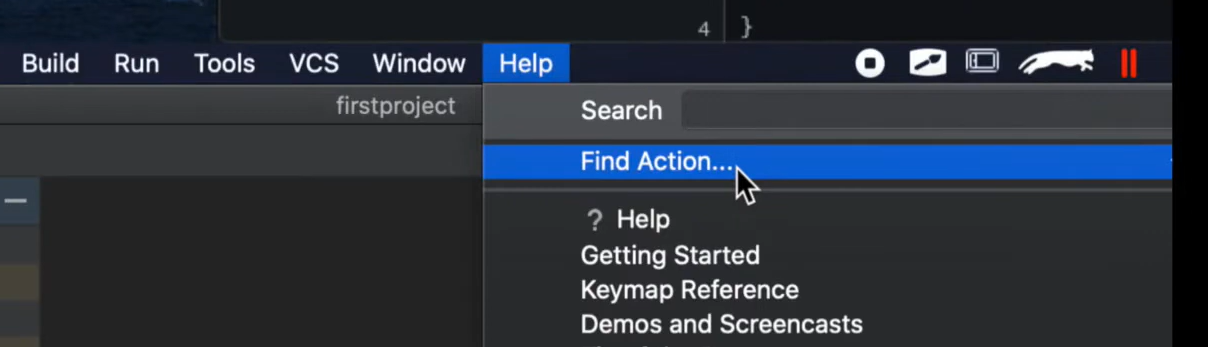
mustache 검색 후 install
greetings.mustache
<html>
<head>
<meta charset="UTF-8">
<meta name="viewport"
content="width=device-width, user-scalable=no, initial-scale=1.0, maximum-scale=1.0, minimum-scale=1.0">
<meta http-equiv="X-UA-Compatible" content="ie=edge">
<title>Document</title>
</head>
<body>
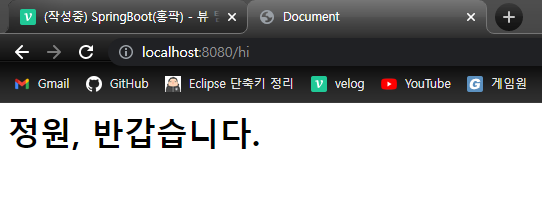
<h1>정원님, 반갑습니다.</h1>
</body>
</html>Contoller 생성
1. @Controller 선언
2. 보여줄 페이지 return
3. 요청 url 작성
package com.example.firstproject.controller;

import org.springframework.stereotype.Controller;
import org.springframework.web.bind.annotation.GetMapping;

@Controller // 1. @Controller 선언
public class FirstController {

    @GetMapping("/hi") // 3. 요청 url 작성
    public String niceToMeetYou() {
        // 2. 보여줄 페이지 return
        return "greetings"; // templats/greetings.mustache -> 브라우저 전송
    }
}
한글깨짐........
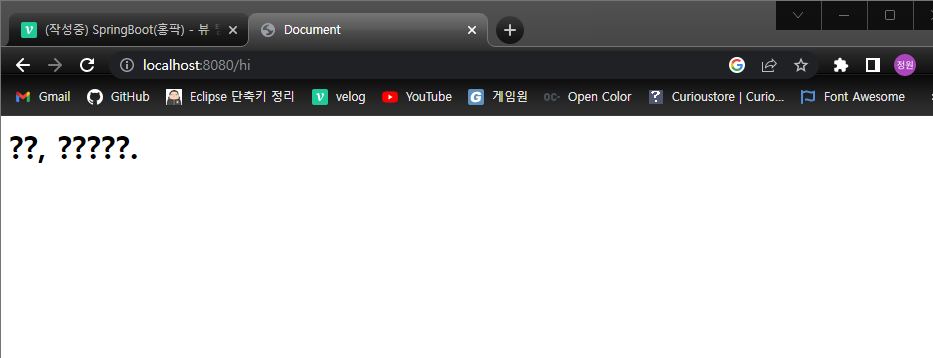
아래처럼 설정했는데도 깨짐........
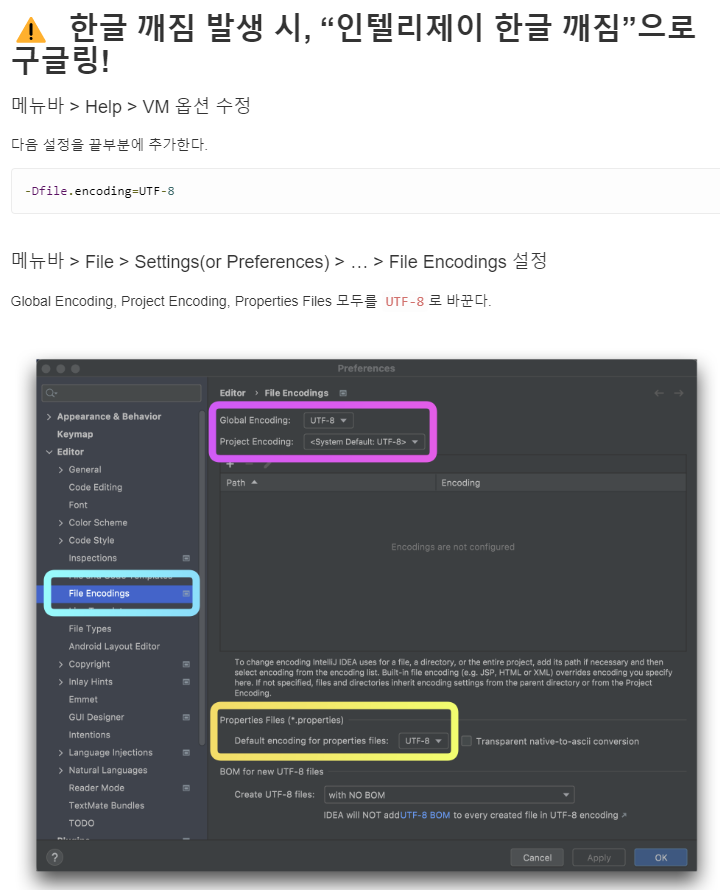
boot 버전 낮추고 코끼리 모양 누르기..
mustache 때문에 boot버전을 또 낮췄당... 😂
plugins {
	id 'java'
	id 'org.springframework.boot' version '2.6.7'
	id 'io.spring.dependency-management' version '1.0.15.RELEASE'
}
mustache 문법 사용
mustache 문법 사용해서 변수명을 이용해 값 바꾸기.
{{ }} 안에 변수명 작성
<body>
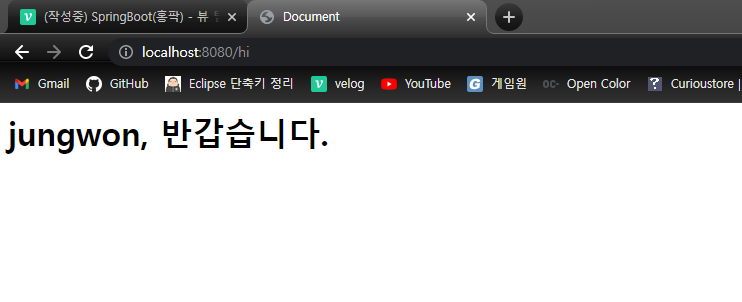
<h1>{{username}}, 반갑습니다.</h1>
</body>model 사용하기
변수 사용하기 위해 controller에 model 추가하기.
- 파라미터에 Model 추가
- model에 attribute 추가
package com.example.firstproject.controller;
import org.springframework.stereotype.Controller;
import org.springframework.ui.Model;
import org.springframework.web.bind.annotation.GetMapping;
@Controller
public class FirstController {
@GetMapping("/hi")
public String niceToMeetYou(Model model) { // 1. 파라미터추가
model.addAttribute("username","jungwon"); // model attribute 추가
return "greetings";
}
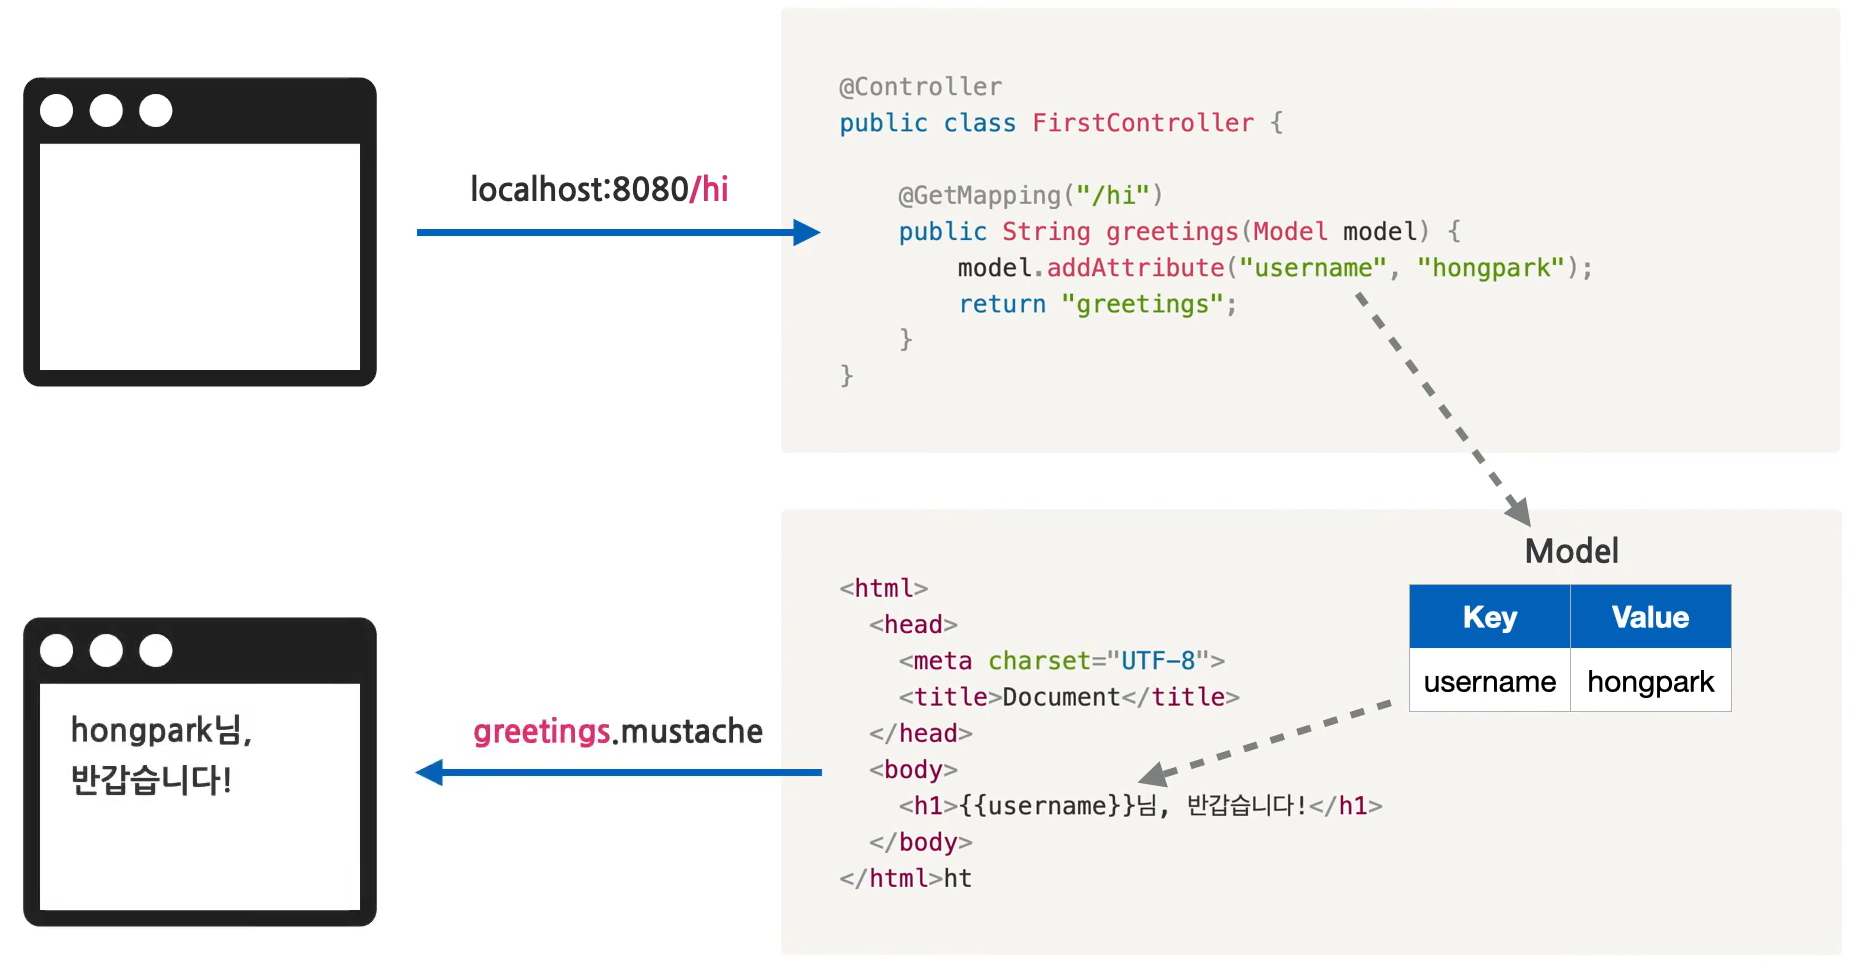
}model 값에 따라 브라우저에 다르게 나타난다.
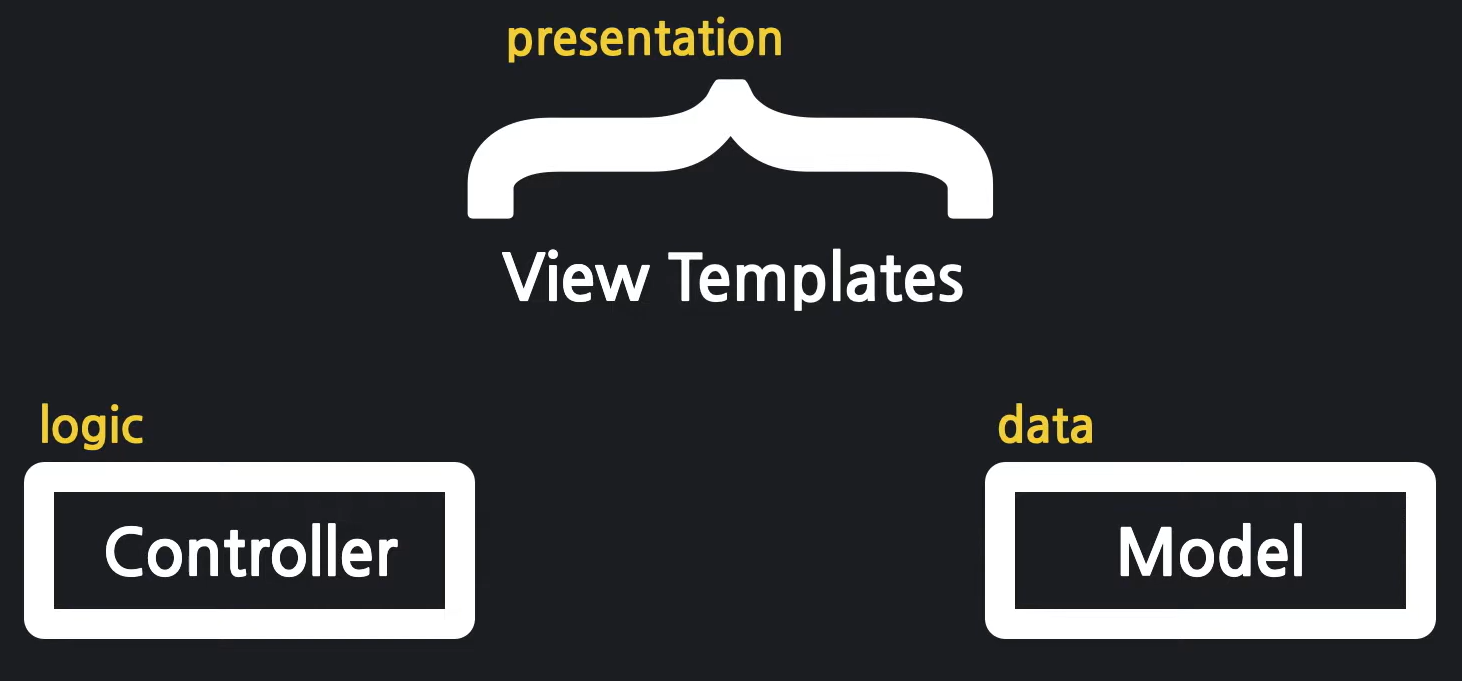
MVC 역할과 흐름
Controller가 요청을 받고
view에서 요청 페이지를 보여주고
model로 값을 받아옴