Conda 설치
컨테이너 내에 접속하여 Conda 설치
- 컨테이너 접속
docker exec -it js-jenkins /bin/bash - Miniconda를 이용해 Conda 설치
wget https://repo.anaconda.com/miniconda/Miniconda3-latest-Linux-x86_64.sh -O miniconda.sh bash miniconda.sh -b -p /opt/conda rm miniconda.sh - Conda 경로 지정
export PATH="/opt/conda/bin:${PATH}"
Conda를 이용한 Python 설치
- python 3.10 설치
conda install -y python=3.10 - test라는 이름의 가상 환경 생성
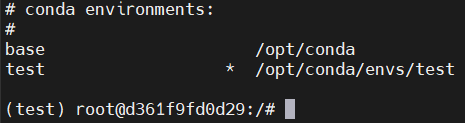
conda create -y --name test python=3.10 - test 가상 환경 활성화
source ~/.bashrc conda init conda activate test - 가상 환경 확인
Pandas 모듈 설치
-
test 환경에 Pandas 설치
conda install -y pandas -
Pandas 설치 확인
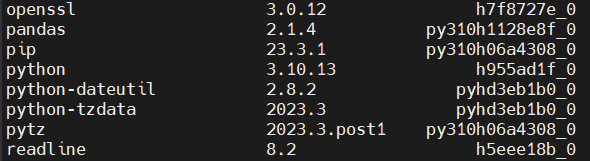
-
base 환경으로 변경 후, 확인
-
Pandas가 없는 것을 확인, test 환경에만 제대로 설치됨
conda activate base

conda list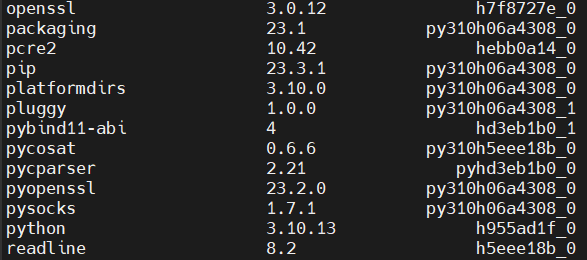
-
Pandas 예제 작성 및 실행 확인
예제 링크
-
기초 python 코드 작성
vi pandas_test.py# pandas_test.py import pandas as pd celebrities = [ ['Taylor Swift', 'December 13, 1989', 'Singer-songwriter'], ['Aaron Sorkin', 'June 9, 1961', 'Screenwriter'], ['Harry Potter', 'July 31, 1980', 'Wizard'], ['Ji-Sung Park', 'February 25, 1981', 'Footballer'] ] df = pd.DataFrame(celebrities) print(df) -
결과 확인
python pandas_test.py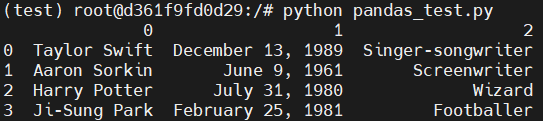
-
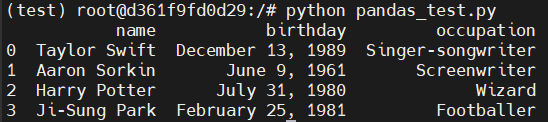
column 이름 달기
# pandas_test.py import pandas as pd two_dimensional_list = [ ['Taylor Swift', 'December 13, 1989', 'Singer-songwriter'], ['Aaron Sorkin', 'June 9, 1961', 'Screenwriter'], ['Harry Potter', 'July 31, 1980', 'Wizard'], ['Ji-Sung Park', 'February 25, 1981', 'Footballer'] ] df = pd.DataFrame(two_dimensional_list, columns=['name', 'birthday', 'occupation'], index=['0', '1', '2', '3']) print(df) -
결과 확인
컨테이너 밖에서 pandas_test.py 실행
-
쉘 스크립트 작성
vi pandas_test.sh#!/bin/bash docker exec js-jenkins /bin/bash -c \ "source /opt/conda/etc/profile.d/conda.sh && \ conda activate test && \ python /pandas_test.py" -
실행 권한 부여
sudo chmod +x pandas_test.sh -
결과 확인
./pandas_test.sh
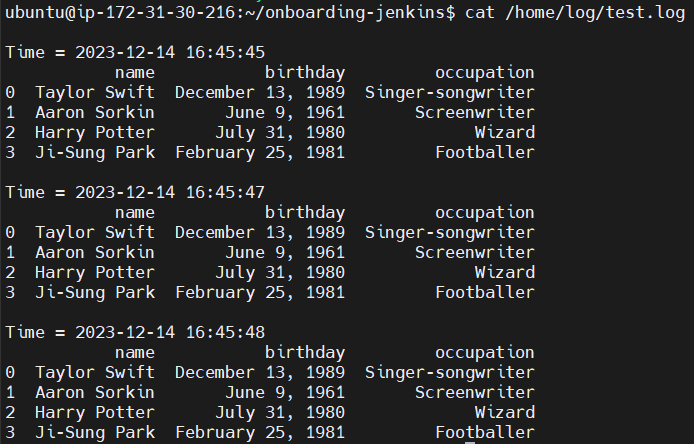
실행 결과를 로그에 저장
-
/home/log/test.log 생성
cd /home sudo mkdir log cd log sudo touch test.log -
/home/log 하위의 소유자를 ubuntu로 수정
cd /home sudo chown -R ubuntu:ubuntu log/ -
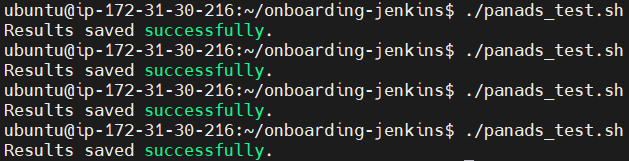
test.log에 실행 시간과 함께 저장하도록 쉘 스크립트 수정
#!/bin/bash docker exec js-jenkins /bin/bash -c \ "{ echo; echo -n 'Time = ' && date '+%Y-%m-%d %H:%M:%S'; } && \ source /opt/conda/etc/profile.d/conda.sh && \ conda activate test && \ python /pandas_test.py" >> /home/log/test.log echo 'Results saved successfully.' -
결과 확인
DB 조회 Python 스크립트
mysql 컨테이너 실행
docker run -d -p 3306:3306 --name js-mysql -e MYSQL_ROOT_PASSWORD=<password> mysql:latestmysql 접속
docker exec -it js-mysql /bin/bash

mysql -u root -p
DB 및 Table 생성
create database testdb;

show databases;
use testdb;

create table test (
    name VARCHAR(255),
    birthday VARCHAR(20),
    occupation VARCHAR(255)
);

show tables;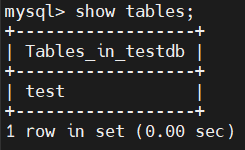
insert into test (name, birthday, occupation) values
('Taylor Swift', 'December 13, 1989', 'Singer-songwriter'),
('Aaron Sorkin', 'June 9, 1961', 'Screenwriter'),
('Harry Potter', 'July 31, 1980', 'Wizard'),
('Ji-Sung Park', 'February 25, 1981', 'Footballer');

select * from test;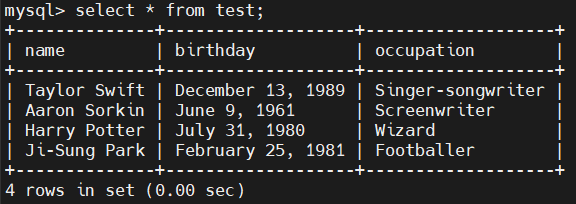
python을 실행할 컨테이너 접속
docker exec -it js-jenkins /bin/bash

conda activate test
mysql 설치
conda install pymysql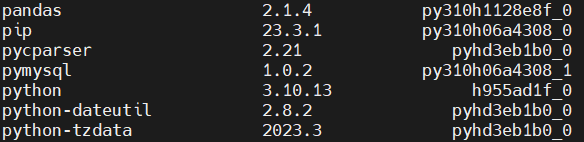
select_mysql.py 코드 작성
import pymysql
import pandas as pd

connection = pymysql.connect(
    host='52.79.216.71',
    user='root',
    password='qwe123',
    database='testdb'
)

cursor = connection.cursor()
cursor.execute("select * from test")
result = cursor.fetchall()
cursor.close()
connection.close()

df = pd.DataFrame(result, columns=['name', 'birthday', 'occupation'])
print(df)- 결과 확인
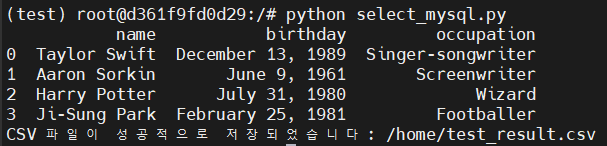
python select_mysql.py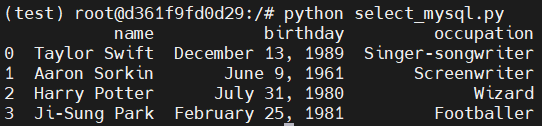
csv 파일로 저장
import pymysql
import pandas as pd
connection = pymysql.connect(
host='52.79.216.71',
user='root',
password='qwe123',
database='testdb'
)
cursor = connection.cursor()
cursor.execute("select * from test")
result = cursor.fetchall()
cursor.close()
connection.close()
df = pd.DataFrame(result, columns=['name', 'birthday', 'occupation'])
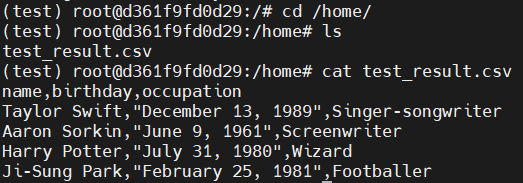
csv_path = '/home/test_result.csv'
df.to_csv(csv_path, index=False)
print(df)
print(f"CSV 파일이 성공적으로 저장되었습니다: {csv_path}")- 결과 확인