Chapter 3. HTML 심화
학습 목표
- 만들고 싶은 앱의 와이어프레임을 그려볼 수 있다.
와이어프레임만 보고 HTML로 코딩할 수 있다.<div>요소 또는<section>,<header>등의 시맨틱 요소로 영역을 구분하는 이유를 이해할 수 있다.- HTML 문서에서 언제 id 혹은 class를 사용해야 하는지 이해할 수 있다.
웹 애플리케이션을 개발할 때, 레이아웃의 형태를 잡는 단계를 와이어프레임이라고 한다. 단순한 선이나 도형으로, 웹이나 앱의 인터페이스를 시각적으로 묘사한 것이다.
* 와이어프레임(Wireframe) : 선(wire)을 이용해 윤곽선(frame)을 잡는 것단순하게 그려진 것처럼 보일 수 있지만, 컨셉, 고객의 요구사항, 콘텐츠의 기능 요소를 파악하여 전략적으로 설계되어야 하므로 중요도가 높다. 또한 협업 시 원활하게 소통할 수 있게 되는 수단이 되기도 한다.
! 웹 페이지의 구조 잡기
실제로 웹앱을 개발하기 위해서는 반드시 프로토타이핑 과정을 거쳐야 한다.
* 프로토타이핑 : 개발 초기에 모형을 만들어 기능의 요구사항 파악 후 반영하는 개선 방식댓글 창 구조 잡기
- 큰 틀에서 영역 나누기
- 쓰기 영역(댓글 입력)과 읽기 영역(댓글 출력)으로 나눔
- 각 영역을 태그로 표현하기
-
두 가지 영역의 태그가 어떤식으로 구성되어 있을지 생각
-
쓰기 영역

- 댓글 수 :<div>
- 댓글 입력 :<input>,<button>
- 여러 태그를 감싸는 용도 :<div>,<form>
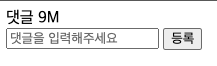
<div>
	<div>댓글 9M</div>
	<input type="text" placeholder="댓글을 입력해주세요">
	<button>등록</button>
</div>- 읽기 영역
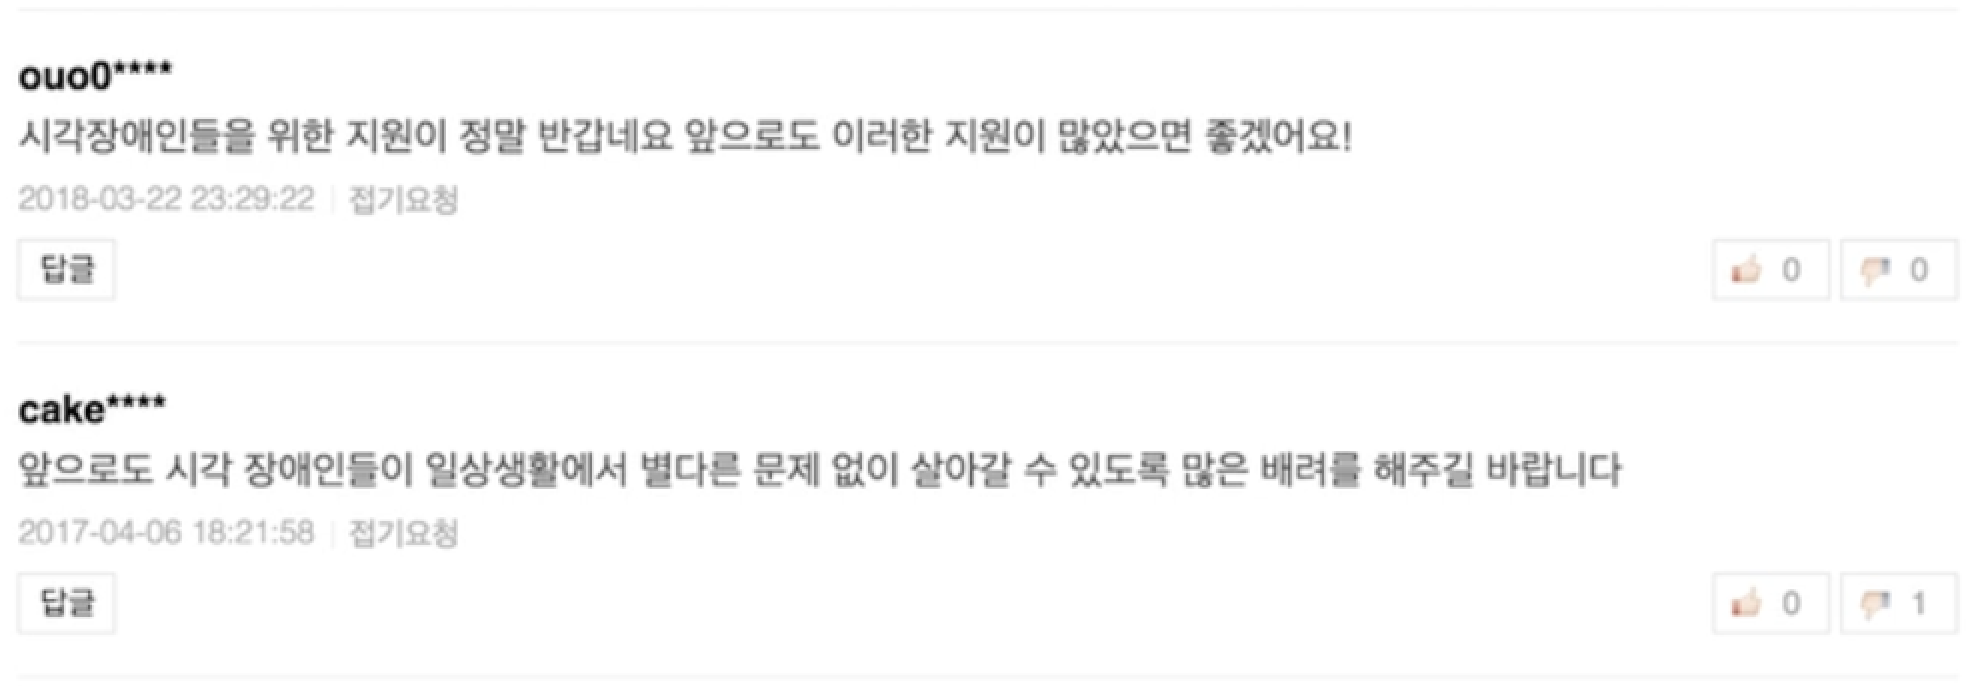
- 아이디 :<div>
- 댓글 내용 :<div>
- 날짜 :<span>
- 댓글 추천, 비추천 버튼 :<button>
- 각각을 감싸주는 태그 :<ul>,<li>

<ul>
	<li>
		<div>ouo0****</div>
		<div>시각장애인들을 위한 지원이 정말 반갑네요 앞으로도...</div>
		<span>2018-03-22 23:29:22</span>
		<button>
		<img src="thumbup.png"> 0
		</button>
		<button>
		<img src="thumbdowm.png"> 0
		</button>
	</li>
	<li>
		<!-- 두번째 게시물 생략 -->
	</li>
</ul>
! id와 class를 목적에 맞게 사용하기
html에서 이름을 붙여주기 위해 사용하는 속성은 두 가지가 있다.
- id : 고유(unique)한 이름을 붙일 때
- class : 반복되는 영역을 유형별로 분류할 때
작성법
| HTML 태그 | Selector |
|---|---|
<div id="writing-section"> | div#writing-section |
<li class="comment"> | li.comment |
댓글 창을 예로 들면,
쓰기 영역을 감싸는 부분을 div#writing-section, 댓글 입력 창을 input#new-comment-content, 등록 버튼을 button#register로 이름을 붙일 수 있고,
읽기 영역의 게시물 리스트에 대한 부분을 li.comment. 아이디 부분을 div.username, 댓글 내용 부분을 div.content, 댓글 추천/비추천 버튼을 button.voteUp/button.voteDown으로 이름 붙일 수 있다.
읽기 영역에서 읽기 영역 자체는 고유하기 때문에 ul 태그에는 ul#comment라고 이름 붙일 수 있다.
반복되는 항목은 class로 지정하고, 같은 값을 지정해줌으로서 동일한 유형임을 알 수 있다.
! 로그인 페이지 만들기 2(실습)
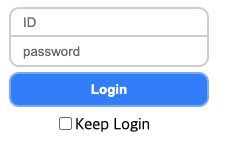
- 실습 파악하기
<input type="text" placeholder="ID">
<input type="password" placeholder="password">
<button>Login</button>
<label> <input type="checkbox">Keep Login</label>

<link rel="stylesheet" href="style.css">- 앞서 진행했던 실습과 동일한 코드
- 마지막 줄에 처음 보는 코드는 CSS와 관련된 코드(id와 class 종류에 따라 요소의 디자인을 변경시켜줌)
- id와 class를 적절하게 추가하면 화면의 디자인이 변화할 것
각 요소에 추가할 id와 class는 아래와 같다.
| id | class | |
|---|---|---|
<input type=”text”> | id-input | input, focus |
<input type=”password”> | password-input | input, focus |
<button> | login-button | |
<input type=”checkbox”> | keep-checkbox |
- id 추가하기
<input id="id-input" type="text" placeholder="ID">Before

After

- class 추가하기
<input id="id-input" class="input" type="text" placeholder="ID">Before
After
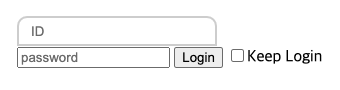
<input id="id-input" class="input focus" type="text" placeholder="ID">- 하나의 태그에 클래스를 여러개 작성하고 싶을 때는, 하나의 문자열 안에서 띄어쓰기로 구분
Before
After

4. 나머지 id와 class 추가하기
<input id="id-input" class="input focus" type="text" placeholder="ID" />
<input
  type="password"
  id="password-input"
  class="input focus"
  placeholder="password"
/>
<button id="login-button">Login</button>
<label> <input id="keep-checkbox" type="checkbox" />Keep Login </label>
Before
After