POST 통신 방법
@RequestMapping(method=RequestMethod.POST) 이나 @PostMapping을 이용한다.
@PostMapping으로 리팩토링 해보기
GetMapping
@GetMapping("info")
    public String info(HttpServletRequest request, Model model){
        String id = request.getParameter("id");
        String pwd = request.getParameter("pwd");
        String name = request.getParameter("name");
        String email = request.getParameter("email");
        String birth = request.getParameter("birth");
        String sns = request.getParameter("sns");

        model.addAttribute("id", id);
        model.addAttribute("pwd", pwd);
        model.addAttribute("name", name);
        model.addAttribute("email", email);
        model.addAttribute("birth", birth);
        model.addAttribute("sns", sns);
        return "registerinfo";
    }
PostMapping
@PostMapping("info")
    public String info(HttpServletRequest request, Model model){
        String id = request.getParameter("id");
        String pwd = request.getParameter("pwd");
        String name = request.getParameter("name");
        String email = request.getParameter("email");
        String birth = request.getParameter("birth");
        String sns = request.getParameter("sns");

        model.addAttribute("id", id);
        model.addAttribute("pwd", pwd);
        model.addAttribute("name", name);
        model.addAttribute("email", email);
        model.addAttribute("birth", birth);
        model.addAttribute("sns", sns);
        return "registerinfo";
    }
기존에 HttpServletRequest 객체로 받아오던 값을 User객체로 받아온다.
User 객체 클래스 생성
public class User {
    private String id;
    private String pwd;
    private String name;
    private String email;
    private String birth;
    private String sns;

    public String getId() {
        return id;
    }

    public void setId(String id) {
        this.id = id;
    }

    public String getPwd() {
        return pwd;
    }

    public void setPwd(String pwd) {
        this.pwd = pwd;
    }

    public String getName() {
        return name;
    }

    public void setName(String name) {
        this.name = name;
    }

    public String getEmail() {
        return email;
    }

    public void setEmail(String email) {
        this.email = email;
    }

    public String getBirth() {
        return birth;
    }

    public void setBirth(String birth) {
        this.birth = birth;
    }

    public String getSns() {
        return sns;
    }

    public void setSns(String sns) {
        this.sns = sns;
    }
}
HttpServletRequest 수정
 @PostMapping("info")
    public String info(User user, Model model){
        model.addAttribute("user", user);
        return "registerinfo";
    }
타임리프 수정
<!DOCTYPE HTML>
<html xmlns:th="http://www.thymeleaf.org">
<head>
    <title>date</title>
    <meta http-equiv="Content-Type" content="text/html; charset=UTF-8" />
</head>
<body>
<h3 th:text="'id= '+${user.id}" ></h3>
<h3 th:text="'pwd= '+${user.pwd}" ></h3>
<h3 th:text="'name= '+${user.name}" ></h3>
<h3 th:text="'email= '+${user.email}" ></h3>
<h3 th:text="'birth= '+${user.birth}" ></h3>
<h3 th:text="'sns= '+${user.sns}" ></h3>
</body>
</html>
RegisterForm 수정
form태그의 method를 post로 설정한다.
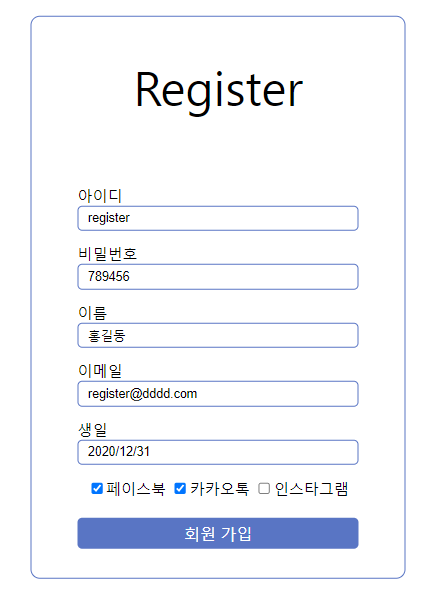
<form action="/info" method="post">
  <div class="title">Register</div>
  <div id="msg" class="msg"> </div>
  <label for="">아이디</label>
  <input class="input-field" type="text" name="id" placeholder="8~12자리의 영대소문자와 숫자 조합">
  <label for="">비밀번호</label>
  <input class="input-field" type="text" name="pwd" placeholder="8~12자리의 영대소문자와 숫자 조합">
  <label for="">이름</label>
  <input class="input-field" type="text" name="name" placeholder="홍길동">
  <label for="">이메일</label>
  <input class="input-field" type="text" name="email" placeholder="example@fastcampus.co.kr">
  <label for="">생일</label>
  <input class="input-field" type="text" name="birth" placeholder="2020/12/31">
  <div class="sns-chk">
    <label><input type="checkbox" name="sns" value="facebook"/>페이스북</label>
    <label><input type="checkbox" name="sns" value="kakaotalk"/>카카오톡</label>
    <label><input type="checkbox" name="sns" value="instagram"/>인스타그램</label>
  </div>
  <button>회원 가입</button>
</form>
register페이지에서 요청보내기
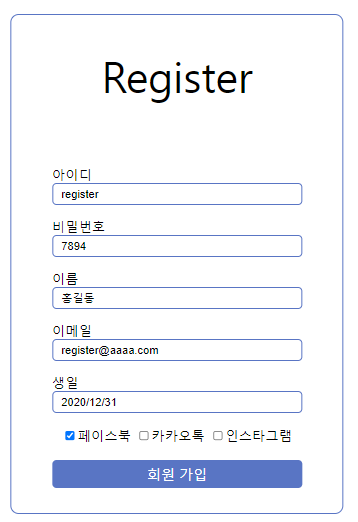

post방식으로 값을 잘 받아온 것을 확인할 수 있다.
