🐧CRUD API 구현
코드캠프 과제 리뷰 및 TIL
🐤1. DTO / Interface 작성
DTO : 데이터 이동 객체, 데이터 타입에 대한 룰
Interface : 함수 안에 들어온 타입 체크
// dto/create-product.input.ts

import { Field, Float, InputType, Int } from '@nestjs/graphql';
import { Min } from 'class-validator';

@InputType()
export class CreateProductInput {
  @Field(() => String)
  name: string;

  @Field(() => String)
  review: string;

  @Min(0)
  @Field(() => Float)
  star: number;
}

//@Min 이란 최솟값으로 0이하로 넘어가게 되면 false를 반환한다.
@Min 를 쓰기 위해선 추가적인 라이브러리를 설치해야한다.
yarn add class-validator
yarn add class-transformer
// dto/update-product.input.ts
import { InputType, PartialType } from '@nestjs/graphql';
import { CreateProductInput } from './create-product.input';
@InputType()
export class UpdateProductInput extends PartialType(CreateProductInput) {}extends 을 사용하여 dto/create-product.input.ts 안에 있는 CreateProductInput 를 상속받아
데이터 타입들을 다시 한번 나열하지 않아도 됩니다.
PartialType 은 유틸리티 타입으로 어떤 타입의 값이 들어오거나 들어오지 않아도 상관없다 라는 뜻
⇒ { nullable : true } 와 같은 역할
ex)
const qqq = {
	?name = "철수"
	?age = 12
  ?school = "호서대"
	?hobby = "soccer"
}
복습
💡 **GraphQL Type**PartialType: 모든 컬럼을 선택사항으로 바꿔주는 역할을 하므로, { nullable : true } 와 같은 역할을 합니다.PickType: 원하는 컬럼만을 뽑아서 사용하고 싶을 때 사용합니다.- PickType(CreateProductInput, ["name", "price"]) : CreateProductInput의 name, price 컬럼만 사용하겠다는 의미 입니다.
OmitType: 원하는 컬럼만 제거하여 사용하고 싶을 때 사용합니다.- OmitType(CreateProductInput, ["description"]) : CreateProductInput의 description 컬럼을 제외한 나머지 컬럼들은 모두 사용하겠다는 의미입니다.
TypeScript에서도 PartialType, PickType, OmitType 을 제공하는데, Utility Types 이라고 불립니다.
dto 작성후 interface 작성
// interfaces/products-service.interface.ts

import { CreateProductInput } from '../dto/create-product.input';
import { UpdateProductInput } from '../dto/update-product.input';
import { Product } from '../entities/product.entity';

export interface IProductServiceCreate {
  createProductInput: CreateProductInput;
}

export interface IProductServiceFindOne {
  productId: string;
}

export interface IProductsServiceCheckSoldout {
  product: Product;
}

export interface IProductsServiceUpdate {
  productId: string;
  updateProductInput: UpdateProductInput;
}
🐤2. API 초기 설정하기
// products.module.ts

@Module({
  imports: [ // 엔티티를 연결하는 메서드
    TypeOrmModule.forFeature([.    // forFeature를 활용하여 Product Entity 를 호출한다.
      Product,                     // 만약 값이 없을시 DB랑 연결 X
    ]),
  ],

  providers: [ProductsResolver, ProductsService], // 여기는 나중에 써야 하지만
})                                                // 의존성주입되는 부분
export class ProductsModule {}

//products.resolver.ts

@Resolver().  //Query,Muation 값을 쓰기 위해 리졸버를 데코레이더함수 지정
export class ProductsResolver {
  constructor(private readonly productsService: ProductsService) {}

@Mutation(() => Product)
  createProduct(
    @Args('createProductInput') createProductInput: CreateProductInput,
  ): Promise<Product> {
    return this.productsService.create({ createProductInput });
  }

// products.service.ts

@Injectable()
export class ProductsService {
	create({ createProductInput }: IProductServiceCreate): Promise<Product> {
    const result = this.productsRepository.save({
      ...createProductInput,
    });
    return result;
  }

// create API 설정까지 포함이 기초 설정!
🐤3. @Query 작성
//products.resolver.ts

@Resolver()
export class ProductsResolver {
  constructor(private readonly productsService: ProductsService) {}

  @Query(() => [Product])
  fetchProducts(): Promise<Product[]> {
    return this.productsService.findAll();
  }

  @Query(() => Product)
  fetchProduct( // findAll 부분
    @Args('productId') productId: string, //
  ): Promise<Product> {
    return this.productsService.findOne({ productId });
  }

  @Mutation(() => Product)
  createProduct( // findOne 부분
    @Args('createProductInput') createProductInput: CreateProductInput,
  ): Promise<Product> {
    return this.productsService.create({ createProductInput });
  }
products.resolver.ts 에서 쿼리문을 작성한 것을 products.service.ts 에서 find 메서드로
찾은 값을 resolver로 보낼 수 있게 return 필수
 // products.service.ts

@Injectable()
export class ProductsService {
  constructor(
    @InjectRepository(Product)
    private readonly productsRepository: Repository<Product>, //
  ) {}

  findAll(): Promise<Product[]> {
    return this.productsRepository.find();
  } // Product[] 배열안 전체 값을 참조하여 리턴후 전체 값을 fetchProducts로 보낸다.

  findOne({ productId }: IProductServiceFindOne): Promise<Product> {
    return this.productsRepository.findOne({ where: { id: productId } });
  }
 // fineOne으로 id 값을 리턴 후 fetchProduct 로 보낸다.
🐤 4. Update API
// products.resolver.ts 맨 밑 구간에 넣기

@Mutation(() => Product)
  async updateProduct(
    @Args('productId') productId: string, //id값으로 그 데이터를 받아온다
    @Args('updateProductInput') updateProductInput: UpdateProductInput,
		// key:value 들을 수정해준다.(playgroundGraphQl 에서 할때 있어야 할 필수 인자)
  ): Promise<Product> {
    return this.productsService.update({ productId, updateProductInput });
  }
}

	 // products.service.ts

  async update({
    productId,	// update 를 위한 id (resolver.ts에서 보내온 것)
    updateProductInput, // update 를 위한 변경된 값 (resolver.ts에서 보내온 것)
  }: IProductServiceUpdate): Promise<Product> {
    const product = await this.findOne({ productId });
    		//  async & await / findOne 이 이뤄질 때까지 기다림
    this.checkUpdate({ product });
    const result = this.productsRepository.save({
      ...product,
      ...updateProductInput, // 객체의 경우, 나중 값이 기존 값을 덮어씌움
    });
    return result;
  }
🐤5. 예외 처리
// main.ts
import { ValidationPipe } from '@nestjs/common';
import { NestFactory } from '@nestjs/core';
import { AppModule } from './app.module';
import { HttpExceptionFilter } from './commons/filter/http-exception.filter';

async function bootstrap() {
  const app = await NestFactory.create(AppModule);
  app.useGlobalPipes(new ValidationPipe()); // 검증을 위한 Pipe
	// ValidationPipe : 데이터를 평가하고 정확하지 않을 때 예외를 던진다.
  app.useGlobalFilters(new HttpExceptionFilter()); // 예외 처리를 위한 Filter
  await app.listen(3000);
}
bootstrap();

// filter / http-exception.filter.ts
import {
  Catch,
  ExceptionFilter,
  HttpException,
} from '@nestjs/common';

@Catch(HttpException)	// Catch(httpException) 으로 예외처리 가능

// HttpException : HttpException을 이용해 예외처리하면 코드 재사용을 늘릴 수 있다.

export class HttpExceptionFilter implements ExceptionFilter {
  catch(exception: HttpException) {
    const status = exception.getStatus(); // getStatus() => 많은 에러코드를 가진 함수
    const message = exception.message;	// 예외 내용

    console.log('===================================');
    console.log('예외가 발생했습니다.');
    console.log('예외 내용 :', message);
    console.log('예외 코드 :', status);
    console.log('===================================');
  }
}
여기서 모르는 함수들은 정리하자면
forRoot() : 전체적으로 들어오는 것을 활용할 때
forfeature() : 단일로 들어오는 것을 활용할 때 (대신 기존에 forRoot로 전체적인 값이 존재해야함)
: 중복된 데이터 나열을 방지해줌__dirname : 자신이 있는 폴더를 지명해준다.
**예외 공부~~!**
docker로 켰을 때 기존에 Dbeaver 로 켰던 데이터가 중복되어 나타난다면
1. Dbeaver에서 datebase 폴더롤 지우고 다시 생성하기.
2. vscode에 dist가 기존 복사한게 중복되어 나타날수 있으므로 지운후 다시 build
3. 레파지토리에 저장이 중복되어 나타났을수도 있으므로 DB or volume 삭제
터미널 명령어
-도커 이미지 및 컨테이너 ID 삭제
docker system prune -a
-도커 volume 삭제
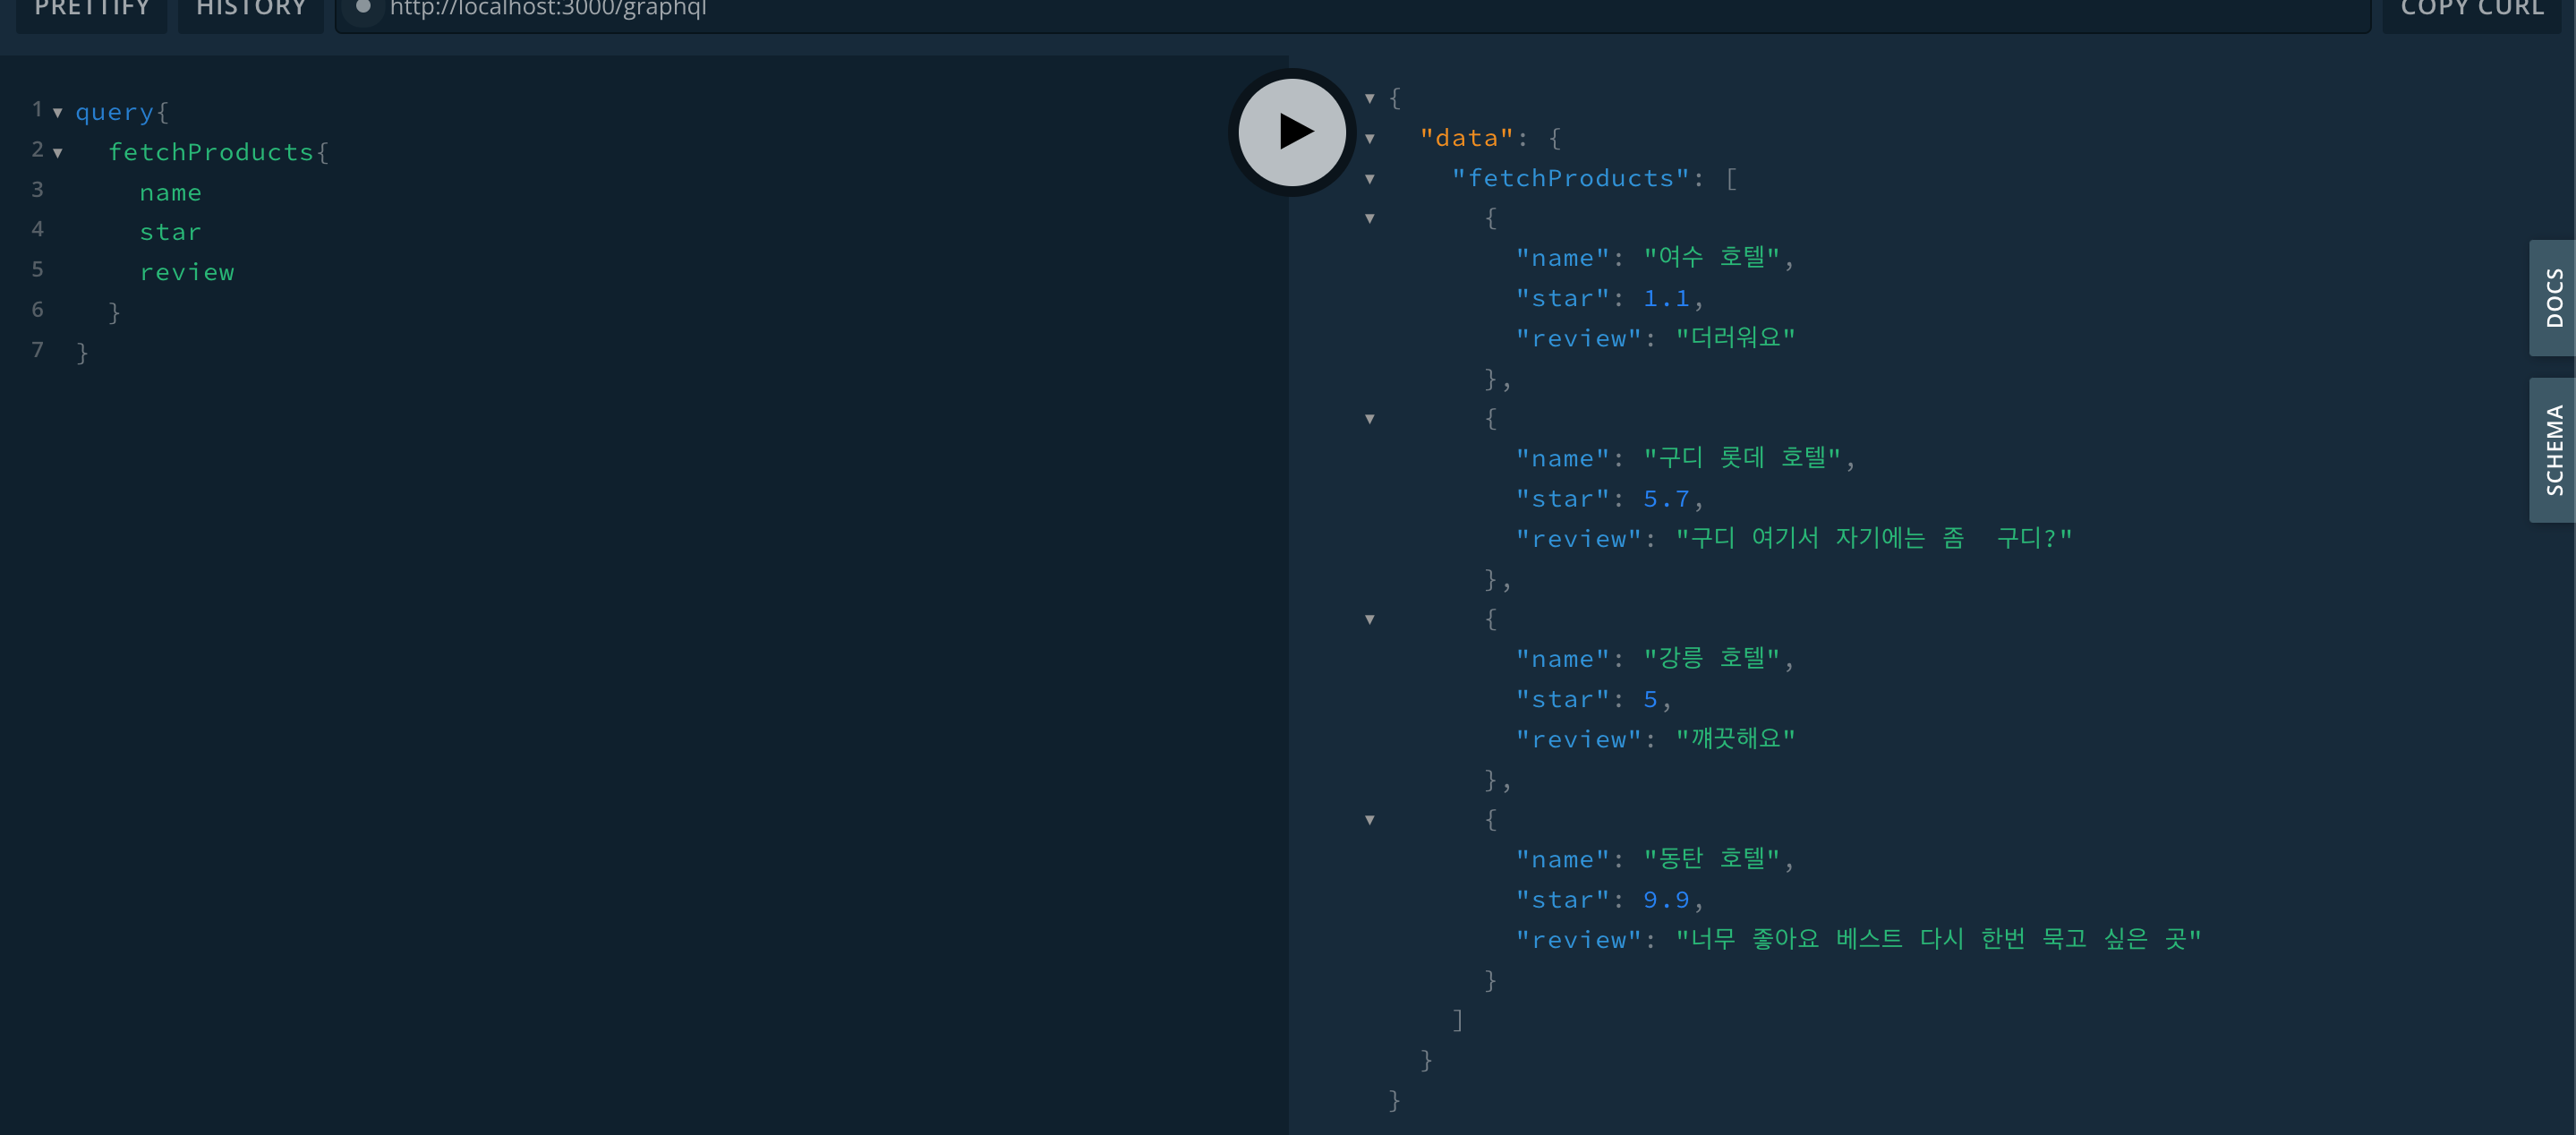
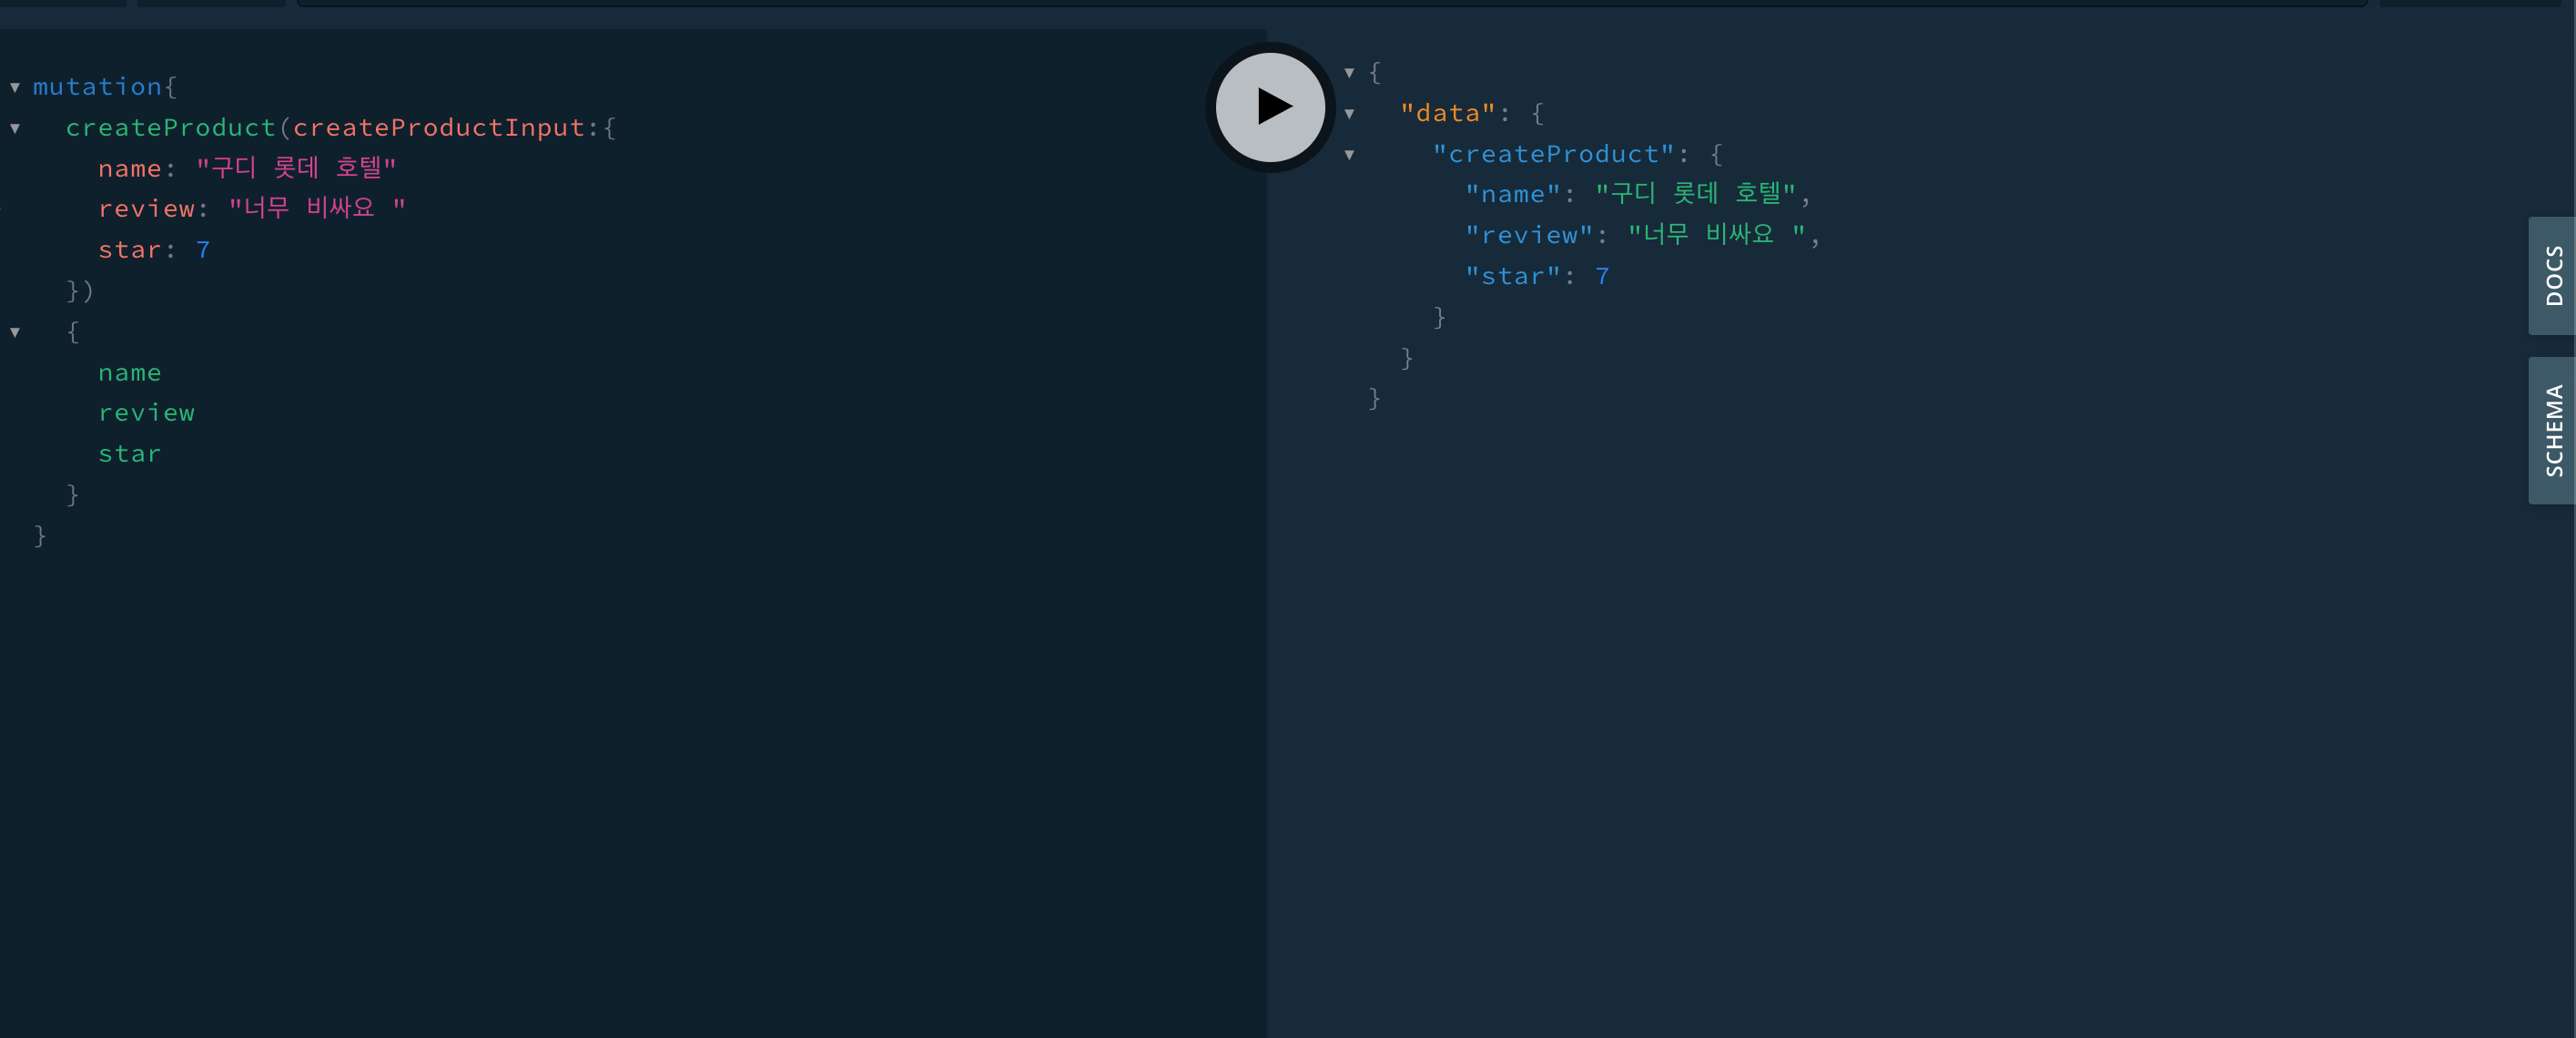
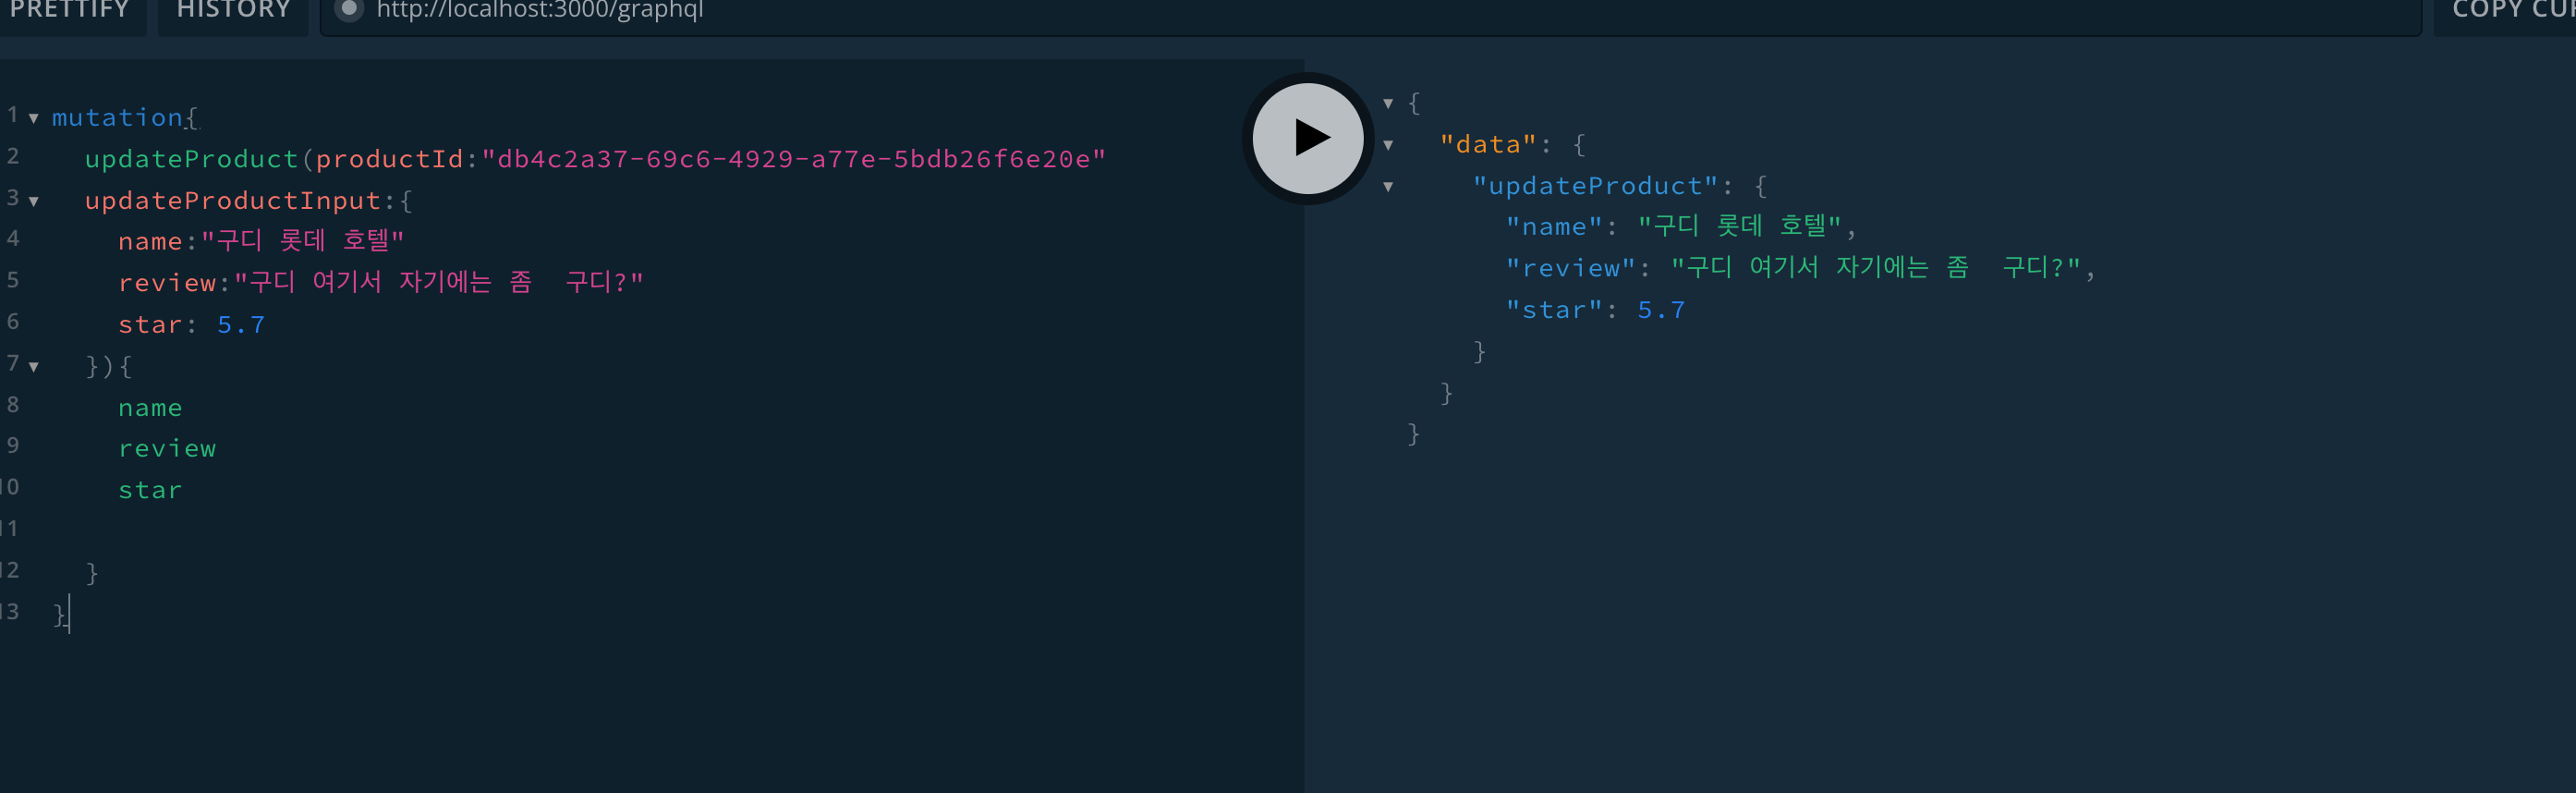
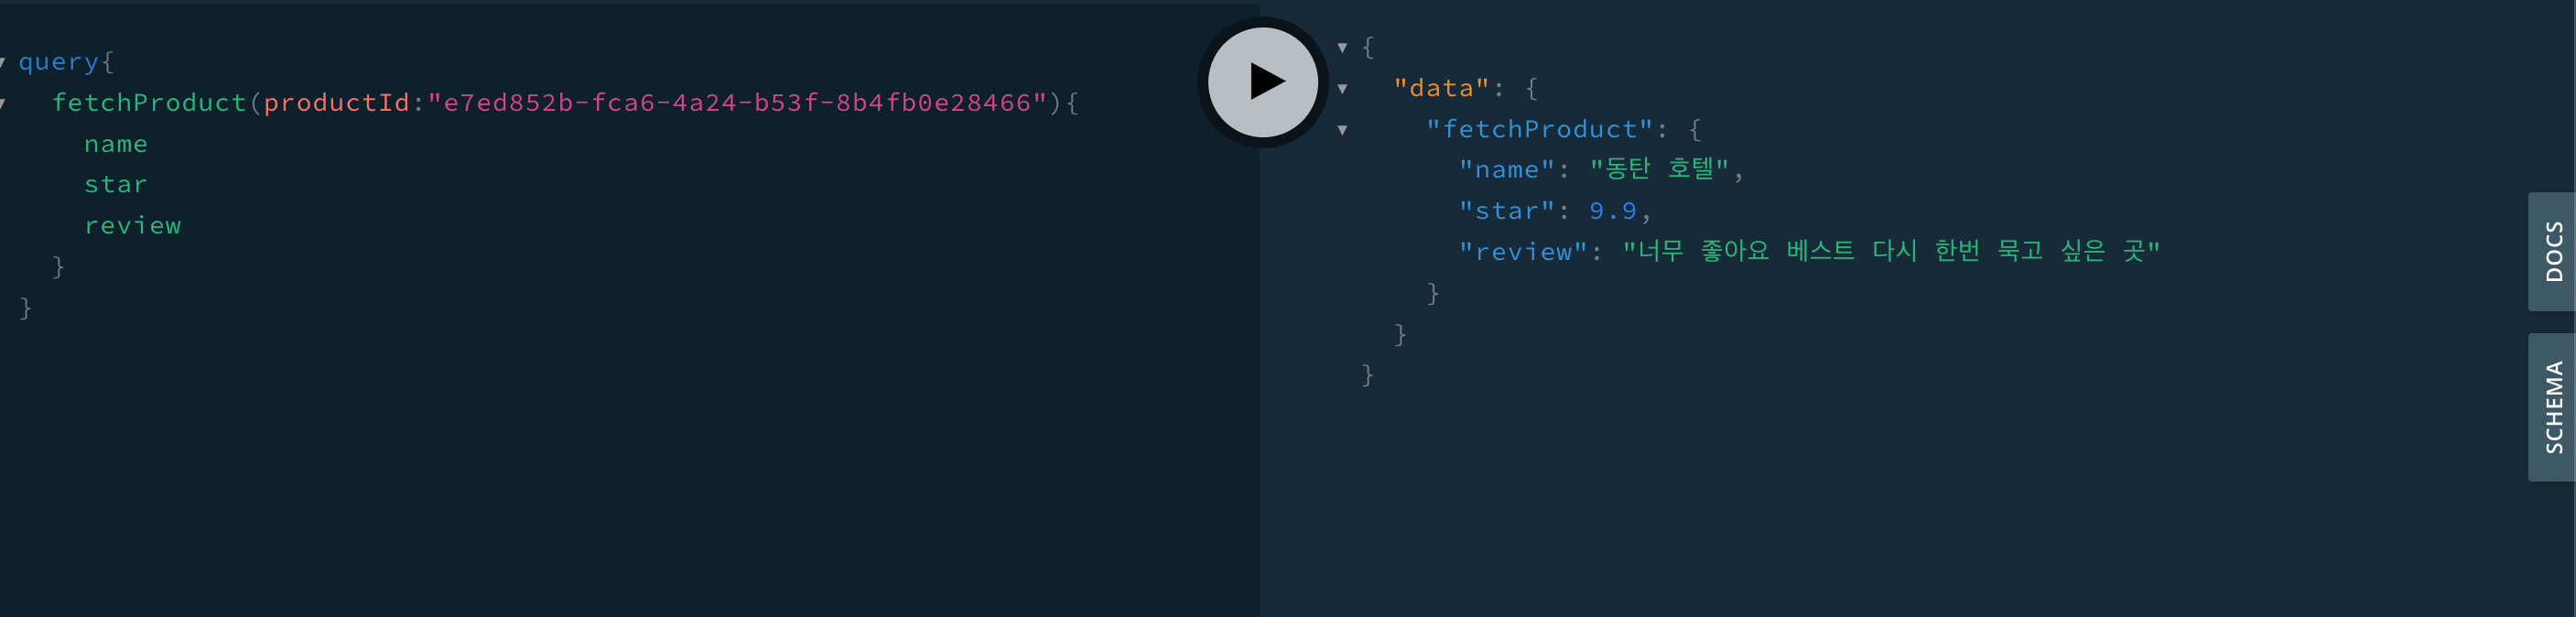
docke volume prune이렇게 만들었다면 graphQL 로 가서 실전 실습을 해보자!!!
createproduct
updateproduct
fetchproduct
fetchproducts


간절하고 치열하게 살자