Hanrui Wang, Zhanghao Wu, Zhijian Liu, Han Cai, Ligeng Zhu, Chuang Gan, Song Han
설치
//bash
apt update
apt upgrade -y

// install torch, torchvision, libgl1-mesa-glx
pip3 install torch torchvision torchaudio
apt install libgl1-mesa-glx -y

//git clone
git clone https://github.com/XPixelGroup/HAT.git
cd HAT
//set up
pip install -r requirements.txt
python setup.py develop
데모
Demo 설정 살펴보기
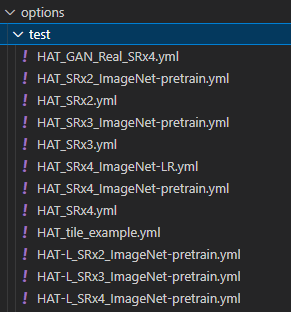
/HAT/options/test
- 위 경로에서 미리 설정된 config.yaml파일들을 확인할 수 있다.
- SR : Super Resolution
- x2, x3, x4 : 64 -> 128, 192, 256, 각 원본이미지 w,h의 배수를 뜻한다.
- 위 yaml파일의 이름과 아래 설명할 pre-trained model파일의 이름을 맞추어 demo에서 사용한다.
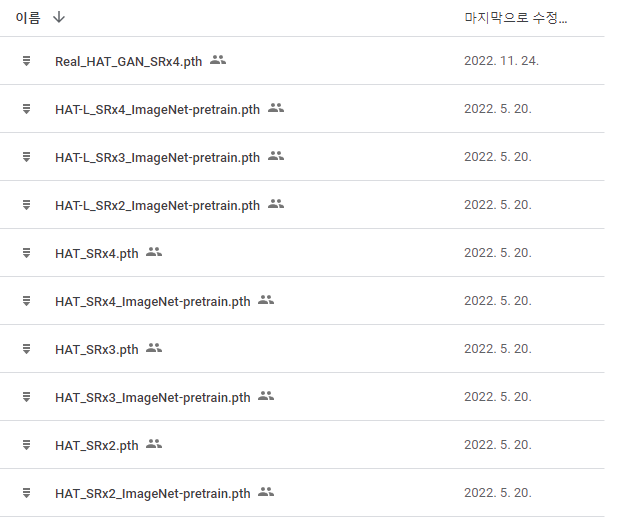
(예 : HAT_SRx4_ImageNet-pretrain.yml을 사용할 경우 HAT_SRx4_ImageNet-pretrain.pth 다운로드)Download pre-trained models
- https://drive.google.com/drive/folders/1HpmReFfoUqUbnAOQ7rvOeNU3uf_m69w0
- 필요한 미리 설치된 모델을 다운로드 받는다.
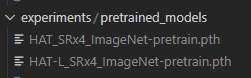
/HAT/experiments/pretrained_models- 위 경로에 다운로드한 pretrained파일을 넣어준다.
Edit config (yml)
name: HAT_SRx4_ImageNet-pretrain  # 결과의 이름
model_type: HATModel
scale: 4
num_gpu: 1  # set num_gpu: 0 for cpu mode
manual_seed: 0

datasets:
  test_1:  # the 1st test dataset
    name: Set5
    type: PairedImageDataset
    dataroot_gt: ./datasets/[Ground Truth]  # 이곳에 Ground Truth 이미지를 넣는다.
    dataroot_lq: ./datasets/[Low Resolution] # 이곳에 복원할 저해상도 이미지를 넣는다.
    io_backend:
      type: disk

# network structures
network_g:
  type: HAT
  upscale: 4		# width, height의 배수
  in_chans: 3
  img_size: 64		# 저해상도 이미지의 사이즈
  window_size: 16
  compress_ratio: 3
  squeeze_factor: 30
  conv_scale: 0.01
  overlap_ratio: 0.5
  img_range: 1.
  depths: [6, 6, 6, 6, 6, 6]
  embed_dim: 180
  num_heads: [6, 6, 6, 6, 6, 6]
  mlp_ratio: 2
  upsampler: 'pixelshuffle'
  resi_connection: '1conv'

# path
path:
  pretrain_network_g: ./experiments/pretrained_models/HAT_SRx4_ImageNet-pretrain.pth
  strict_load_g: true
  param_key_g: 'params_ema'

# validation settings
val:
  save_img: true
  suffix: ~  # add suffix to saved images, if None, use exp name

  metrics:
    psnr: # metric name, can be arbitrary
      type: calculate_psnr
      crop_border: 4
      test_y_channel: true
    ssim:
      type: calculate_ssim
      crop_border: 4
      test_y_channel: true
Demo 실행
python hat/test.py -opt options/test/[사용할 yml파일 이름].yml
// 예
// python hat/test.py -opt options/test/HAT_SRx4_ImageNet-pretrain.yml
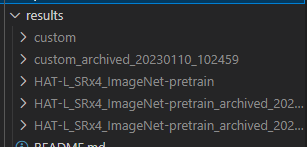
- 결과는 다음과 같이
/HAT/results경로에 설정한 이름으로 폴더와 함께 생성된다.Demo 결과
Original image
Resize image
Processed image


훈련
/HAT/options/train폴더에서 훈련시 사용할 설정을 선택하고, 목적에 맞게 수정하여 훈련한다.

Talking Potato