본 포스팅은 따배쿠(따라하면서 배우는 쿠버네티스)을 보고 정리한 내용입니다.
**Pod 개념 및 사용하기**
**Container 정리**
app.js
const http = require('http');
const os = require('os');
console.log("Test server starting");
var handler = function(req, res) {
  	res.writeHead(200);
  	res.end("Container Hostname:" + os.hostname() + "\n");
};
var www = http.createServer(handler);
www.listen(8080);
Dockerfile
$ cat > Dockerfile
FROM node:12
COPY app.js/app.js
ENTRYPOINT ["node", app.js"]
<Ctrl><d>
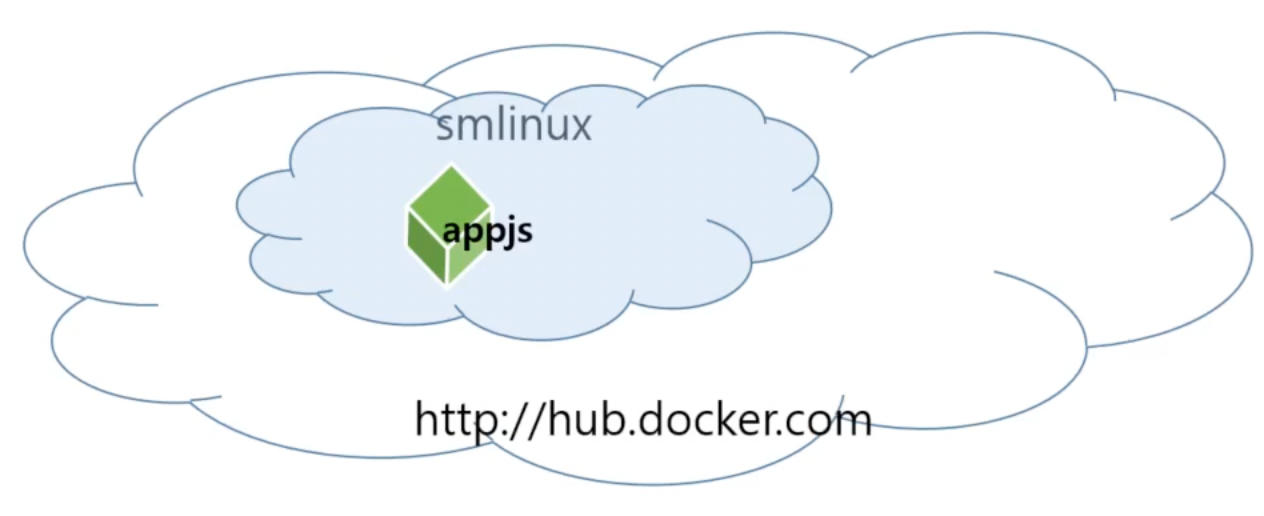
$ docker build -t smlinux/appjs
$ docker push smlinux/appjsnode12: base image
app.js
**Pod 란?**
- 컨테이너를 표현하는 k8s API의 최소 단위
- 실행할 때는 docker appjs 컨테이너 실행 요청이 아닌 k8s에게 appjs Pod restful api 실행 요청
- Pod에는 하나 또는 여러 개의 컨테이너가 포함될 수 있음
Pod 생성하기
- kubectl run 명령으로 생성
$ kubectl run webserver --image=nginx:1.14- pod yaml을 이용해 생성
apiVersion: v1
kind: Pod
metadata:
  name: webserver
spec:
  containers:
  - name: nginx-container
    image: nginx:1.14
    imagePullPolicy: Always
    ports:
    - containerPort: 80
      protocol: TCP
Pod 실행
$ kubectl create -f pod-nginx,yaml현재 동작중인 Pod 확인
$ kubectl get pods
$ kubectl get pods -o wide
$ kubectl get pods -o yaml
$ kubectl get pods -o json
일부 정보 grep 하기
$ kubectl get pods web1 -o json | grep -i podipwatch [명령어]
- watch 뒤의 명령어를 2초마다 한번씩 실행
$ watch kubectl get pods -o widecurl [ip]
- 커맨드라인에서 웹 브라우저를 보여주는 명령어
$ watch kubectl get pods -o widemulti-container Pod 생성하기
apiVersion: v1
kind: Pod
metadata:
  name: multipod
spec:
  containers:
    - name: nginx-container
      image: nginx:1.14
      ports:
      - containerPort: 80
    - name: centos-container
      image: centos:7
      command:
      - sleep
      - "10000"
nginx-container로 들어가기
$ kubectl exec multipod -c nginx-container -it -- /bin/bashnginx-container에서 web page를 수정한 후
centos-container curl 명령어를 수행하면 수정한 웹페이지가 나온다.
$ kubectl exec multipod -c centos-container -it -- /bin/bash
$ curl localhost:80
mutli-container pod에서 container들의 pod 명과 ip는 동일
kubectl logs [pod명] -c [container명]
[pod명]안의 [container명]의 로그를 출력
kubectl logs [pod명]
$ kubectl logs multipod -c nginx-container
$ kubectl logs web1
Backend Developer