
[1] history 확인하는 방법
react-router로 직접 routing을 관리한다.
route가 변할 때마다 해당 값(history.state.idx) 변화됨
idx 값을 기준으로 원하는 페이지로 라우팅 하는 등의 기능을 처리할 수 있다.
v5
- react router 내 history 객체로 확인 가능
v6
- react router 내 history를 지원하지 않으며 navigate로 기존 history의 기능 수행한다.
- 그러나, navigate에는 history를 확인할 수 있는 메서드가 없음
- window.history.length를 사용할 수 있지만 서비스에서 사용해 본 결과, 화면 전환 시에도 length가 변하지 않는 등 문제가 있었음
- 따라서 react-router 라이브러리를 사용하여, history.state.idx 값을 통해 현재 length 확인해야 한다.
history.state는 history stack의 맨 위에 있는(즉 현재 페이지) 값이다.
// react router에서 넣어주는 state 형태

console.log(window.history.state);

// {
//   key: "1lxt2c",
//   idx: 0
// }
기본 값은 null이며 pushState() 또는 replaceState() 메서드를 사용하여 state값을 변경한다.
기본적으로 browser에서 history에서 back을 할 수 있는 상황 인지에 대해서
정확하게 알 수 있는 방법은 없음
그러나 react-router와 같은 라이브러리에서 직접 routing을 관리하면서
window.history.state.idx라는 값에 현재 어떤 순서에 와 있는 지를 기록한다.
아래는 react-router의 깃 소스이다.
let [index, location] = getIndexAndLocation();

function getIndexAndLocation(): [number, Location] {
    let { pathname, search, hash } = window.location;
    let state = globalHistory.state || {};
    return [
      state.idx,
      readOnly<Location>({
        pathname,
        search,
        hash,
        state: state.usr || null,
        key: state.key || "default",
      }),
    ];
  }
function push(to: To, state?: any) {
let nextAction = Action.Push;
let nextLocation = getNextLocation(to, state);
function retry() {
push(to, state);
}
if (allowTx(nextAction, nextLocation, retry)) {
let [historyState, url] = getHistoryStateAndUrl(nextLocation, index + 1);
try {
// 이 과정에서 state 값이 설정되는 걸로 추정
globalHistory.pushState(historyState, "", url);
} catch (error) {
window.location.assign(url);
}
applyTx(nextAction);
}
}[2] 호환성
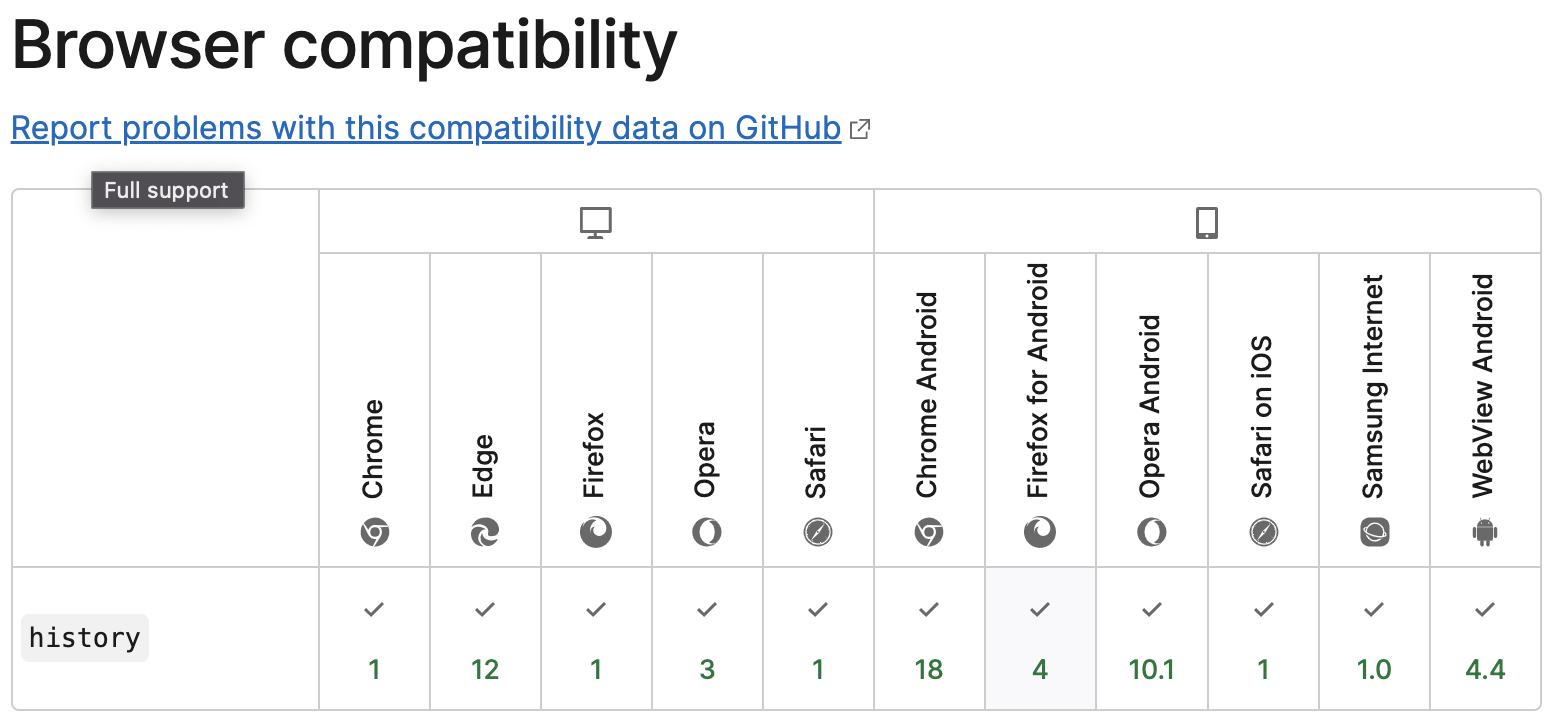
상위 표는 window.history.state의 브라우저 호환성이다.
react router에서 history.state에 값을 설정해주기 때문에 router의 버전업이 이루어질 때까지 사용해도 무방하다고 생각됨.
참고
Window.history - Web APIs | MDN
react-router/index.ts at main · remix-run/react-router
history/index.ts at dev · remix-run/history

history module을 설치해도 된다.